■ 検証環境(AWS)
- リージョン:米国東部(バージニア北部):
- AMI:Deep Learning AMI (Ubuntu) Version 23.0 - ami-0bc213dc857866046
- インスタンス:p2.xlarge(NVIDIA K80 GPU)
- ストレージ:100 GB(汎用SSD(gp2))
■ 環境設定
- Deep Learning AMIには深層学習フレームワーク等が事前にインストールされているため,ユーザによる設定は不要
- ⇒フレームワークを選択することで使用可能になる
- 今回はTensorFlow(python2系)を利用
$ source activate tensorflow_p27
■ スタイル変換の動作検証
〇STEP.1 モデル作成
- 不足パッケージの導入
$ pip install moviepy
- ソースコードのダウンロード
$ git clone https://github.com/lengstrom/fast-style-transfer.git
$ cd fast-style-transfer/
- 学習用イメージのダウンロード
- data/train2014に保存される
$ ./setup.sh
- モデル作成
- styleはexampleフォルダ内のthe_scream.jpgを使用
- 計算時間は7時間程度
$ python style.py --style example/style/the_scream.jpg \
   --train-path data/train2014 \
   --checkpoint-dir checkpoint/ \
   --test examples/content/chicago.jpg \
   --test-dir examples/content
- 出力ファイル:
- checkpoint
- fns.ckpt.index
- fns.ckpt.meta
- fns.ckpt.data-00000-of-00001
〇 STEP.2 スタイル変換
- STEP.1で計算したモデルを使用して変換処理を実施
$ python evaluate.py --checkpoint-dir checkpoint --in-path input.jpg --out-path output.jpg
- 動画を変換する場合は以下を実施
$ python transform_video.py --checkpoint-dir checkpoint --in-path input.mp4 --out-path output.mp4
- 学習済みモデルは以下から取得することもできる
- https://drive.google.com/drive/folders/0B9jhaT37ydSyRk9UX0wwX3BpMzQ
- 計算時間は数秒程度
- 変換処理は非GPU環境でも実施可能
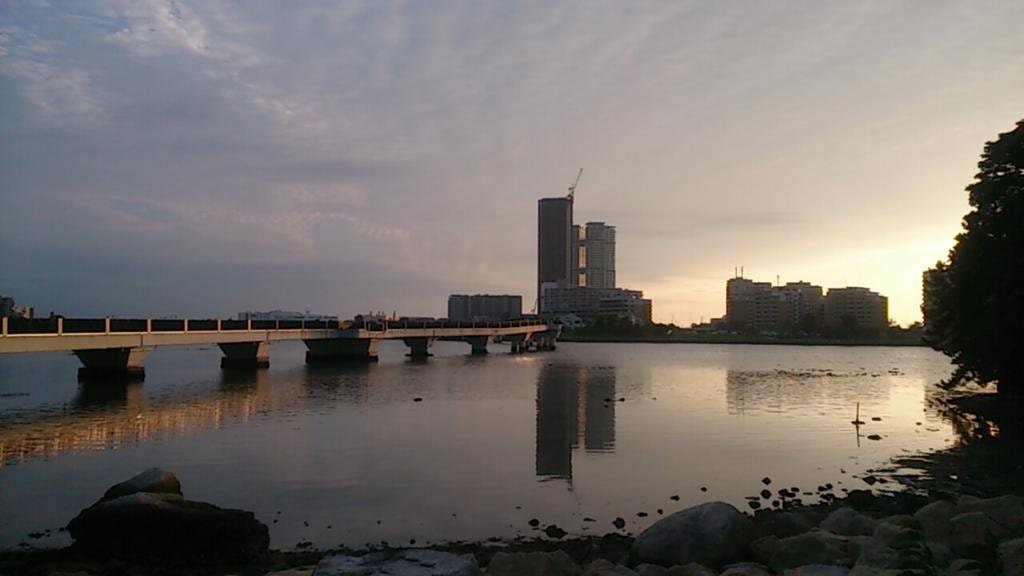
■ スタイル変換結果
- 元画像:
-
- スタイル変換後:
-
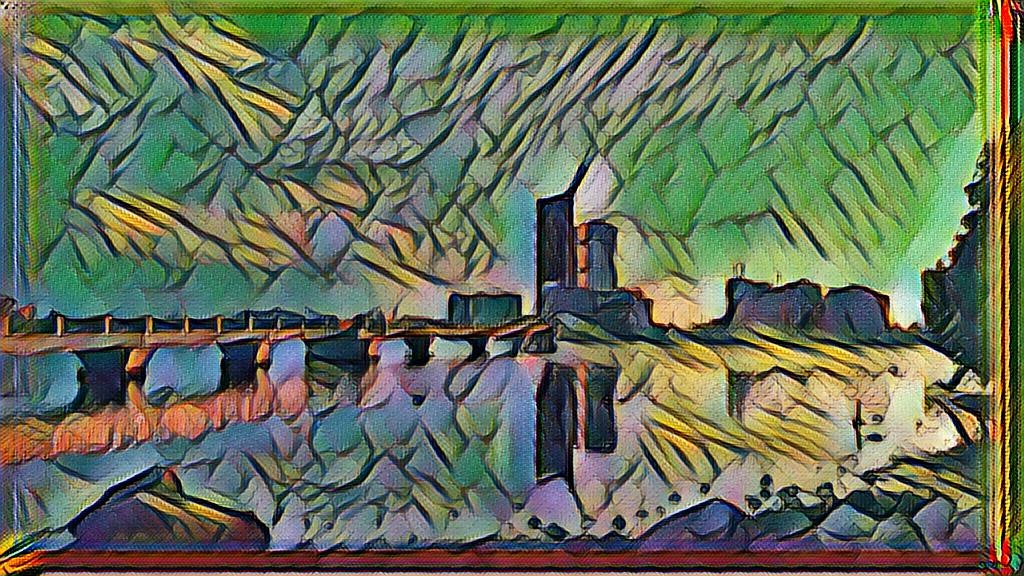
 -
- 
 -
- 
