目標
- カメラアプリを作る
習得ルート
- プログラミングの基本を習得する(Python) ←この記事はここまで
- Swiftの言語に慣れる
- iOS開発の入門書に沿って作ってみる
今回の内容
使用書籍
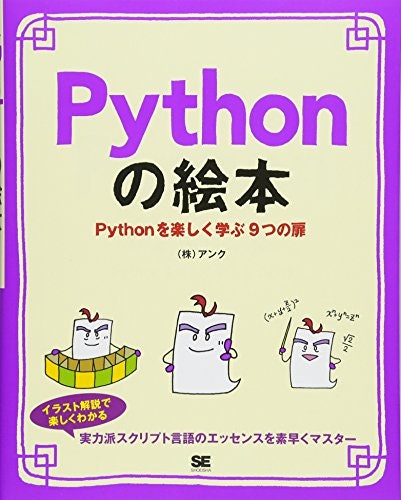
- Pythonの絵本 Pythonを楽しく学ぶ9つの扉
プログラミングの基本を学ぶためにPythonを使用
理由:型の記載を省略してシンプルにかけるため
Swiftというプログラミング言語に慣れるため使用
理由:簡単なプログラムを通して、Swiftに慣れながら実際に動くSwiftコードを書く
アプリ開発の手引きを参照するために使用
必要な環境のインストール
-
Python→ダウンロードページ
- 最新が3.10の場合、3.9を選ぶと3.10でサードパーティライブラリが対応していなかったとかをなくせる
-
Pythonista 3
- 簡単なPythonコードのテストに使える
-
Visual Studio Code→ダウンロードページ
- 追加でPythonのパッケージを入れておくとよい
-
Xcode MacのAppStoreから
- インストールに時間がかかるので、早めにやっておく
-
Swift Playgrounds MacのAppStoreから
シェル操作
Macの標準アプリにあるターミナルでコマンドを打つ
python --version
2.7と出た場合
Visual Studio Codeで
ホームディレクトリを開いて
.zshrcに新規で
alias python="/usr/local/bin/python3"
alias pip="/usr/local/bin/pip3"
を追加する
再度、ターミナルを再起動して
python --version
3.9など出たら成功
うまくいかない場合グーグルで調べてみる↓
https://www.google.com/search?q=mac+python+alias
テスト実行
Finderで書類にPythonのフォルダを作成
そのフォルダをVisual Studio Codeを開いて
新規ファイルのアイコンを押して
test.pyと入力
その後、以下を入力
print("good")
Pythonの拡張機能が入っていれば 右上に▶︎ボタンがあるのでそれをクリック
good
と出たら成功
Pythonコードの実行
文字を出力する
print("good") #good
変数への代入
num1 = 2
num2 = 3
フォーマット済み文字列でprint →仕様
fruit = "lemon"
print(f"あなたの好きなフルーツは、{fruit}です。")
# あなたの好きなフルーツは、lemonです。

num3 = 5
print(f"あなたの選んだ数字は、{num3}です。")
# あなたの選んだ数字は、5です。
変数の型を調べる
print(type(1)) # <class 'int'>

print(type('1')) #<class 'str'>
数字と文字を変換する
print(type(str(1))) #<class 'str'>

print(type(int('1'))) #<class 'int'>
importをする
import time

print("開始")
time.sleep(3) #3秒待つ
print("終了")
while文で繰り返しの処理をする
now_value = 0

while now_value < 3:
    print("hi")
    now_value += 1

# hi
# hi
# hi
関数について
関数とは
print() #()の中に入れたものを実行結果に出力する
type() #()の中に入れたものの型を調べる
str() #()の中に入れたものを文字列にする
int() #()の中に入れたものを数値・整数にする
のように、かっこの中に何かを入れると、ある機能を実行する部品である
関数を作るには?
以下のような記述をする
def my_original_print(any_string):
    print(f"実行結果は{any_string}だよ!")

my_original_print("成功") #実行結果は成功だよ!
値を返す場合
# 関数名は長くなくてよいが、組み込み関数や既に作っている関数名と被ってはいけない
def func_convertStrAndTypeCheck_return(any_int):
    return type(str(any_int))

print(func_convertStrAndTypeCheck_return(3)) #<class 'str'>
[注意が必要]スコープについて
関数の中で外側の変数と内側の変数とで指すものが変わる
value = 3

def printValue():
    print(value)

printValue() #3

def printValue2():
    value = 4 #printValue2の中にvalueという変数ができる
    print(value) #この時は内側の変数を参照する

print(value) #3
printValue2() #4
グーグルで調べてみる↓
https://www.google.com/search?q=Python+スコープ
JupyterLabを使う
Pythonのコードを書きながらメモをするのに便利
インストール
ターミナルを開いて下記でインストール
pip install jupyterlab
インストールができたら
jupyter lab
で起動
開かなかったら
cd ~
ls -a
ホームディレクトリに移動
隠しフォルダもすべて表示して
.zprofileをVisual Studio Codeで開いて、この中に以下のような記述があることを確認
# Setting PATH for Python 3.9
# The original version is saved in .zprofile.pysave
PATH="/Library/Frameworks/Python.framework/Versions/3.9/bin:${PATH}"
export PATH
うまくいかない場合グーグルで調べてみる↓
https://www.google.com/search?q=mac+python+環境変数
使う
ノートをとるためのフォルダを作って
そこでPythonのNotebookを開く
セルの中にマークダウンで書いたり、Pythonのコードを書いて、Shift Enterで実行
Enterのみで改行
その他
実際にレクチャーした内容の復習です。


