CentOS7を、Zabbix 3.4の監視対象とする為の設定方法です。
環境は次の通りです。
・Zabbix 3.4
・CentOS 7.5
Zabbix3.4 の yum リポジトリの登録
# rpm -ivh http://repo.zabbix.com/zabbix/3.4/rhel/7/x86_64/zabbix-release-3.4-1.el7.centos.noarch.rpm
Zabbix agentのインストール
# yum -y install zabbix-agent
設定
# vi /etc/zabbix/zabbix_agentd.conf
Server=(Zabbix server IP)
ServerActive=(Zabbix server IP)
# Hostname=[Hostname] (コメントアウトもしくはZabbixで表示するホスト名を設定)
HostnameItem=system.hostname (Hostnameをコメントアウトする場合はコメントアウト外す)
Firewallの設定
# firewall-cmd --add-port=10050/tcp --permanent
サービスの起動
# systemctl enable zabbix-agent
# systemctl start zabbix-agent
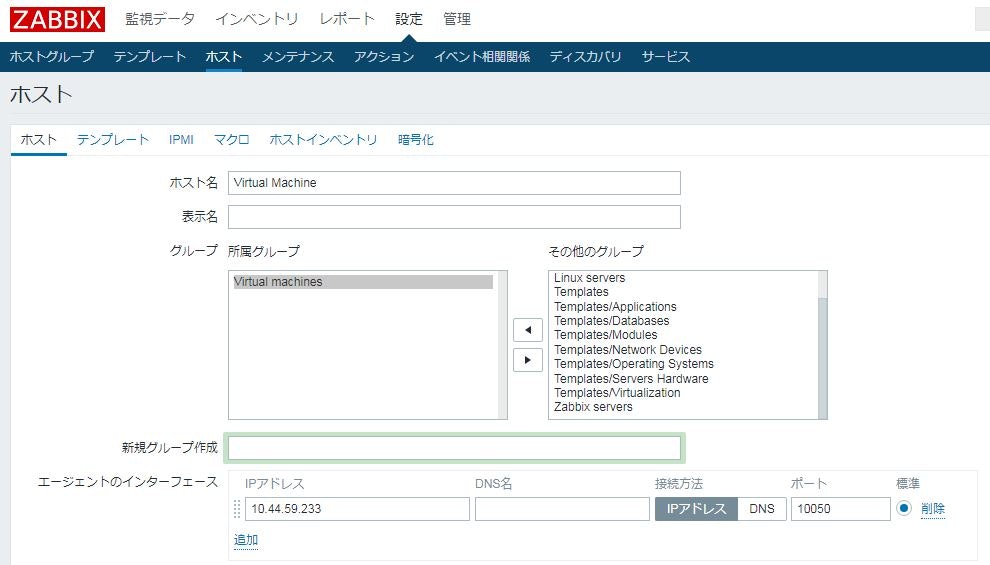
Zabbixの監視設定
「設定」> 「ホスト」> 「ホストの作成」で監視設定
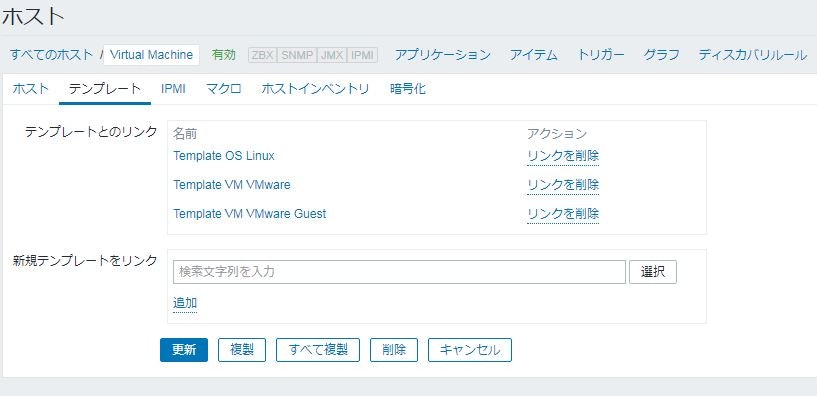
・テンプレートタブにて、監視対象テンプレートを追加
例)Template OS Linux、Template VM VMware、Template VM VMware Guestを選んで「追加」

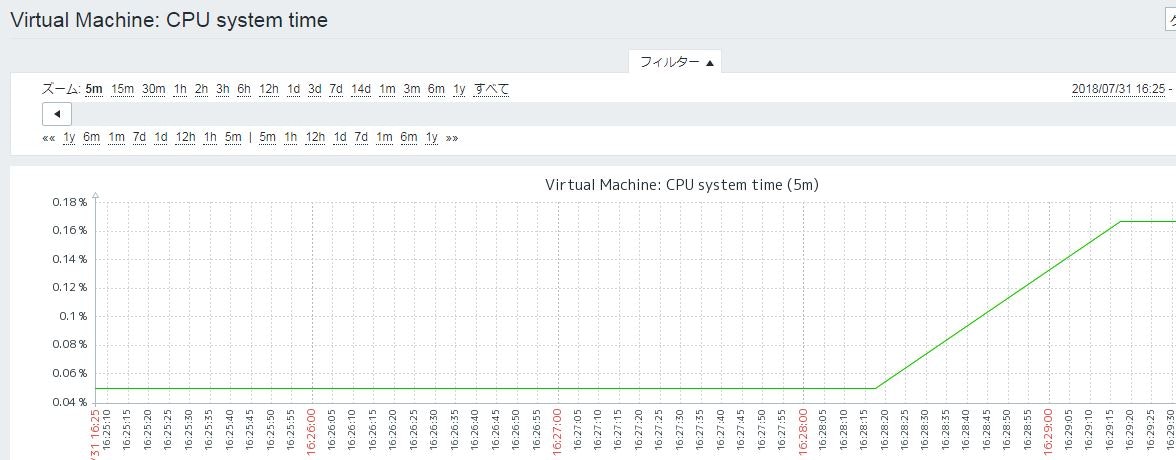
監視動作の確認
「監視データ」> 「最新データ」より、監視対象と項目を選んでグラフ形式で確認出来る
※8/1 誤字訂正いただきありがとうございました。

