はじめにまとめ
- ルパン三世のタイトルコールをAndroidで実装してみた
- ただ作るだけだとつまらないのでDataBinding+Kotlin Coroutineで実装
- もっと簡単に作れる方法あったら教えてください

No Lupin The Third, No Life
突然ですが、人生で一度もルパン三世に関わったことのない日本人は少ないと思います。
日本人一度は金曜ロードショーの何回目か分からない「カリオストロの城」の再放送を目にし、吹奏楽部に入れば一度は「ルパン三世のテーマ」を演奏し、エンジニアになれば一度はルパン三世TVアニメ版第二期(通称赤ルパン)のタイプライターのカシャカシャいうタイトルを自作するのです。そうに違いないのです(断言)
例のタイトルコールを作ってみた
というわけで(?)、有名なあのタイトルコールを表示させるアプリをAndroidで実装してみました。
実際は一応音も流れます。
※♪デデッデデ デデッデデ デデデ の部分は著作権の関係でありません
効果音はフリー音素材を作っていらっしゃる魔王魂さんのものを使用させて頂きました。
ただ作るだけではアレなので、DataBindingと勉強中のKotlin Coroutineを使ってなるはやで作れるものを目指してみました。
実装にかかった時間はだいたい30分くらいだと思います。
実装
実際の実装を紹介します。
リポジトリはこちらに置いておきました。
Build.Gradle
// Android Architecture Components
implementation "androidx.lifecycle:lifecycle-extensions:2.2.0-rc03"
implementation "androidx.lifecycle:lifecycle-livedata:2.2.0-rc03"

// Fragment
implementation 'androidx.fragment:fragment-ktx:1.2.0-rc04'

// Coroutines
implementation "org.jetbrains.kotlinx:kotlinx-coroutines-core:1.3.2"
implementation "org.jetbrains.kotlinx:kotlinx-coroutines-android:1.3.2"
CoroutineとViewModelを使うためにAACを導入します。
Fragment-KTXはviewModels()を使うために入れただけなので無くても良いです。
忘れずにDataBindingを有効化します。
余談ですが、viewModels()を使うためにjvmTargetを1.8にしてます。
android {
     ...
    dataBinding {
        enabled = true
    }
    kotlinOptions {
        jvmTarget = '1.8'
    }
    compileOptions {
        sourceCompatibility JavaVersion.VERSION_1_8
        targetCompatibility JavaVersion.VERSION_1_8
    }
}
レイアウト
レイアウトを以下のように作成します。
<?xml version="1.0" encoding="utf-8"?>
<layout xmlns:android="http://schemas.android.com/apk/res/android"
    xmlns:app="http://schemas.android.com/apk/res-auto"
    xmlns:tools="http://schemas.android.com/tools">

    <data>

        <variable
            name="viewModel"
            type="com.nanaten.lupin_title.MainViewModel" />

        <import type="android.view.View" />
    </data>

    <androidx.constraintlayout.widget.ConstraintLayout
        android:layout_width="match_parent"
        android:layout_height="match_parent"
        tools:context=".MainActivity">

        <EditText
            android:id="@+id/title_text"
            android:layout_width="match_parent"
            android:layout_height="wrap_content"
            android:layout_marginStart="32dp"
            android:layout_marginEnd="32dp"
            android:hint="タイトルを入力"
            android:imeOptions="actionDone"
            android:inputType="text"
            android:maxLines="1"
            android:text="@={viewModel.title}"
            android:textColor="#000000"
            android:textSize="16sp"
            android:visibility="@{viewModel.isTyping ? View.GONE : View.VISIBLE}"
            app:layout_constraintBottom_toBottomOf="parent"
            app:layout_constraintTop_toTopOf="parent"
            tools:ignore="Autofill" />

        <Button
            android:id="@+id/start_button"
            android:layout_width="100dp"
            android:layout_height="wrap_content"
            android:layout_marginTop="32dp"
            android:text="START"
            android:visibility="@{viewModel.isTyping ? View.GONE : View.VISIBLE}"
            app:layout_constraintEnd_toEndOf="parent"
            app:layout_constraintStart_toStartOf="parent"
            app:layout_constraintTop_toBottomOf="@id/title_text" />

        <androidx.appcompat.widget.AppCompatTextView
            android:layout_width="match_parent"
            android:layout_height="match_parent"
            android:background="#000000"
            android:gravity="center"
            android:maxLines="1"
            android:paddingStart="16dp"
            android:paddingEnd="16dp"
            android:text="@{viewModel.typewriter}"
            android:textColor="#FFFFFF"
            android:visibility="@{viewModel.isTyping ? View.VISIBLE : View.GONE}"
            app:autoSizeMaxTextSize="100sp"
            app:autoSizeMinTextSize="16sp"
            app:autoSizeTextType="uniform"
            app:layout_constraintBottom_toBottomOf="parent"
            app:layout_constraintStart_toStartOf="parent"
            app:layout_constraintEnd_toEndOf="parent"
            app:layout_constraintTop_toTopOf="parent" />

    </androidx.constraintlayout.widget.ConstraintLayout>
</layout>
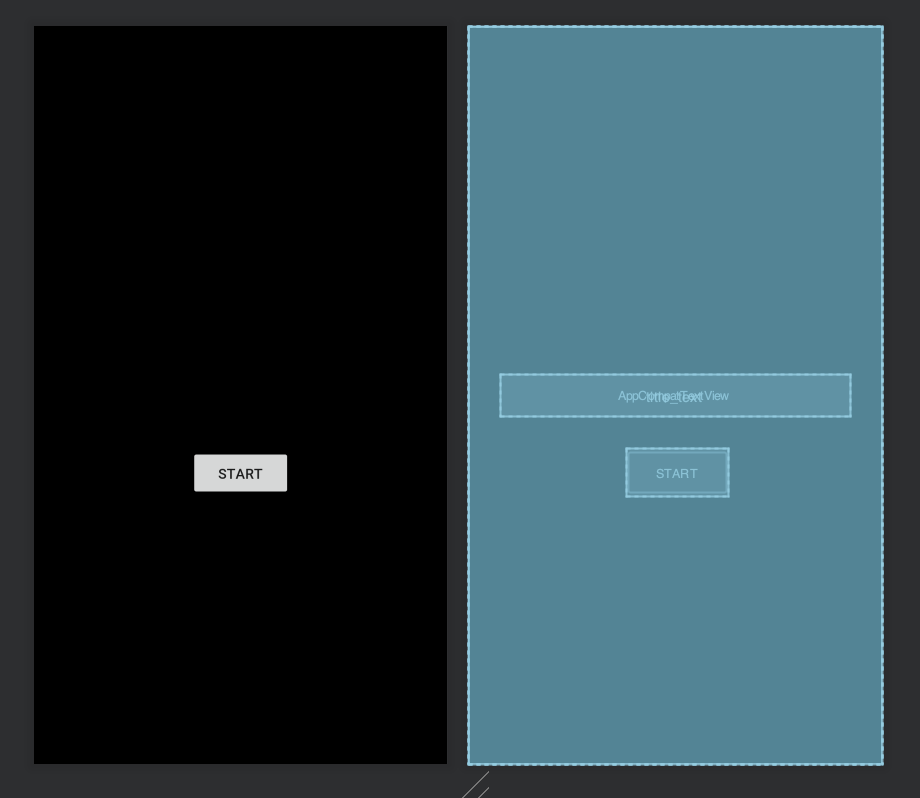 画像だと分かりにくいですが、中央に`EditText`を置き、その下にボタンを置いています。
また、画面全体を覆うようにタイトル表示用の`TextView`を配置しました。
AutoSizingを使うために`AppCompatTextView`を使っています。
画像だと分かりにくいですが、中央に`EditText`を置き、その下にボタンを置いています。
また、画面全体を覆うようにタイトル表示用の`TextView`を配置しました。
AutoSizingを使うために`AppCompatTextView`を使っています。
EditTextは双方向データバインディングを使っています。
android:text="@={viewModel.title}" // @=で双方向データバインディング
細かいですが、デフォルトの状態だとアクションバーが邪魔なのでstyleをNoActionBarにしてあります。
<style name="AppTheme" parent="Theme.AppCompat.Light.NoActionBar">
ViewModel
MainViewModelを作成します。
class MainViewModel : ViewModel() {
    val title = ObservableField<String>()
    val typewriter = ObservableField<String>()
    val isTyping = ObservableField<Boolean>()

    fun startTitleCall() {
        val fullTitle = title.get()
        if(fullTitle.isNullOrBlank()) return

        isTyping.set(true)
        GlobalScope.launch {
            fullTitle.map {
                delay(150)
                typewriter.set(it.toString())
            }
            delay(150)
            typewriter.set(fullTitle)
            delay(2000)
            isTyping.set(false)
            typewriter.set("")
        }
    }
}
ObservableField型の変数を3つ作成しています。
これらをレイアウトから参照してデータバインディングを行っています。
startTitleCallがメインの処理です。1つずつ解説していきます。
    val fullTitle = title.get()
    if(fullTitle.isNullOrBlank()) return
titleには双方向バインディングによりEditTextに入力した文字列が自動的に格納されます。
ここは単純にtitleがnullもしくは空文字だったら処理を抜けているだけです。
    isTyping.set(true)
    ..
    isTyping.set(false)
isTypingにtrueがセットされると、 レイアウトでセットしているvisibilityによって、タイトルコール用のTextViewが表示状態になり、逆にEditTextとButtonは非表示になります。
    <!-- Buttonも同様 -->
    <EditText
    ...
    android:visibility="@{viewModel.isTyping ? View.GONE : View.VISIBLE}"
    ...
    />

    <androidx.appcompat.widget.AppCompatTextView
    ...
    android:visibility="@{viewModel.isTyping ? View.VISIBLE : View.GONE}"
    ...
    />
        GlobalScope.launch {
            fullTitle.map {
                delay(150)
                typewriter.set(it.toString())
            }
            delay(150)
            typewriter.set(fullTitle)
            delay(2000)
            isTyping.set(false)
            typewriter.set("")
        }
GlobalScope.launchでCoroutineを生成します。(本当はGlobalScopeをほいほい使うのは良くないらしい…)
mapでfullTitleの文字列を一文字ずつ取り出し、typewriterにセットしています。
typewriterはデータバインディングによりTextViewに紐付けされているので、150ms間隔でカシャカシャします(語彙貧困)。
最後にタイトル全体の文字列をセットして2000ms待機させます。
typewriterの値をそのままにしておくと、次に実行した時に前回のタイトルが一瞬表示されてしまうので、値をクリアしています。
Activity
MainActivityで行っているのはDataBindingとOnClickListenerの設定だけです。
class MainActivity : AppCompatActivity() {

    private val viewModel: MainViewModel by viewModels()
    lateinit var binding: ActivityMainBinding

    override fun onCreate(savedInstanceState: Bundle?) {
        super.onCreate(savedInstanceState)
        binding = DataBindingUtil.setContentView(this, R.layout.activity_main)
        binding.viewModel = viewModel
        binding.startButton.setOnClickListener { viewModel.startTitleCall() }
    }
}
ここまでで表示処理は完成です。
このままだと寂しいので、効果音を付けてよりカシャカシャ感を出したいと思います。
効果音を付ける
SoundPoolで効果音を再生させるようにします。
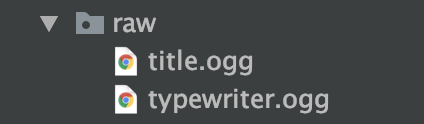
素材ファイルは魔王魂さんからDLした以下のoggファイルを/res/rawフォルダに格納してあります。
・銃03 -> title
・点火04 -> typewriter
startTitleCallを以下のように修正します。
    fun startTitleCall(context: Context) { // Contextを渡すように修正
        // SoundPool
        val attributes = AudioAttributes.Builder().setUsage(AudioAttributes.USAGE_ALARM).build()
        val sound = SoundPool.Builder().setMaxStreams(1).setAudioAttributes(attributes).build()
        val resType = sound.load(context, R.raw.typewriter, 1)
        val resCall = sound.load(context, R.raw.title, 1)

        val title = title.get()
        if(title.isNullOrBlank()) return

        isTyping.set(true)
        GlobalScope.launch {
            title.map {
                delay(150)
                sound.play(resType, 1.0f, 1.0f, 0, 0, 1.0f)
                typewriter.set(it.toString())
            }
            delay(150)
            sound.play(resCall, 1.0f, 1.0f, 0, 0, 1.0f)
            typewriter.set(title)
            delay(2000)
            isTyping.set(false)
            typewriter.set("")
        }
    }
binding.startButton.setOnClickListener { viewModel.startTitleCall(this) } // Contextを渡すように修正
以上で完成です!
最後に
Coroutineを使うと言いつつただのdelayを使ったベタ書きになってしまって反省しております。
こうすればもっと簡単にできるよ!などの投稿お待ちしております。
また、DataBindingの勉強をするにあたって坂口亮太さんの著作「実践 Android Data Binding」には大変お世話になりました。
この場を借りてお礼申し上げます。