- Unity Advent Calendar 2016の10日目の記事となります
- 昨日は @monry さんの 「Unity IAP v1.9.2 を使うと、Android で ActivityNotFoundException が起きることがある件について」 でした!
現在製作中のゲームについて
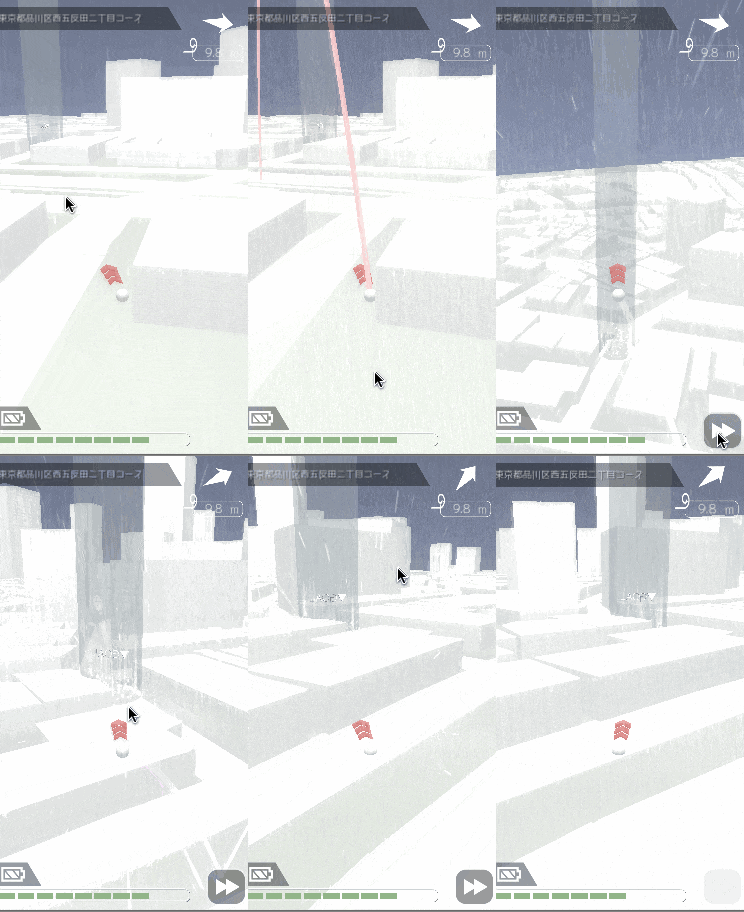
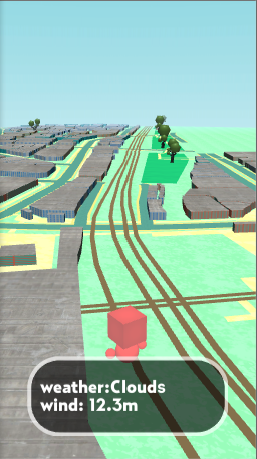
- 社内で行われるアプリコンテスト向けに以下のようなゲームを作っています
- 現在地を起点とし、その周辺に建物を生成、その空間でゴルフを行うゲーム
- このゲームでは現実感を高めるためにその地点の天気情報を取得して演出のON/OFFを切り替えています
建物/地形を生成する (GoMapアセット)
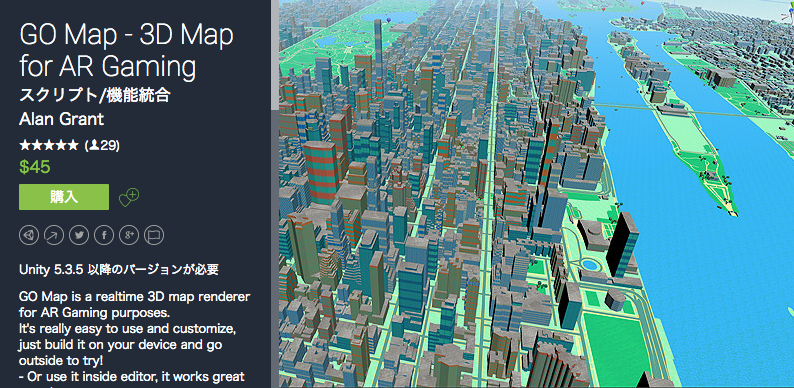
- GO Mapは特定の地点およびその周辺の地形を生成するアセット
-
MapZen vector maps API 経由で地形情報を取得し、ポリゴンを生成している
- 建物や地形のポリゴンを構築するために必要な座標情報
- 建物の種別
- どのZoomLevelで描画対象になるか ... etc
- またPOI (Point of interest) の対応も行われている
- Foursquare API や Google Places API によりコンビニや駅等のランドマークを取得
- 取得した座標に対し、任意のオブジェクトをInstantiateする機能
GO Mapを試す
- (以下の情報は Go Map 2.0 に基づきます )
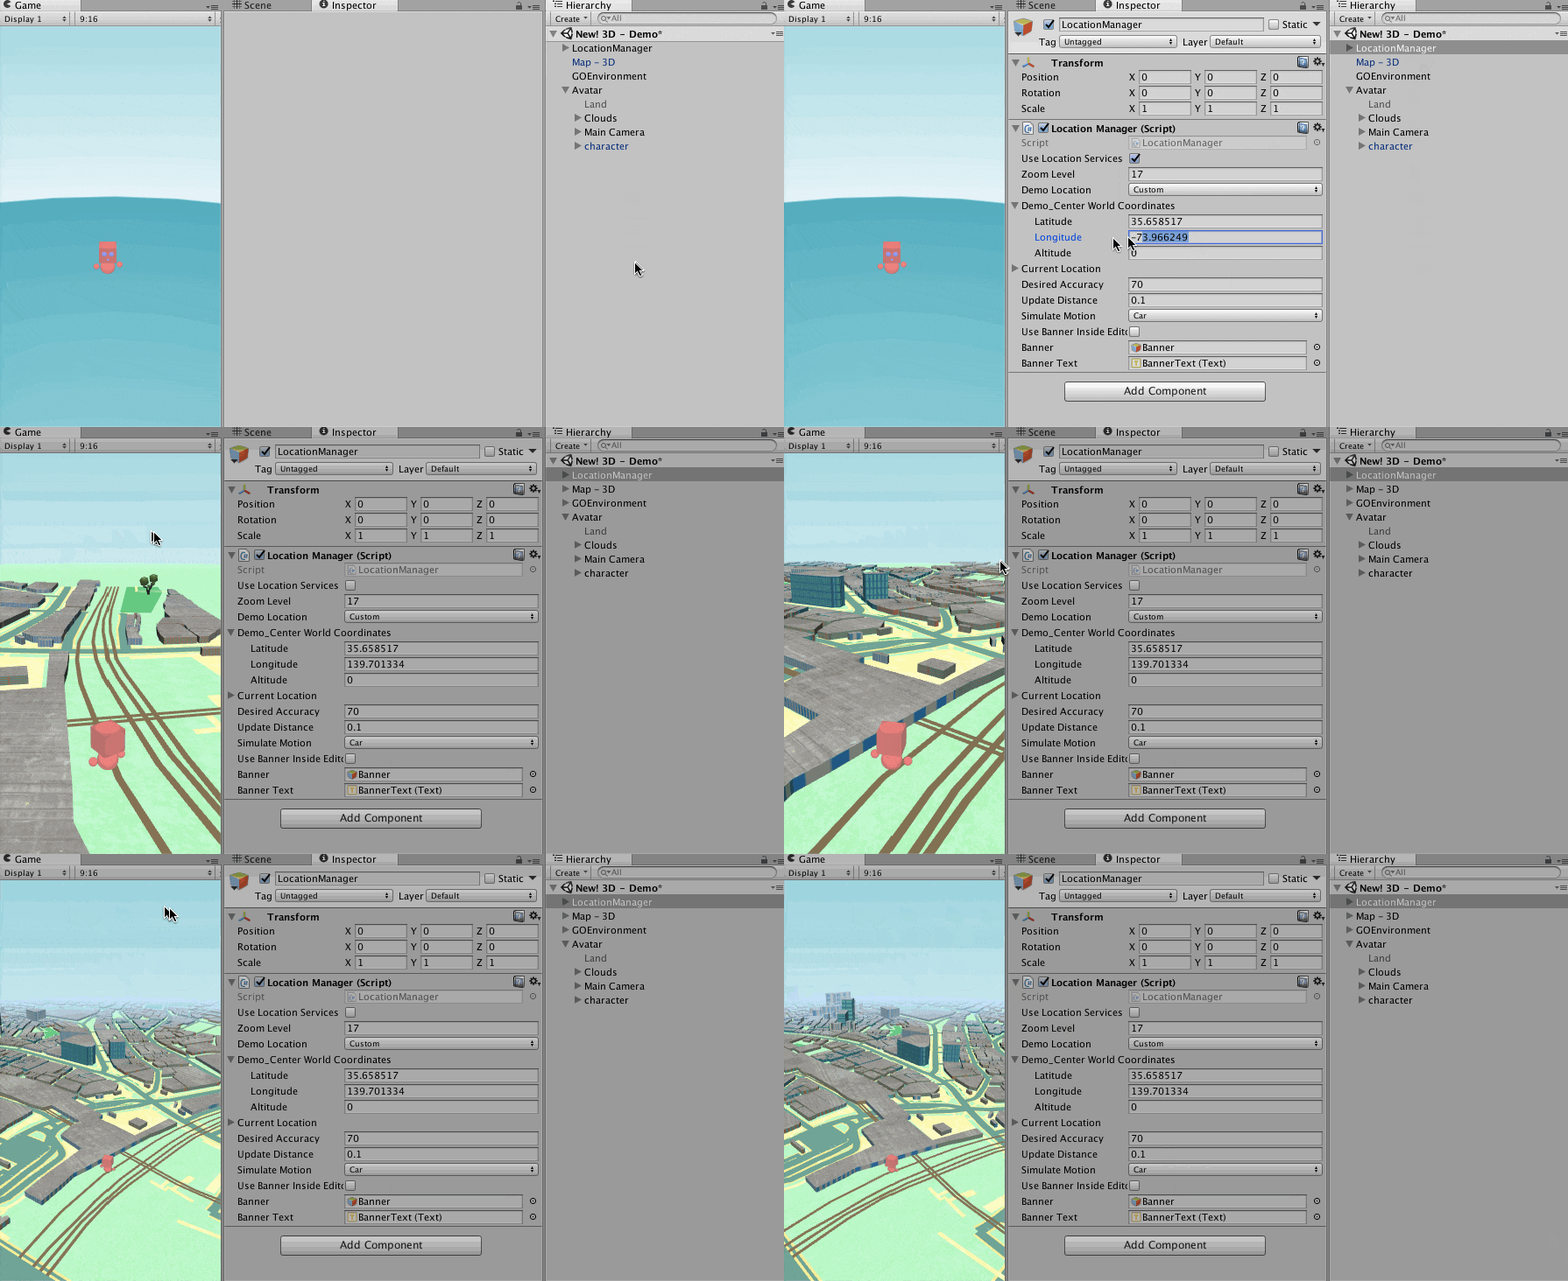
- GO Mapを試すだけであれば、アセットをインポートし、サンプルシーンを開けばOKです
-
New! 3D - Demo: 立体地図の描画 (過去のバージョンに加えて複数テクスチャ対応やGOEnvironment という木やボート等の配置を行う君がいる) -
New! POI - Demo: 平面地図の描画、POI対応サンプル
-
-
LocationManagerにて表示する地点を設定出来る-
UserLocationServiceが有効かつモバイルであれば現在地点が描画される - UnityEditor上であれば
demo_CenterWorldCoordinatesの座標が使用される
-
天気を取得する (OpenWeatherMapAPI)
- 次に天気の情報を取得し、Unity内で取り扱えるようにします
OpenWeatherMap
- https://openweathermap.org/
- 天気情報を取得するためのAPI
- Price を見ると無料プランだと1分間に60回までAPIを受け付けてくれることが分かる
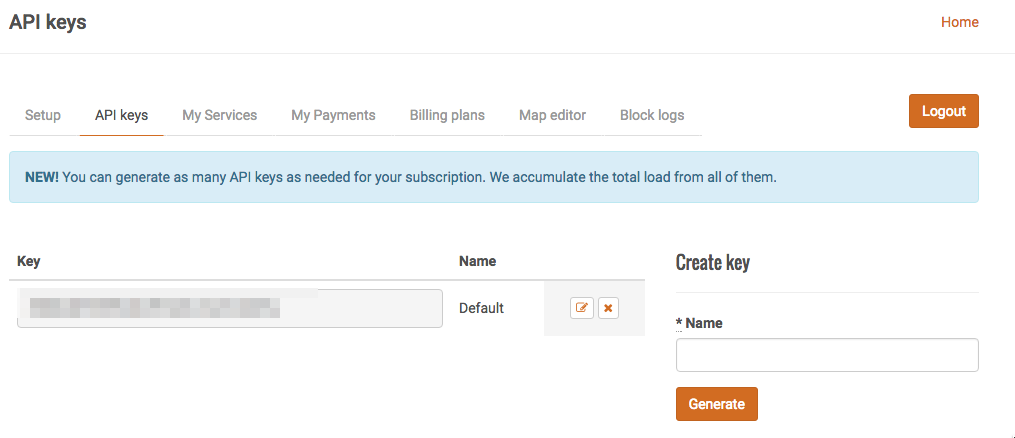
- 使用するためにはAPIKeyの発行が必要
- HowToStart からサインアップ
- サインインし、APIKeysの項目からKeyを発行する
Entityを作成する
- 今回は Current weather data API と緯度経度を用いて指定地点の天気を取得する
- APIを叩いた結果 json が返却される
- 今回は JsonUtility を使用し、受け取った jsonをParseして構造体に格納する
-
https://openweathermap.org/current の Parameters を参考に要素を作成する
- 今回は「晴れ/曇り」といった天気名と風向き/強さを格納する
- 細かい雨量、雲量なども結果として返って来ているので必要に応じて要素を追加する
WeatherEntity.cs
using UnityEngine;

[System.Serializable]
public class WeatherEntity
{
    public Weather[] weather;
    public Wind wind;
}

[System.Serializable]
public class Weather
{
    public string main; // Rain, Snow, Clouds ... etc
}

[System.Serializable]
public class Wind
{
    public float deg;
    public float speed;
}
Entityを更新する
- 実際にAPIを叩き、jsonを取得し、Parseし、Entityを更新する
-
UnityWebRequest 経由で叩いて、結果のjsonを取得する
- UnityWebRequestはUnity5.4で正式にリリースされたWWWの代替クラス
- 任意のメソッド(GET/POST)がいい感じに指定出来るのでオススメ
- 取得したAPIキーの指定し忘れに注意
- 401ステータスコードが返却される
- JsonUtility を使用してjsonをEntityに変換する
WeatherLoader
using System.Collections;
using UnityEngine;
using UnityEngine.Events;
using UnityEngine.Networking;

public class WeatherLoader : MonoBehaviour
{
    public string BaseUrl = "http://api.openweathermap.org/data/2.5/weather";
    public string ApiKey  = "XXXXXXXXXXXXXXXX"; // APIキーを指定する
    public int TimeOutSeconds = 10;

    public IEnumerator Load(double latitude, double longitude, UnityAction<WeatherEntity> callback)
    {
        var url = string.Format("{0}?lat={1}&lon={2}&appid={3}", BaseUrl, latitude.ToString(), longitude.ToString(), ApiKey);
        var request = UnityWebRequest.Get(url);
        var progress = request.Send();

        int waitSeconds = 0;
        while (!progress.isDone) {
            yield return new WaitForSeconds(1.0f);
            waitSeconds++;
            if (waitSeconds >= TimeOutSeconds)
            {
                Debug.Log("timeout:" + url);
                yield break;
            }
        }

        if (request.isError)
        {
            Debug.Log("error:" + url);
        }
        else
        {
            string jsonText = request.downloadHandler.text;
            callback(JsonUtility.FromJson<WeatherEntity>(jsonText));
            yield break;
        }
    }
}
天気情報を出力する
- 任意の地点の緯度経度を設定し、その地点の天気を出力する
WeatherRenderer
using System.Collections;
using System.Collections.Generic;
using UnityEngine;
using UnityEngine.UI;

public class WeatherRenderer : MonoBehaviour
{
    public float latitude;
    public float longitude;
    public WeatherLoader Loader;
    public Text WeatherText;
    public Text WindForceText;

    void Start()
    {
        StartCoroutine(Loader.Load(latitude, longitude, weatherEntity =>
        {
            Render(weatherEntity);
        }));
    }

    void Render(WeatherEntity weatherEntity)
    {
        WeatherText.text = string.Format("weather:{0}", weatherEntity.weather[0].main);
        WindForceText.text = string.Format("wind: {0}m", weatherEntity.wind.speed);
    }
}
GoMAPと連携する
- GoMAP内に存在する
LocationManagerが位置情報の取得を行っている - この
LocationManagerにはOnLocationChangedという delegate が用意されているのこれを使用し、位置情報が変更された時点でAPIを叩くようにする - ただしこの場合、位置情報が取得されたタイミングでAPIが叩かれる = 頻繁に叩かれるので、処理負荷的にもAPIの使用回数的にも厳しいので何かしらの対応が必要
- GoMAP.LocationManager (LocationService) 側で updateDistance を多めに設定する
- 天気側で移動距離 / timestamp 等を用いて間引く
- GeoHex 単位でサーバ側にキャッシュし複数人で使い回す ... etc
WeatherRenderer
using System;
using System.Collections;
using System.Collections.Generic;
using UnityEngine;
using UnityEngine.UI;
using GoMap;

public class WeatherRenderer : MonoBehaviour
{
    public LocationManager GoMapLocationManager;
    public WeatherLoader Loader;
    public Text WeatherText;
    public Text WindForceText;
    public uint ThresholdSeconds = 60 * 60; // 1時間更新しない

    private DateTime lastUpdatedDateTime;

    void Start()
    {
        GoMapLocationManager.onLocationChanged += LoadWeather;
    }

    void LoadWeather(Coordinates location)
    {
        if (!CanUpdateWeather()) return;
        StartCoroutine(Loader.Load(location.latitude, location.longitude, weatherEntity =>
        {
            lastUpdatedDateTime = DateTime.UtcNow;
            Render(weatherEntity);
        }));
    }

    void Render(WeatherEntity weatherEntity)
    {
        WeatherText.text = string.Format("weather:{0}", weatherEntity.weather[0].main);
        WindForceText.text = string.Format("wind: {0}m", weatherEntity.wind.speed);
    }

    // ざっくり時間で間引く
    bool CanUpdateWeather()
    {
        return lastUpdatedDateTime == null || ((DateTime.UtcNow - lastUpdatedDateTime).TotalSeconds > ThresholdSeconds);
    }
}
天気情報に応じて演出を変更する
- 個人的にオススメしたいアセットを紹介
- 上記の
WeatherRenderer.Renderをよしなに変えて enabled/disabled を変更したり、ParticleをInstantiateすることで対応出来る
GoMAP側の設定
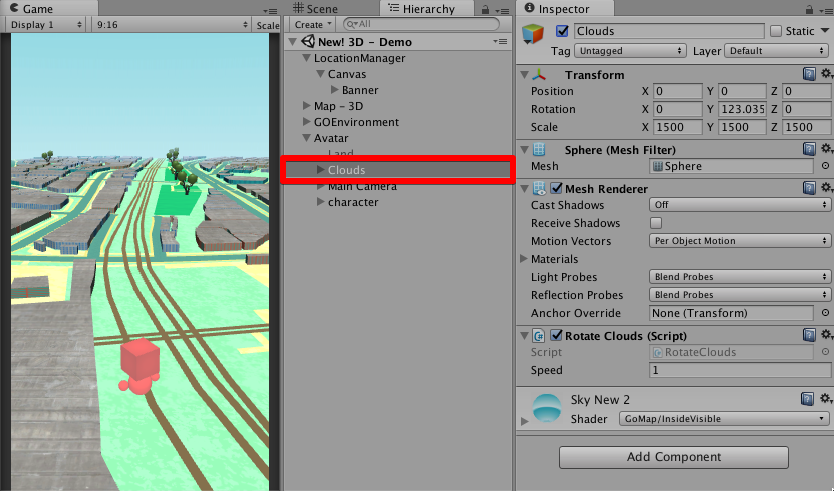
- サンプルシーンには青空のtextureが貼られたオブジェクトが配置されている
- 青空を表示した上で雨や雪を降らすのはあまり表現として適切ではない
- Textureを天気に合わせて切り替える
- Textureを外し、Unity側のSkybox、もしくは面倒であればCameraにおけるSolidColorを変更してあげるのが良さそう
- LightingのFogも青空に合わせた色を指定してあるので無効にするか、どの天気でも使用可能な控えめな色を設定する
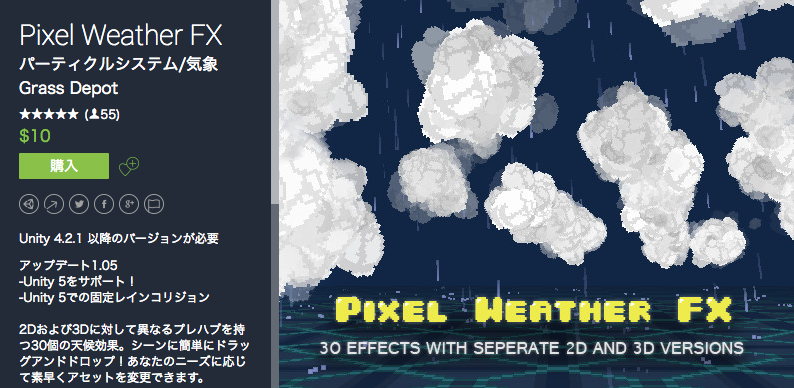
Pixel Weather FX
- https://www.assetstore.unity3d.com/jp/#!/content/33229
- ドット絵風の天気Particle
- 雨/雪/風/雲 ... など、天気制御で使えそうな表現は一通り揃っている
- ローポリ風なGoMapデフォルトの世界観には割りとマッチしそうな気がする
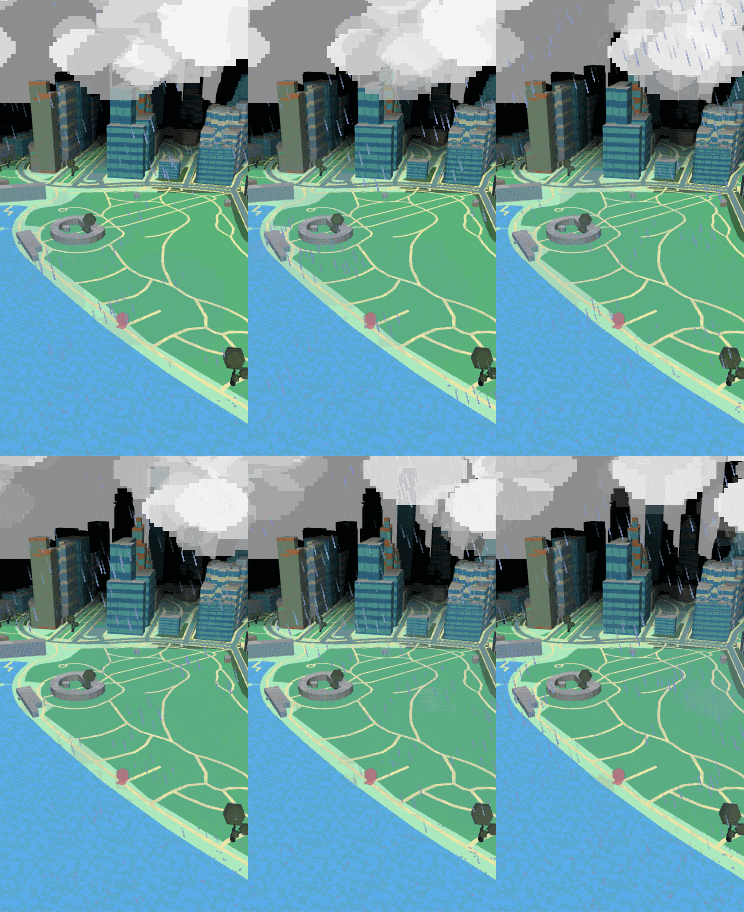
雨
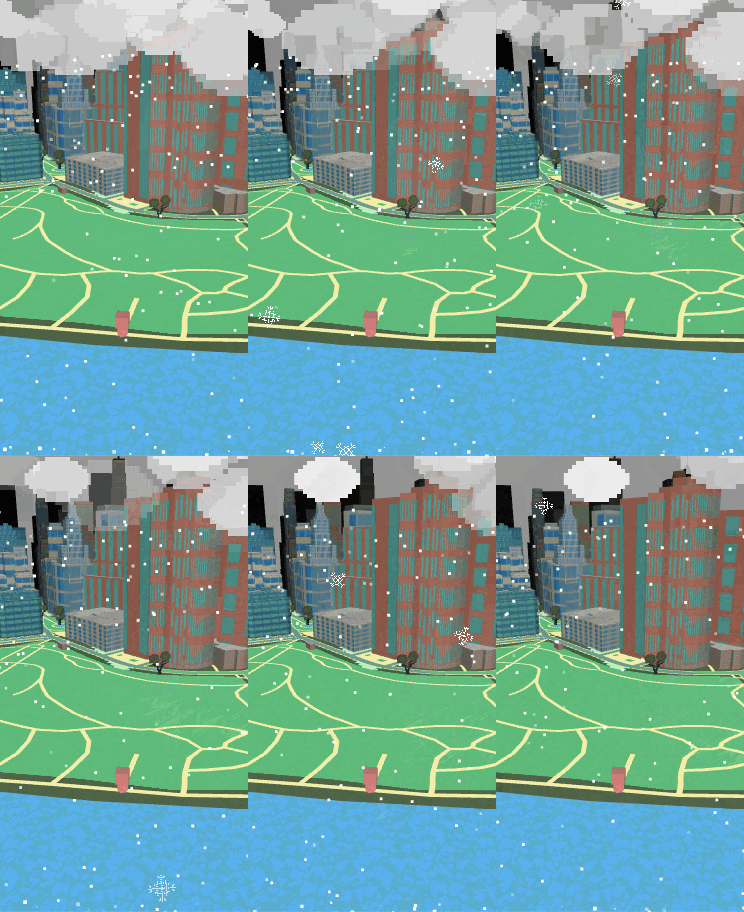
- XXX 3D空間上にいい感じに配置出来なかったので、ParticleのみをCullingMaskしたカメラ作成して全面に表示させている...
- 使用したPrefab
- PW_2D_Clouds05_Volume03
- PW_2D_Rain03_Heavy
雪
- 雪粒(ピクセル)を振らすパーティクルと結晶を振らすパーティクルの組み合わせ
- 使用したPrefab
- PW_2D_Clouds05_Volume03
- PW_2D_Snow02_Pixel_Moderate
- PW_2D_Snow01_Flake_Light
Camera Filter Pack
- https://www.assetstore.unity3d.com/jp/#!/content/18433
- この前のBONANZA BIRTHDAY SALEで購入したアセット
- ImageEffect (ポストエフェクト) アセット集
- CameraComponentがアタッチされているGameObjectにアタッチするだけで適応出来る
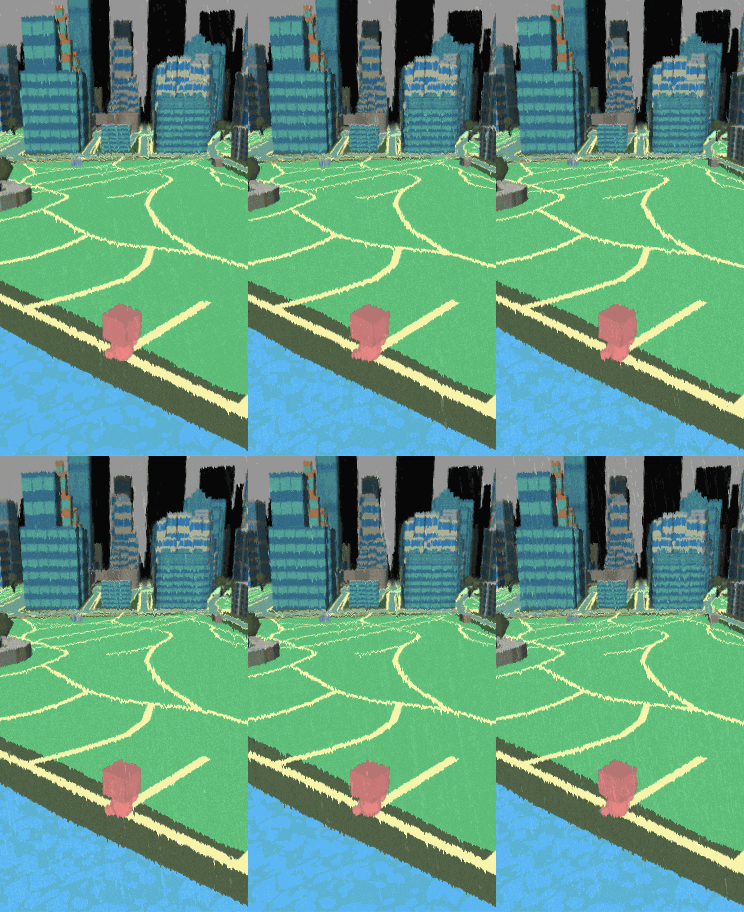
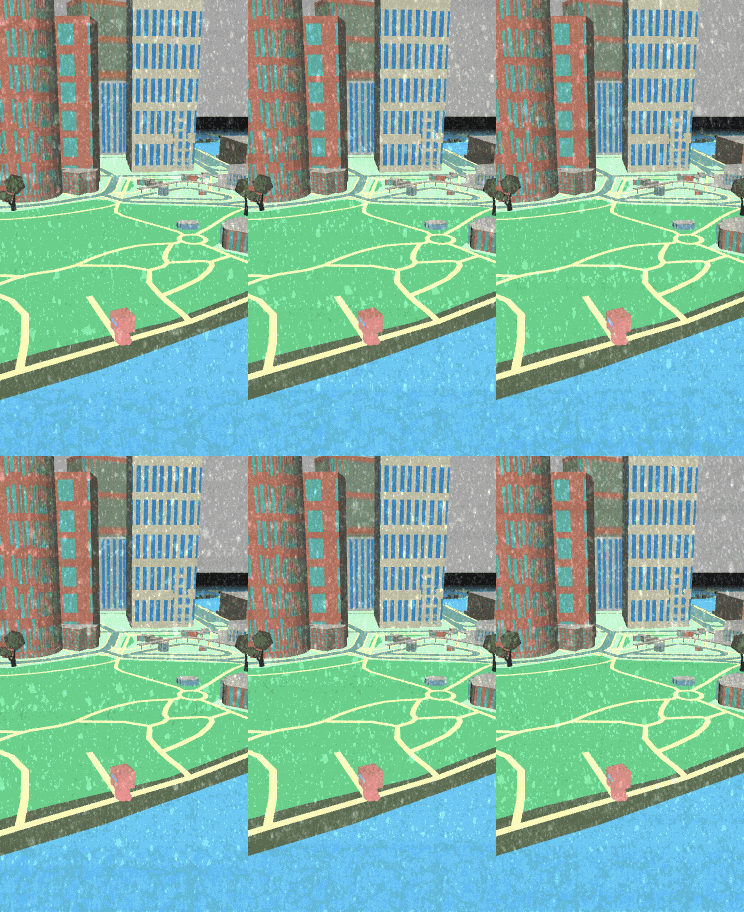
- 雨や雪など、天気にまつわる表現もいくつか含まれている
- カメラに張り付くような水の表現もあり、かなり見栄えが良くなる
- そのかわり、モバイルだと少しパフォーマンスが心配
雨
- 使用したScript
- CameraFilterPack_Atmosphere_Rain_Pro
雪
- 使用したScript
- CameraFilterPack_3D_Snow
最後に
- GoMAP、地味に昔のバージョンしか知らなかったですが、気付いたらPOI対応とか入っていたので、こういった天気の対応も近いうちに公式でサポートされてしまいそうですね!
- 明日の Unity Advent Calendar 2016 は @blkcatman さんの「StreamingMeshのネットワーク周りについて(UDP通信の課題)」です!
