まずscipy-notebookをデプロイする(ここは各自好きなnotebookを選択してください)
$ kubectl create deploy jupyter --image=jupyter/scipy-notebook
jupyter notebookにアクセスするためのサービスを作成
$ kubectl expose deployment jupyter --type=NodePort --name=jupyter-svc --port=8888
Webブラウザでアクセスするためのポートを確認
$ kubectl describe service jupyter-svc
Name:                     jupyter-svc
Namespace:                default
Labels:                   app=jupyter
Annotations:              <none>
Selector:                 app=jupyter
Type:                     NodePort
IP Family Policy:         SingleStack
IP Families:              IPv4
IP:                       10.107.207.241
IPs:                      10.107.207.241
Port:                     <unset>  8888/TCP
TargetPort:               8888/TCP
NodePort:                 <unset>  32517/TCP <<<これがアクセスに必要なポート番号
Endpoints:                172.17.0.4:8888
Session Affinity:         None
External Traffic Policy:  Cluster
Events:                   <none>
Minikubeが公開しているIPアドレスを確認
$ minikube ip
192.168.49.2
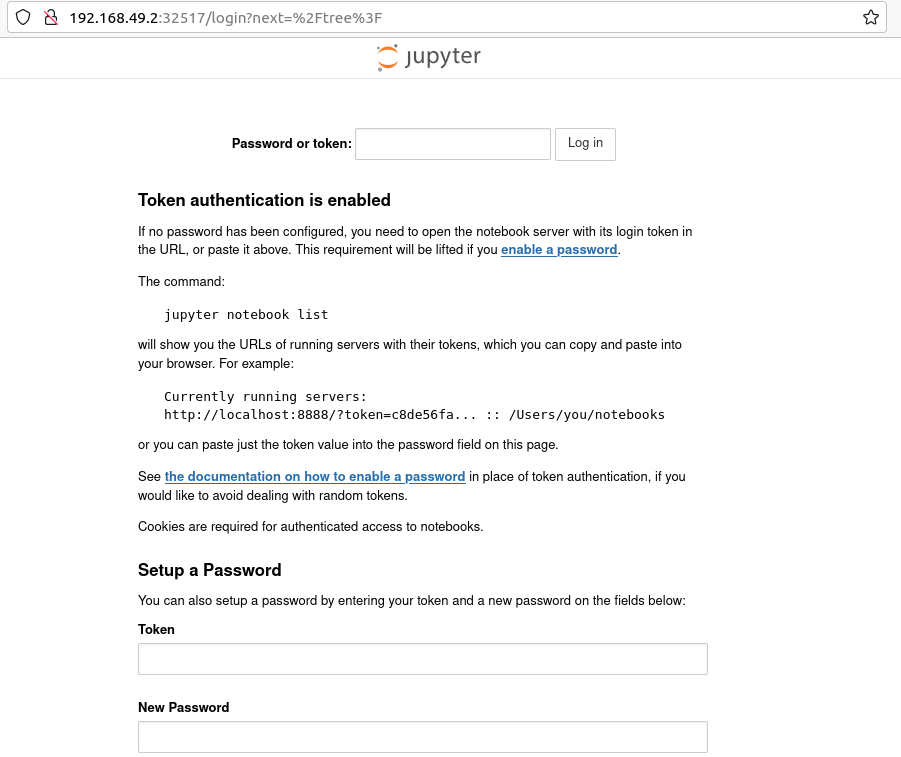
Webブラウザを立ち上げてminikube ipにNoderPort番号でアクセス
(今回の例だと192.168.49.2:32517にアクセス)
Podに入ってTokenを取ってくるためにPod名を確認
$ kubectl get pods
NAME                       READY   STATUS    RESTARTS   AGE
jupyter-574c7f77f9-4mn7g   1/1     Running   0          3m14s
PODにアクセス
$ kubectl exec --stdin --tty jupyter-574c7f77f9-4mn7g -- /bin/bash
($ kubectl exec -it jupyter-574c7f77f9-4mn7g /bin/bash でも可)
POD内でjupyter notebook listを実行してTokenを表示
jovyan@jupyter-574c7f77f9-4mn7g:~$ jupyter notebook list
Currently running servers:
http://0.0.0.0:8888/?token=c5eaeca9d111835a0859a8089766f6bf47b72e61beedc9b8 :: /home/jovyan
表示されたTokenをWebブラウザから入力するとjupyter notebookが利用できるようになります。
