何を書くか
HemeshをProcessing3で使用する際に、特にControlP5とP3D, PeasyCAMを同時に使う点でぶつかった問題を解決するまでを書きます。
sampleプログラムレンダリングテスト
A_key_interface_01.pde
/*
PLEASE READ INTRO TAB
 */

/////////////////////////// GLOBALS ////////////////////////////
import wblut.math.*;
import wblut.processing.*;
import wblut.core.*;
import wblut.hemesh.*;
import wblut.geom.*;

import processing.opengl.*;
import peasy.*;

PeasyCam CAM;
int VIEW;

HE_Mesh MESH;
WB_Render RENDER;
/////////////////////////// SETUP ////////////////////////////

void setup() {
  size(800, 600, OPENGL);
  background(255);
  smooth();
  noStroke();
  VIEW = 1;

  // Our creator and it's params.
  HEC_Dodecahedron creator = new HEC_Dodecahedron();
  creator.setEdge(64);
  creator.setCenter(0, 0, 0).setZAxis(1, 1, 1).setZAngle(PI/4);

  // Here we create a modifier and initialise it
  HEM_Wireframe strut = new HEM_Wireframe();

  //Parameters for each method of the modifier class can be set seperately ...
  strut.setStrutRadius(50);

  // This method will affine the structures between the connections
  strut.setFidget(2.3);

  //... or all together on one line
  strut.setStrutFacets(6).setMaximumStrutOffset(20);

  // IMPORTANT
  // We first add the creator object to the mesh before modifiying it !
  MESH = new HE_Mesh(creator);

  // and then we add our modifer to our mesh using the modify method
  MESH.modify( strut );

  RENDER = new WB_Render(this);
  CAM = new PeasyCam(this, 300);
}

/////////////////////////// DRAW ////////////////////////////
void draw() {
  background(255);
  lights();
  directionalLight(255, 255, 255, 1, 1, -1);
  directionalLight(127, 127, 127, -1, -1, 1);
  fill(0, 0, 255);

  renderMESH();
}

/////////////////////////// FUNCTIONS ////////////////////////////
void renderMESH() {

  // RENDER is our Render class object we call and to which we add
  // our mesh. The render class has various methods for drawing to the screen
  switch(VIEW) {
  case 1:
    noStroke();
    RENDER.drawFaces( MESH );
    break;

  case 2:
    // Nice method for smoothing !
    noStroke();
    RENDER.drawFacesSmooth( MESH );
    break;
  case 3:
    stroke(255, 0, 0);
    strokeWeight(0.5);
    RENDER.drawEdges( MESH );
    break;

    // AND SOME MORE METHODS OF THE RENDER CLASS
  case 4:
    // Method for showing the normals
    stroke(0, 255, 0);
    RENDER.drawFaces( MESH );
    RENDER.drawFaceNormals( 20, MESH ); // first param is the length
    break;

  case 5:
    // method for showing halfedges of the mesh (debugging)
    stroke(0, 255, 0);
    RENDER.drawHalfedges( 20, MESH );
    break;

  case 6:
    // method for showing halfedges of the mesh (debugging)
    stroke(0, 255, 0);
    fill(255, 0, 0);
    RENDER.drawFaces( MESH );
    RENDER.drawVertexNormals(30, MESH );
  }
}
Key_interaction.pde
/*

We switch from different views with the following keys :
f = show fill / faces
s = smooth fill / faces
e = show only contour / edges
n = show normals
h/t = show half edges

Other stuff
c = png export
m = export mesh stl
o = reset camera position
*/

void keyReleased() {
  if (key == 'f') {
    VIEW = 1;
  }
  if (key == 's') {
    VIEW = 2; //error...
  }
  if (key == 'e') {
    VIEW = 3;
  }
  if (key == 'n') {
    VIEW = 4;
  }
  if (key == 'h') {
    VIEW = 5;
  }
    if (key == 't') {
    VIEW = 6; //error
  }
}

void keyPressed() {

  if (key == 'm') {
    // Hemesh includes a method for exporting geometry
    // in stl file format wich is very handy for 3D printing ;–)
    MESH.triangulate();
    HET_Export.saveToSTL(MESH, sketchPath("export.stl"), "test");
  }

   if (key == 'c') {
    saveFrame("screenShot_###.png");
    println("screen shot taken");
   }
  if (key == 'o') {
    // reset camera origin positions  - do this before
    // exporting your shape so your shape is positioned
    // on a flat plane ready for 3D printing
    CAM.reset(1000);
  }
  // Print camera position - could be helpful
  if (key == 'p') {
    float[] camPos = CAM.getPosition();
    println(camPos);
  }
}
実行結果
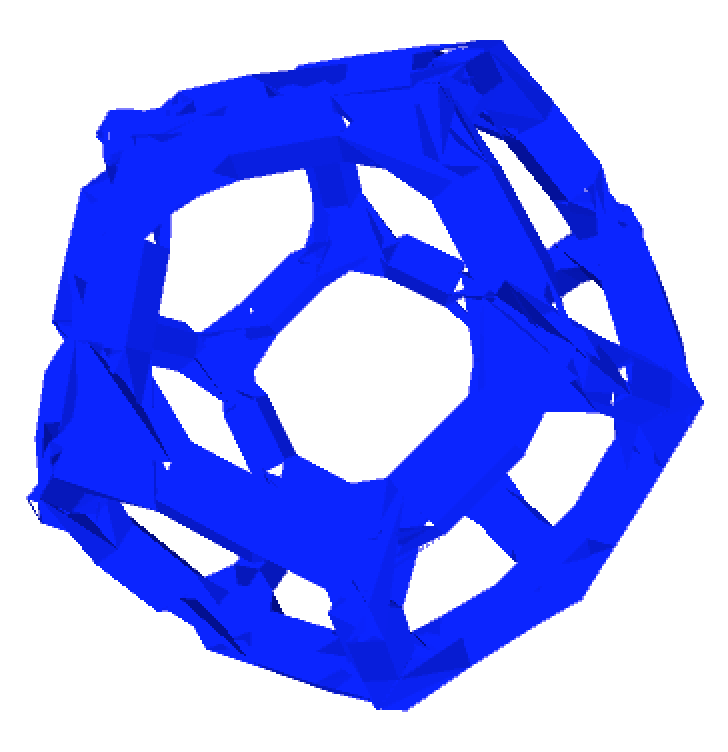
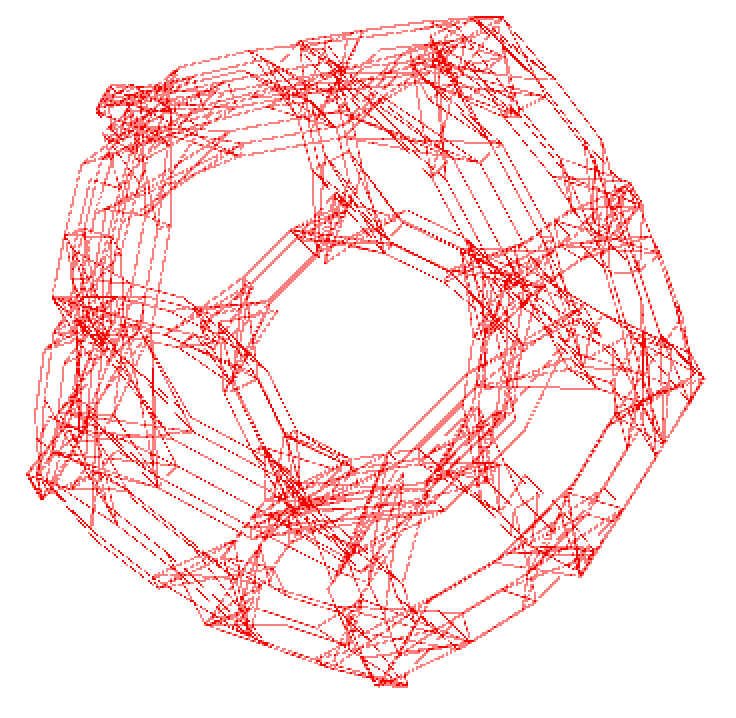
RENDER.drawFacesSmooth( MESH );
と
RENDER.drawVertexNormals(30, MESH );
で NullPointerExceptionのエラーが出た。未解決。
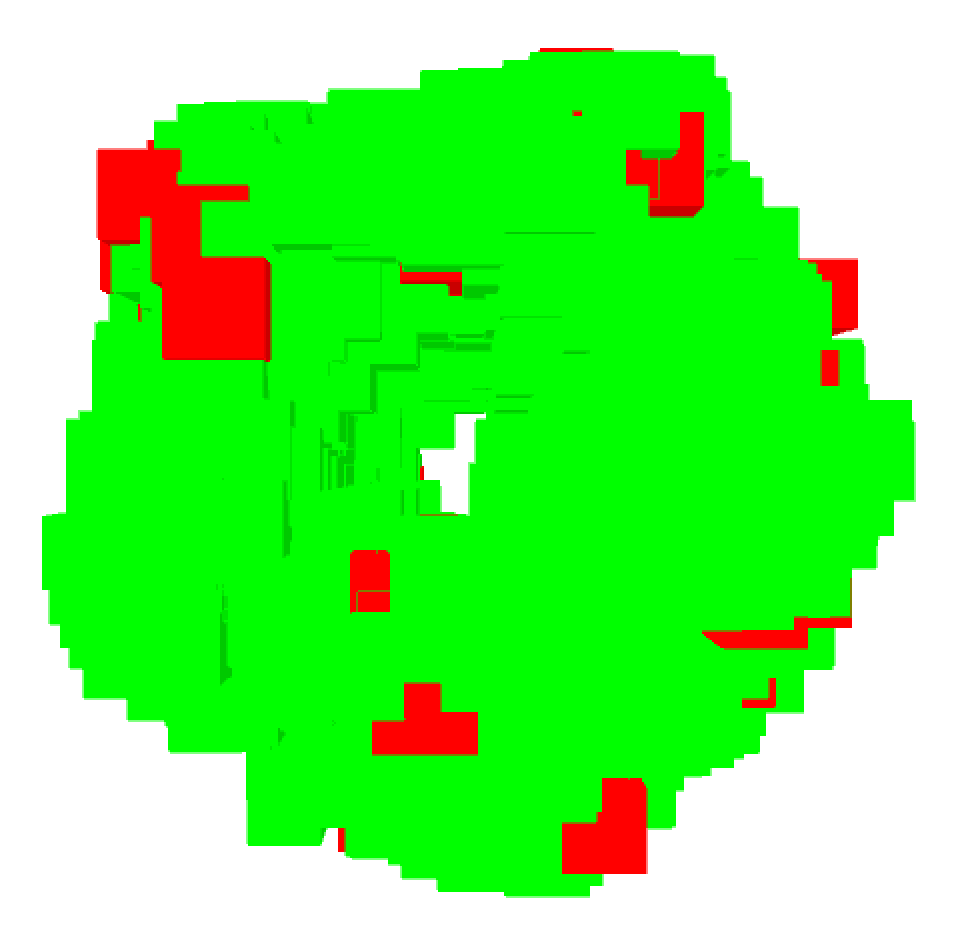
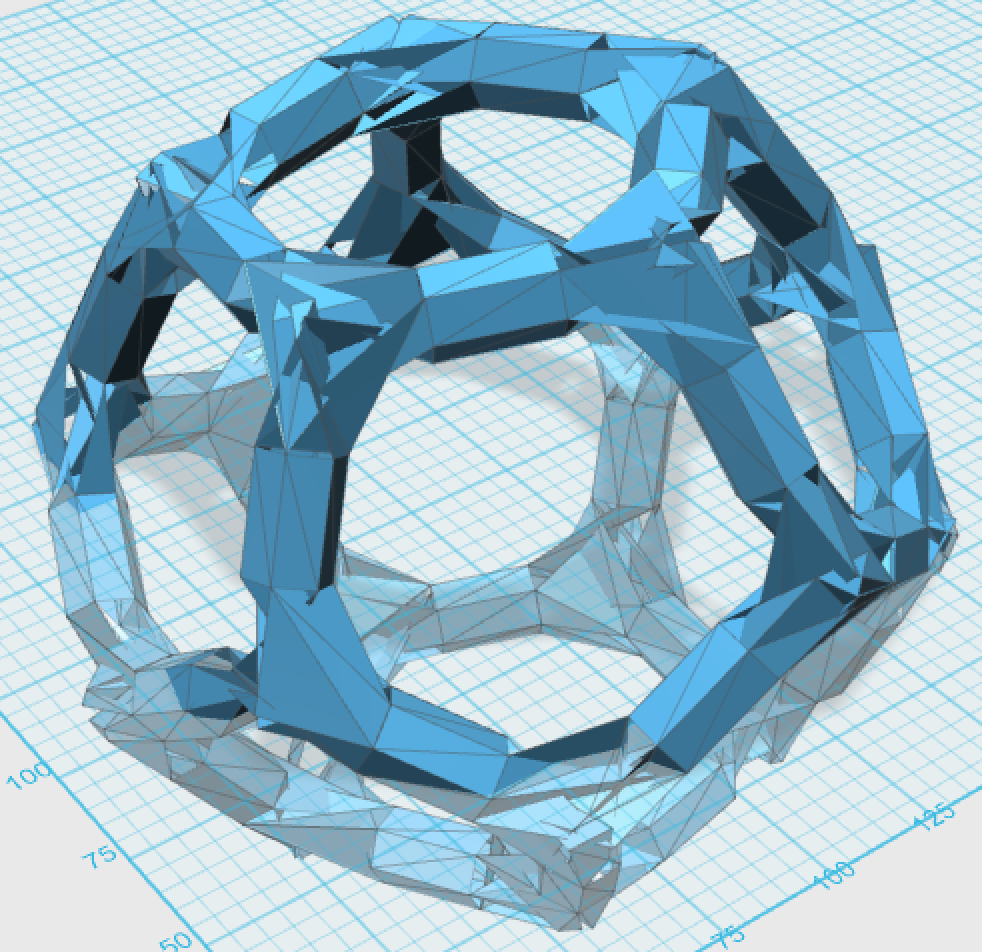
この最初のやつをstlに書き出したところ、面が完全でない穴ぼこの以下のようなモデルになってしまった。
Controlp5利用
発生した問題
Controlp5を使ったインタラクションを試そうと思ったら、setWindowがもう(processing3では)使えないよと言われた。
代わりにControlFrameを使うべしという指摘がここにあった。
取り敢えず何も考えずにsetWindowをコメントアウトすると
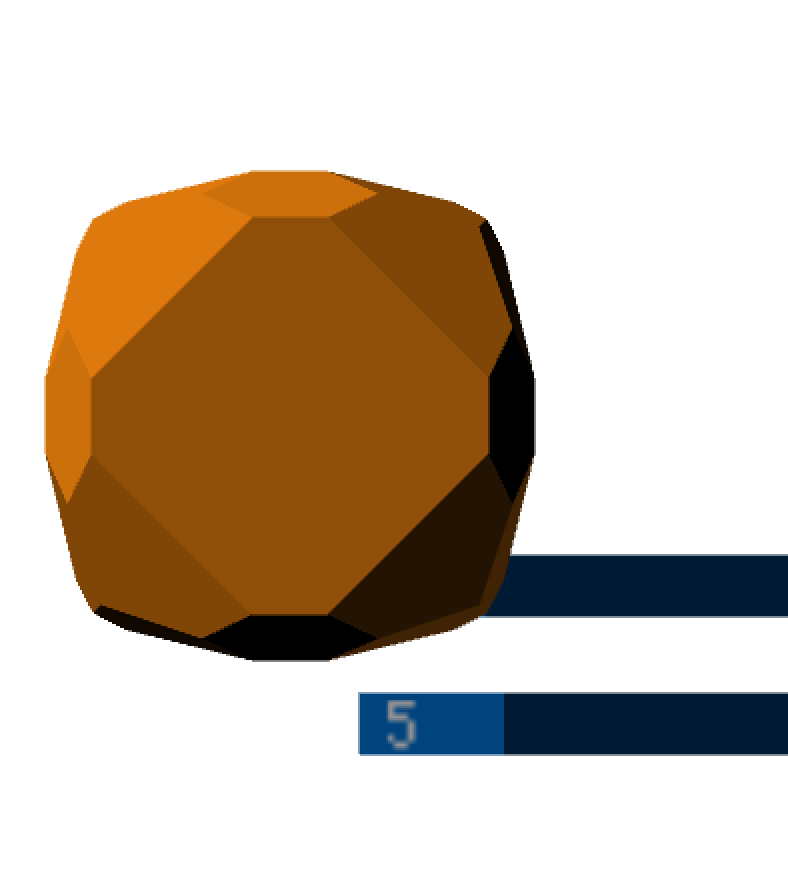
こんな感じで3Dオブジェクトと一緒に動くスライダーになってしまった。
controlP5のGUIオブジェクトを3Dオブジェクトとは別に描画ってどうやるんだろう。
-> 調べてみると、ここにあるようにcontrolp5.draw(); (この場合はINTERFACES.draw();)で描画した方がいいようなのでそうしてみる。
-> 変わらない。
ここでCAMが原因なんじゃないかと思い、CAM関係をコメントアウトすると
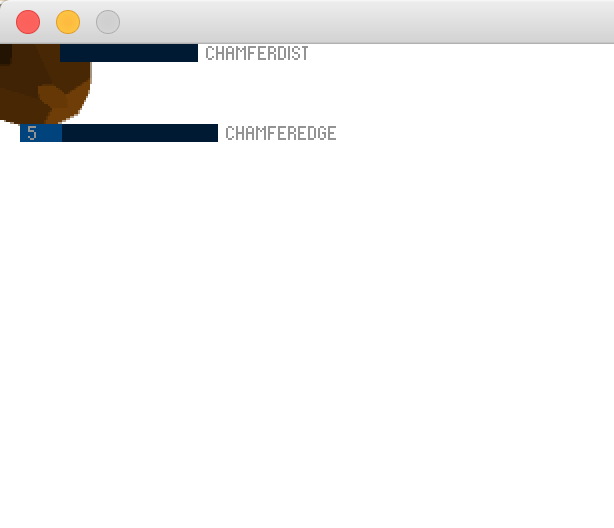
こうなった。やっぱCAMや。PeasyCAM難しいなぁ。
PeasyCAMとControlp5を同時に使う時
結論を書くと、
CAM.beginHUD(); と CAM.endHUD();の間にINTERFACES.draw();を実行すればOK.
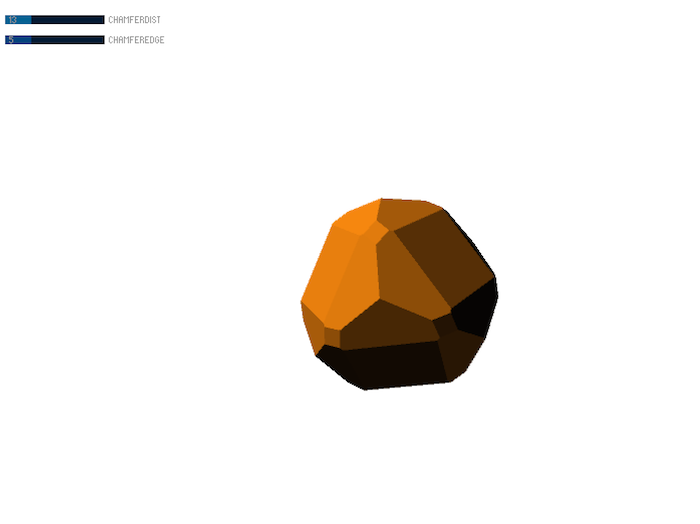
できた!
しかしなんだか超重いな。
というわけで、processing3に対応するように書き換えたサンプルコードが以下
A_CP5_interface.pde
/*
PLEASE READ INTRO TAB
 */

/////////////////////////// GLOBALS ////////////////////////////
// LIBRARY
import wblut.math.*;
import wblut.processing.*;
import wblut.core.*;
import wblut.hemesh.*;
import wblut.geom.*;
//import processing.opengl.*;

// HEMESH CLASSES & OBJECTS
HE_Mesh MESH; // Our mesh object
WB_Render RENDER; // Our render object

// CAM
import peasy.*;
PeasyCam CAM;

//ControlP5
import controlP5.*;
//Declare our various CP5 objects & variables
ControlP5 INTERFACES;
//ControlWindow CW;
int CHAMFERDIST, CHAMFEREDGE;

/////////////////////////// SETUP ////////////////////////////

void setup() {
  size(800, 600, P3D);
  controlInit();
  CAM = new PeasyCam(this, 200);
  createMesh();
  createModifiers();
}

/////////////////////////// DRAW ////////////////////////////
void draw() {
  background(255);
  //CAMERA
  CAM.beginHUD(); // this method disables PeasyCam for the commands between beginHUD & endHUD
  directionalLight(255, 255, 255, 1, 1, -1);
  directionalLight(127, 127, 127, -1, -1, 1);
  INTERFACES.draw();
  CAM.endHUD();

  //HEMESH
  noStroke();
  fill(#FA890F);
  createMesh();
  createModifiers();
  RENDER.drawFaces( MESH ); // Draw MESH faces
}


// SOME KEYS INTERACTION
void keyPressed() {

  if (key == 'e') {
    // Hemesh includes a method for exporting geometry
    // in stl file format wich is very handy for 3D printing ;–)
    CAM.reset(1000);
    MESH.triangulate();
    HET_Export.saveToSTL(MESH, sketchPath("export.stl"), "test");
  }

  if (key == 's') {
    saveFrame("screenShot_###.png");
    println("screen shot taken");
  }
  if (key == 'o') {
    // reset camera origin positions  - do this before
    // exporting your shape so your shape is positioned
    // on a flat plane ready for 3D printing
    CAM.reset(1000);
  }
  // Print camera position - could be helpful
  if (key == 'p') {
    float[] camPos = CAM.getPosition();
    println(camPos);
  }
}
INTERFACE.pde
////////////////// ControlP5 INTERFACE

void controlInit() {
  INTERFACES = new ControlP5(this);
  INTERFACES.setAutoDraw(false);
  // Create a new window (doesn't work in Processing 2.0+)
  //CW = INTERFACES.addControlWindow("controlP5window", 10, 10, 200, 300, 30);

  //Create sliders
  noLights();
  INTERFACES.addSlider("CHAMFERDIST").setPosition(10, 20).setRange(1, 50).setValue(10);
  //chamfDist.getCaptionLabel().setColorBackground(color(255, 20, 30));
  //chamfDist.getCaptionLabel().getStyle().setPadding(4, 2, 2, 2);
  //shift the caption label up by 4px
  //chamfDist.getCaptionLabel().getStyle().setMargin(-5, 0, 0, 0);

  INTERFACES.addSlider("CHAMFEREDGE").setPosition(10, 40).setRange(1, 20).setValue(5);

  // Add elements to new window
  //chamfDist.setWindow(CW);
  //chamfEdge.setWindow(CW);
  INTERFACES.draw();
}