SwiftでTextFieldのあるAlertを表示させる方法。
実装イメージ
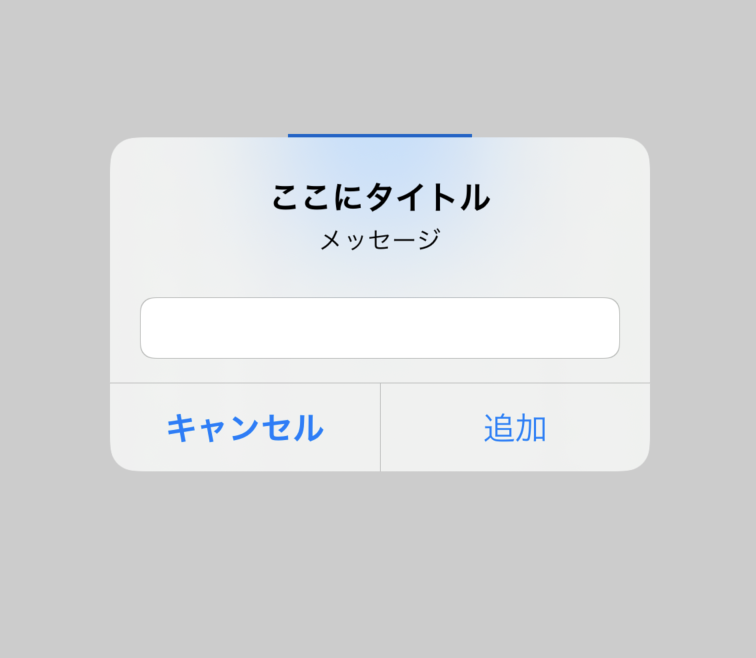
このようなタイトル、サブタイトル、入力欄、キャンセル、追加で構成されたAlertを作成して行きます。
Storyboard
buttonを押すとAlertが表示されるようにするため、好きな場所にbuttonを1つ追加しましょう。

ソースコード
ViewController.Swift
import UIKit

//UITextFieldDelegateを追加する
class ViewController: UIViewController,UITextFieldDelegate {

    //StoryboardのbuttonをAction接続する
    @IBAction func aleat(_ sender: Any) {

        let alert = UIAlertController(title: nil, message: nil, preferredStyle: .alert)
        alert.title = "ここにタイトル"
        alert.message = "メッセージ"

        alert.addTextField(configurationHandler: {(textField) -> Void in
            textField.delegate = self

        })

        //追加ボタン
        alert.addAction(
            UIAlertAction(
                title: "追加",
                style: .default,
                handler: {(action) -> Void in
            self.hello(action.title!)
        })
        )

        //キャンセルボタン
        alert.addAction(
        UIAlertAction(
            title: "キャンセル",
            style: .cancel,
            handler: {(action) -> Void in
                self.hello(action.title!)
        })
        )

        //アラートが表示されるごとにprint
        self.present(
        alert,
        animated: true,
        completion: {
            print("アラートが表示された")
        })
    }

    func hello(_ msg:String){
        print(msg)
    }

    override func viewDidLoad() {
        super.viewDidLoad()
    }

}
ビルドして確認してみましょう
実装イメージのようなAlertを表示させることができたでしょうか?
title部分は好きな文に変えることでお好みのAlertを表示させることができます。
できたー!という方はLGTM押してくださると僕がめっちゃ喜びます!