フローティングアクションボタンの作り方。
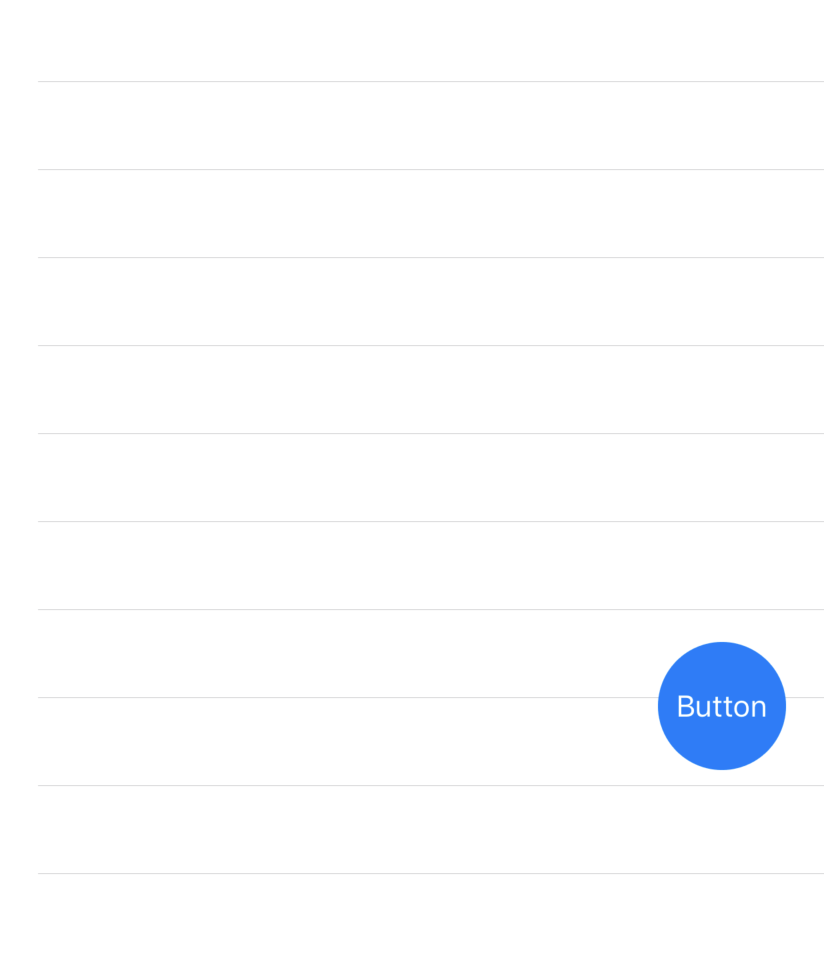
実装イメージ
TableViewCellの上に浮いてるデザインで、スライドしても固定されるように実装します。
Storyboard
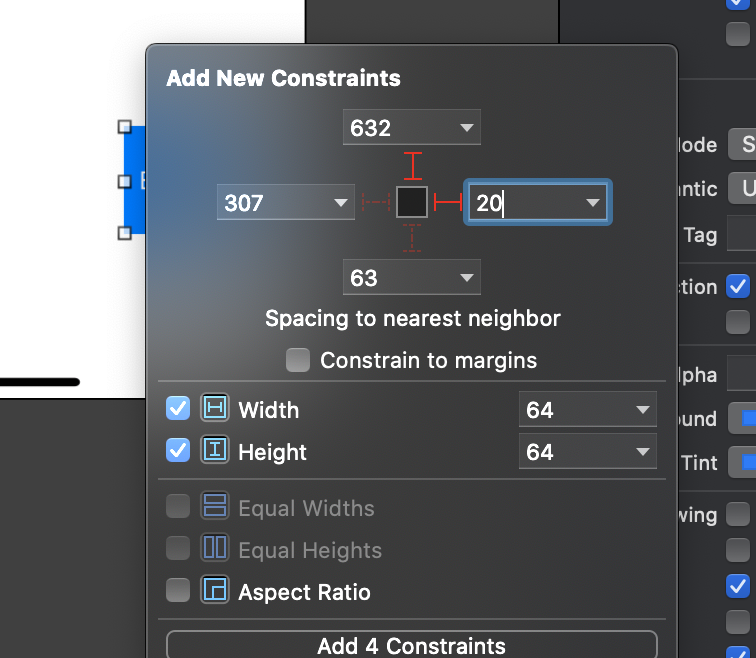
まずbuttonのみを置いてAutoLayoutをつけます。
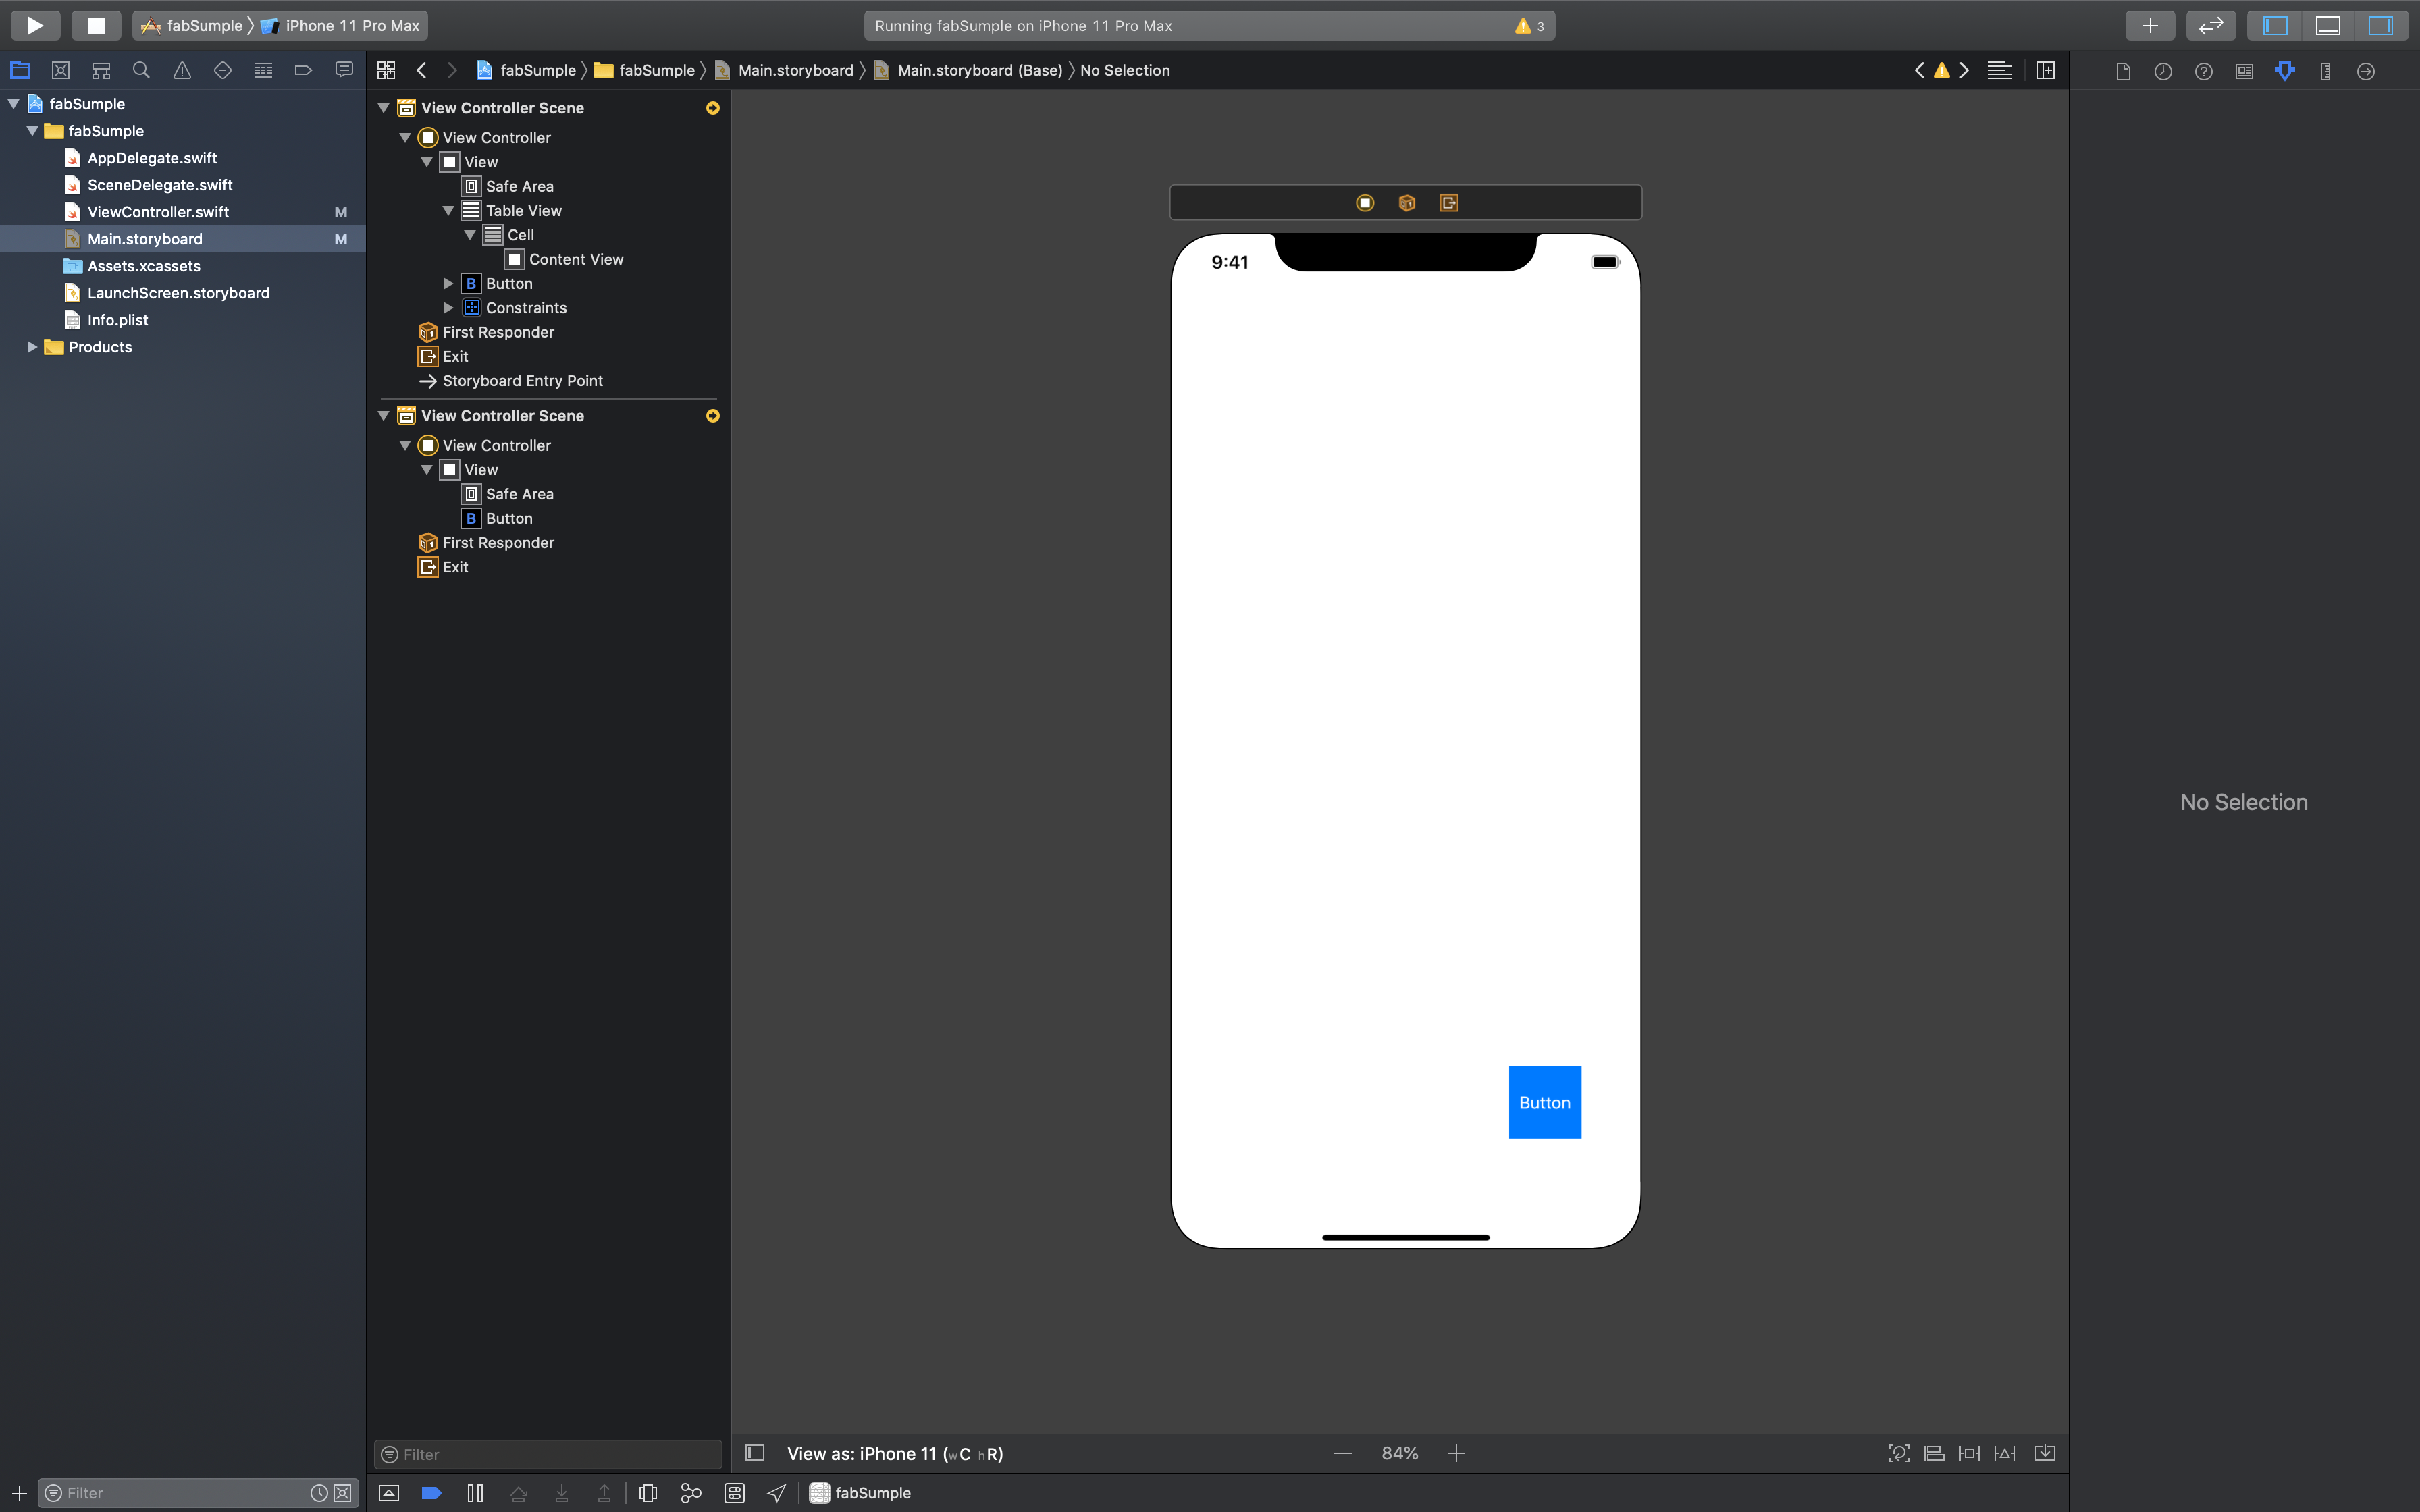
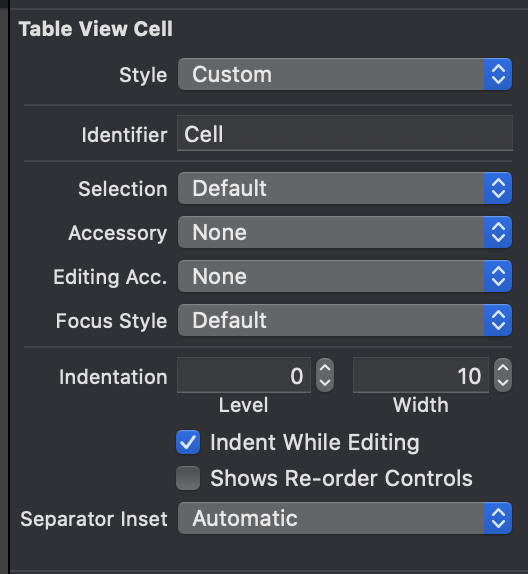
その上にTableView,TableViewCellを画面一杯に配置します。TableViewCellのIdentifierはCellに設定しましょう。
ソースコード
ViewController.Swift
import UIKit

class ViewController: UIViewController,UITableViewDelegate,UITableViewDataSource {

    @IBOutlet weak var tableView: UITableView!
    @IBOutlet weak var button: UIButton!

//    TableView
    func tableView(_ tableView: UITableView, numberOfRowsInSection section: Int) -> Int {
        return 30
    }

    func tableView(_ tableView: UITableView, cellForRowAt indexPath: IndexPath) -> UITableViewCell {
        let cell = tableView.dequeueReusableCell(withIdentifier: "Cell", for: indexPath)
        return cell
    }

//    FAB
    var startingFrame : CGRect!
    var endingFrame : CGRect!

    func scrollViewDidScroll(_ scrollView: UIScrollView) {
        if (scrollView.contentOffset.y >= (scrollView.contentSize.height - scrollView.frame.size.height)) && self.button.isHidden {
         self.button.isHidden = false
         self.button.frame = startingFrame
         UIView.animate(withDuration: 1.0) {
          self.button.frame = self.endingFrame
         }
        }
    }
    func configureSizes() {
        let screenSize = UIScreen.main.bounds
        let screenWidth = screenSize.width
        let screenHeight = screenSize.height

        startingFrame = CGRect(x: 0, y: screenHeight+100, width: screenWidth, height: 100)
        endingFrame = CGRect(x: 0, y: screenHeight-100, width: screenWidth, height: 100)

    }

    override func viewDidLoad() {
        super.viewDidLoad()

//        buttonを角丸にする
        button.layer.cornerRadius = 32
    }


}