概要
IBM Cloud Kubernetes Serviceを利用して、無料のクラスタを作成してみました。
全体で20分くらいでクラスタの構築やCLIコマンドの設定が完了します。
kubernetesをお試しで使ってみたい方におすすめです。
参考ドキュメント
-
-
Kubernetes クラスターの作成
- 本記事の内容はこのチュートリアルを参考としています
-
Kubernetes クラスターの作成
アカウント作成
IBM Cloud ライト・アカウント | IBM Cloud - 日本 | IBM
IBM Cloudのアカウントを作成していない場合、作成します。
現在、以下のような触れ込みがあり、お得なようです。
従量制課金(PAYG)期間限定 無料キャンペーン

3ヶ月間(90日間) または 最大US$500まで

いまなら無料でご利用いただけます。
お申し込み:2020年12月31日まで
クラスターを作成する
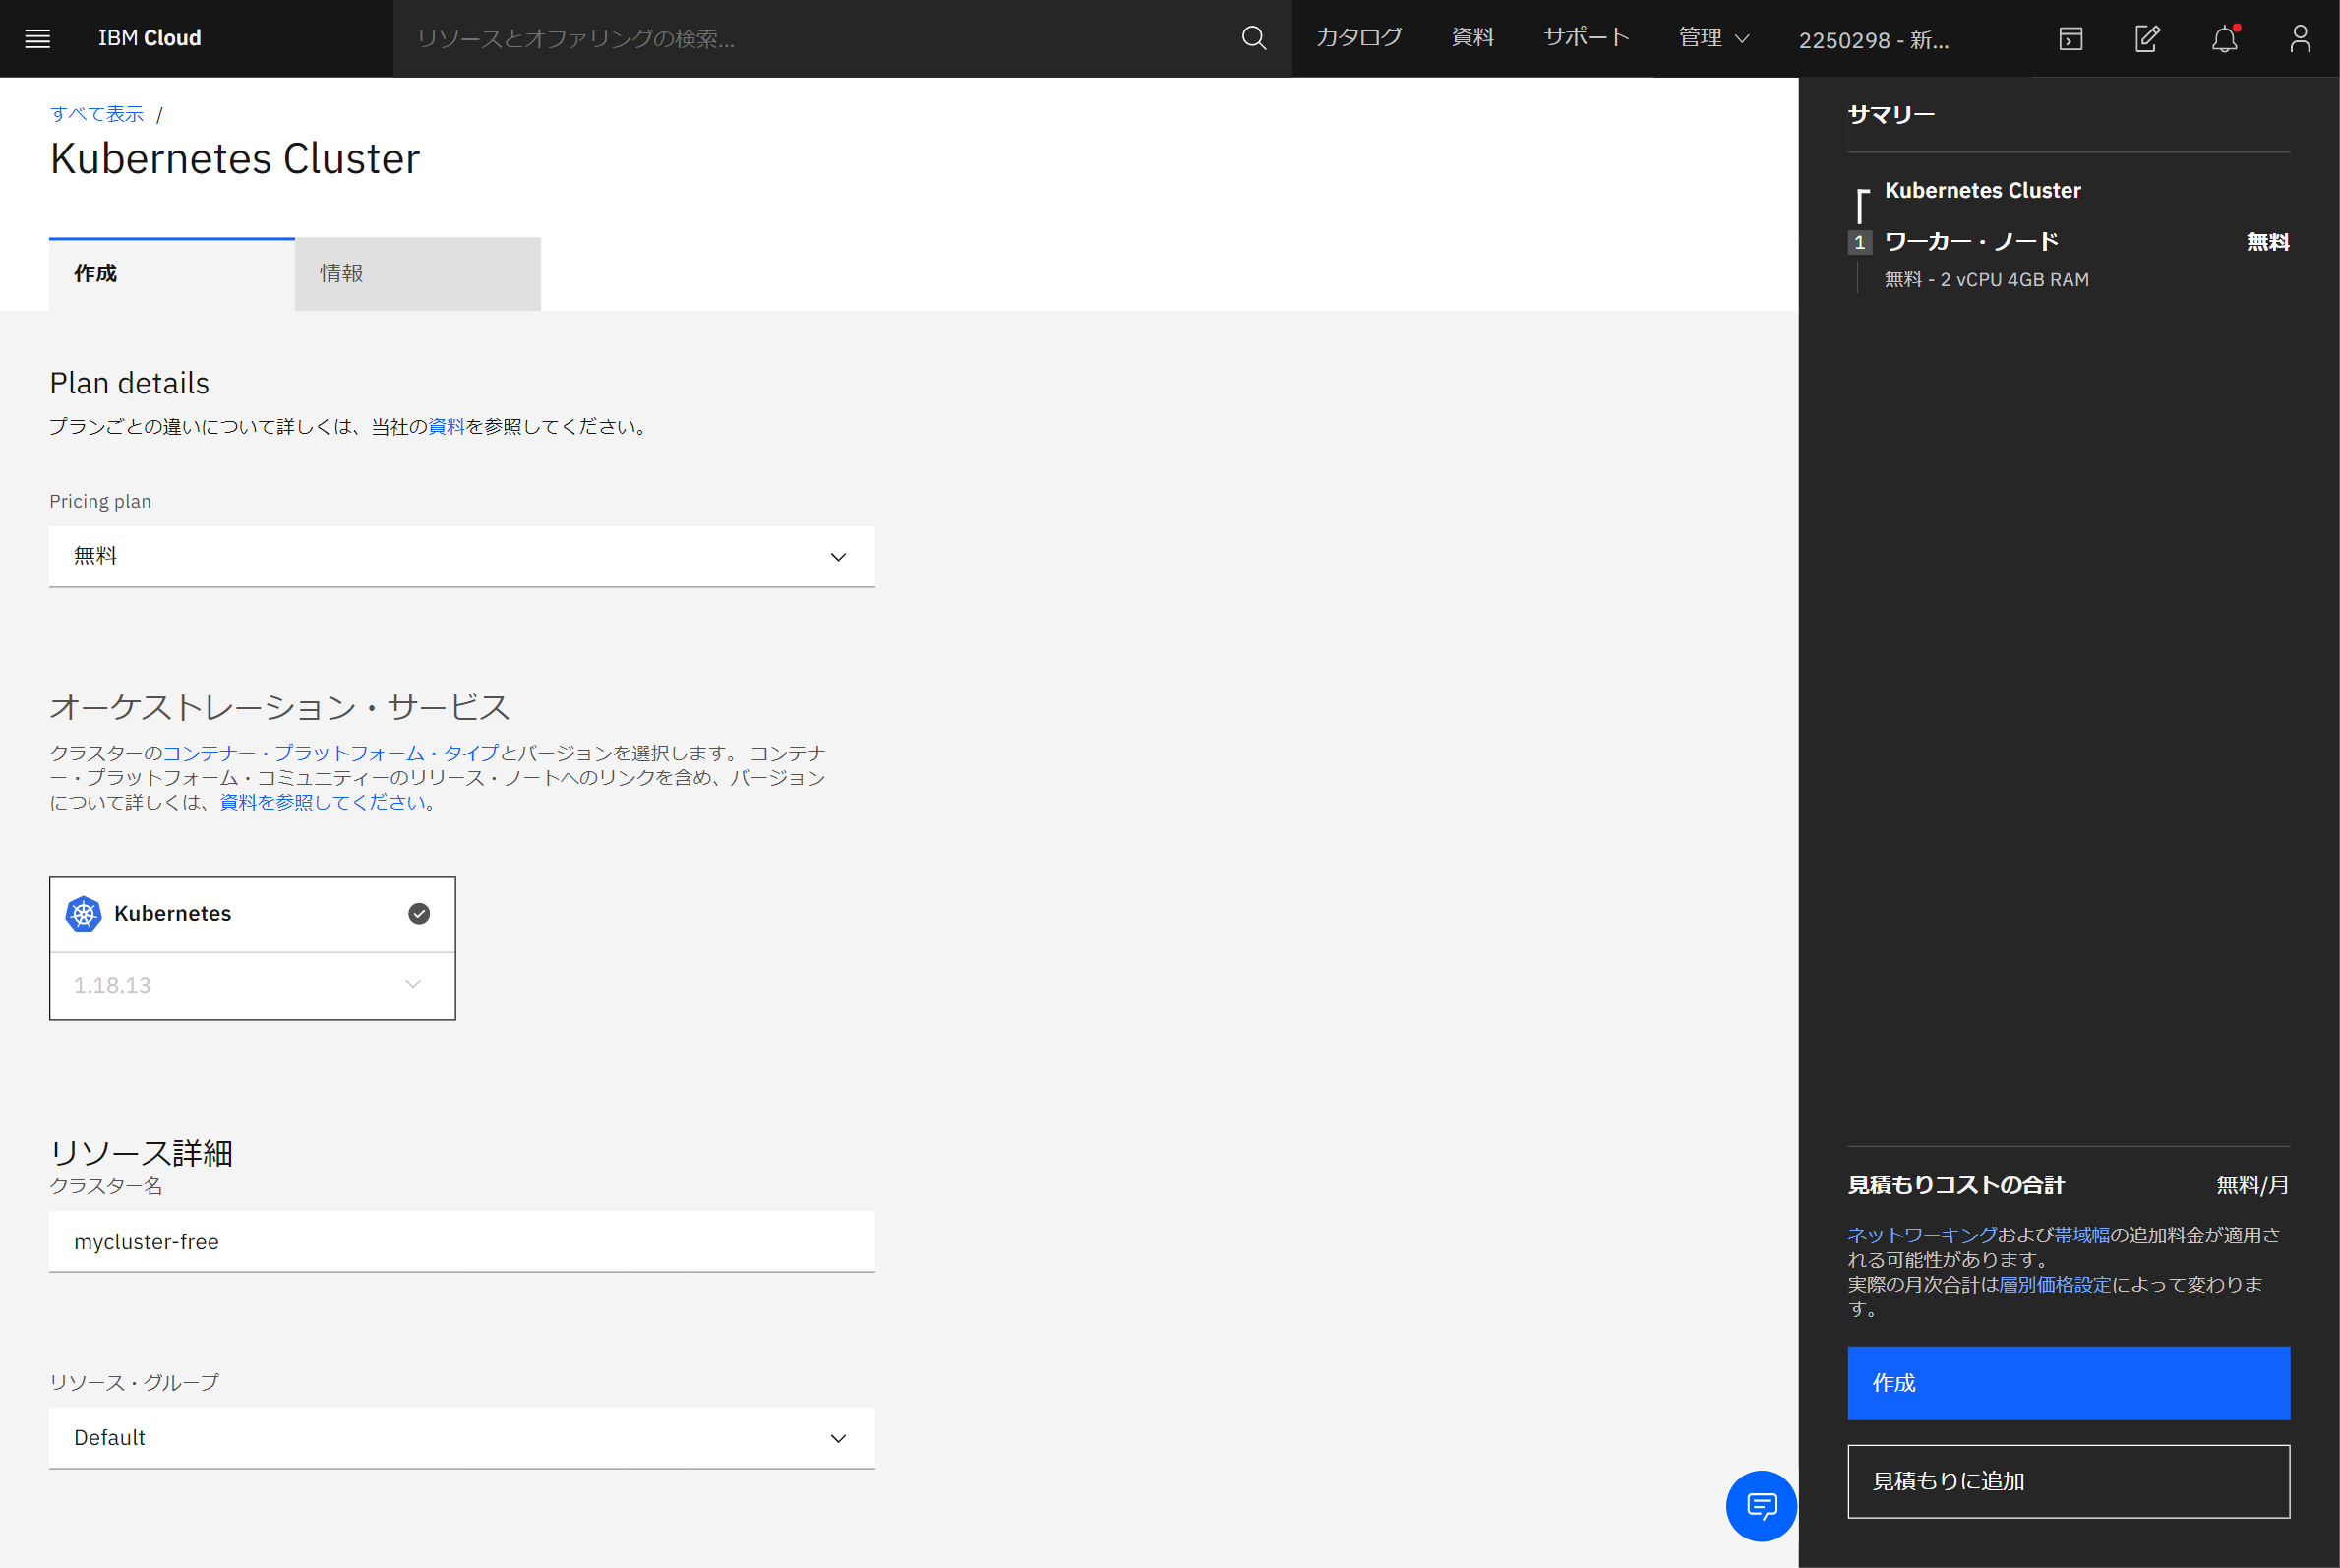
コンソールでクラスターを作成します。
Pricing Planがdefaultで標準となっていますが、無料を選びました。
利点とサービス・オファリングに比較があります。
標準は9ワーカー・ノード(b3c.4x16 - 4vCPU 16GB RAM)、1ロード・バランサーがつく有料プランのようです.
無料は1ワーカー・ノード(2vCPU 4GB RAM)のようです。
いざ作成しようとしましたが、アップグレードして作成しか押せません。
押してみると、どうやら、クレジットカードの登録などをしないといけないようなので実施しました。
ページをリロードすると作成ボタンが出現して作成できるようになりました。
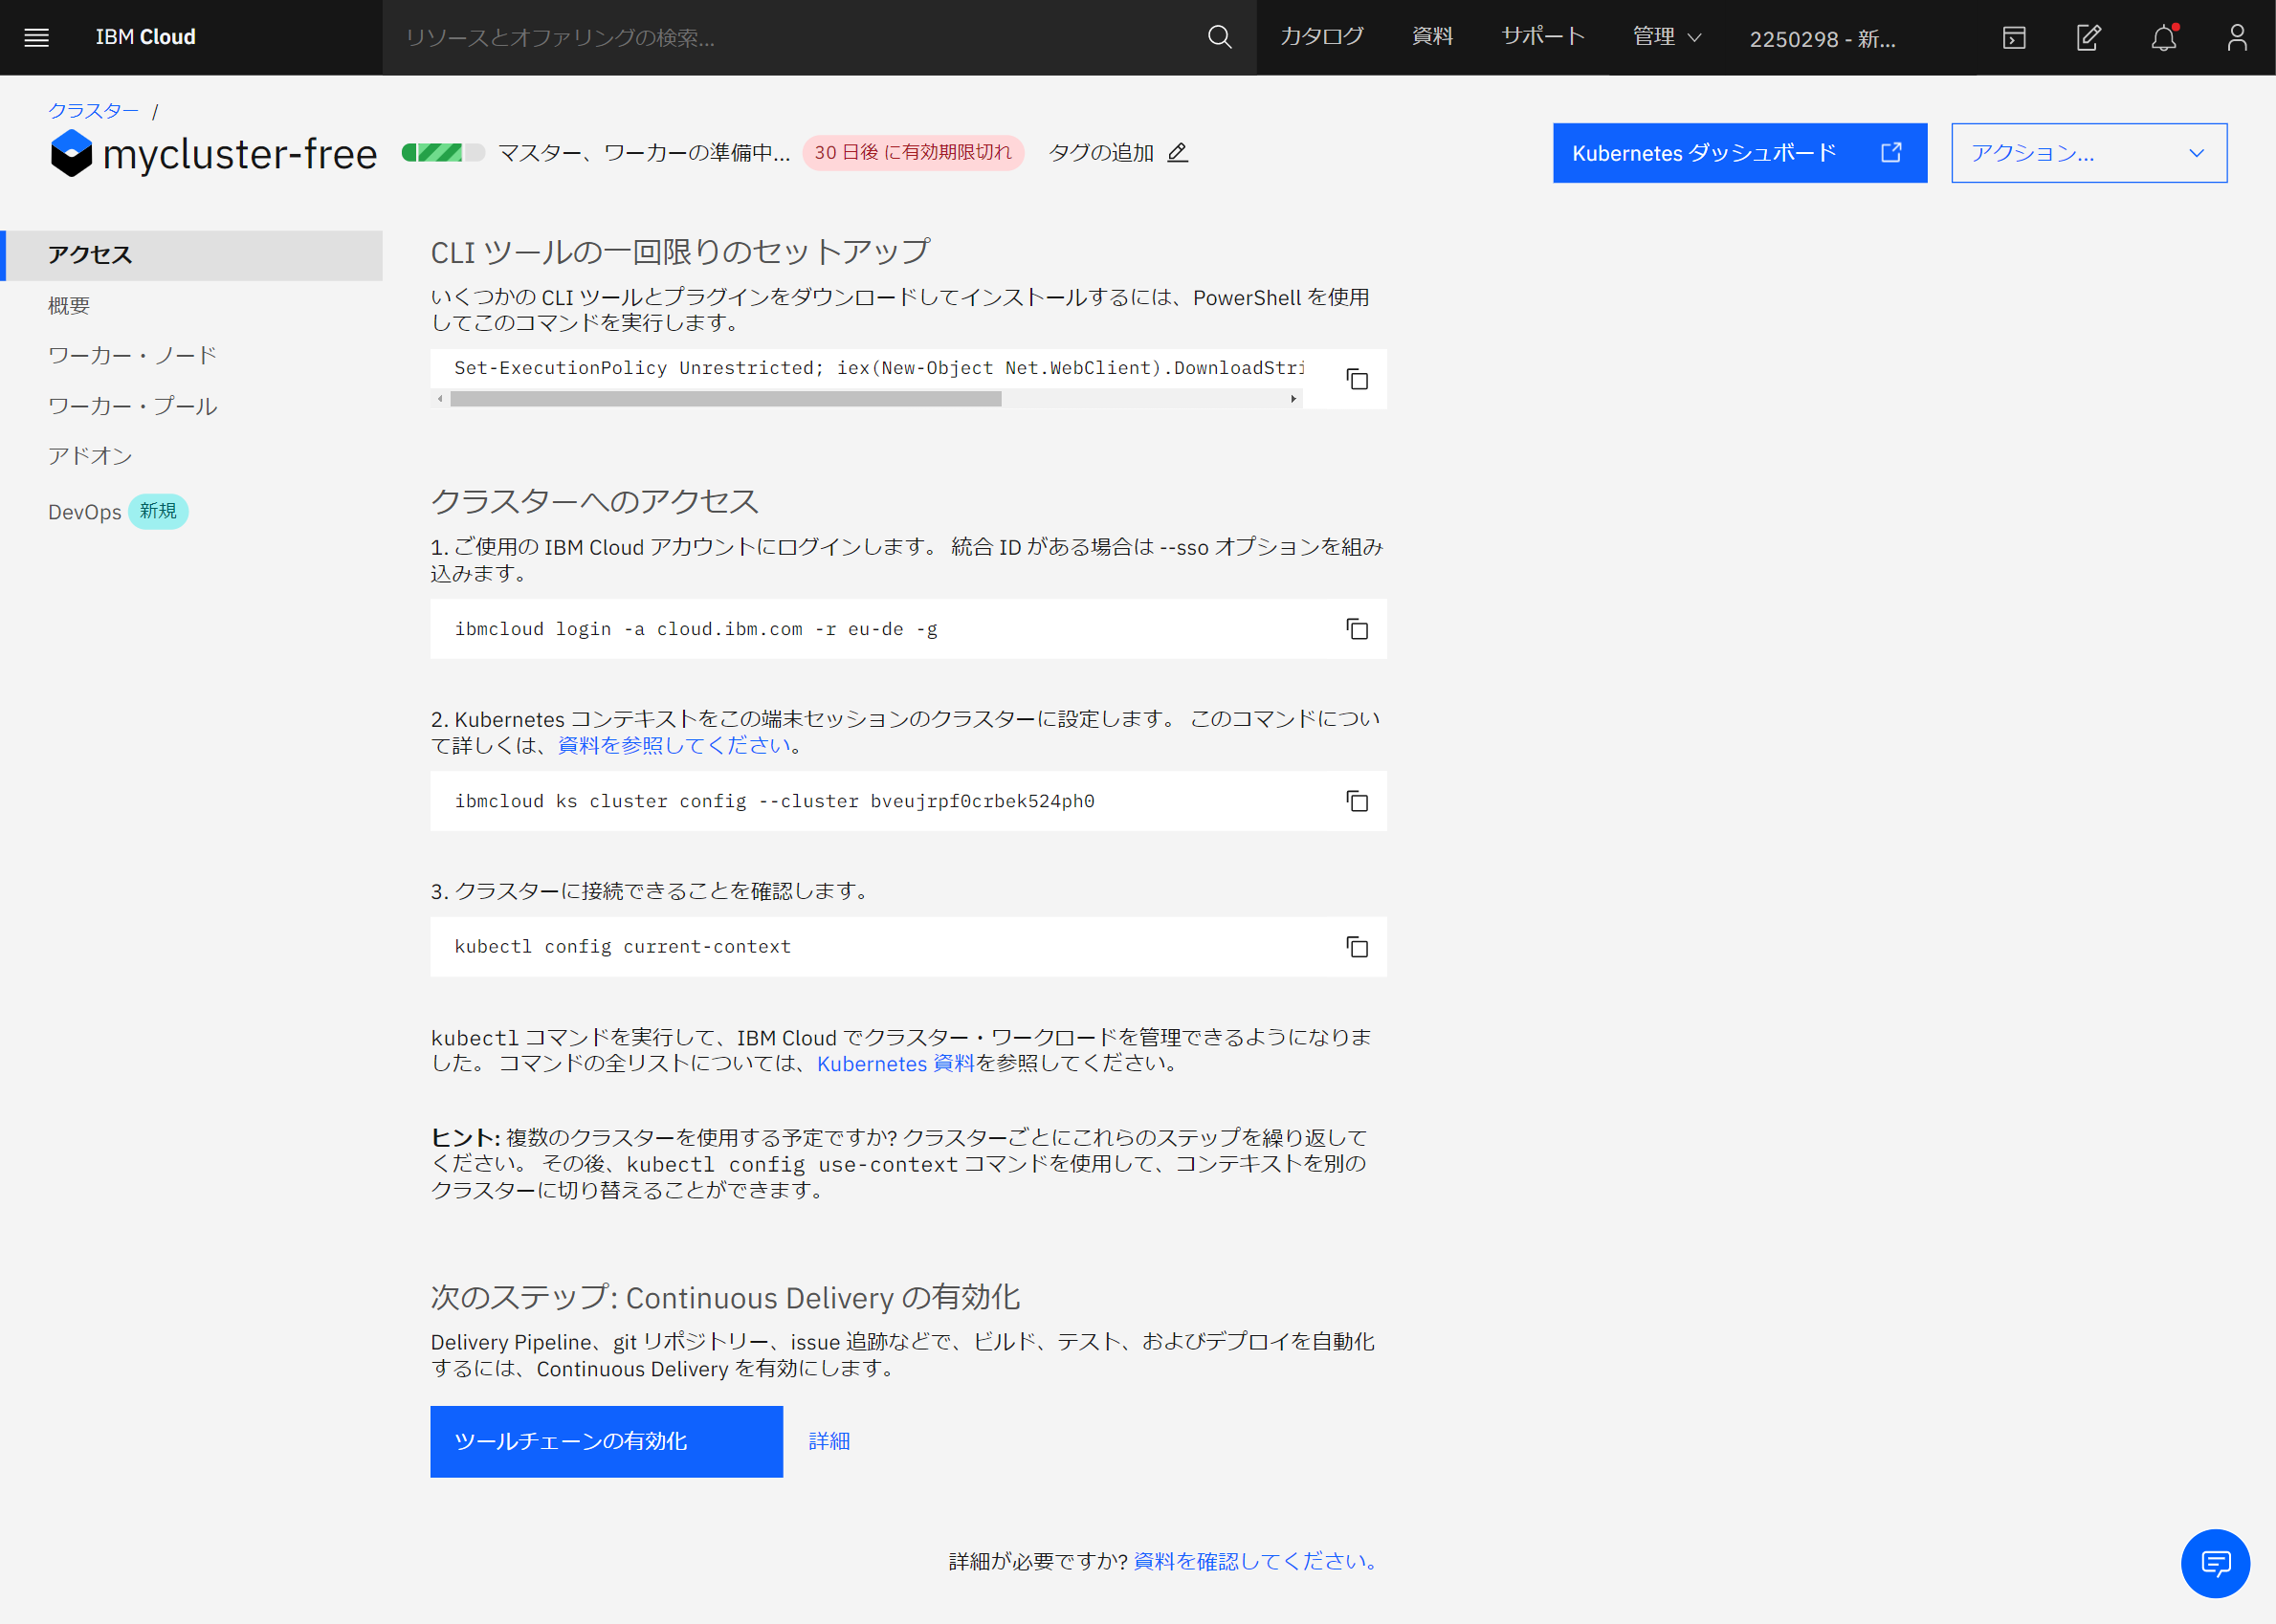
作成ボタンを押下しました。作成が始まったようです。
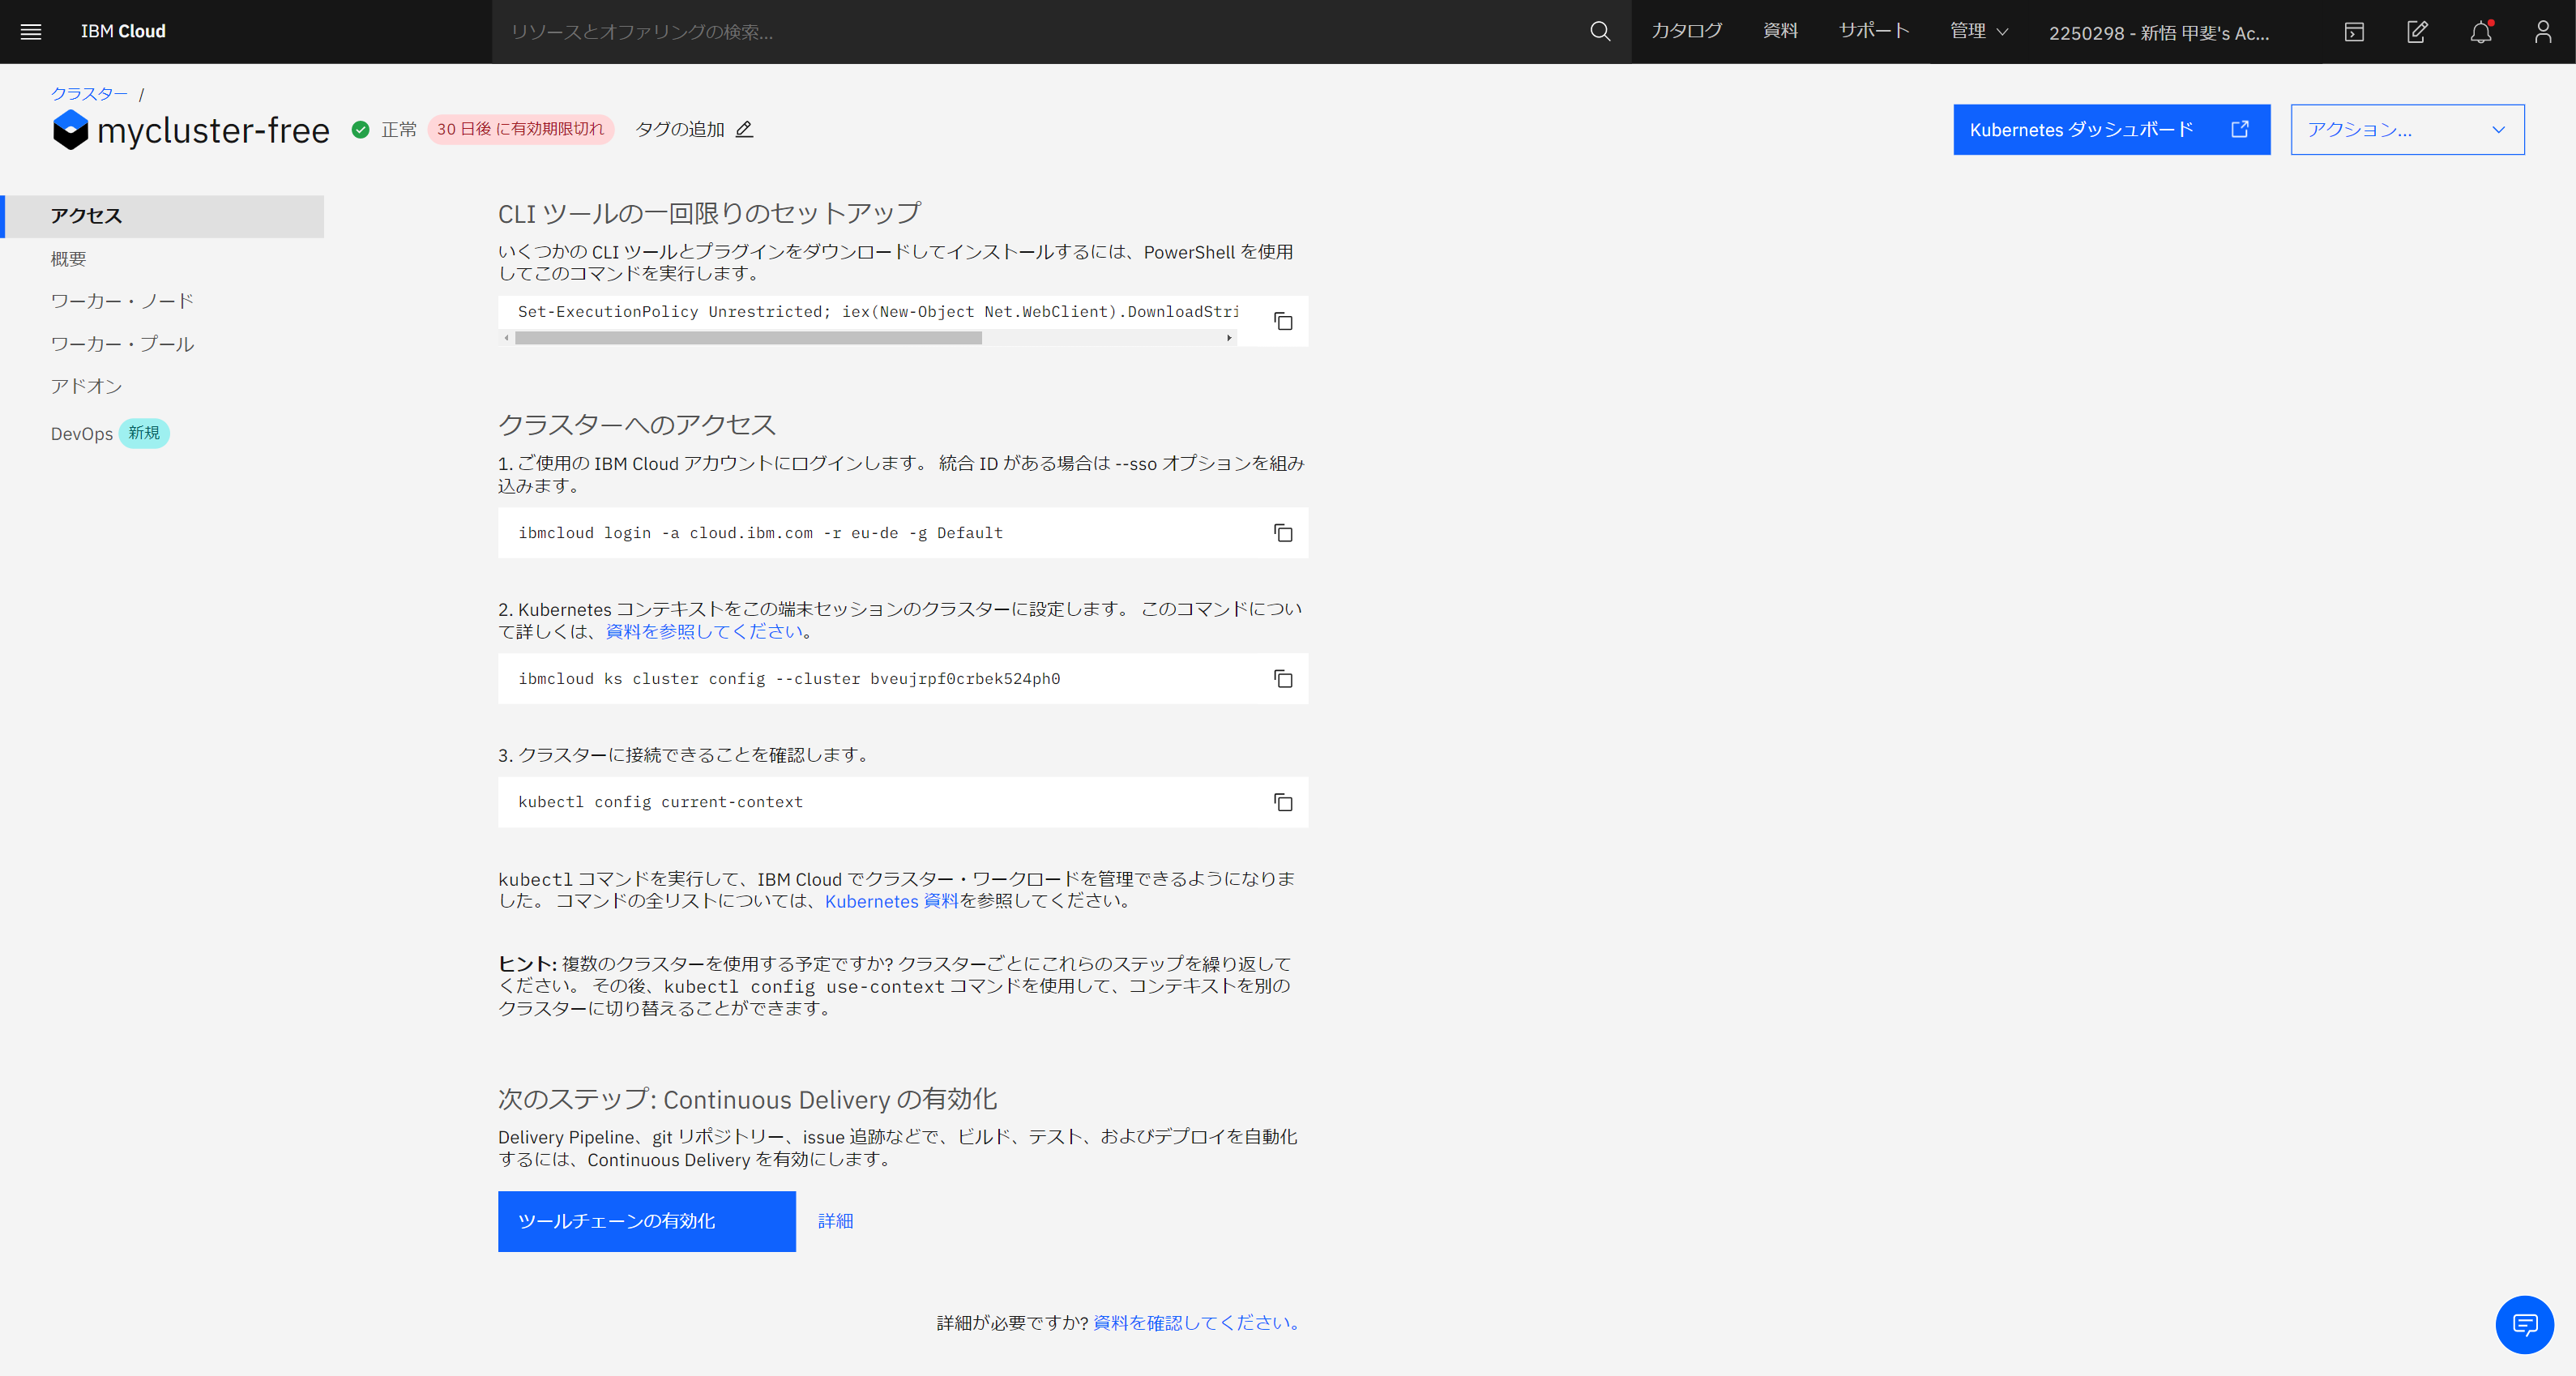
15分ほどで作成されたようです。
この待ち時間の間にCLIをセットアップすると良いです
IBM Cloud CLI をセットアップ
Mac/Linux/Windowsで実施可能なようです。
私はUbuntuで実施しました。
環境
$ cat /etc/lsb-release
DISTRIB_ID=Ubuntu
DISTRIB_RELEASE=20.04
DISTRIB_CODENAME=focal
DISTRIB_DESCRIPTION="Ubuntu 20.04.1 LTS"
loft@ubu20-01:~/dev$ uname -a
Linux ubu20-01 5.4.0-48-generic #52-Ubuntu SMP Thu Sep 10 10:58:49 UTC 2020 x86_64 x86_64 x86_64 GNU/Linux
$
CLIをインストールすると、以下が入るようです、環境を汚したくない場合は専用のVM等を用意したほうがいいかもしれません。
- docker-ce
- kubectl
- helm (v2でした)
- ibmcloud
$ curl -sL https://raw.githubusercontent.com/IBM-Cloud/ibm-cloud-developer-tools/master/linux-installer/idt-installer | bash
( 略 )
$ docker version
Client: Docker Engine - Community
 Version:           20.10.1
 API version:       1.41
 Go version:        go1.13.15
 Git commit:        831ebea
 Built:             Tue Dec 15 04:34:58 2020
 OS/Arch:           linux/amd64
 Context:           default
 Experimental:      true
Got permission denied while trying to connect to the Docker daemon socket at unix:///var/run/docker.sock: Get http://%2Fvar%2Frun%2Fdocker.sock/v1.24/version: dial unix /var/run/docker.sock: connect: permission denied
$ kubectl version
Client Version: version.Info{Major:"1", Minor:"18", GitVersion:"v1.18.13", GitCommit:"4c00c3c459261e8ff3381c1070ddf798f0131956", GitTreeState:"clean", BuildDate:"2020-12-09T11:18:24Z", GoVersion:"go1.13.15", Compiler:"gc", Platform:"linux/amd64"}
The connection to the server localhost:8080 was refused - did you specify the right host or port?
$ helm version
Client: &version.Version{SemVer:"v2.17.0", GitCommit:"a690bad98af45b015bd3da1a41f6218b1a451dbe", GitTreeState:"clean"}
Error: Get "http://localhost:8080/api/v1/namespaces/kube-system/pods?labelSelector=app%3Dhelm%2Cname%3Dtiller": dial tcp 127.0.0.1:8080: connect: connection refused
$ ibmcloud version
ibmcloud version 1.3.0+4308925-2020-12-16T07:53:49+00:00
$
CLI で IBM Cloud アカウントにログインします。
$ ibmcloud login
API endpoint: https://cloud.ibm.com

Email> xxxxxxxxx

Password> xxxxxxxx
Authenticating...
OK

Targeted account xxxxxx's Account (xxxxx) <-> xxxxxx


Select a region (or press enter to skip):
1. au-syd
2. in-che
3. jp-osa
4. jp-tok
5. kr-seo
6. eu-de
7. eu-gb
8. ca-tor
9. us-south
10. us-east
Enter a number> 4
Targeted region jp-tok


API endpoint:      https://cloud.ibm.com
Region:            jp-tok
User:              xxxxxx
Account:           xxxxxx
(xxxxxx) <-> xxxxxx
Resource group:    No resource group targeted, use 'ibmcloud target -g RESOURCE_GROUP'
CF API endpoint:
Org:
Space:
$
$ ibmcloud plugin list
Listing installed plug-ins...

Plugin Name                            Version   Status   Private endpoints supported
cloud-functions/wsk/functions/fn       1.0.49             false
cloud-object-storage                   1.2.1              false
container-registry                     0.1.497            false
container-service/kubernetes-service   1.0.208            false

$
$ ibmcloud cr namespace-add loft-test
No resource group is targeted. Therefore, the default resource group for the account ('Default') is targeted.

Adding namespace 'loft-test' in resource group 'Default' for account xxxxx's Account in registry jp.icr.io...

Successfully added namespace 'loft-test'

OK
$
クラスタの作成が済んでいれば以下のようにStatus が Readyとなります。
$ ibmcloud ks worker ls --cluster mycluster-free
Kubernetes removed deprecated APIs, which impacts clusters that run Kubernetes version 1.16, OpenShift version 4.4, or later. For more information, see <http://ibm.biz/k8s-1-16-apis>

The Kubernetes Ingress controller image is now supported for Ingress ALBs, and all new ALBs now run the Kubernetes Ingress image by default. Additionally, you must move any existing Ingress setups to the new Kubernetes Ingress before support for the legacy IBM Cloud Kubernetes Service Ingress image ends on April 30, 2021. More info: <https://ibm.biz/kube-ingress>

From 01 December 2020 virtual and bare metal servers that run Ubuntu 16 will be deprecated, in consideration of the upcoming April 2021 end-of-support date for Ubuntu 16. For more details, please see the announcement <https://ibm.biz/kube-flavors>

From 01 December 2020 the older generation bare metal flavors will be deprecated. For more details, please see the announcement <https://ibm.biz/kube-flavors>

OK
ID                                                       Public IP        Private IP       Flavor   State    Status   Zone    Version
kube-bveujrpf0crbek524ph0-myclusterfr-default-00000091   169.51.205.148   10.144.195.254   free     normal   Ready    mil01   1.18.12_1535
$
コンテキストを設定します。
$ ibmcloud ks cluster config --cluster mycluster-free
OK
The configuration for mycluster-free was downloaded successfully.

Added context for mycluster-free to the current kubeconfig file.
You can now execute 'kubectl' commands against your cluster. For example, run 'kubectl get nodes'.
If you are accessing the cluster for the first time, 'kubectl' commands might fail for a few seconds while RBAC synchronizes.
kubectlコマンドが使用可能となりました。
$ kubectl config current-context
mycluster-free/bveujrpf0crbek524ph0
$ kubectl version
Client Version: version.Info{Major:"1", Minor:"18", GitVersion:"v1.18.13", GitCommit:"4c00c3c459261e8ff3381c1070ddf798f0131956", GitTreeState:"clean", BuildDate:"2020-12-09T11:18:24Z", GoVersion:"go1.13.15", Compiler:"gc", Platform:"linux/amd64"}
Server Version: version.Info{Major:"1", Minor:"18", GitVersion:"v1.18.13+IKS", GitCommit:"ffaac9a56c5a85ae56a4a7a694d83b9acaa8ea5e", GitTreeState:"clean", BuildDate:"2020-12-09T23:56:57Z", GoVersion:"go1.13.15", Compiler:"gc", Platform:"linux/amd64"}
$ kubectl cluster-info
Kubernetes master is running at https://c109.eu-de.containers.cloud.ibm.com:30137
CoreDNS is running at https://c109.eu-de.containers.cloud.ibm.com:30137/api/v1/namespaces/kube-system/services/kube-dns:dns/proxy
kubernetes-dashboard is running at https://c109.eu-de.containers.cloud.ibm.com:30137/api/v1/namespaces/kube-system/services/https:kubernetes-dashboard:/proxy
Metrics-server is running at https://c109.eu-de.containers.cloud.ibm.com:30137/api/v1/namespaces/kube-system/services/https:metrics-server:/proxy
NodeLocalDNS is running at https://c109.eu-de.containers.cloud.ibm.com:30137/api/v1/namespaces/kube-system/services/node-local-dns:dns/proxy

To further debug and diagnose cluster problems, use 'kubectl cluster-info dump'.
$ kubectl get no
NAME             STATUS   ROLES    AGE   VERSION
10.144.195.254   Ready    <none>   16m   v1.18.12+IKS
$ kubectl get po -A
NAMESPACE     NAME                                         READY   STATUS    RESTARTS   AGE
ibm-system    addon-catalog-source-kdjn4                   1/1     Running   0          13m
ibm-system    catalog-operator-64dcd56d5d-xd5g5            1/1     Running   0          19m
ibm-system    olm-operator-7c5f5cc854-gsm4k                1/1     Running   0          19m
kube-system   calico-kube-controllers-867cf6c58f-g2qgp     1/1     Running   0          21m
kube-system   calico-node-gmmnm                            1/1     Running   0          16m
kube-system   coredns-6864b999b5-6gtpq                     1/1     Running   0          15m
kube-system   coredns-6864b999b5-kkxz2                     1/1     Running   0          15m
kube-system   coredns-6864b999b5-tggsj                     1/1     Running   0          20m
kube-system   coredns-autoscaler-59c85689b8-5dld9          1/1     Running   0          20m
kube-system   dashboard-metrics-scraper-67dbf8bdb8-z745k   1/1     Running   0          19m
kube-system   ibm-keepalived-watcher-s868v                 1/1     Running   0          16m
kube-system   ibm-kubelet-monitor-xc59n                    1/1     Running   0          16m
kube-system   ibm-master-proxy-static-10.144.195.254       2/2     Running   0          16m
kube-system   kubernetes-dashboard-785d6cd576-fg8hr        1/1     Running   0          19m
kube-system   metrics-server-769c687bc7-h6kwm              2/2     Running   0          15m
kube-system   vpn-6dd5596479-kn9b7                         1/1     Running   0          19m
$ kubectl get svc -A
NAMESPACE     NAME                                 TYPE        CLUSTER-IP       EXTERNAL-IP   PORT(S)                  AGE
default       kubernetes                           ClusterIP   172.21.0.1       <none>        443/TCP                  23m
ibm-system    addon-catalog-source                 ClusterIP   172.21.206.39    <none>        50051/TCP                13m
ibm-system    catalog-operator-metrics             ClusterIP   172.21.12.209    <none>        8081/TCP                 19m
ibm-system    olm-operator-metrics                 ClusterIP   172.21.34.12     <none>        8081/TCP                 19m
kube-system   dashboard-metrics-scraper            ClusterIP   172.21.164.96    <none>        8000/TCP                 19m
kube-system   ibm-k8s-controller-default-backend   ClusterIP   172.21.137.5     <none>        80/TCP                   19m
kube-system   kube-dns                             ClusterIP   172.21.0.10      <none>        53/UDP,53/TCP,9153/TCP   20m
kube-system   kubernetes-dashboard                 ClusterIP   172.21.112.254   <none>        443/TCP                  19m
kube-system   metrics-server                       ClusterIP   172.21.117.249   <none>        443/TCP                  19m
kube-system   node-local-dns                       ClusterIP   172.21.90.173    <none>        53/UDP,53/TCP            20m
$
ここまで20分ほどでkubernetesクラスタが利用可能となりました。
今回ご紹介したチュートリアルにはアプリケーションのデプロイ手順なども記載されていますのでお試しでkubernetesを触ってみたい方におすすめです。


