はじめに
先日ラズパイでキオスク端末つくったので,そこに予定を表示してみたい.というわけでGoogleカレンダーの予定をPythonから取得してみる.
環境
- Python3.6
- Windows (Anaconda) →開発とログイン・認証用
- Raspberry Pi3 (Raspbian) →キオスク端末
- ブラウザとGoogleアカウント
手順
ラズパイのブラウザでは上手く認証ができなかったので,後述する***4.ブラウザでの認証(初回限定)***まではWindowsで作業を行った.
1. Google API Consoleの設定
Python Quickstartを見ながら進めていく.
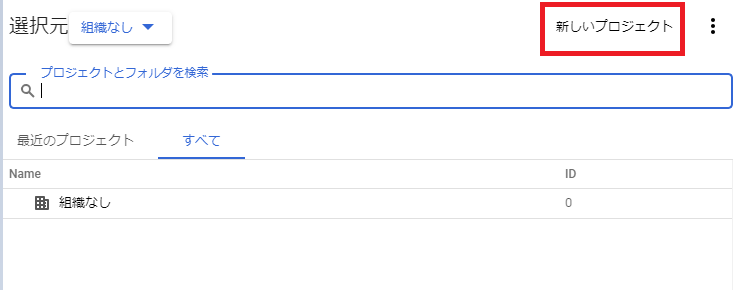
Google API Consoleにアクセスすると下の画面が出てくる.

画面の左上のほうにある「プロジェクトの選択」→「新しいプロジェクト」の順にクリックする.

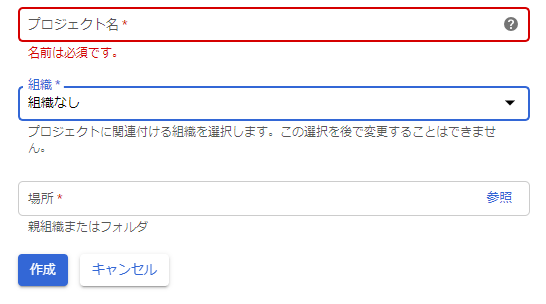
プロジェクト名は必須なので適当につけておく.組織と場所は選択しなくてもいい.
こんな感じの画面が出てきたら「APIとサービスを有効化」をクリックする.
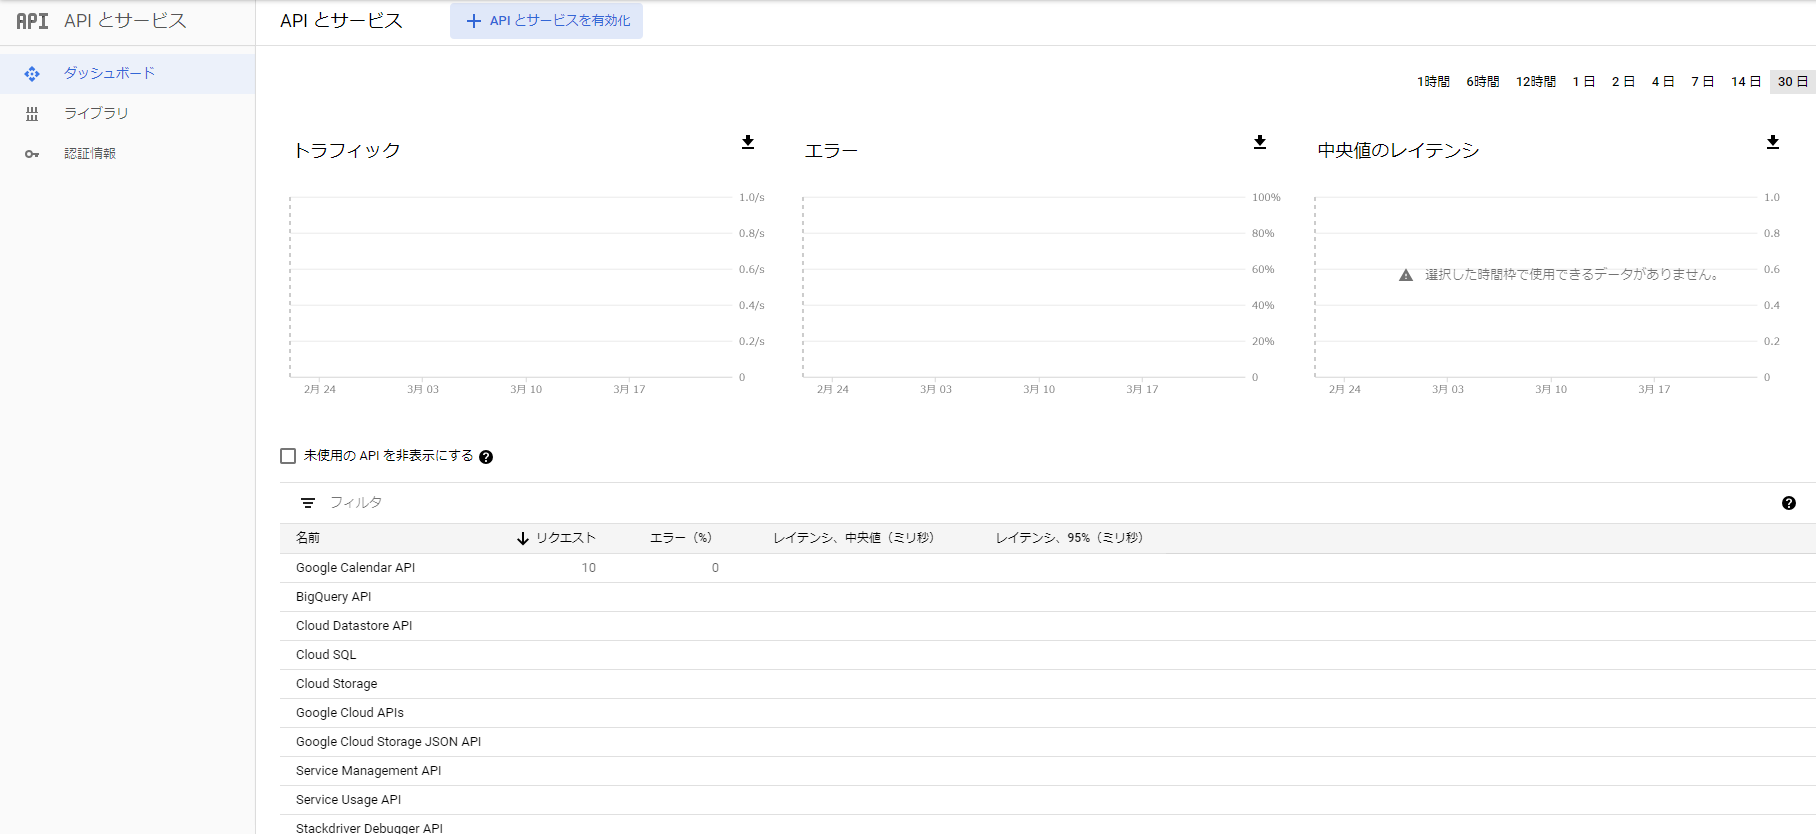
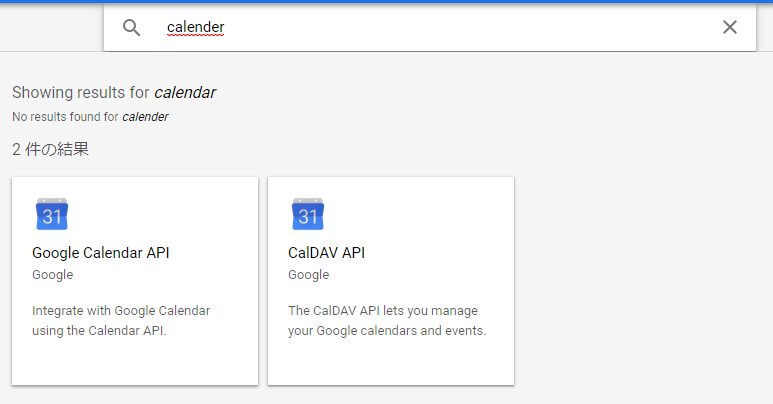
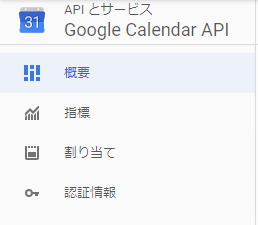
Google Calendar APIを選択して有効化する.
最後に認証用のファイルを用意する.
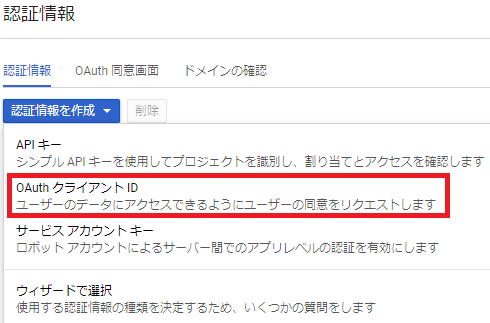
「認証情報」を選択
続いて「認証情報を作成」の下矢印クリックで出てくる「OAuthクライアントID」を選択する.
次は「その他」を選択し適当に名前を付ける.
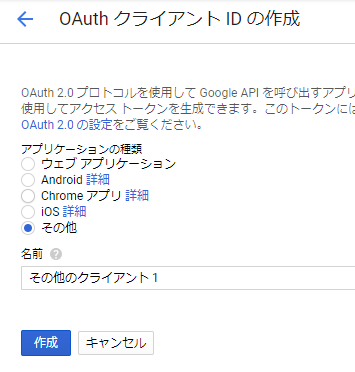
これで認証情報の作成は完了.認証用のjsonを右端のボタンからダウンロードする.

ここでダウンロードしたjsonファイルの名前をcredentials.jsonに変更しておく.
2.必要なライブラリの準備
準備と言ってもpip一発で終わる.
pip install --upgrade google-api-python-client google-auth-httplib2 google-auth-oauthlib
3.サンプルコードの実行
さっき用意したcredentials.jsonと同じディレクトリに以下のコードを置く.
from __future__ import print_function
import datetime
import pickle
import os.path
from googleapiclient.discovery import build
from google_auth_oauthlib.flow import InstalledAppFlow
from google.auth.transport.requests import Request

# If modifying these scopes, delete the file token.pickle.
SCOPES = ['https://www.googleapis.com/auth/calendar.readonly']

def main():
    """Shows basic usage of the Google Calendar API.
    Prints the start and name of the next 10 events on the user's calendar.
    """
    creds = None
    # The file token.pickle stores the user's access and refresh tokens, and is
    # created automatically when the authorization flow completes for the first
    # time.
    if os.path.exists('token.pickle'):
        with open('token.pickle', 'rb') as token:
            creds = pickle.load(token)
    # If there are no (valid) credentials available, let the user log in.
    if not creds or not creds.valid:
        if creds and creds.expired and creds.refresh_token:
            creds.refresh(Request())
        else:
            flow = InstalledAppFlow.from_client_secrets_file(
                'credentials.json', SCOPES)
            creds = flow.run_local_server()
        # Save the credentials for the next run
        with open('token.pickle', 'wb') as token:
            pickle.dump(creds, token)

    service = build('calendar', 'v3', credentials=creds)

    # Call the Calendar API
    now = datetime.datetime.utcnow().isoformat() + 'Z' # 'Z' indicates UTC time
    print('Getting the upcoming 10 events')
    events_result = service.events().list(calendarId='primary', timeMin=now,
                                        maxResults=10, singleEvents=True,
                                        orderBy='startTime').execute()
    events = events_result.get('items', [])

    if not events:
        print('No upcoming events found.')
    for event in events:
        start = event['start'].get('dateTime', event['start'].get('date'))
        print(start, event['summary'])

if __name__ == '__main__':
    main()
で,実行する.
python quickstart.py
4.ブラウザでの認証(初回限定)
実行するとブラウザの画面が開くはず.そこでログインして認証が完了する.次回以降はquickstart.pyと同じ場所に生成されるtoken.pickleというファイルがcredentials.jsonとともに認証に利用され,ログインを求められることはない.
これでカレンダーを利用したプログラムは書けるようになっているはず.次の項目ではキオスク本体(Raspberry Pi3)への配置について記述していますが,必要ない場合は無視してください.
5.Raspberry Pi3へコピー(必要な人向け)
ここまでに使った2つの認証ファイルcredentials.jsonとtoken.pickleを丸ごとコピーするだけ.他の環境にコピーする際もこれでいけるはず.
最後に
次はキオスクに天気APIも連携させてみたい。