Netlify FunctionsをGoで書く
AWS lambdaを使う感覚でFaasを使いたい場面がありました。
ただ、AWS lambdaを使うのは少し荷が重い(従量課金制なので万一ミスしたときが怖い)ので、Netlify Functions上でGoを動かしました。
手順
- NetlifyとGitのホスティングサービス上のリポジトリを紐づける
- 紐づけたリポジトリのSitesでFunctionsのディレクトリを設定
- GoでFunctionを作成
- Functionsのビルドの設定(Netlify.toml、Makefileの記述)
- pushを行い,Functionsが起動しているかを確認する
リポジトリの紐づけ

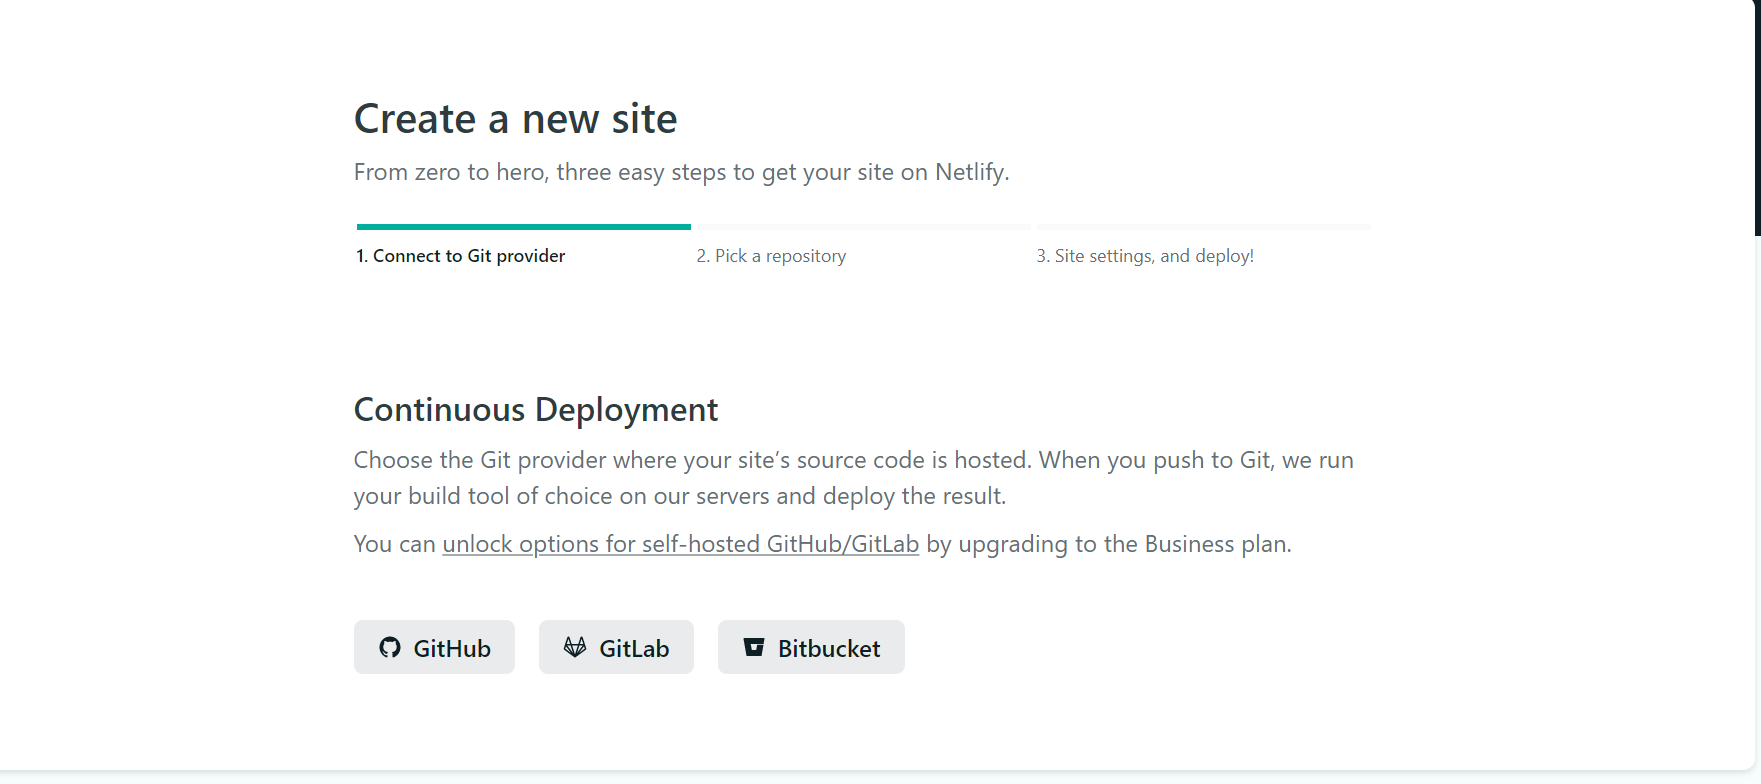
New Site From GitのボタンからGitのホスティングサービスから連携するGitホスティングサービスを選択する画面に飛ぶので、そこから紐づけたいリポジトリがあるGitホスティングサービスを選択します。
今回は、GitHubを選択します。

次の画面で、紐づけたいリポジトリを選択します。
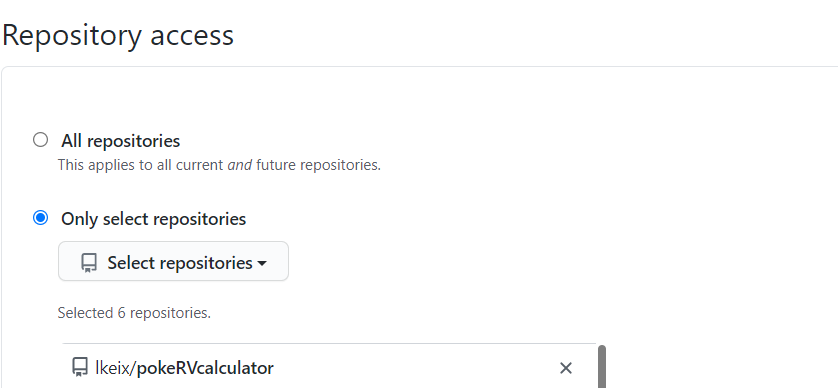
リポジトリが存在しないときは、Configure the Netlify app on *****(ホスティングサービス名)のリンクを押します。
NetlifyにGithubアカウントでログインして紐づけるリポジトリを選択します。
選択するとNetlify側で紐づけたいリポジトリが表示されていると思うので、そのリポジトリを選択します。
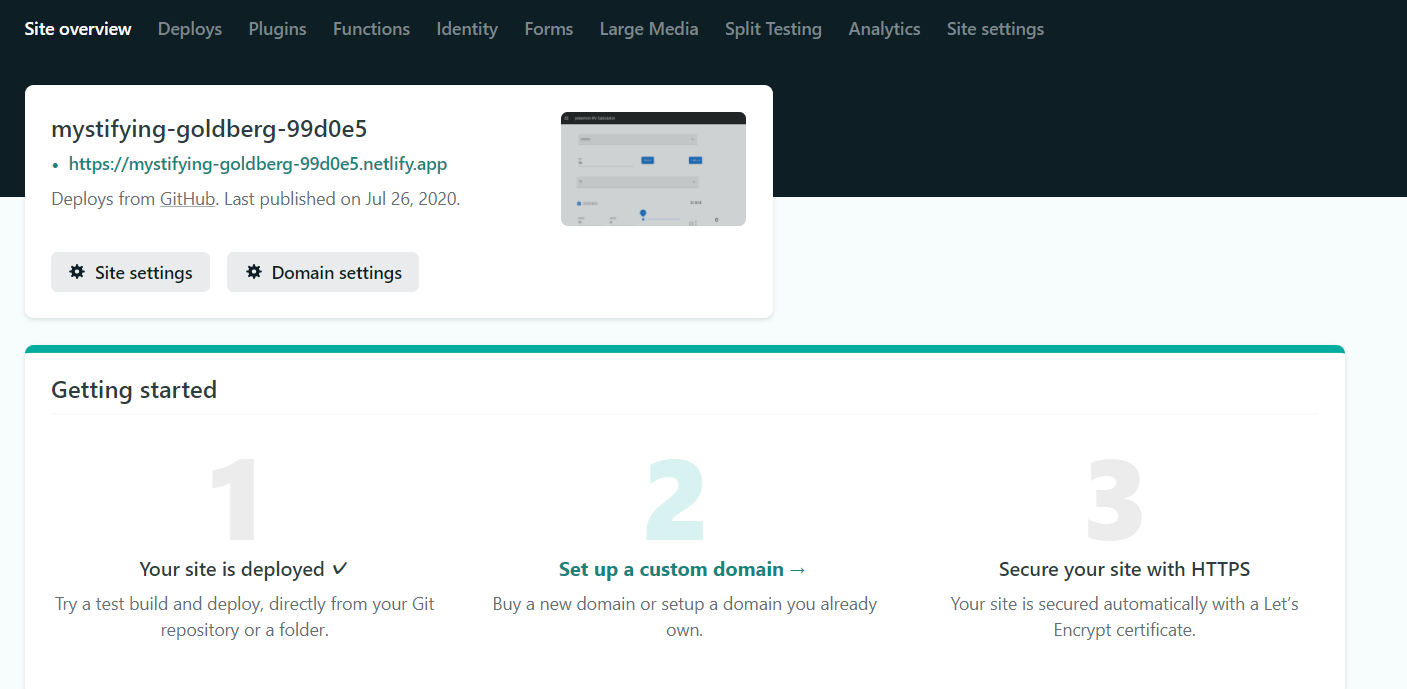
次のページBuild commandの設定やデプロイするブランチの画面が出てくるので、適当に設定して Deploy Site のボタンでサイトをデプロイします。
Functionsのディレクトリの設定
一応、netlify.tomlでも設定できます。
作成したSiteの中で、Functionsの設定をします。
Site settings から Functionsの項目を選択します。
ここでのデフォルトはnetlify/functionsになっていると思うので、Functionsのディレクトリを適宜変えてください。
僕は、いつもfunctionsで設定しています。
GoでFunctionを作成
Goのモジュールの依存性を解決するためにリポジトリのルートで`go mod init`を叩いて、go modを作っておきます。 さらに、Functionsを使う際に利用するモジュールを`go get`で取得します。go get github.com/aws/aws-lambda-go
で必要なモジュールが取得できます。
以下がGoで書いた簡単なFunctionsです。
package main

import (
	"net/http"

	"github.com/aws/aws-lambda-go/events"
	"github.com/aws/aws-lambda-go/lambda"
)

func handler(request events.APIGatewayProxyRequest) (*events.APIGatewayProxyResponse, error) {
	// GET以外はBad Request
	if request.HTTPMethod != http.MethodGet {
		return &events.APIGatewayProxyResponse{
			StatusCode: 400,
			Body:       "Bad Request",
		}, nil
	}

	return &events.APIGatewayProxyResponse{
		StatusCode: 200,
		Body:       "Hello Netlify Functions",
	}, nil
}

func main() {
	// Start Handler
	lambda.Start(handler)
}
ビルドの設定
リポジトリのルートに`netlify.toml`と`Makefile`を作成します。 netlify.tomlは、netlifyでビルドの際のコマンドやFunctionsの環境の設定ができます。[build]
base = "/"
command = "make build"
publish = "/dist"
functions = "/functions"
[build.environment]
GO_VERSION = "1.14.5"
Makefileで実際のビルドの設定をしていきます。
build:
    mkdir -p functions
    go get ./go-functions/hello/...
    go install ./go-functions/hello/...
    go build -o ./functions/hello ./go-functions/hello/main.go
これで、ビルドの設定が完了です。
pushを行い,Functionsが起動しているかを確認する
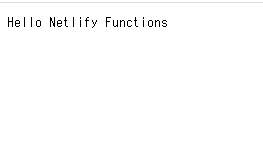
後は、デプロイするブランチにpushを行い https://{{ホスト名}}/.netlify/functions/{{関数の名前}}にアクセスする。
こんな感じでデプロイできました。
Netlify Functionsのlambdaの時間制限が10秒程度なので、重い処理や待ちが入る処理は厳しいですが、ちょっとしたものを作る時は結構役に立ちそうです。

