目的
一度入力したパスワードは、2回目以降は自動入力されます。
前提
iOSとAndroidに問わず、パスワードは大切な情報なので、ユーザーさんの許可また端末の設定がないと、保存/入力できません。
Android
設定>Google>自動入力>Google自動入力
「Google自動入力を使用する」をONに設定してください。

iOS
-
Apple Bundle IDの設定
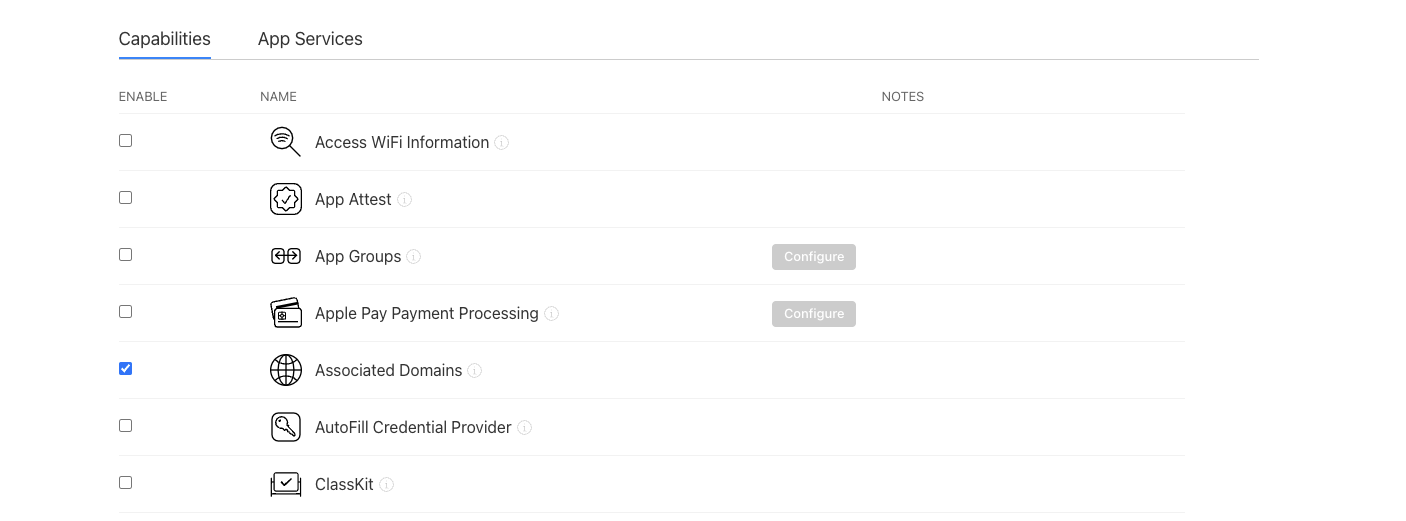
Apple開発アカウントに登録して、該当Apple Bundle IDのCapabilitiesのAssociated DomainsをENABLEにしてください。

-
iOS Capabilitiesの追加
- Runner.entitlementファイルの場合
ソースコードで追加する場合、下記のソースを追加してください。
/ios/Runner/Runner.entitlements
<key>com.apple.developer.associated-domains</key> <array> <string>applinks:your-domain</string </array> - Runner.entitlementファイルの場合
-
サーバーでapple-app-site-associationファイルを配置
サーバーのルートディレクトリに.well-knownフォルダを作成し、ファイル名はapple-app-site-associationのjsonファイルを配置してください。
{
  "applinks": {
    "apps": [],
    "details": [
      {
        "appID": "TEAMID.BUNDLEID",
        "paths": ["*"]
      }
    ]
  }
}
注意点
メタデータのcontent-Typeはappliciaton/jsonであること
拡張子はなし
下記curlでjsonアクセスできるかを確認できます。
curl -i https://example.com/.well-known/apple-app-site-association
下記サイトでAPPLE APP SITE ASSOCIATION (AASA)正しく配置されているどうか確認できます。
https://branch.io/resources/aasa-validator/
4. 端末の設定
設定>iCloud>キーチェーン
iCloudキーチェーンをONにしてください。

ソース実装
ソース実装は簡単です。autofillHintsの属性を設定すれば、パスワードが自動入力となります。
AutofillGroupを忘れずに自動入力グループ化します。
AutofillGroup(
  child: Column(
    children: <Widget>[
      TextField(
        autofillHints: const [AutofillHints.username],
        // other configurations...
      ),
      TextField(
        autofillHints: const [AutofillHints.password],
        // other configurations...
      ),
    ],
  ),
),
参考
