前提
- Windows11
- WSL および VSCode をインストール済み
- Rust は未インストール
本記事の手順により下記の画像のような構築が構築される.

Rust のインストール
- WSL 内で下記のコマンドを実行し,確認画面で Enter で Rust をインストールする
初期設定では Rust に関連するツールが
$ curl --proto '=https' --tlsv1.2 -sSf https://sh.rustup.rs | sh~/.cargo/binにインストールされる. -
~/.cargo/binを PATH に追加する(または WSL を再起動する)$ source ~/.cargo/env - Rust がインストールされていることを確認する
$ rustc --version $ cargo --version - gcc コンパイラをインストールする(Rust のコンパイルに必要)
※ gcc コンパイラがインストールされていないと,Rust のコンパイル時に下記のようなエラーが発生する.
$ sudo apt install build-essentialerror: linker `cc` not found
参考
- Rust をインストール - Rustプログラミング言語(公式ドキュメント)
- Rustはじめました WSL2にRustを入れてHello Worldまで - 好きなことを書かせて
Jupyter で Rust を使えるようにする
-
evcxr_jupyterをインストールする$ cargo install evcxr_jupytercargoは Rust のパッケージ管理ツール(Python の pip のようなもの?)で,evcxr_jupyterは Rust 用の Jupyter Kernel です.私の環境ではインストールに5分程度かかりました. -
evcxr_jupyterをJupyterに登録する$ evcxr_jupyter --install - 適当なディレクトリを VSCode + WSL で開く
$ mkdir ./rust-jupyter-test $ code ./rust-jupyter-test - VSCode の拡張機能
Jupyterをインストールする

- 拡張子が
ipynbの適当な名前のファイルを作成する

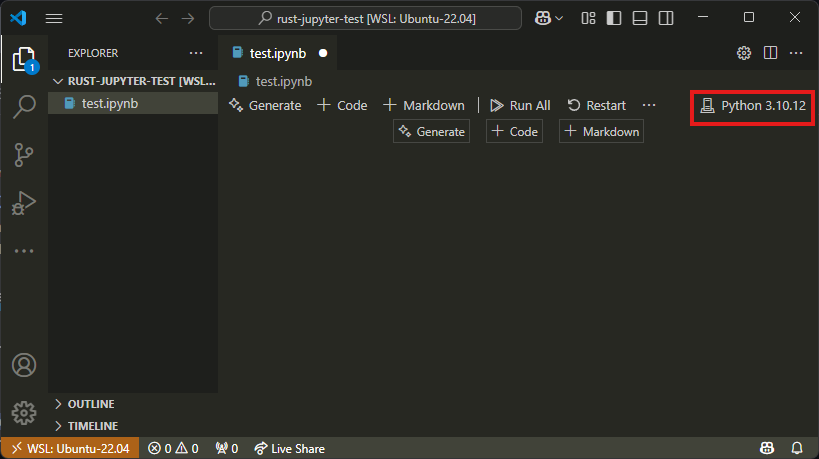
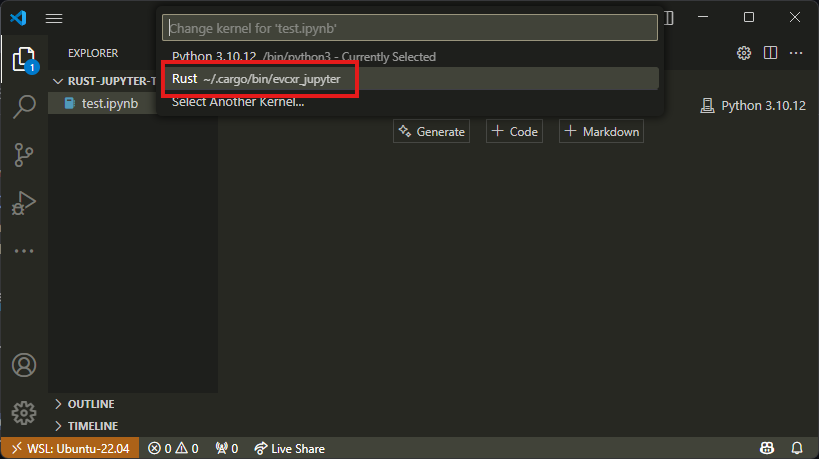
-
ipynbファイルを開き,Rust のカーネルを設定する

- コードを実行
参考
- Jupyter in VSCodeをRustでやってみた