目的
- AmazonLinuxに最新バージョンのNginx(mainline)をインストールする
- サーバ証明書をサーバに設置する
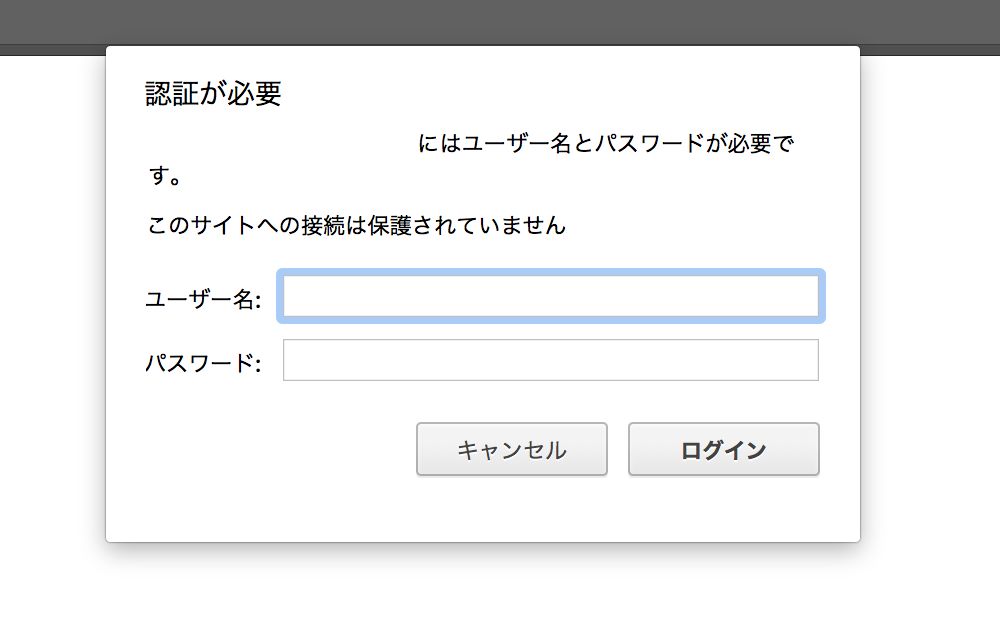
- Basic認証を入れる
- 80 => 443リダイレクトを設定する
- ログに暗号化プロトコルを入れる
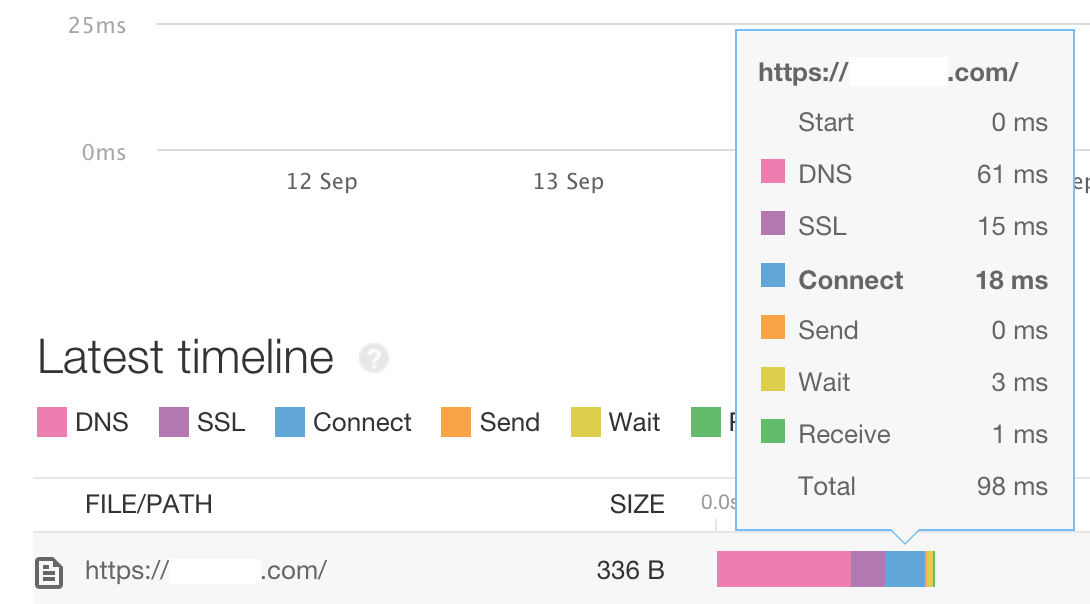
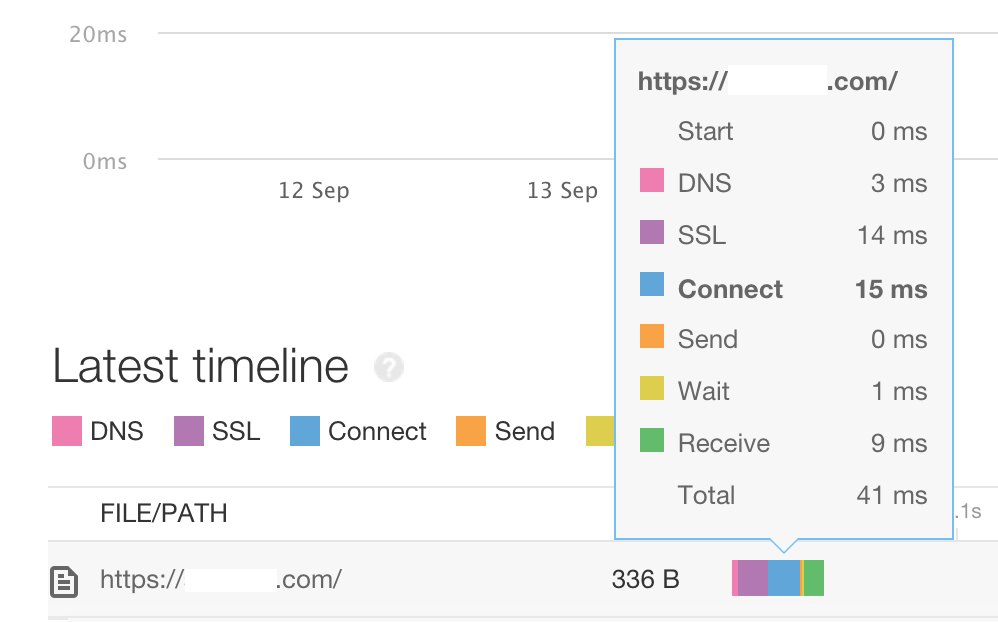
- 高速化対応す
設定
- nginxのリポジトリを作成
[nginx]
name=nginx repo
baseurl=http://nginx.org/packages/mainline/centos/6/$basearch/
gpgcheck=1
enabled=1
gpgkey=http://nginx.org/keys/nginx_signing.key

[nginx-source]
name=nginx source
baseurl=http://nginx.org/packages/mainline/centos/6/SRPMS/
gpgcheck=1
enabled=0
gpgkey=http://nginx.org/keys/nginx_signing.key
- install
 # yum --disablerepo=amzn-main --disablerepo=amzn-updates install nginx
 (snip)
 Installed:
  nginx.x86_64 0:1.13.5-1.el6.ngx

Complete!
- 自動更新
# yum install yum-cron
(snip)
Installed:
  yum-cron.noarch 0:3.4.3-150.70.amzn1

Dependency Installed:
  yum-cron-daily.noarch 0:3.4.3-150.70.amzn1

Complete!

# cp --backup=number -f /etc/yum/yum-cron.conf /etc/yum/yum-cron.conf
# diff yum-cron.conf yum-cron.conf.~1~
20c20
< apply_updates = yes
---
> apply_updates = no
- workerプロセスと自動更新設定
# cp --backup=number -f /etc/nginx/nginx.conf /etc/nginx/nginx.conf
# diff nginx.conf nginx.conf.~1~
3c3
< worker_processes  auto;
---
> worker_processes  1;
32,33d31
<
<     server_tokens off;
- Basic認証
# yum install httpd-tools
# htpasswd -c -m /etc/nginx/.htpasswd <username>
New password:
Re-type new password:
Adding password for user <username>
server {
    listen       80;
    server_name  <xxxx>.com;

    #charset koi8-r;
    #access_log  /var/log/nginx/host.access.log  main;

    location / {
        root   /usr/share/nginx/html;
        index  index.html index.htm;
        auth_basic  "enter password";
        auth_basic_user_file  /etc/nginx/.htpasswd;
    }
(snip)
-
https対応
- 秘密鍵
$ sudo make -server.key
umask 77 ;
/usr/bin/openssl genrsa -aes128 2048 > -server.key
Generating RSA private key, 2048 bit long modulus
..............................................................................+++
................+++
e is 65537 (0x10001)
Enter pass phrase:
Verifying - Enter pass phrase:
```
 - パスワード解除する場合

 ```/etc/pki/tls/certs
openssl rsa -in -server.key -out -server.nopass.key
chmod 400 -server.nopass.key
 ```


- CSR

 ```/etc/pki/tls/certs
$ sudo make -server.csr
umask 77 ;
/usr/bin/openssl req -utf8 -new -key -server.key -out -server.csr
Enter pass phrase for -server.key:
You are about to be asked to enter information that will be incorporated
into your certificate request.
What you are about to enter is what is called a Distinguished Name or a DN.
There are quite a few fields but you can leave some blank
For some fields there will be a default value,
If you enter '.', the field will be left blank.
Country Name (2 letter code) [XX]:JP
State or Province Name (full name) []:Tokyo
Locality Name (eg, city) [Default City]:-ku
Organization Name (eg, company) [Default Company Ltd]: Co., Ltd
Organizational Unit Name (eg, section) []:
Common Name (eg, your name or your server's hostname) []:.com
Email Address []:@.com
Please enter the following 'extra' attributes
to be sent with your certificate request
A challenge password []:
An optional company name []:
```
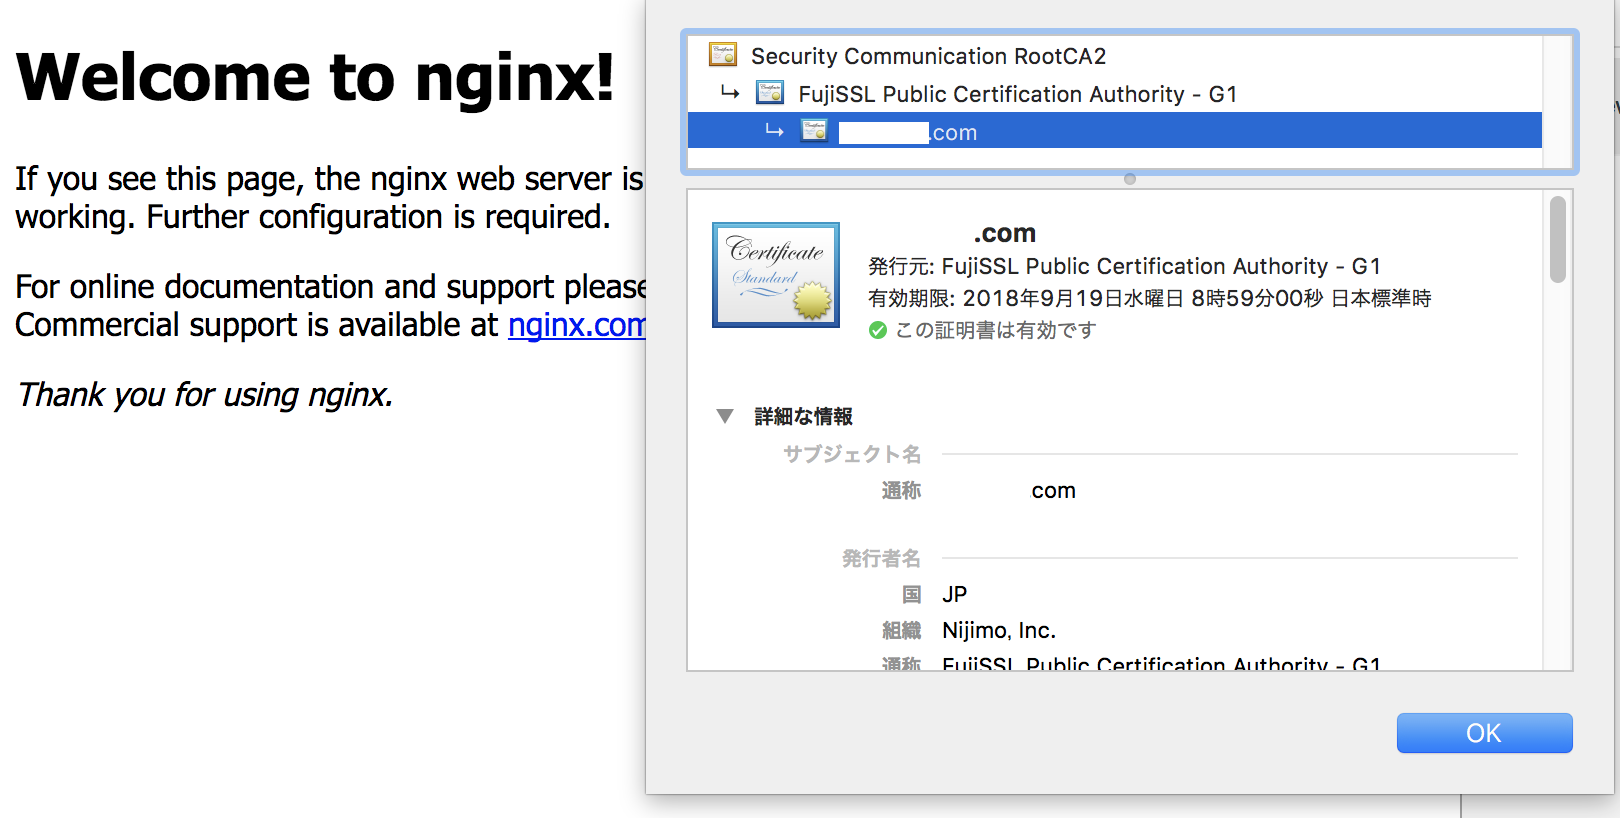
- 証明書設定
- CAから発行された証明書を以下の順に連結する
- サーバ証明書
- 中間証明書
- クロスルート証明書
- 中間証明書
- サーバ証明書
- CAから発行された証明書を以下の順に連結する
server {
    listen       443 ssl;
    server_name  <xxxx>.com;

    ssl_protocols TLSv1.1 TLSv1.2;
    ssl_prefer_server_ciphers on;
    ssl_certificate /etc/pki/tls/certs/<xxxx>-server.crt;
    ssl_certificate_key /etc/pki/tls/certs/<xxxx>-server.nopass.key;
    root /usr/share/nginx/html;

    #charset koi8-r;
    #access_log  /var/log/nginx/host.access.log  main;

    location / {
        root   /usr/share/nginx/html;
        index  index.html index.htm;
        auth_basic  "enter password";
        auth_basic_user_file  /etc/nginx/.htpasswd;
    }

    #error_page  404              /404.html;

    # redirect server error pages to the static page /50x.html
    #
    error_page   500 502 503 504  /50x.html;
    location = /50x.html {
        root   /usr/share/nginx/html;
    }
(snip)
- 80 => 443リダイレクト
- HSTC(HTTP Strict Transport Security)ヘッダを付け、全ての接続がHTTPSになるようにする(最初からHTTPSを使用して公開しているサイトには不要)
server {
    listen 80;
    return 301 https://$host$request_uri; #redirect
}

server {
    listen       443 ssl;
    add_header   Strict-Trancport-Security max-age=15768000; #HTTP Strict Transport Security
    server_name  <xxxx>.com;

    ssl_protocols TLSv1.1 TLSv1.2;
    ssl_prefer_server_ciphers on;
    ssl_certificate /etc/pki/tls/certs/<xxxx>-server.crt;
    ssl_certificate_key /etc/pki/tls/certs/<xxxx>-server.nopass.key;
    root /usr/share/nginx/html;

    #charset koi8-r;
    #access_log  /var/log/nginx/host.access.log  main;

    location / {
        root   /usr/share/nginx/html;
        index  index.html index.htm;
        #auth_basic  "enter password";
        #auth_basic_user_file  /etc/nginx/.htpasswd;
    }

    #error_page  404              /404.html;

    # redirect server error pages to the static page /50x.html
    #
    error_page   500 502 503 504  /50x.html;
    location = /50x.html {
        root   /usr/share/nginx/html;
    }
(snip)
- ログに暗号化プロトコルが入るように設定
- $ssl_protocol
- $ssl_cipher
(snip)
http {
    include       /etc/nginx/mime.types;
    default_type  application/octet-stream;

    log_format  https  '$remote_addr - $remote_user [$time_local] "$request" '
                      '$status $body_bytes_sent "$http_referer" '
                      '"$http_user_agent" "$http_x_forwarded_for"'
                      '"$ssl_protocol/$ssl_cipher"';

    access_log  /var/log/nginx/access.log  https;

(snip)
}
server {
    listen 80;
    return 301 https://$host$request_uri; #redirect
}

server {
    listen       443 ssl;
    add_header   Strict-Trancport-Security max-age=15768000; #HTTP Strict Transport Security
    server_name  <xxxx>.com;

    ssl_protocols TLSv1.1 TLSv1.2;
    ssl_prefer_server_ciphers on;
    ssl_certificate /etc/pki/tls/certs/<xxxx>-server.crt;
    ssl_certificate_key /etc/pki/tls/certs/<xxxx>-server.nopass.key;
    root /usr/share/nginx/html;
    ssl_session_timeout 1d; #1day
    ssl_session_cache shared:SSL:50m; #1m=4000session

    #charset koi8-r;
    #access_log  /var/log/nginx/host.access.log  main;

    location / {
        root   /usr/share/nginx/html;
        index  index.html index.htm;
        #auth_basic  "enter password";
        #auth_basic_user_file  /etc/nginx/.htpasswd;
    }

    #error_page  404              /404.html;

    # redirect server error pages to the static page /50x.html
    #
    error_page   500 502 503 504  /50x.html;
    location = /50x.html {
        root   /usr/share/nginx/html;
    }


