前提
現在担当しているプロジェクトでJenkinsを使用して自動テストを行っているのですが
ビルド設定見たところで何をやっているか分かりにくいプラグインによってGUIが複雑化しています。
今回はfastlaneを使用して可読性をあげることを目的としています。
CIツールを移行するとき楽になるメリットもあります✨
fastlaneで何が便利になるのか?
テストを導入する目線で挙げてみました
- 複雑なxcodebuildコマンドを簡単に書ける
- テスト結果レポートの作成ができる
- テスト結果slackへ通知できる
Jenkinsの設定でレポートやSlack通知できますが
fastlaneのほうが簡単に書けます♪
導入
fastlaneをインストール
fastlaneのインストール記事は他にもたくさんあるので
そちらをご参照ください...
プロジェクトに組み込む
単体テストのディレクトリにcd
TestProject
├── TestProject
├── TestProject.xcodeproj
├── TestProject.xcworkspace
├── TestProjectTests ←ココ
└── TestProjectUITests
単体テストのディレクトリでfastlane init
>> fastlane init [~/workspace/iOS/SlideMenuControllerSwift]
[✔] 🚀
[✔] Looking for iOS and Android projects in current directory...
[12:53:41]: Created new folder './fastlane'.
[12:53:41]: Detected an iOS/macOS project in the current directory: 'プロジェクトご名.xcodeproj'
[12:53:42]: -----------------------------
[12:53:42]: --- Welcome to fastlane 🚀 ---
[12:53:42]: -----------------------------
[12:53:42]: fastlane can help you with all kinds of automation for your mobile app
[12:53:42]: We recommend automating one task first, and then gradually automating more over time
[12:53:42]: What would you like to use fastlane for?
1. 📸 Automate screenshots
2. 👩✈️ Automate beta distribution to TestFlight
3. 🚀 Automate App Store distribution
4. 🛠 Manual setup - manually setup your project to automate your tasks
?
実行すると使用目的を聞かれます
今回は自動テストをfastlaneで行うので4を入力
[12:53:54]: Continue by pressing Enter ⏎
セットアップが終わりEnterを押してと何回か言われるのでエンターを押す
するとfastlaneフォルダが生成されてその中にAppfileとFastfileが生成されています。
Appfileはアプリリリース自動化等で扱うファイルです。今回は無視か削除でOKです。
TestProjectTests
└── fastlane
   ├── Appfile
   └── Fastfile
scanの設定
scanとはテスト実行を簡単に行えるコマンドです
https://docs.fastlane.tools/actions/scan/#scan
scanコマンドを使ってテストを実行したいのでScanの設定を行います。
下記コマンドでScanfileを作成
>> fastlane scan init
するとfastlane/Scanfileが作成されます
ScanFileにデフォルトの設定を書き込みます。
# scanコマンドのデフォルトの設定(https://docs.fastlane.tools/actions/scan/)
# Projectの場合はproject("TestProject.xcodeproj")
workspace("TestProject.xcworkspace")
sdk("iphonesimulator")
configuration("Debug")
# シュミレータの設定
destination("platform=iOS Simulator,name=iPhone X,OS=12.4")
# ビルド時にクリーンを行う
clean(true)
# テスト結果をjunit形式で作成する
output_types("junit")
Fastfileの設定
ここにlaneを書き込みます。メソッドのようなイメージですね。
unit_testとui_testのlaneを追加しました。
slack_urlを追加するだけで簡単にテスト結果をslackにお知らせしてくれます。
default_platform(:ios)

platform :ios do
  # 毎回呼ばれる
  before_all do
    # pod install
    cocoapods
  end

  desc "単体テストを実行 🚀"
  lane :unit_test do
    # Scanfileに書いていない部分を指定しています。
    scan(scheme: "TestProjectTests", # Schemeを指定
      slack_url: "SlackのWebhookURLを入れる", # Slackから取得したWebhookURLを指定
      slack_message: "単体テストの結果 🚀" # Slackから送られるメッセージのタイトルを指定
    )
  end

  desc "UIテストを実行 🚀"
  lane :ui_test do
    scan(scheme: "TestProjectUITests",
      slack_url: "SlackのWebhookURLを入れる",
      slack_message: "UIテストの結果 🚀"
    )
  end
end
Jenkinsの設定
※ CI環境にCocoaPodsとfastlaneをインストールしておく
Jenkinsのビルド設定の中に組み込む
# fastlaneでunit_testを実行🚀
bundle exec fastlane unit_test
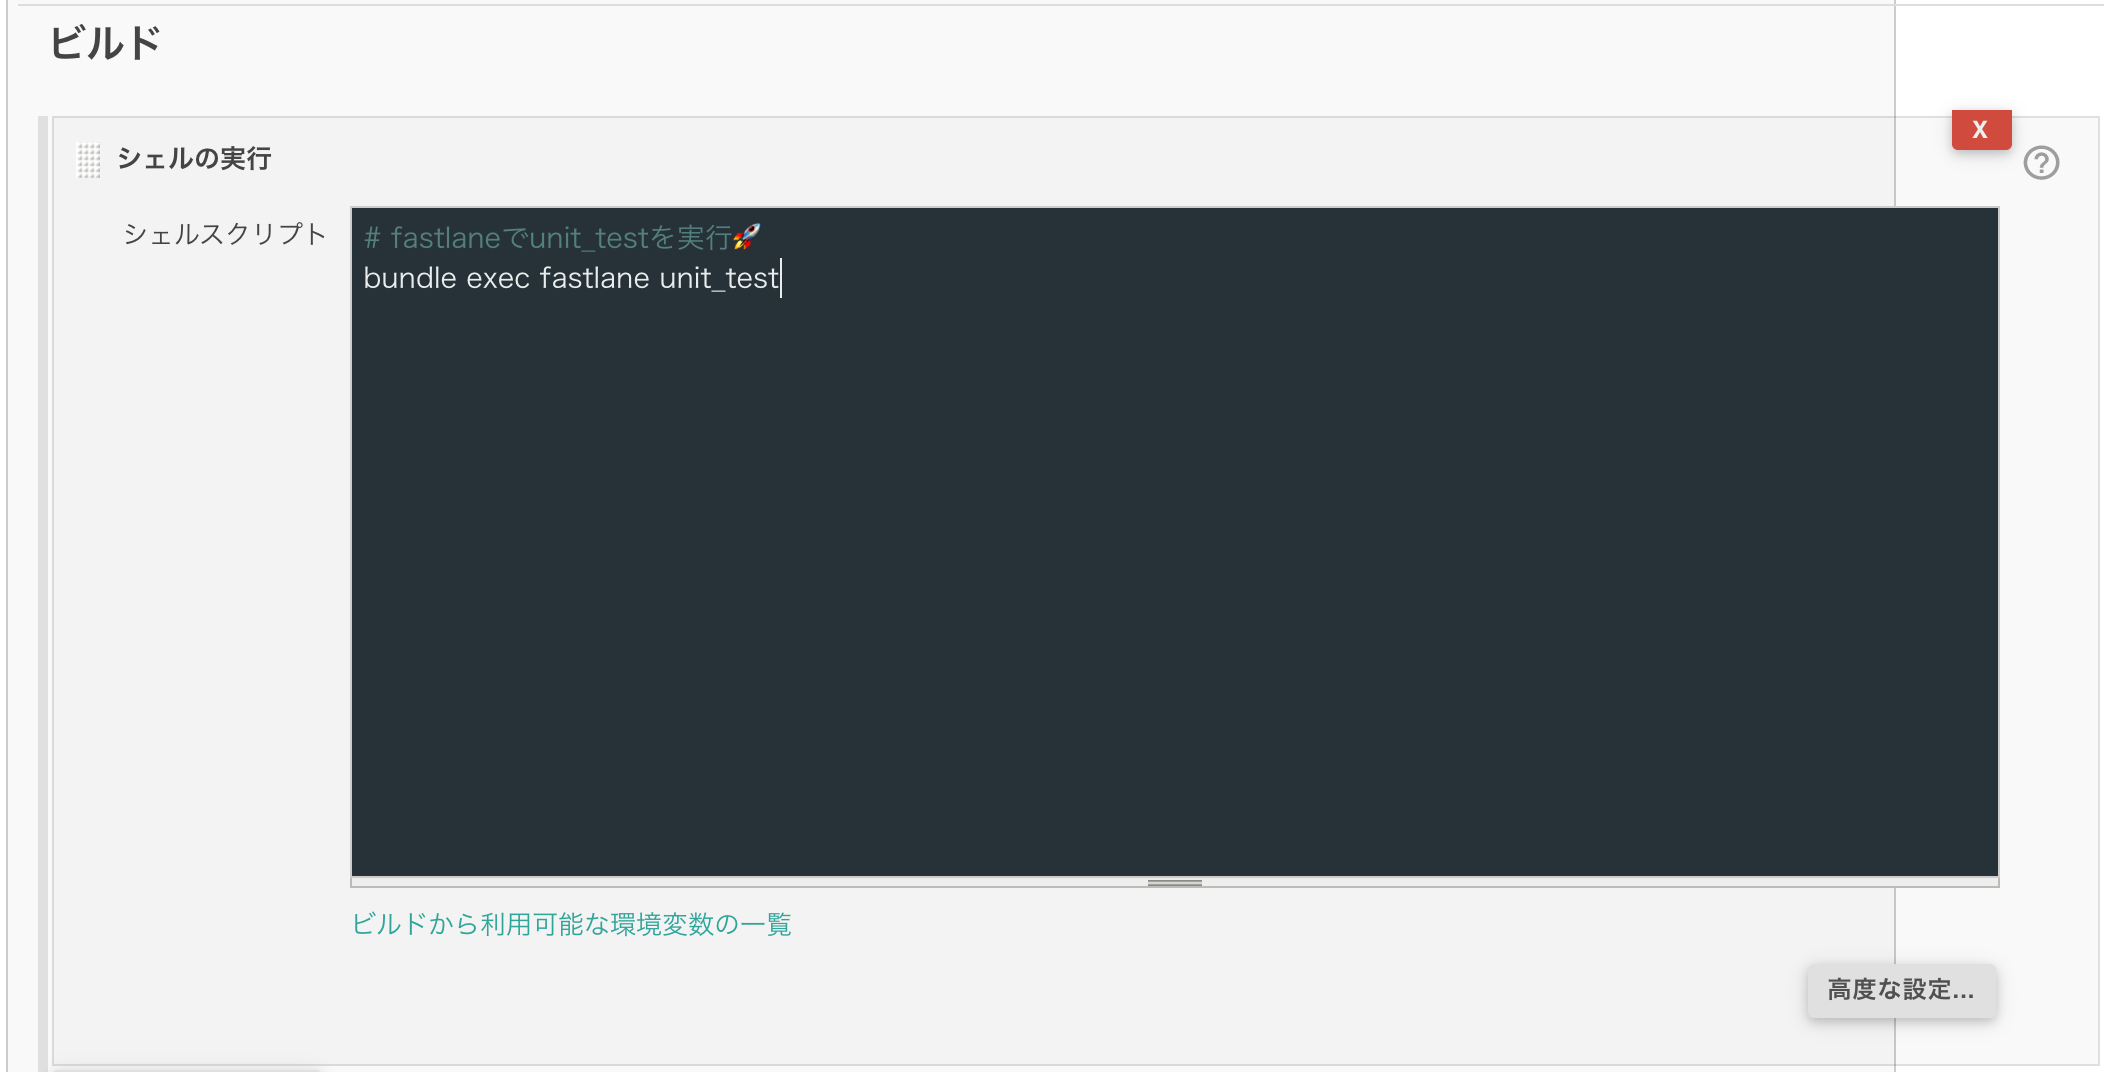
これでジョブを実行するとfastlaneでテストが実行されてSlackに結果が通知されます。
Slackに通知された結果
こんな感じで表示されます。失敗していますね...

まとめ
Jenkinsの設定やプラグインで汚染されていたテスト用ジョブがキレイになりました✨
テスト結果レポートのURLをSlackで通知するようにしたらより便利ですね🚀