第2回ではコンポーネントを使ったAngularDartアプリケーションを作りました。今回はコンポーネントについて詳しく説明します
今回の元記事は3. Creating a Custom Componentです。
まずはサンプルアプリを動かしてみよう
こちらにサンプルアプリのソースコードがあります。リポジトリをクローンして、Chapter_03ディレクトリで> pub serveすればサンプルアプリが起動します。
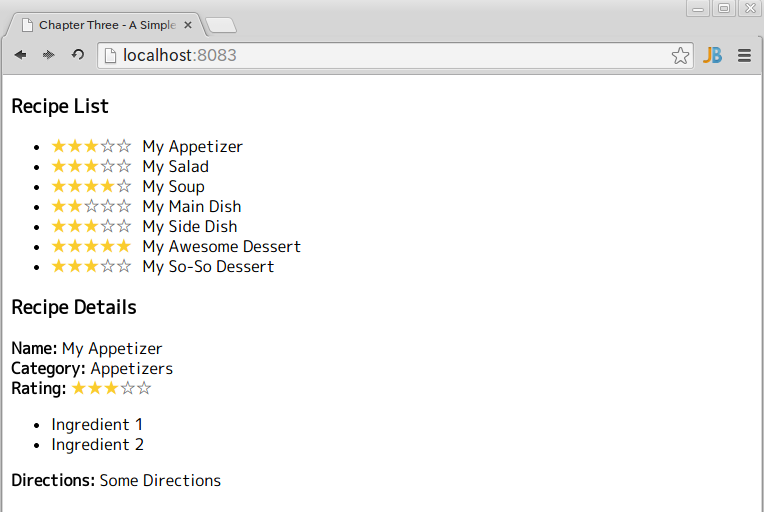
第2回と同様にRecipe Listのアイテムをクリックすると下にレシピの詳細が表示されます。また、星をクリックするとレーティングの値を変更できます。
改めてAngular componentsを理解する
AngularDartにおけるComponentとは、「軽量」で、「再利用可能」であり、「一つの目的に特化した」UI要素です。今回のアプリケーションにはrecipe-bookとratingの2つのComponentが使われています。
Componentの定義
Componentは次のように定義します。
@Component(
    selector: 'rating',
    templateUrl: 'rating.html',
    cssUrl: 'rating.css')
class RatingComponent {...}
templateUrlには、そのComponentのテンプレートとなるHTMLのURLを指定します。ComponentのDartファイルとHTMLファイル、また後述するCSSファイルはlib内の同階層に配置するのが通例です。URLは前回説明したとおり、pubspecに記述することでファイル名だけで指定できます。
cssUrlにはテンプレート内で用いるCSSのURLを指定します。Componentはスタイリングが完全に独立するので、外側のHTML(index.html)でCSSを読み込んでも適用されません。
ratingのテンプレートはこのようになっています。
<span class="stars"
      ng-if="rating != null"
      ng-repeat="star in stars"
      ng-click="handleClick(star)"
      ng-class="starClass(star)">
  {{starChar(star)}}
</span>
テンプレート内でも外側のHTMLと同様にAngularの機能(ng-*)を使うことができます。recipe-bookについても同様にDOM構造をrecipe_book.htmlに切り出していますので、最終的なindex.htmlはこのようになります。
<h3>Recipe List</h3>
<ul>
    <li class="pointer"
        ng-repeat="recipe in recipes">
        <rating max-rating="5" rating="recipe.rating"></rating>
          <span class="extra-space"
                ng-click="selectRecipe(recipe)">{{recipe.name}}</span>
    </li>
</ul>

<div ng-if="selectedRecipe != null">
    <h3>Recipe Details</h3>

    <div><strong>Name: </strong>{{selectedRecipe.name}}</div>
    <div><strong>Category: </strong>{{selectedRecipe.category}}</div>
    <div><strong>Rating: </strong>
        <rating max-rating="5" rating="selectedRecipe.rating"></rating>
    </div>
    <div>
        <ul>
            <li ng-repeat="ingredient in selectedRecipe.ingredients">
                {{ingredient}}
            </li>
        </ul>
    </div>
    <div><strong>Directions: </strong>{{selectedRecipe.directions}}</div>
</div>
<!DOCTYPE html>
<html ng-app>
<head>
    <title>Chapter Three - A Simple Recipe Book</title>
    <link rel="stylesheet" href="style.css">

    <script src="packages/web_components/webcomponents.js"></script>
    <script src="packages/web_components/dart_support.js"></script>
</head>
<body>
  <recipe-book></recipe-book>

  <script type="application/dart" src="main.dart"></script>
  <script type="text/javascript" src="packages/browser/dart.js"></script>
</body>
</html>
Componentに属性を追加する
ratingをもう一度見てみましょう。
<rating max-rating="5" rating="selectedRecipe.rating"></rating>
ratingにはmax-ratingとratingの2つの属性があります。この属性は次のように定義されています。
@NgTwoWay('rating')
int rating;

@NgAttr('max-rating')
set maxRating(String value) {...}
Componentで宣言する属性はHTMLのルールに従い、ケースインセンシティイブでダッシュ記号により区切ります。属性の種類に応じて変数に対してアノテーションを付与します。
NgAttr
プロパティとして値を与えます。与えられた値に{{}}が含まれていれば展開します。
NgAttrは単一方向の値渡しなので、Componentに渡されるのはインスタンスのコピーです。NgAttrで与えられたプロパティをComponent内で変更しても外部に影響はありません。
NgOneWay
属性に与えられた値を式として実行し、結果をComponentに渡します。"foo + bar"等が実行可能です。
NgOneWay属性も単一方向の値渡しなのでComponent内でのプロパティの変更は外部に影響しません。
NgTwoWay
属性に与えられた値を式として実行し、結果をComponentに渡します。そしてさらに式とプロパティの値を同期します。rating="selectedRecipe.rating"にあたります。
NgTwoWayは双方向のバインディングを可能にします。ComponentがNgTwoWayアノテートされたプロパティを変更すると元のインスタンスも変更されます。
ComponentとControllerの違い
ComponentとControllerの大きな違いは、Componentは外側のDOMとは完全に隔離された独立の階層を持つということです。Componentの内側の要素には外側からアクセスすることはできません。Web ComponentsのShadow DOMに対応したブラウザでは自動的にShadow DOMが利用され、CSSの名前衝突も防ぐ完全な分離が実現できます。
AngularDartの機能
ng-if
ng-ifに与えられた式がtrueを返す場合はその要素を表示し、falseの場合はDOM構造から削除します。
ng-class
ng-classに与えられた文字列をその要素のクラスに設定します。
まとめ
- Componentは再利用可能なUI要素を提供する
- Componentに属性を追加するにはプロパティにアノテーションを使う
第4回は4. Creating a Custom Decorator
を元にバージョン1.0に置き換えて解説します。