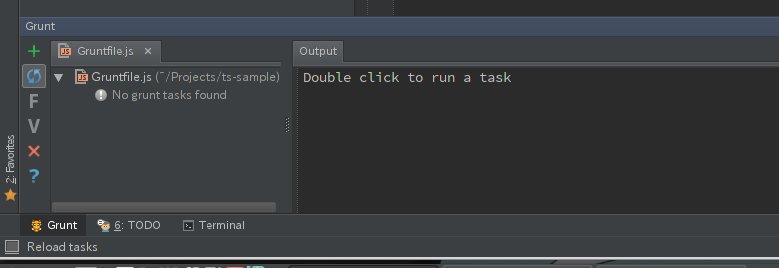
WebStorm 8.0.0でgrunt consoleが実装されました。Gruntfileに定義されたタスクをWebStorm上でGUIから実行できます。
grunt-cliのインストール
npmからgrunt-cliをインストールします。
npm install -g grunt-cli
環境変数の追加
WebStormはbashやzshの環境変数は読めないので、 システムの環境変数 にnodeのパスを通す必要があります。
nodebrew環境であれば、/etc/environmentに~/.nodebrew/current/binを追加します。他の環境でもgruntにパスが通るようにパスを追加すれば大丈夫だと思います。
プロジェクトにgruntをインストール
プロジェクトにgruntをインストールします。
npm install grunt
Gruntfile.jsを追加
これは手作業でGruntfile.jsという名前で新規ファイルを追加します。中身はまだ空でいいです。
Gruntfile.coffeeでも認識されるようです。
Open Grunt Console!
WebStormのProjectウィンドウからGruntfile.jsを右クリックすると下の方にOpen Grunt Consoleを選択します。
コンソールが開くと、タスクの無い状態で表示されると思います。タスクをGruntfile.jsに記述したあとにGruntコンソールの更新ボタンを押すと反映されます。

タスクの実行
コンソール左のタスクリストに表示されるタスクをダブルクリックすると右のコンソールで実行されます。