概要
コマンドの自動補完をしてくれるFish Shellというものがある。
そのインストール方法と使い方を軽く説明します。
インストール
以下を参考にしながらやっていく。
まずはAPTでインストール。
> sudo apt-add-repository ppa:fish-shell/release-3
> sudo apt update
> sudo apt install fish
インストールできたら起動できるか確認する。

ログインSHELLをFishにする
起動SHELLは環境変数$SHELLに格納されているため、まずは確認する。
fishのPATHを見たのち、chshコマンドでログインSHELLを変更する。
ayato@ayato-VBox:~/LITE_INC$ echo $SHELL
/bin/bash
ayato@ayato-VBox:~/LITE_INC$ which fish
/usr/bin/fish
ayato@ayato-VBox:~/LITE_INC$ chsh
Password:
Changing the login shell for ayato
Enter the new value, or press ENTER for the default
	Login Shell [/bin/bash]: /usr/bin/fish
ayato@ayato-VBox:~/LITE_INC$
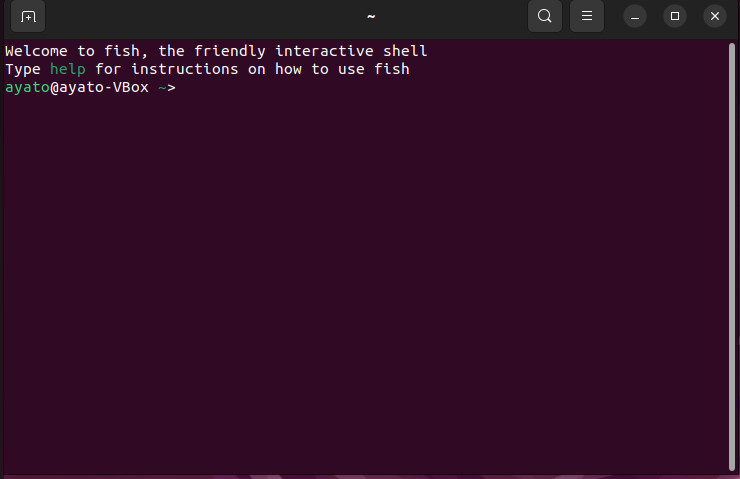
ログインしなおしてターミナルを起動すると反映されてます。
fishrc
エイリアスとかを格納するファイルの説明。
起動時に何等かのコマンドを実行したい場合には~/.config/fish/config.fishを編集します。
具体的にはこんな感じです。
config.fish
if status is-interactive
	# Commands to run in interactive sessions can go here
	alias c='clear'
end
諸設定
こんなコマンドを打ち込むとWebブラウザーで設定画面が開かれます。
簡単に設定できる!
> fish_config
コマンド作成
Fishでは自作のコマンドを設定できる。
~./config/fish/functions/以下に.fishファイルを以下の形式で作成する。
.fish
function <Function_Name> -d "<Explaining about command>"
    <Command>
end
例えば、僕はこんな感じで作った。画面をクリアしてからglowを実行する。
Fishではalias glow=clear && /snap/bin/glowが許されていないため、以下のような形になる。
function clear_glow -d "clear and glow"
    clear
    /snap/bin/glow $argv
end
glow $argvではループが起こることに注意!
最後に~./config/fish/config.fishにてalias glow='clear_glowを書いておけば大丈夫。
まとめ
補完機能めっちゃあって、なんかいいね!