この記事では、LangChainを使用して翻訳サービスを提供するFastAPIサーバーの設定と、それとやり取りするクライアントの設定方法を説明します。
1. サーバーのセットアップ
まず、サーバーをセットアップします。以下の手順に従ってください。
プロジェクトディレクトリの作成
mkdir langchain_project
cd langchain_project
Dockerfileの作成
Dockerfileを作成し、LangChainのインストールを含むイメージをビルドします。
FROM python:3.9-slim

# 作業ディレクトリの設定
WORKDIR /app

# 依存関係をコピーしてインストール
COPY requirements.txt requirements.txt
RUN pip install --no-cache-dir -r requirements.txt

# アプリケーションコードをコピー
COPY . .

# 設定ファイルやトレース用の環境変数を設定するためのエントリポイントを設定
CMD ["tail", "-f", "/dev/null"]
requirements.txtの作成
必要なPythonパッケージをrequirements.txtに記載します。
requirements.txt
langchain
langchain-groq
langserve[all]
docker-compose.ymlの作成
docker-compose.ymlを作成し、ローカルディレクトリとDockerコンテナ内のディレクトリをバインドマウントします。
docker-compose.yml
version: '3.8'

services:
  app:
    build: .
    volumes:
      - .:/app
    env_file:
      - .env
    ports:
      - "8000:8000"
.envファイルの作成
プロジェクトディレクトリに.envファイルを作成し、必要な環境変数を記載します。
.env
LANGCHAIN_TRACING_V2=true
LANGCHAIN_API_KEY=自分のAPI_KEY
GROQ_API_KEY=自分のAPI_KEY
サーバースクリプトの作成
serve.pyというファイルを作成し、以下のコードを記述します。
serve.py
from typing import List

from fastapi import FastAPI
from langchain_core.prompts import ChatPromptTemplate
from langchain_core.output_parsers import StrOutputParser
from langchain_groq import ChatGroq
from langserve import add_routes

# 1. Create prompt template
system_template = "Translate the following into {language}:"
prompt_template = ChatPromptTemplate.from_messages([
    ('system', system_template),
    ('user', '{text}')
])

# 2. Create model
model = ChatGroq(model="llama3-8b-8192")

# 3. Create parser
parser = StrOutputParser()

# 4. Create chain
chain = prompt_template | model | parser


# 4. App definition
app = FastAPI(
  title="LangChain Server",
  version="1.0",
  description="A simple API server using LangChain's Runnable interfaces",
)

# 5. Adding chain route

add_routes(
    app,
    chain,
    path="/chain",
)

if __name__ == "__main__":
    import uvicorn

    uvicorn.run(app, host="0.0.0.0", port=8000)
コンテナのビルドと起動
以下のコマンドでDockerコンテナをビルドし、起動します。
docker-compose up --build
以下のコマンドでFastAPIサーバーを起動
docker-compose exec app python serve.py
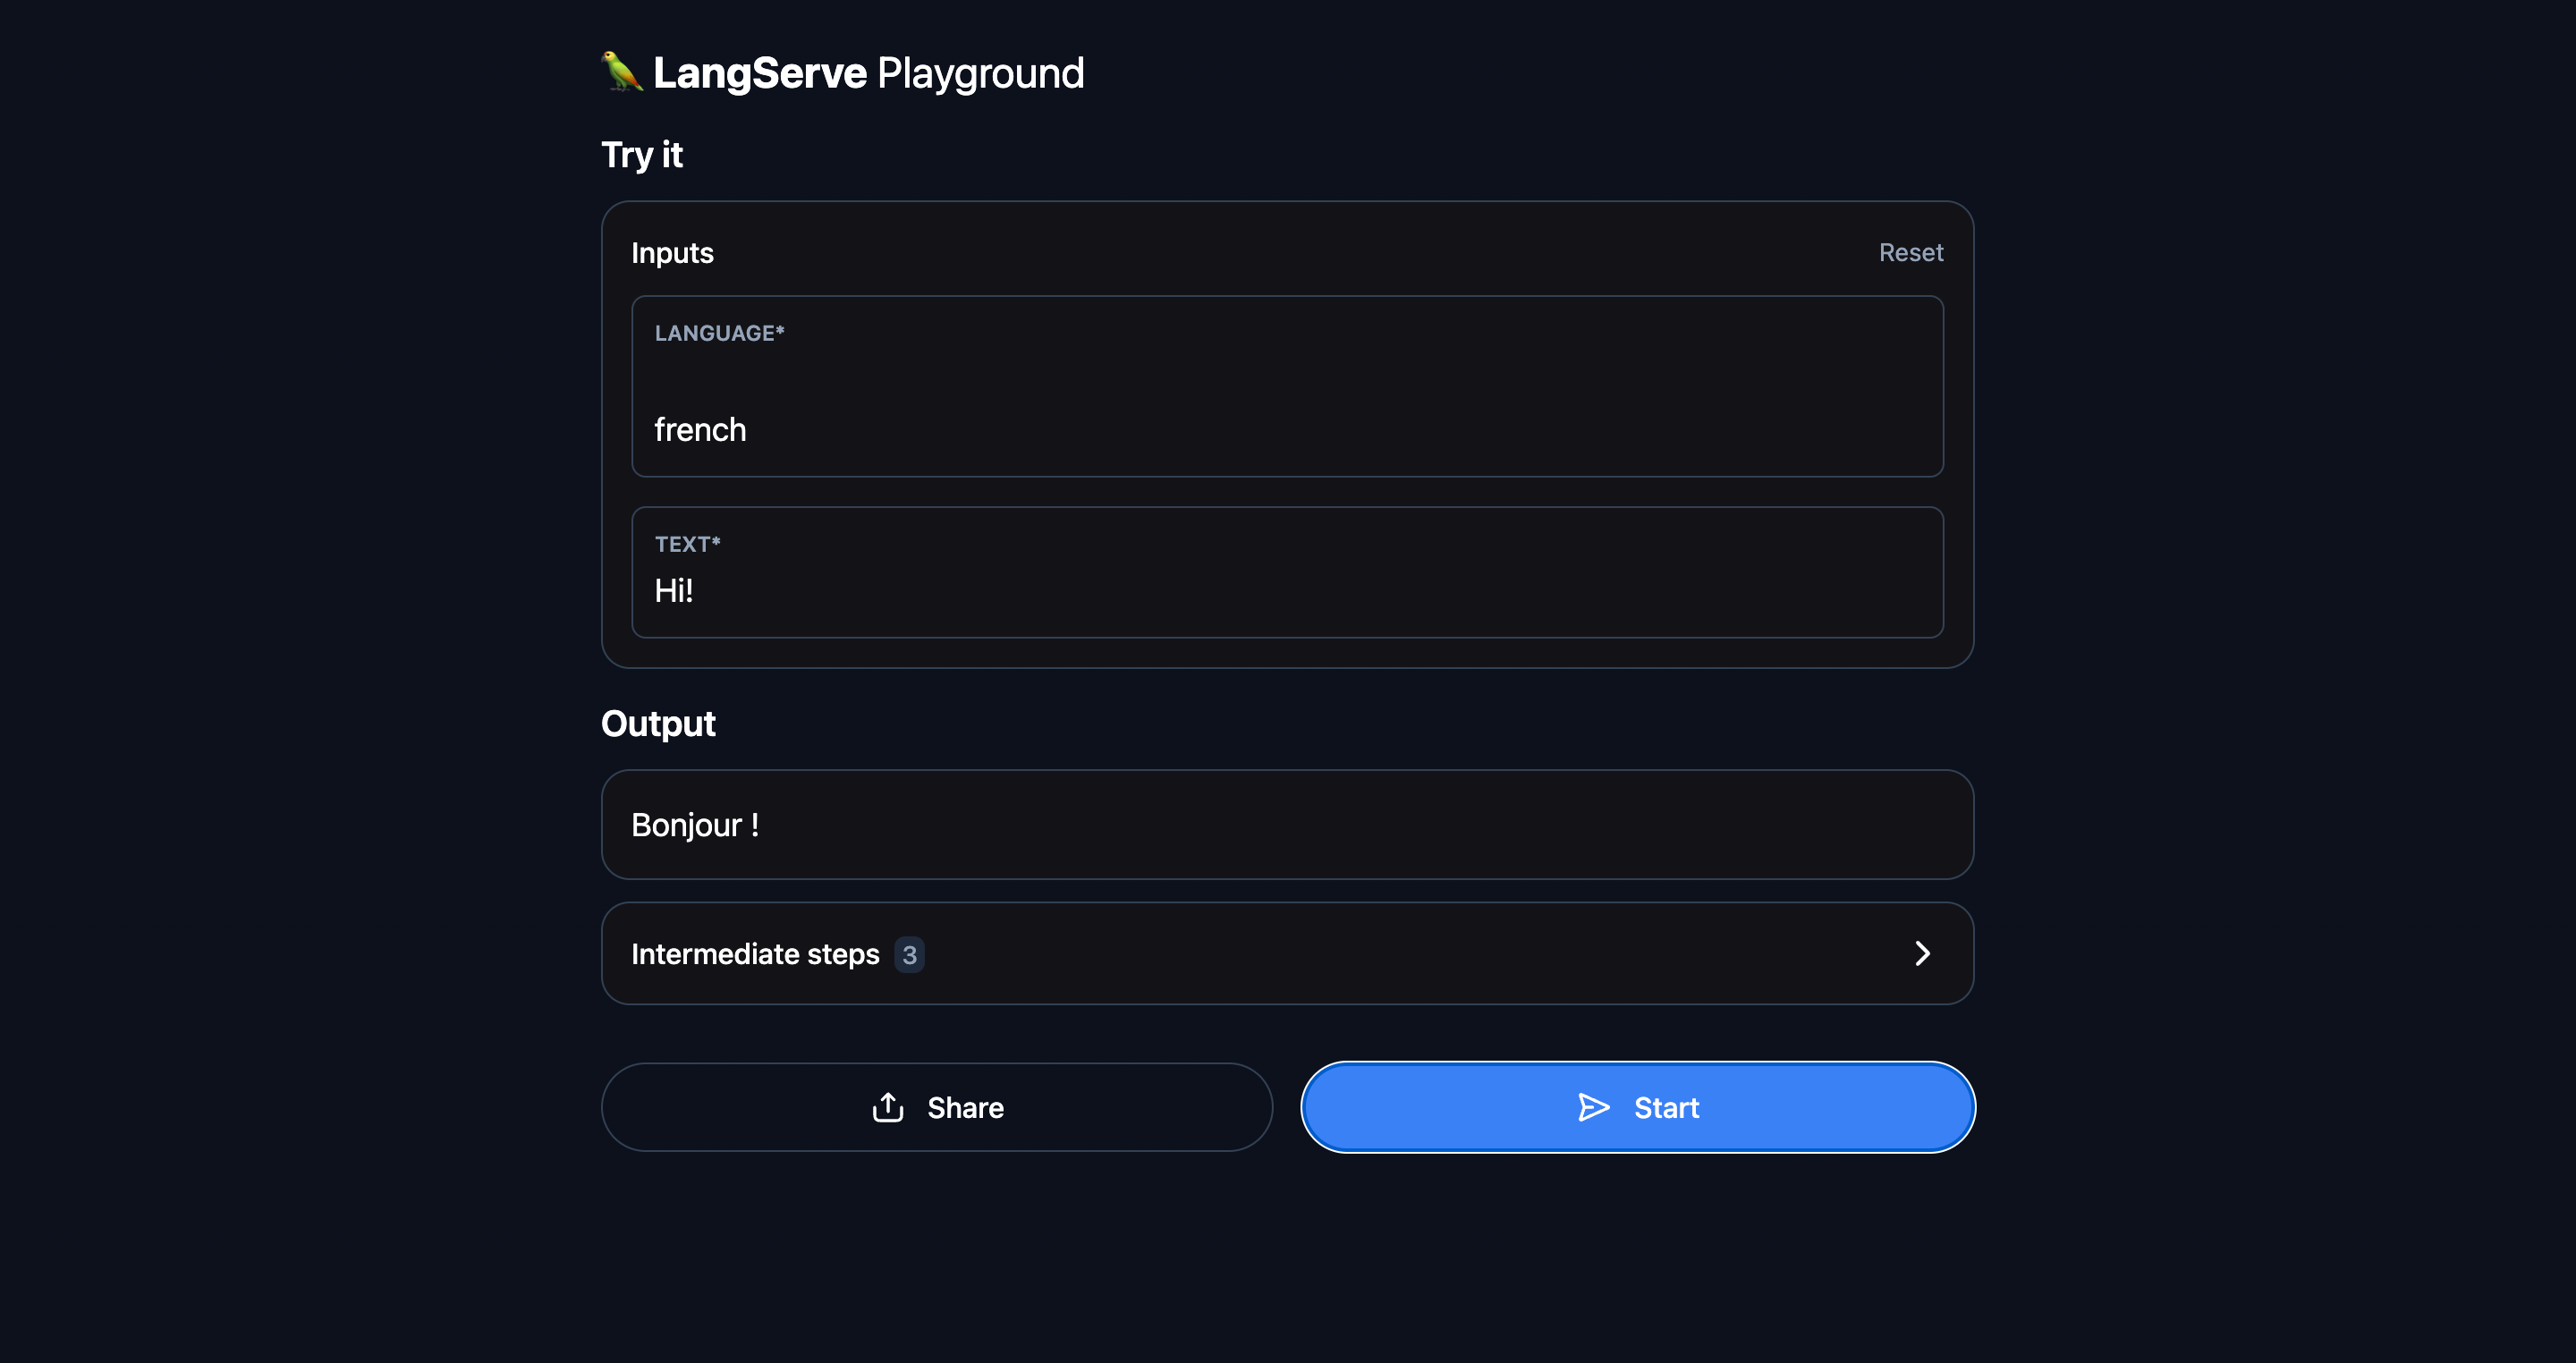
サーバーが正常に起動し、http://localhost:8000/chain/playground/ にアクセスできることを確認します。
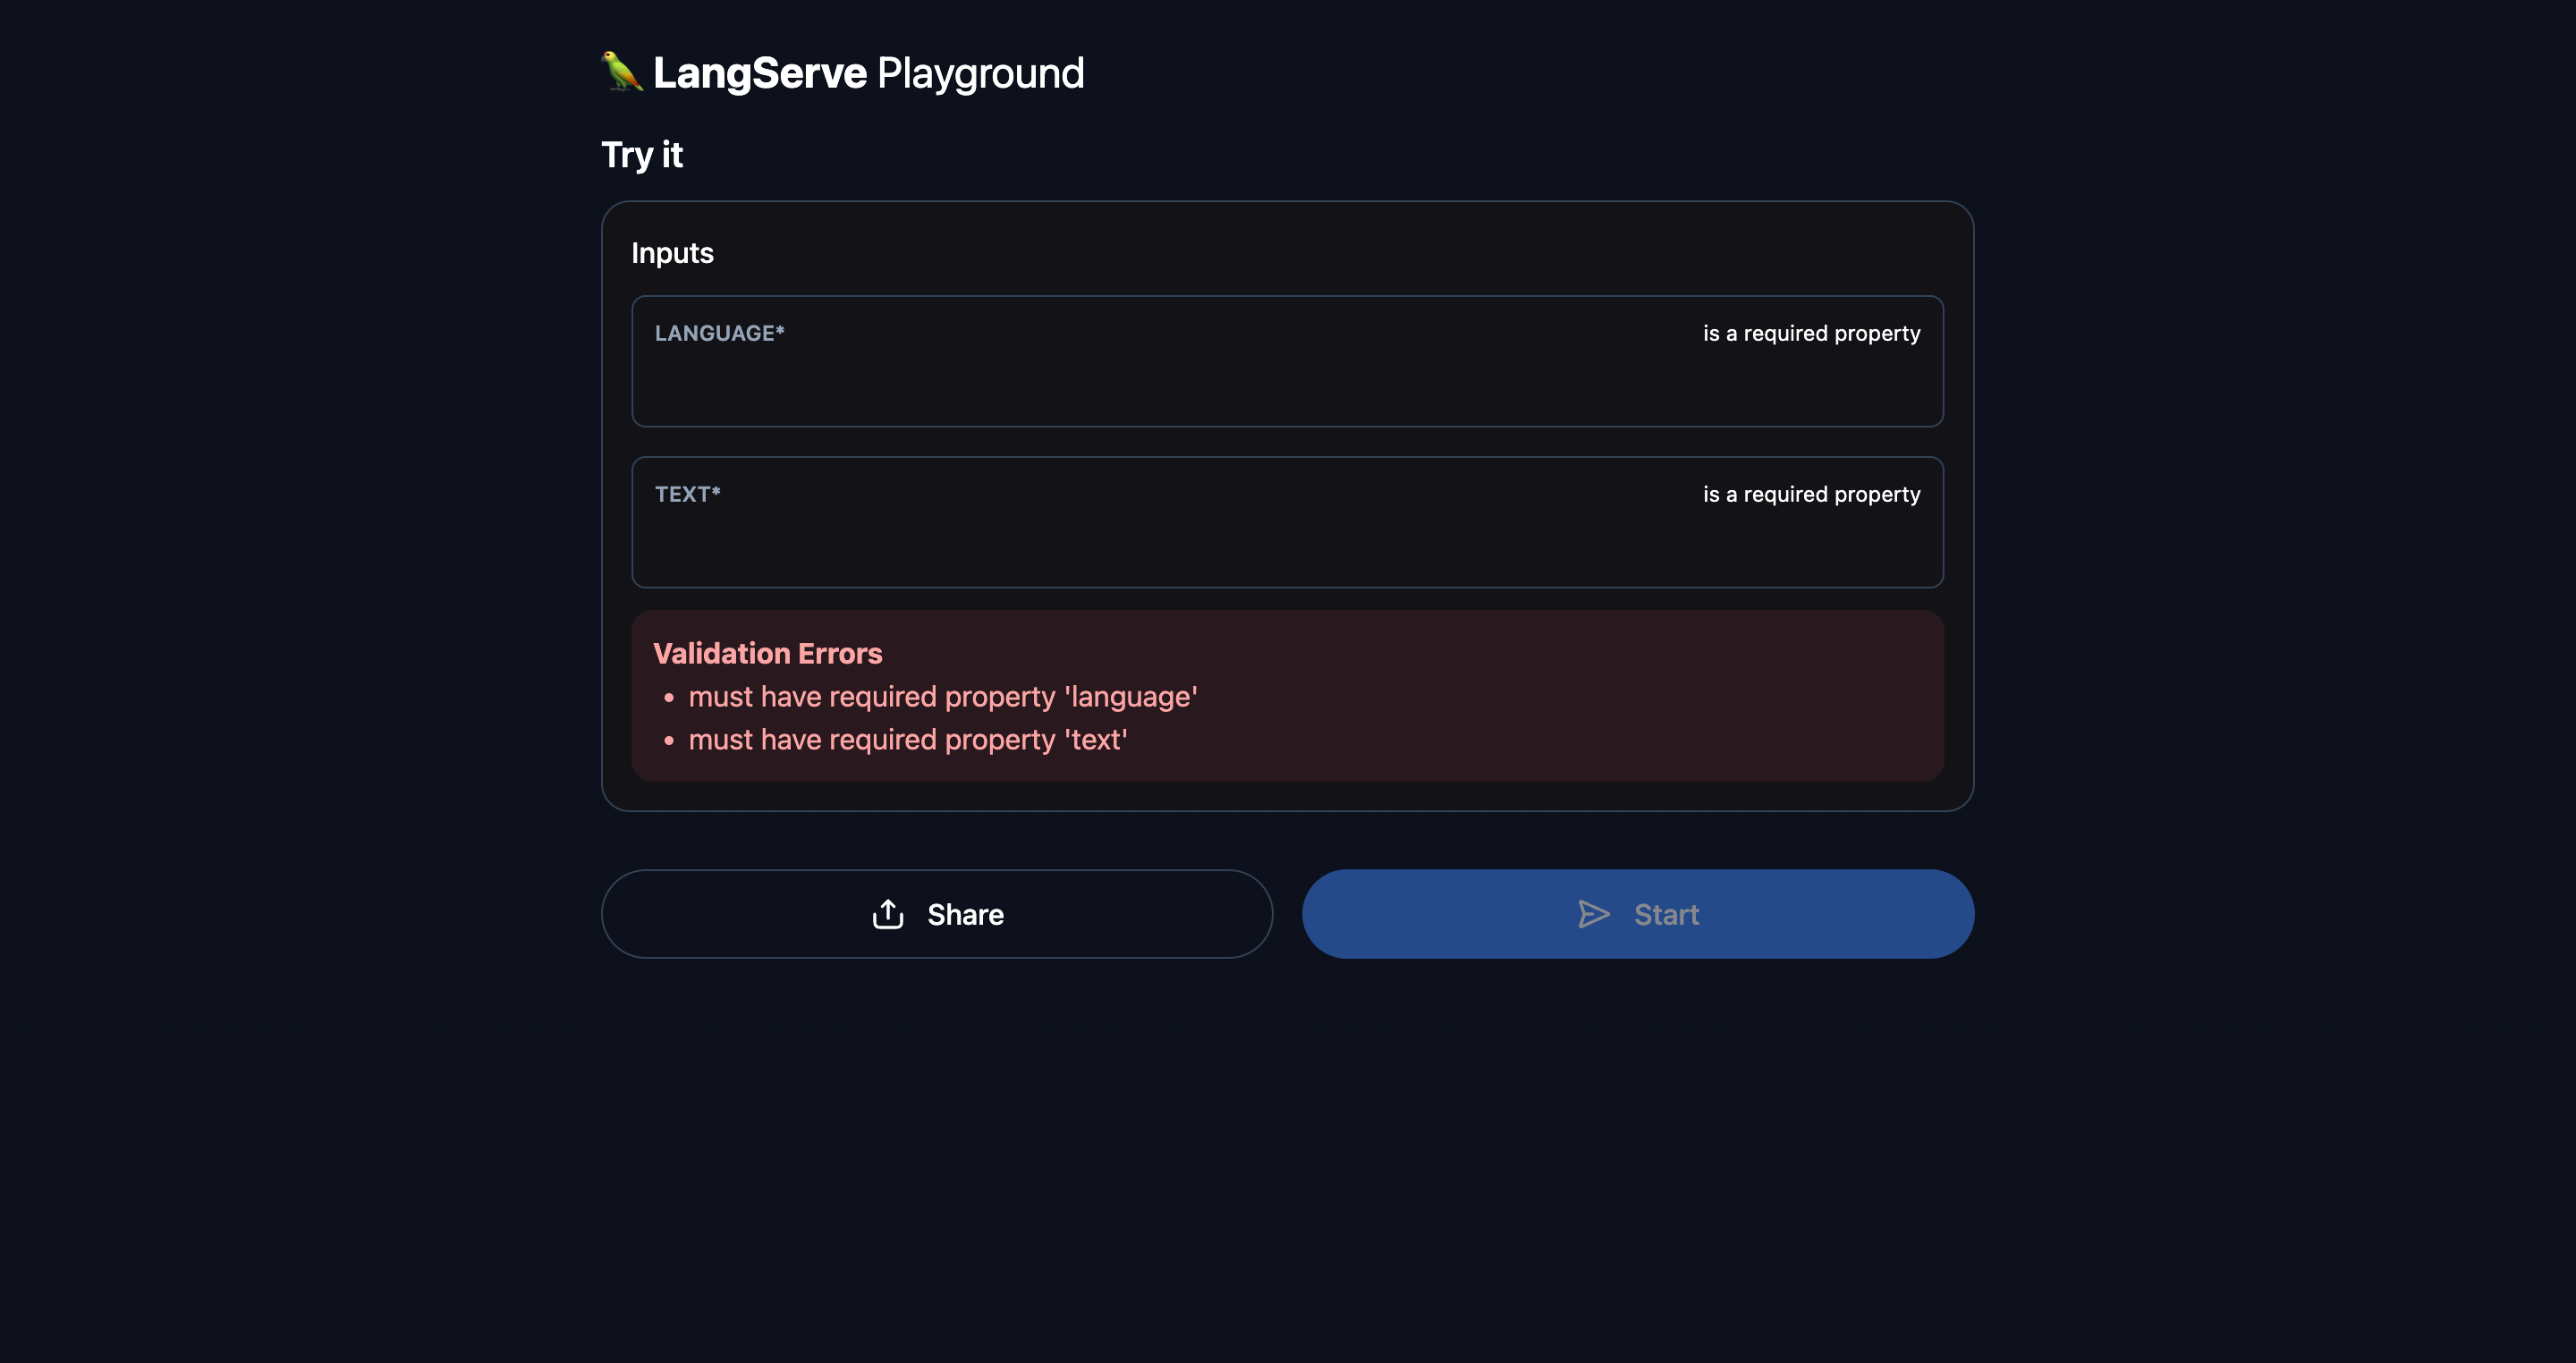
下記は動かした結果。無事動いていそうです。
2. クライアントの設定
次に、プログラムでサービスとやり取りするためのクライアントを設定します。
クライアントコードの作成
client.pyというファイルを作成し、以下のコードを記述します。
client.py
from langserve import RemoteRunnable

# サーバーのエンドポイントを指定してRemoteRunnableを作成
remote_chain = RemoteRunnable("http://localhost:8000/chain/")

# サーバーにリクエストを送信し、応答を取得
response = remote_chain.invoke({"language": "french", "text": "hi"})

# 応答を表示
print(response)
クライアントコードの実行
サーバーが起動していることを確認し、別のターミナルウィンドウでクライアントコードを実行します。
docker-compose exec app python client.py
'Bonjour !' という応答が表示されるはずです。
まとめ
以上で、LangChainとFastAPIを使用したサーバーとクライアントの設定方法について説明しました。これにより、サーバー側で複雑な処理を行い、クライアント側から簡単にそれを呼び出すことができます。