はじめに
angular2-google-mapsというライブラリを使って、Angularアプリ上でジオコーディングを実施するデモアプリを作成しました。
開発環境
-
Angular@2.4.1
-
angular2-google-maps@0.17.0
-
typescript@2.0.10
ジオコーディング(Geocoding)とは
Google Maps API公式サイトから引用。
ジオコーディングとは、住所(たとえば「東京都港区六本木 6-10-1」)を地理的座標(たとえば、緯度 35.6604282、経度 139.7269877)に変換するプロセスです。変換した座標は、マップ上に場所の目印を付ける場合や、位置指定を行う場合に使用できます。
デモアプリ概要
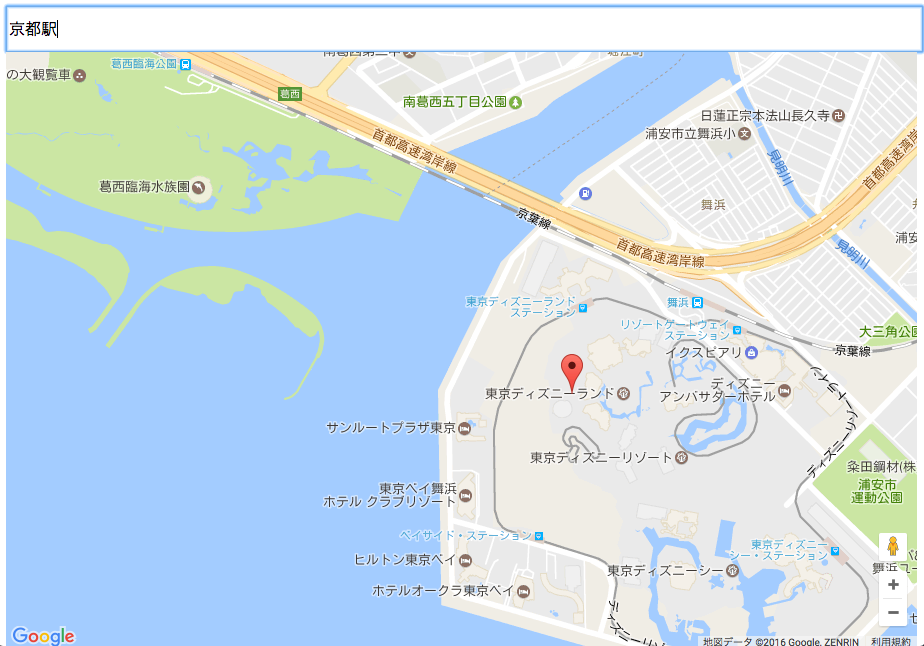
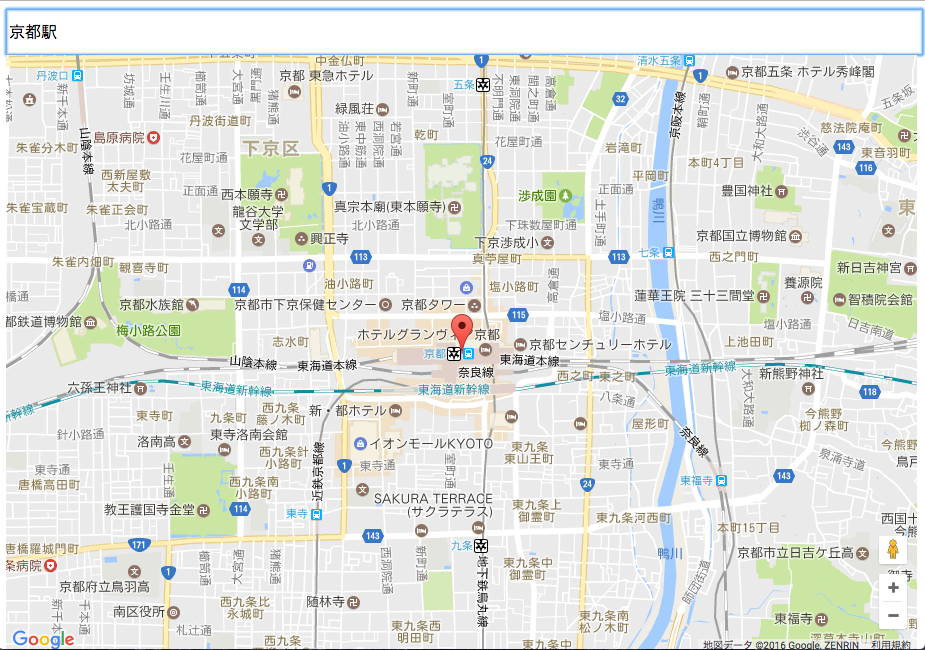
入力した場所情報(例:京都駅)をジオコーディングで緯度と経度に変換後、GoogleMapに渡してマーカーを置くという処理をAngularを使って書いています。
GoogleMapで表示したい場所をテキストボックスに入力してEnterすると。。。

GoogleMapの中心が、テキストボックスに入力した地点(京都駅)に移動し、マーカーが置かれるという仕様。
ソースコード
ライブラリangular2-google-mapsの導入方法は、公式サイトのGetting Startedがわかりやすいので割愛します。
import { Component } from '@angular/core';
import { NgForm } from '@angular/forms';
import { MapService } from '../services/map.service';

@Component({
  selector: 'app-root',
  templateUrl: './app.component.html',
  styleUrls: ['./app.component.css']
})
export class AppComponent {
  lat: number = 35.6329007;
  lng: number = 139.8782003;
  zoom: number = 15;

  constructor(
    public mapService: MapService,
  ) {}

  public geocoding(f: NgForm) {
    let self = this;

    this.mapService.geocoding(f.value.address).then(
      rtn => {
        let location = rtn[0].geometry.location;

        self.lat = location.lat();
        self.lng = location.lng();
      }
    );
  }
}
テキストボックスに入力した場所情報を、MapServiceに渡した後、MapServiceからジオコーディング結果として渡された緯度と経度を受け取り、HTML上のGoogleMapに渡しています。
<form #f="ngForm" (ngSubmit)="geocoding(f)" novalidate>
  <input type="text" name="address" placeholder="場所を入力してください...(例:品川駅)" ngModel>
</form>
<sebm-google-map [latitude]="lat" [longitude]="lng" [zoom]="zoom">
  <sebm-google-map-marker [latitude]="lat" [longitude]="lng"></sebm-google-map-marker>
</sebm-google-map>
import { Injectable } from '@angular/core';

import { MapsAPILoader } from 'angular2-google-maps/core';

declare let google: any;

@Injectable()
export class MapService {
    private geocoder: any = null;

    constructor(
        private mapsAPILoader: MapsAPILoader,
    ) { }

    public geocoding(address: string): Promise<any> {
        return this.mapsAPILoader.load().then(() => {
            this.geocoder = new google.maps.Geocoder();

            return new Promise((resolve, reject) => {
                this.geocoder.geocode({ 'address': address }, (result: any, status: any) => {
                    if (status === google.maps.GeocoderStatus.OK) {
                        resolve(result);
                    } else {
                        reject(status);
                    }
                });
            });
        });
    }
}
import { BrowserModule } from '@angular/platform-browser';
import { NgModule } from '@angular/core';
import { FormsModule } from '@angular/forms';
import { HttpModule } from '@angular/http';
import { AppComponent } from './app.component';

import { AgmCoreModule } from 'angular2-google-maps/core';

import { MapService } from '../services/map.service';

@NgModule({
  declarations: [
    AppComponent
  ],
  imports: [
    BrowserModule,
    FormsModule,
    HttpModule,
    AgmCoreModule.forRoot({
      apiKey: 'YourAPIKey'
    })
  ],
  providers: [
    MapService,
  ],
  bootstrap: [AppComponent]
})
export class AppModule { }
tips
mapsAPILoader.load()を使用すると、「google is not undefined〜」エラー発生を防ぐことができます。
最後に
ReverseGeocoding編、交通渋滞情報表示編と続きます。
なお、作成したデモアプリは、Githubにあげてるので、Google mapsのAPIKEYを取得して設定すれば動かすこともできます。
手順
-
GoogleMapのAPIKEYを取得して、src/app/app.module.tsに設定
-
npm installコマンド実施
-
ng serveコマンド実施
-
ブラウザを開いて、http://localhost:4200/ を入力
