Dart x Flutter_Web の開発環境を Docker上に構築できたので、メモ。 AWS Cloud9 のように、クラウド上で開発できて、その場で動作確認とかできます。
また、VSCode x Dart Plugin の Auto Complete などの開発補助機能を使えます。
(0) Dockerfileをかく
FROM ubuntu:18.04

RUN apt-get update
RUN apt-get install -y curl wget gnupg less lsof net-tools git apt-utils -y


# WORKDIR
RUN mkdir /works
WORKDIR /works

# DART
RUN apt-get install apt-transport-https
RUN sh -c 'curl https://dl-ssl.google.com/linux/linux_signing_key.pub | apt-key add -'
RUN sh -c 'curl https://storage.googleapis.com/download.dartlang.org/linux/debian/dart_stable.list > /etc/apt/sources.list.d/dart_stable.list'
RUN apt-get update
RUN apt-get install dart -y
ENV PATH="${PATH}:/usr/lib/dart/bin/"
ENV PATH="${PATH}:/root/.pub-cache/bin"

RUN pub global activate webdev
RUN pub global activate stagehand

#
# CODE-SERVER
RUN wget https://github.com/cdr/code-server/releases/download/1.939-vsc1.33.1/code-server1.939-vsc1.33.1-linux-x64.tar.gz
RUN tar xzf code-server1.939-vsc1.33.1-linux-x64.tar.gz -C ./ --strip-components 1


# FLUTTER
RUN apt-get install xz-utils -y
RUN wget https://storage.googleapis.com/flutter_infra/releases/stable/linux/flutter_linux_v1.5.4-hotfix.2-stable.tar.xz
RUN mkdir /works/development
WORKDIR /works/development
RUN tar xf ../flutter_linux_v1.5.4-hotfix.2-stable.tar.xz
ENV PATH="${PATH}:/works/development/flutter/bin"
RUN flutter precache


#
# FLUTTER CODE
RUN git clone https://github.com/flutter/flutter_web.git
WORKDIR /works/development/flutter_web/examples/hello_world/
RUN flutter packages upgrade
RUN pub get
(1) Docker Image を build/run
# git clone https://github.com/kyorohiro/my-code-server.git
# cd my-code-server/dart_flutter_web
$ docker build . -t dart_flutter_web
$ docker run -p 8443:8443 -p 8080:8080 -it dart_flutter_web bash
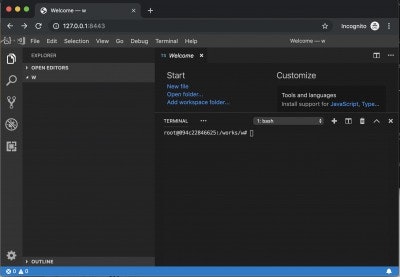
(2) VSCode を起動する
/works/code-server /works/development/flutter_web/examples/hello_world --allow-http --no-auth
(3) 'http://127.0.0.1:8443/' をブラウザーで開く
Webdev
(1) VSCode上で、Terminal -> New Terminal
(2) 以下を入力
root@8e5699b9caa4:/works/w# pub get
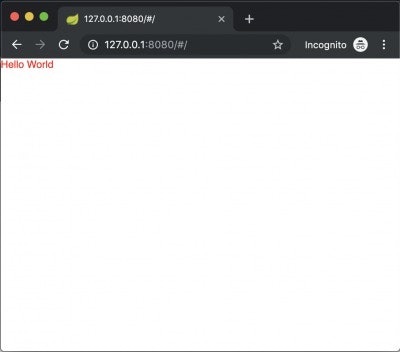
root@8e5699b9caa4:/works/w# webdev serve --hostname=0.0.0.0
(3) 'http://127.0.0.1:8080/' をブラウザーで開く
終わり
PS
以下を拡張した
コードは以下