AIに画像を書かせて定期的に更新されるフォトフレームを作りたい!!
raspberry pi 4でStable Diffusionを動かしてみる(画像自動生成&更新フォトフレームの作成)その2
の続きになります。
ここまで作業した内容
ここまでにStable Diffusionを使った画像生成と、
inky impressionへの画像描画がPythonで実行できるようになりました。
なのでその2つを統合してフォトフレームとして、放置していても画像が生成/表示され続けるものにしたいと思います。
構築作業1:プロジェクトディレクトリの作成
ホームディレクトリにプロジェクトフォルダを作り、そこに必要資材を構築していきます。
$ cd ~/
$ mkdir aiproject

// 画像保管用
$ mkdir aiproject/photo
$ cd aiproject
Python初心者ですがフォトフレーム用のコードを書いてみました。
$ vi aiPhotoFrame.py
from diffusers import StableDiffusionPipeline, EulerDiscreteScheduler
from PIL import Image
from inky.inky_uc8159 import Inky
from datetime import datetime
import time

model_id = "stabilityai/stable-diffusion-2"
scheduler = EulerDiscreteScheduler.from_pretrained(model_id, subfolder="scheduler")
pipe = StableDiffusionPipeline.from_pretrained(model_id, scheduler=scheduler)
pipe = pipe.to("cpu")
prompt = "space cat  Anthropomorphized cat, casting evil spell, magic the gathering artwork, D&D, fantasy, cinematic lighting, centered, symmetrical, highly detailed, digital painting, artstation, concept art, smooth, sharp focus, illustration, volumetric lighting, epic Composition, 8k, art by Akihiko Yoshida and Greg Rutkowski and Craig Mullins, heroic pose, oil painting, cgsociety, magic lab"
directory = "/home/pi/aiproject/photo/"

def makeArtWorker():
  try:
    # inky impression用に画像サイズを最適化(ここは64の倍数のピクセルのみ指定可能)
    image = pipe(prompt, height=448, width=640).images[0]
    date = datetime.now().strftime("%Y%m%d_%H%M%S")
    path = directory + date + ".png"
    image.save(path)
    time.sleep(1)
    displayArtWorker(path)

  except Exception as e:
    print("makeArtWorker error", e)
    time.sleep(10)

def displayArtWorker(photoPass):
  try:
    img = Image.open(photoPass)
    w, h = img.size
    h_new = 448
    w_new = int((float(w) / h) * h_new)
    w_cropped = 600
    img = img.resize((w_new, h_new), resample=Image.LANCZOS)
    x0 = (w_new - w_cropped) / 2
    x1 = x0 + w_cropped
    y0 = 0
    y1 = h_new
    img = img.crop((x0, y0, x1, y1))
    inky = Inky()
    # saturation 彩度
    saturation = 0.5
    inky.set_image(img, saturation=saturation)
    time.sleep(1)
    inky.show()
    makeArtWorker()
  except Exception as e:
    print("displayArtWorker error",e)
    time.sleep(10)

makeArtWorker()
実行するとまず画像生成が走り、終わるとその画像をinky impressionに描画させるという一連の流れをループするだけの処理になっています。
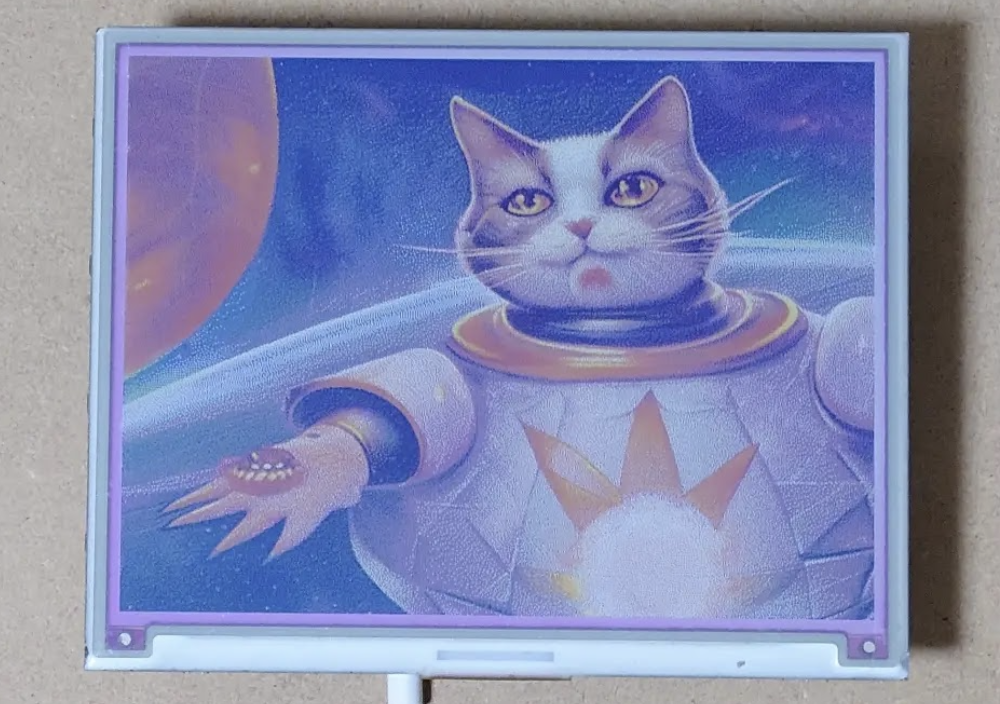
これで数時間まつとが更新されるフォトフレームが完成しました!
あとは電源が入った際に自動起動させたいので、
$ crontab -e
で最後の行に以下を追加しました。
@reboot python3 /home/pi/aiproject/aiPhotoFrame.py
これで起動すれば勝手に動いてくれると思います。
構築作業2:仕上げ
中身は無事にできましたがこのままだと飾りにくくそして、Raspberry Piの発熱ですぐにでも壊れてしまいそうなので外側も作っていきます。
まずファンを2つ購入しました。
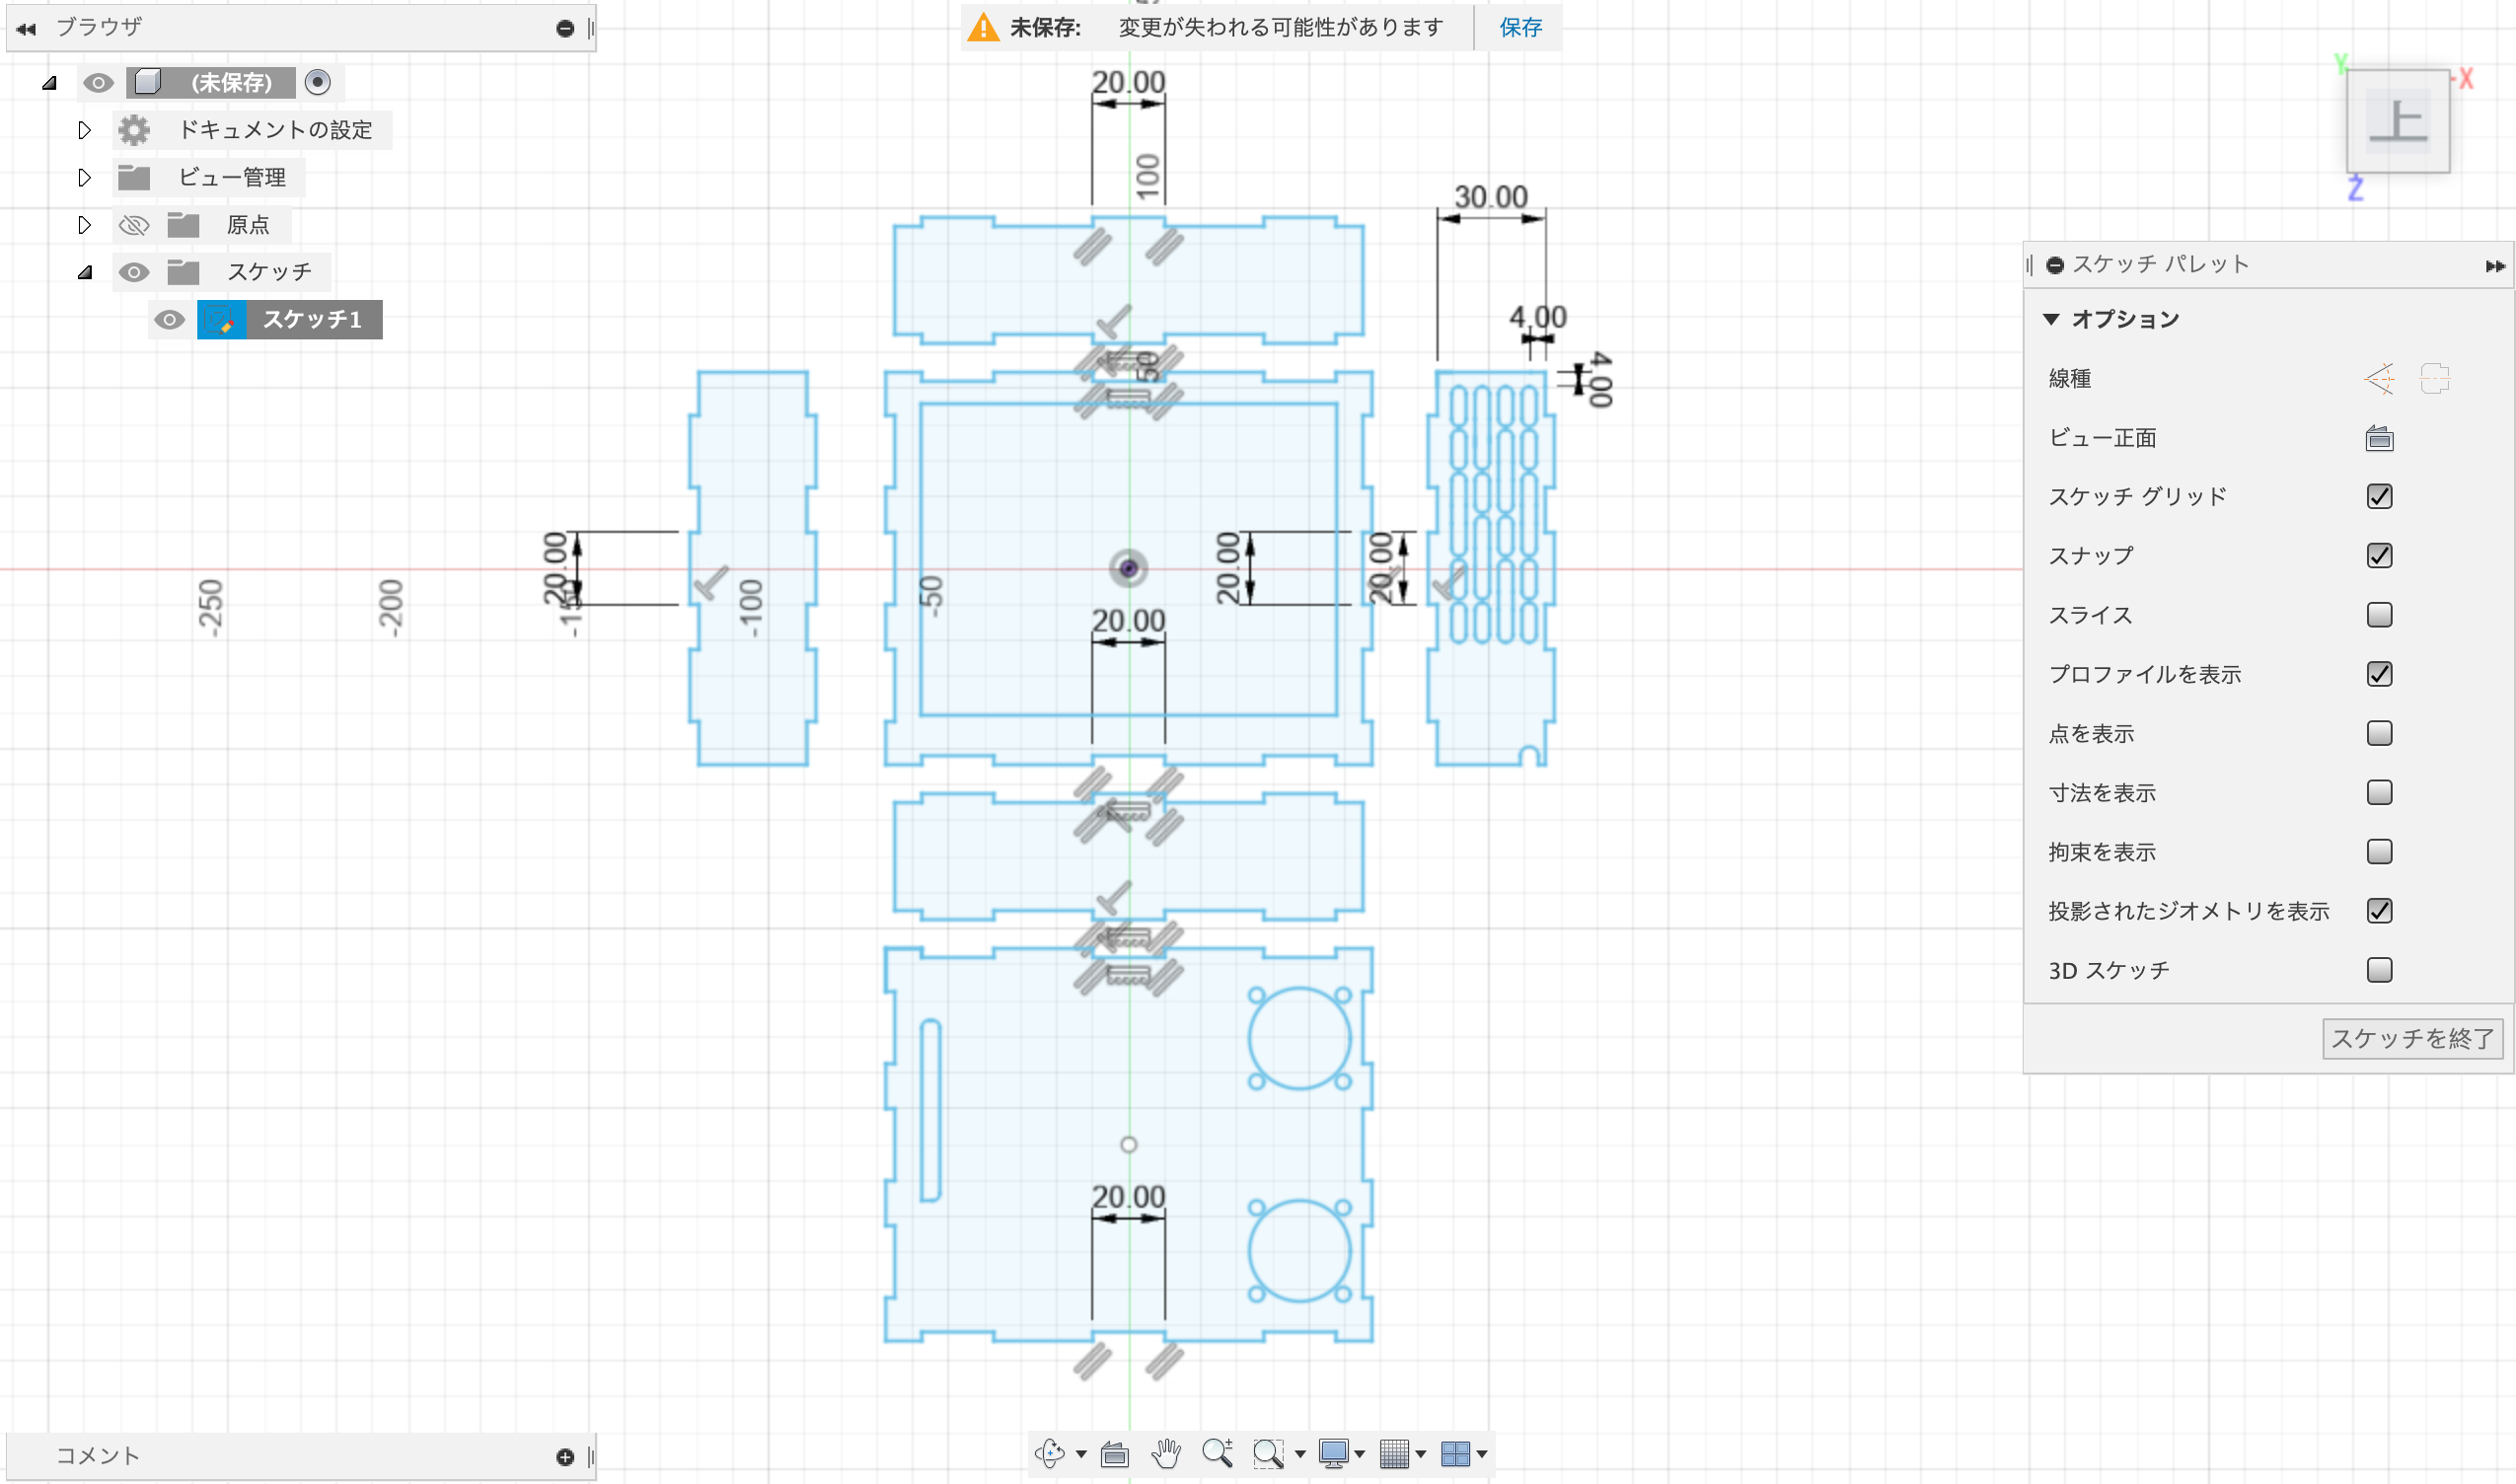
こちらを組み込める筐体をFusion360で作っていきます。

そしたらこれをdxfにしてレーザ加工していきます。(一応データも置いておきます)
https://drive.google.com/file/d/1XjsZMNlUbNHcT4E5DEM1hWlE9doUeUxR/view?usp=share_link
レーザー加工機は以下の記事に書いてるものを使っていて、カットする素材はMDFの2.5mm厚のものを使います。
加工が終わったらグルーガンとかで固定しつつ完成したものがこちらです。
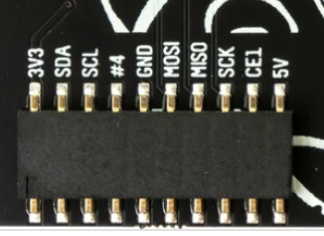
ファンの電源はinky-impressionのここから5[v]を引きました。

ファンを2つつけたこともあってかなり騒音ですが冷えてる感じがします、、!
この記事は以上です。


