AIに画像を書かせて定期的に更新されるフォトフレームを作りたい!!
タイトルの通り定期的に画像が更新されるフォトフレームが作りたくなったので、その実現までの作業をここに記します。
どんなものを具体的に作るのか?
制御:Raspberry Pi 4 Model B
表示器:7色電子ペーパー(Pimoroni:Pim534)
今回はこちらのinky-impression-5.7という7色(黒、白、赤、緑、青、黄、オレンジの7色)の組み合わせから、いろいろな色を鮮やかに表現できる電子ペーパーのディスプレイを使います。
このディスプレイにStable Diffusionで生成した画像を表示するというガジェットを組み立てていきます。
まずは完成したものはこちら
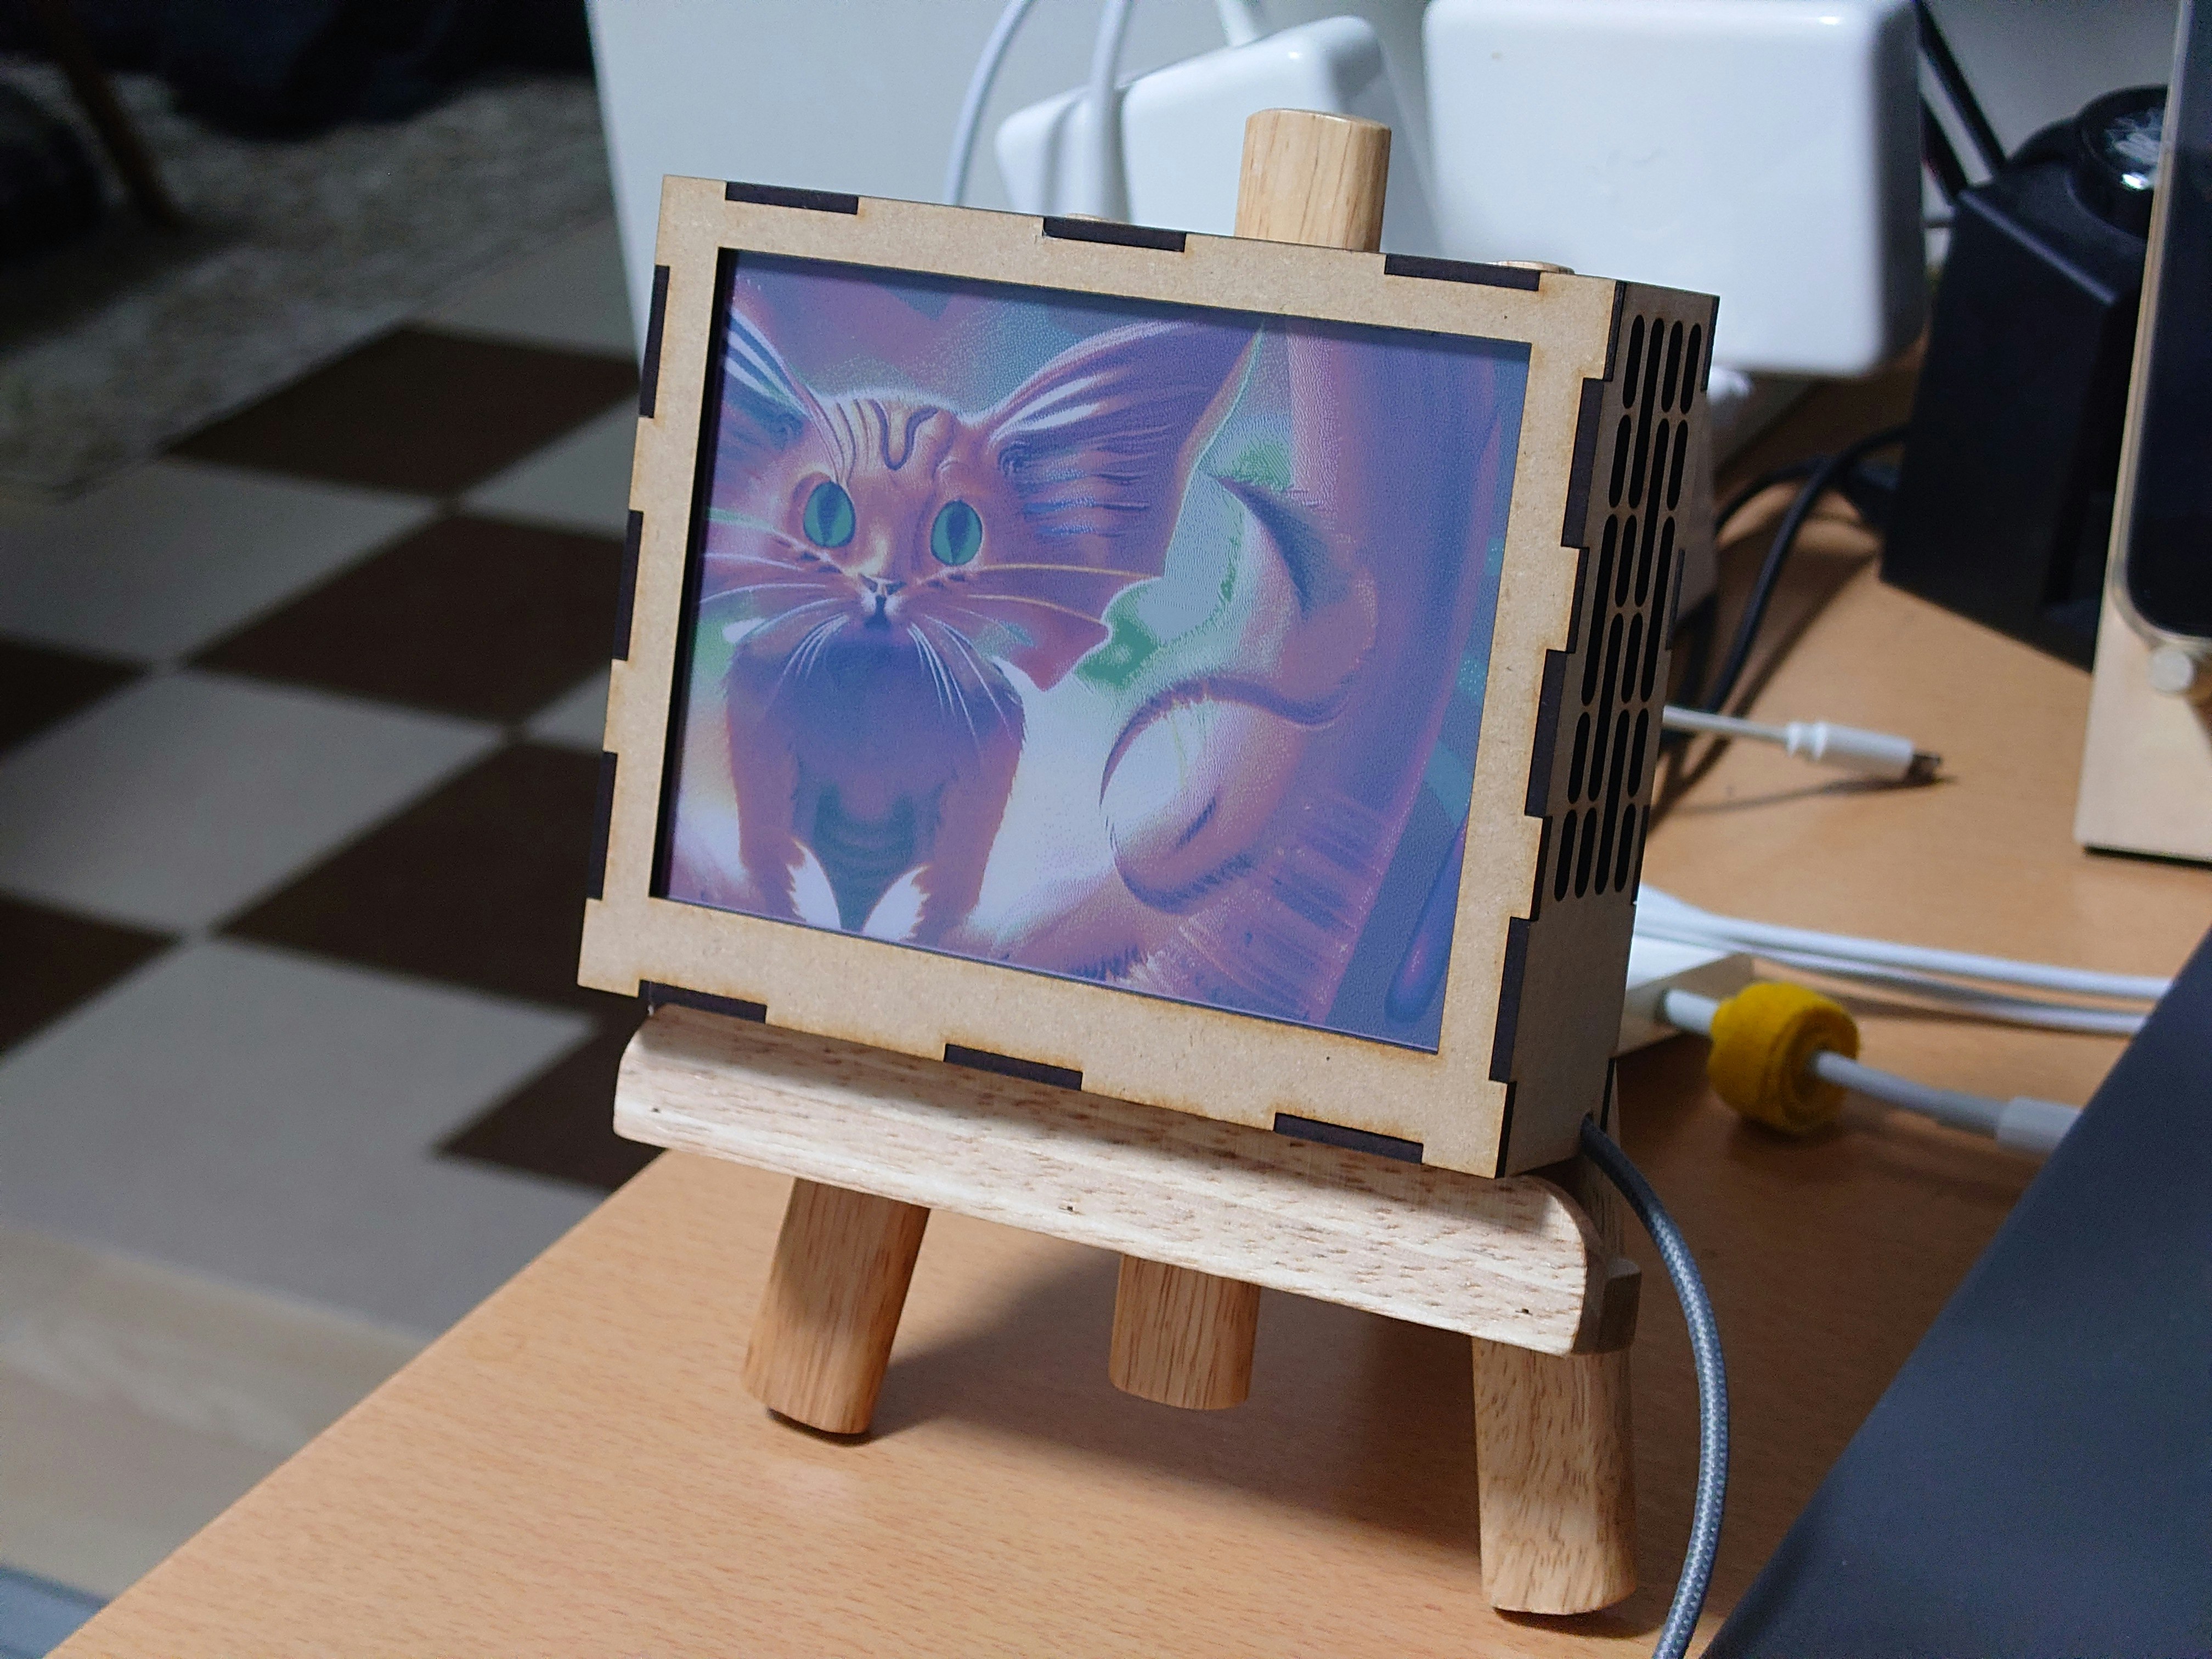
7色電子ペーパに生成した画像を表示させることができました。
約3時間に1度画像が生成され更新されます。
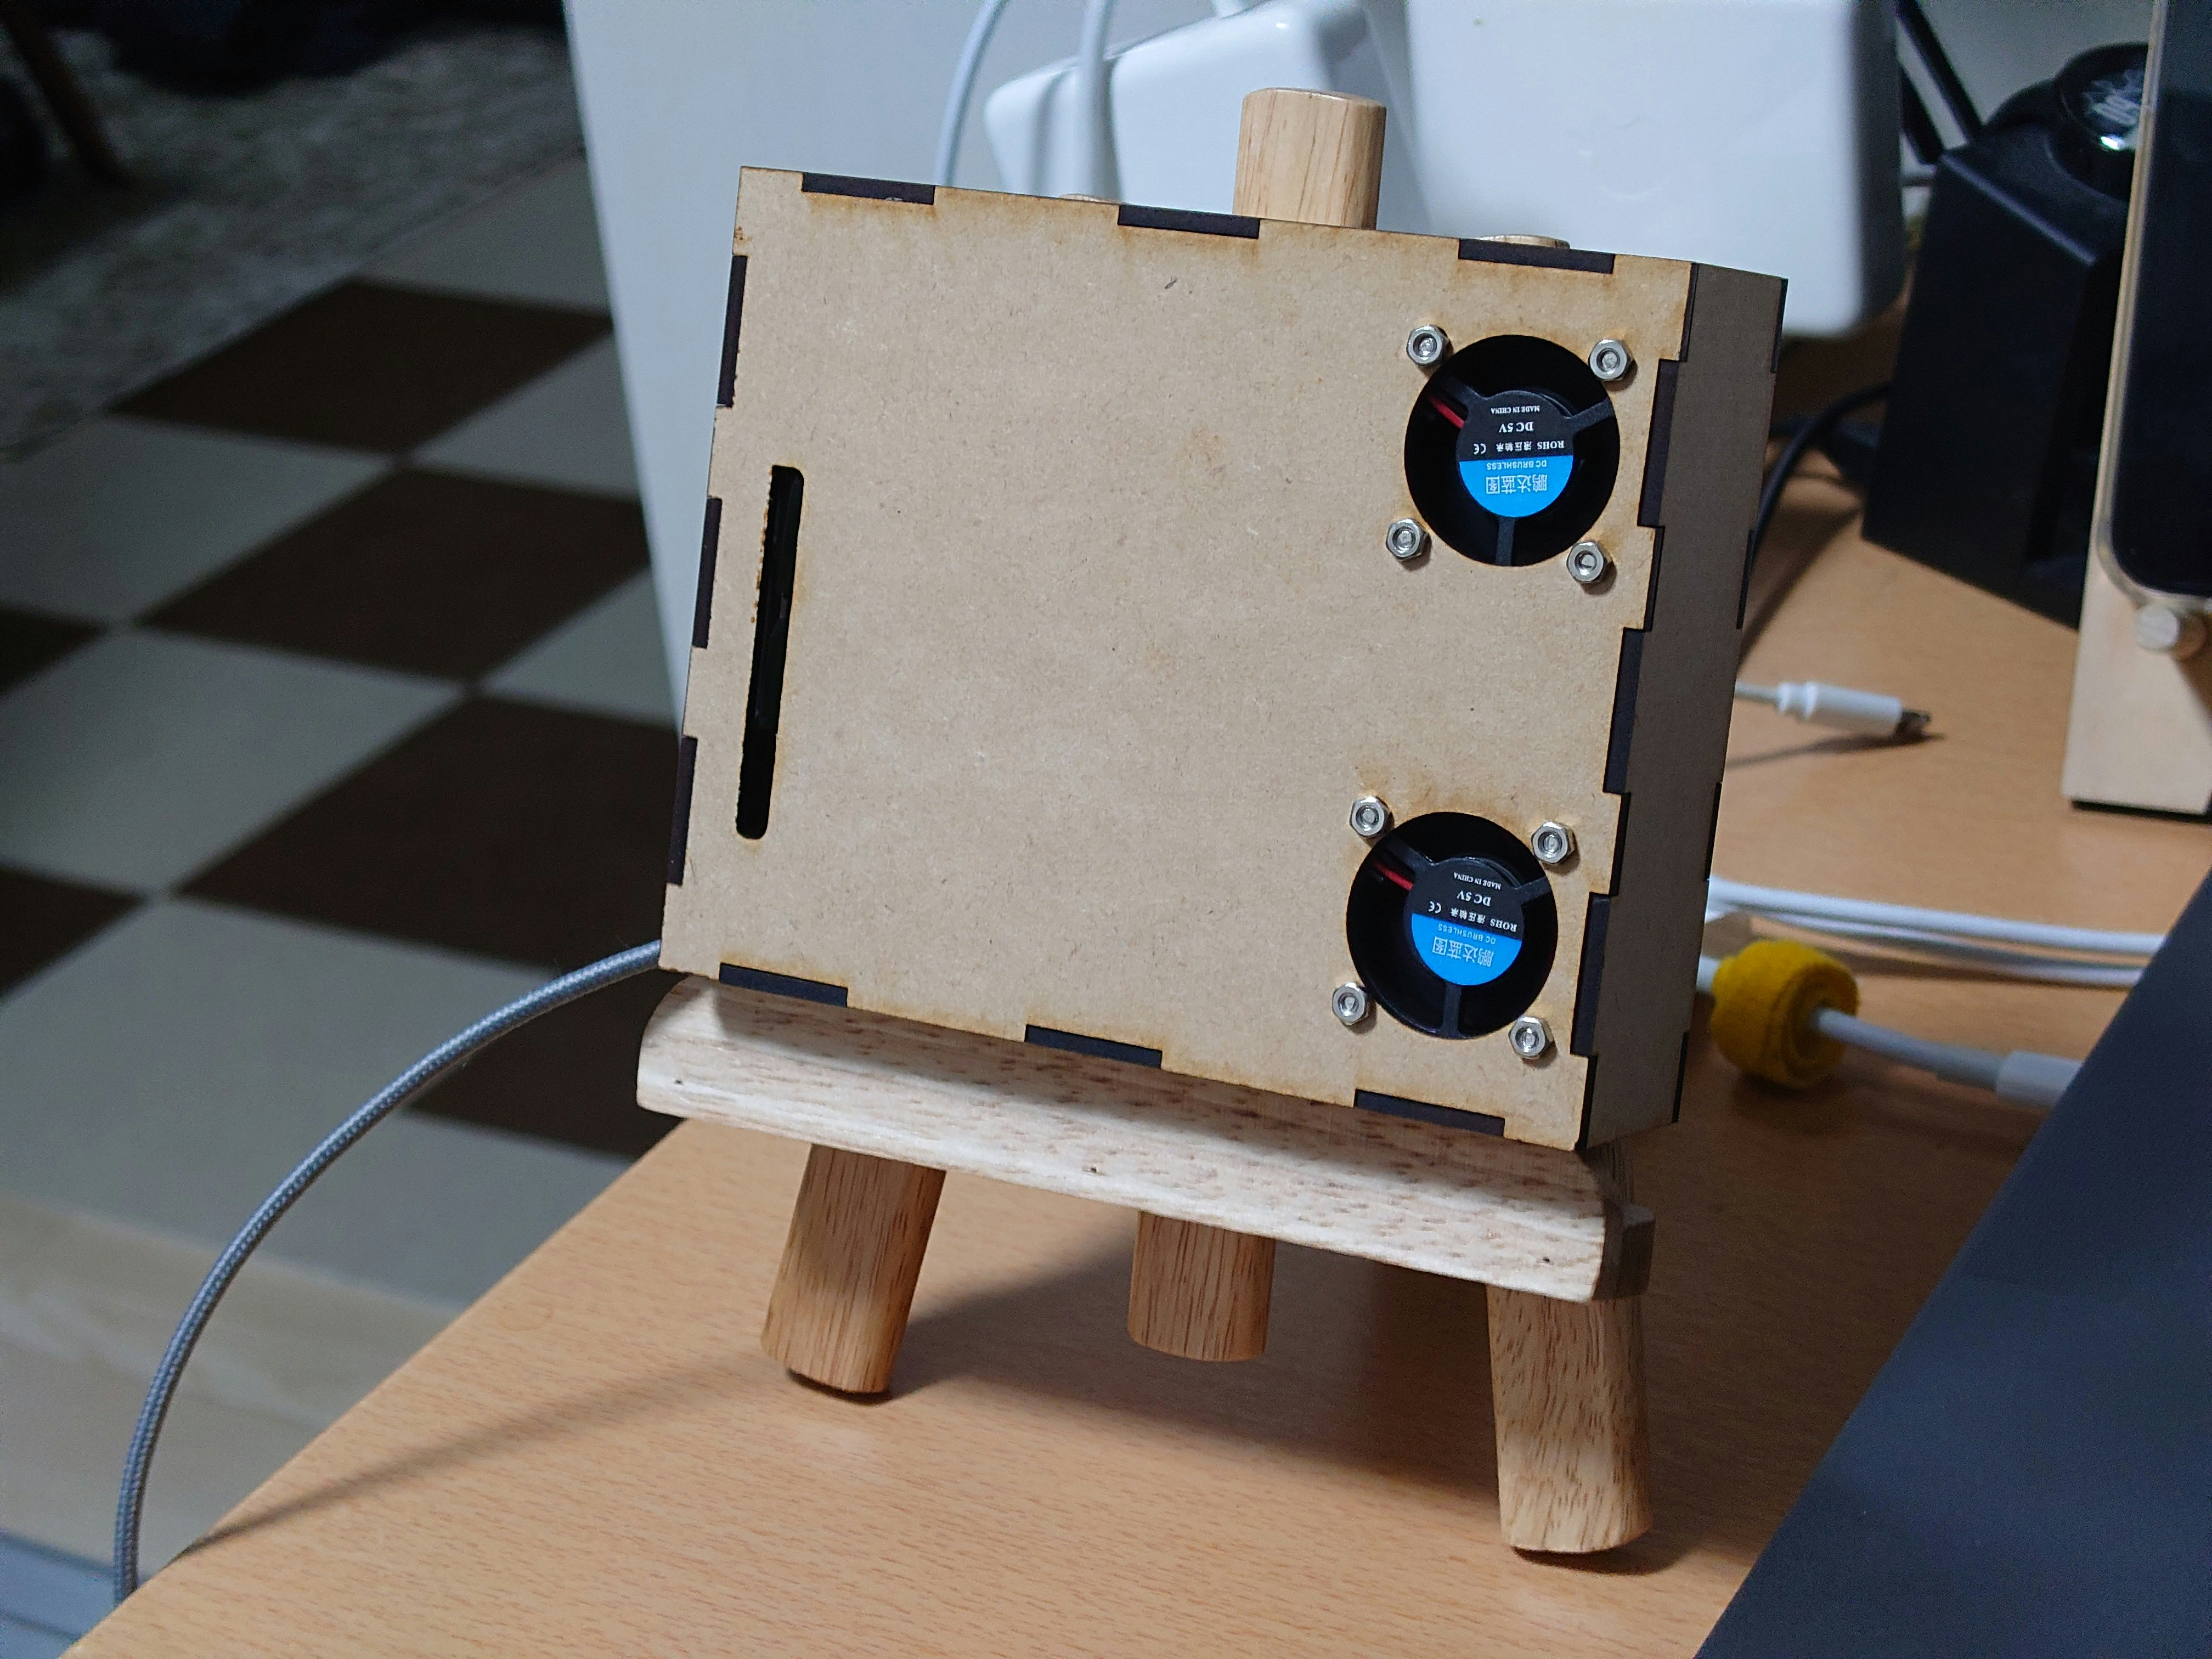
筐体もMDF板をレーザカッターでカットしたものを作りました。RaspberryPiはかなり発熱するのでファンも2つ搭載してあります。
構築作業1:RaspberryPiのOS構築について
SDカードには
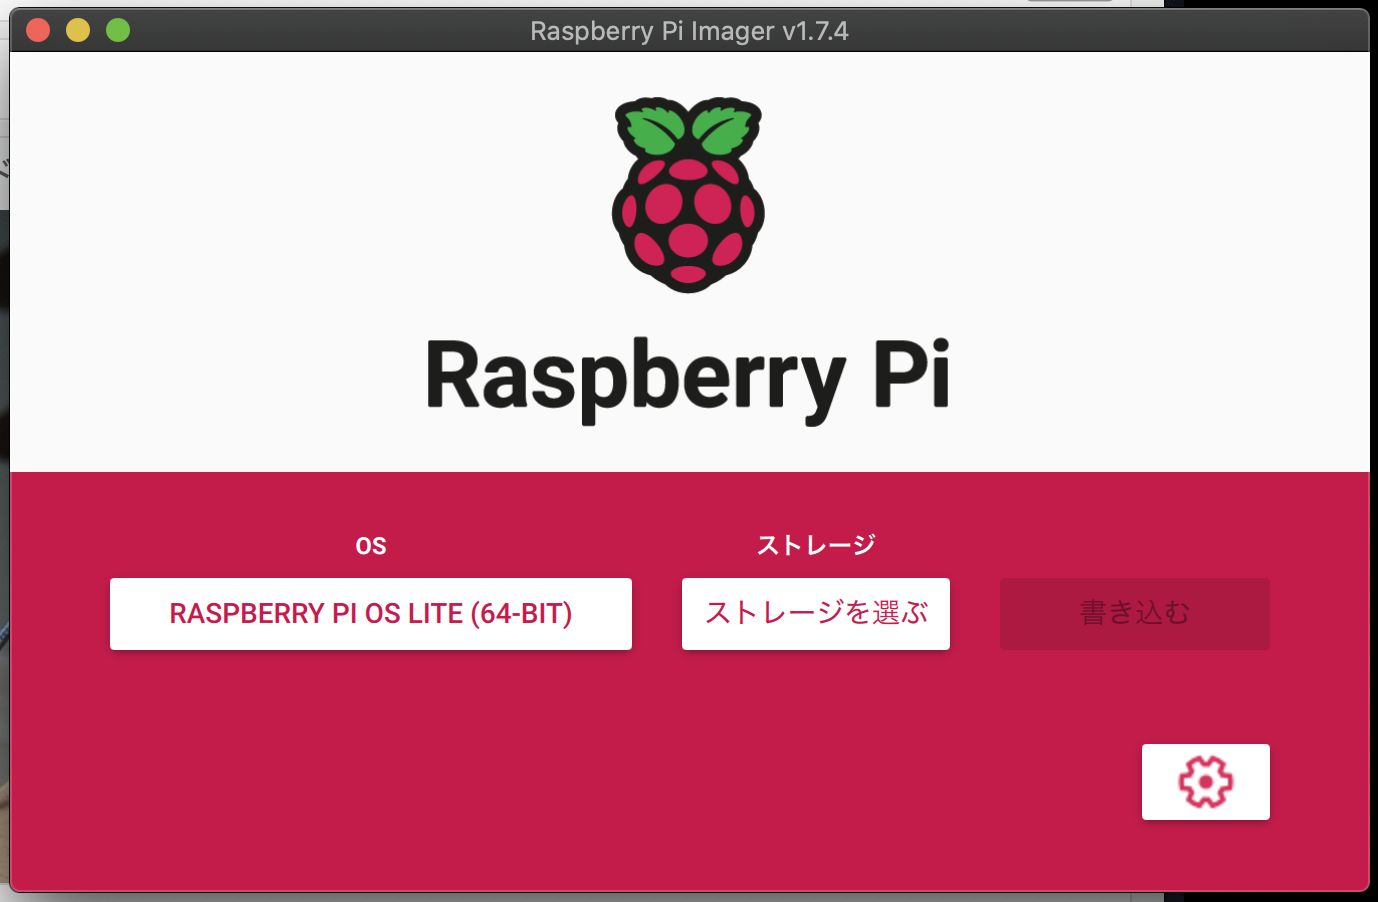
- RASPBERRY PI OS LITE (64bit)
のOSを書き込みました。
MacからRaspberry Pi Imagerのアプリを使って書き込みます。
(ネットワークの構築作業が省けるのでアプリの設定からネットワーク設定を入れておきます)
構築作業2:Stable Diffusionのセットアップ
Stable Diffusionの構築にはこちらの方の記事を参考にさせていただきました。
・SWAP領域の拡張
デフォルトのOS設定ではAIの画像生成にメモリが足りないので拡張させます。
$ sudo vi /etc/dphys-swapfile
上記viコマンドから以下の
CONF_SWAPSIZE, CONF_MAXSWAP
の設定値を4096(4GB)に変更します。
(これで物理メモリが不足した場合でも、最大で4GBまでスワップ領域を利用することができます)
# /etc/dphys-swapfile - user settings for dphys-swapfile package
# author Neil Franklin, last modification 2010.05.05
# copyright ETH Zuerich Physics Departement
#   use under either modified/non-advertising BSD or GPL license

# this file is sourced with . so full normal sh syntax applies

# the default settings are added as commented out CONF_*=* lines


# where we want the swapfile to be, this is the default
#CONF_SWAPFILE=/var/swap

# set size to absolute value, leaving empty (default) then uses computed value
#   you most likely don't want this, unless you have an special disk situation
#CONF_SWAPSIZE=100
CONF_SWAPSIZE=4096

# set size to computed value, this times RAM size, dynamically adapts,
#   guarantees that there is enough swap without wasting disk space on excess
#CONF_SWAPFACTOR=2

# restrict size (computed and absolute!) to maximally this limit
#   can be set to empty for no limit, but beware of filled partitions!
#   this is/was a (outdated?) 32bit kernel limit (in MBytes), do not overrun it
#   but is also sensible on 64bit to prevent filling /var or even / partition
#CONF_MAXSWAP=2048
CONF_MAXSWAP=4096
・Stable Diffusionの動作に必要なパッケージのインストール
以下のコマンドを実行します。
// パッケージリストの更新
$ sudo apt-get update

// 画像処理用のライブラリ:libjpeg、行列演算用のライブラリ:libopenblas、並列処理用のライブラリ:libopenmpi、並列処理用のライブラリ:libomp
$ sudo apt-get install -y python3-pip libjpeg-dev libopenblas-dev libopenmpi-dev libomp-dev

//  Pythonパッケージの管理支援ツール
$ sudo -H pip3 install setuptools==58.3.0

// Pythonの高速化
$ sudo -H pip3 install Cython

// この後の手順にあるPytoachダウンロード用
$ sudo -H pip3 install gdown
・Pytoach(深層学習ライブラリ)と
Raspberry pi上でのpytoachのインストールはかなり手間(私はエラーがでまくりで諦めた)のため、参考記事のもあるように有志の方のMake済みパッケージをダウンロードしインストールします。
またStable Diffusionのモデルを公開しているHugging Faceのライブラリ等もインストールしていきます
// ホームディレクトリに移動
$ cd ~/

// 先ほどインストールしたgdownのコマンドからPytoachのバイナリデータをダウンロード
$ gdown https://drive.google.com/uc?id=1A2Lc-7y3-ATauRa4FntiYGH90b1GjAzx

// ダウンロードしたPytoachをインストール
$ sudo -H pip3 install torch-1.12.0a0+git67ece03-cp39-cp39-linux_aarch64.whl

// インストール後は不要なため削除
$ rm torch-1.12.0a0+git67ece03-cp39-cp39-linux_aarch64.whl

// 自然言語処理のライブラリ
$ pip install transformers

// ニューラルネットワークのノイズ制御?ライブラリ
$ pip install diffusers

// Pythonライブラリの高速化
$ pip install accelerate

// 数値解析ライブラリ
$ pip install scipy

// テンソルの高速読み込みライブラリ
$ pip install safetensors
これでStable Diffusionを動かすための環境は構築完了です。
構築作業3:画像生成してみる
この記事を書いている23年3月には、以下のstable-diffusion-2が公開されていました。
こちらのモデルにていざ画像を生成してみます。
以下の公式にあるpythonコードを一部修正して試していきます。
$ sudo vi stableDiffusion.py
上記viコマンドから以下のpythonコードを実装します。
公式のコードからは一部RapberryPi用に修正している箇所があります。
修正箇所1:torch_dtype=torch.float16を削除(GPUを使わないため)
修正箇所2:cudaからcpuに変更(CPUで動かすため)
from diffusers import StableDiffusionPipeline, EulerDiscreteScheduler

model_id = "stabilityai/stable-diffusion-2"

# Use the Euler scheduler here instead
scheduler = EulerDiscreteScheduler.from_pretrained(model_id, subfolder="scheduler")

# pipe = StableDiffusionPipeline.from_pretrained(model_id, scheduler=scheduler, torch_dtype=torch.float16)
pipe = StableDiffusionPipeline.from_pretrained(model_id, scheduler=scheduler)

# pipe = pipe.to("cuda")
pipe = pipe.to("cpu")

prompt = "a photo of an astronaut riding a horse on mars"
image = pipe(prompt).images[0]

image.save("astronaut_rides_horse.png")
以下のコマンドからPythonを実行します。
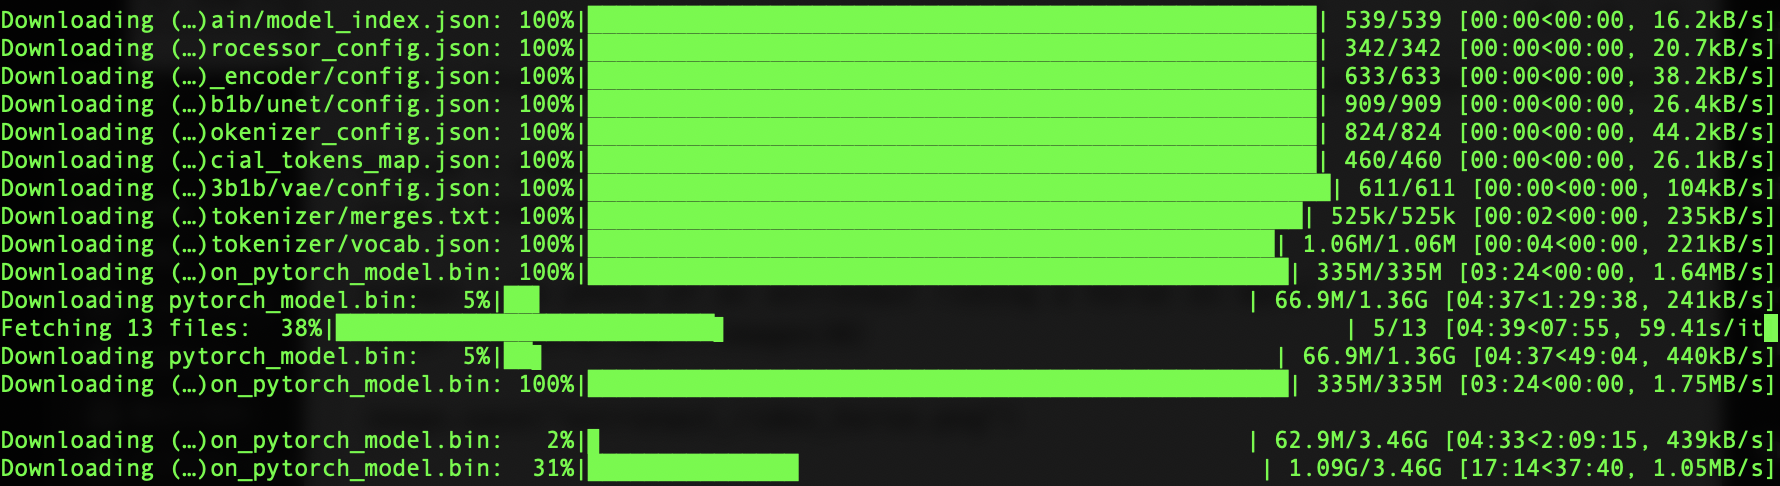
初回実行時はモデルのダウンロードが走るので画像の出力と合わせて3時間半ほどかかるかと思います。
$ python stableDiffusion.py
モデルデータのダウンロード中は以下のようなコンソール画面になっているかと思います。
実行が終わると
astronaut_rides_horse.png
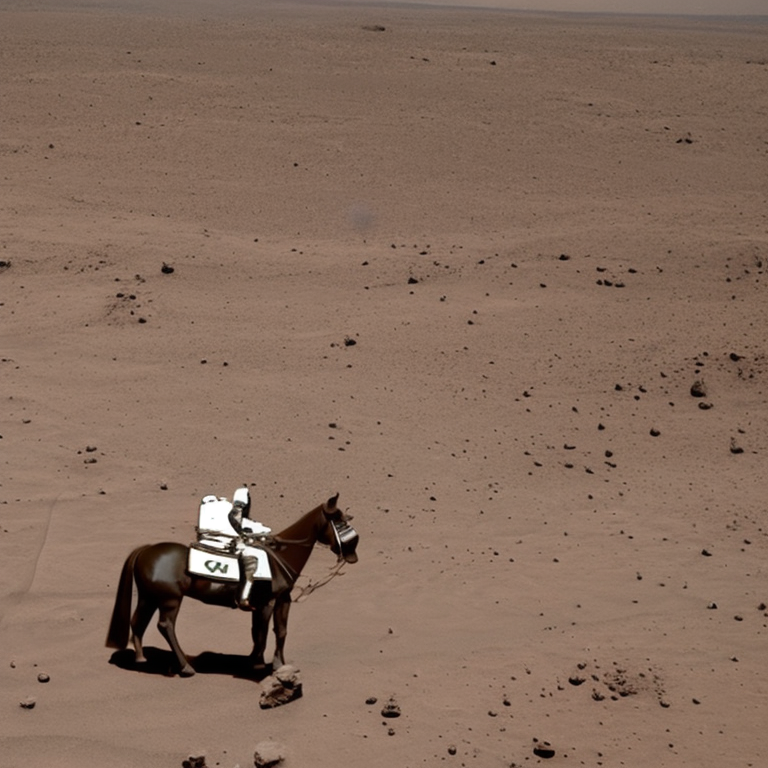
こんな画像が生成されていました。
もちろん以下の、
prompt = "a photo of an astronaut riding a horse on mars"
の部分を書き換えることで作りたい画像を指示することが出来ます。
まずは動かすところまでで、このパートは終了したいと思います。
おまけ
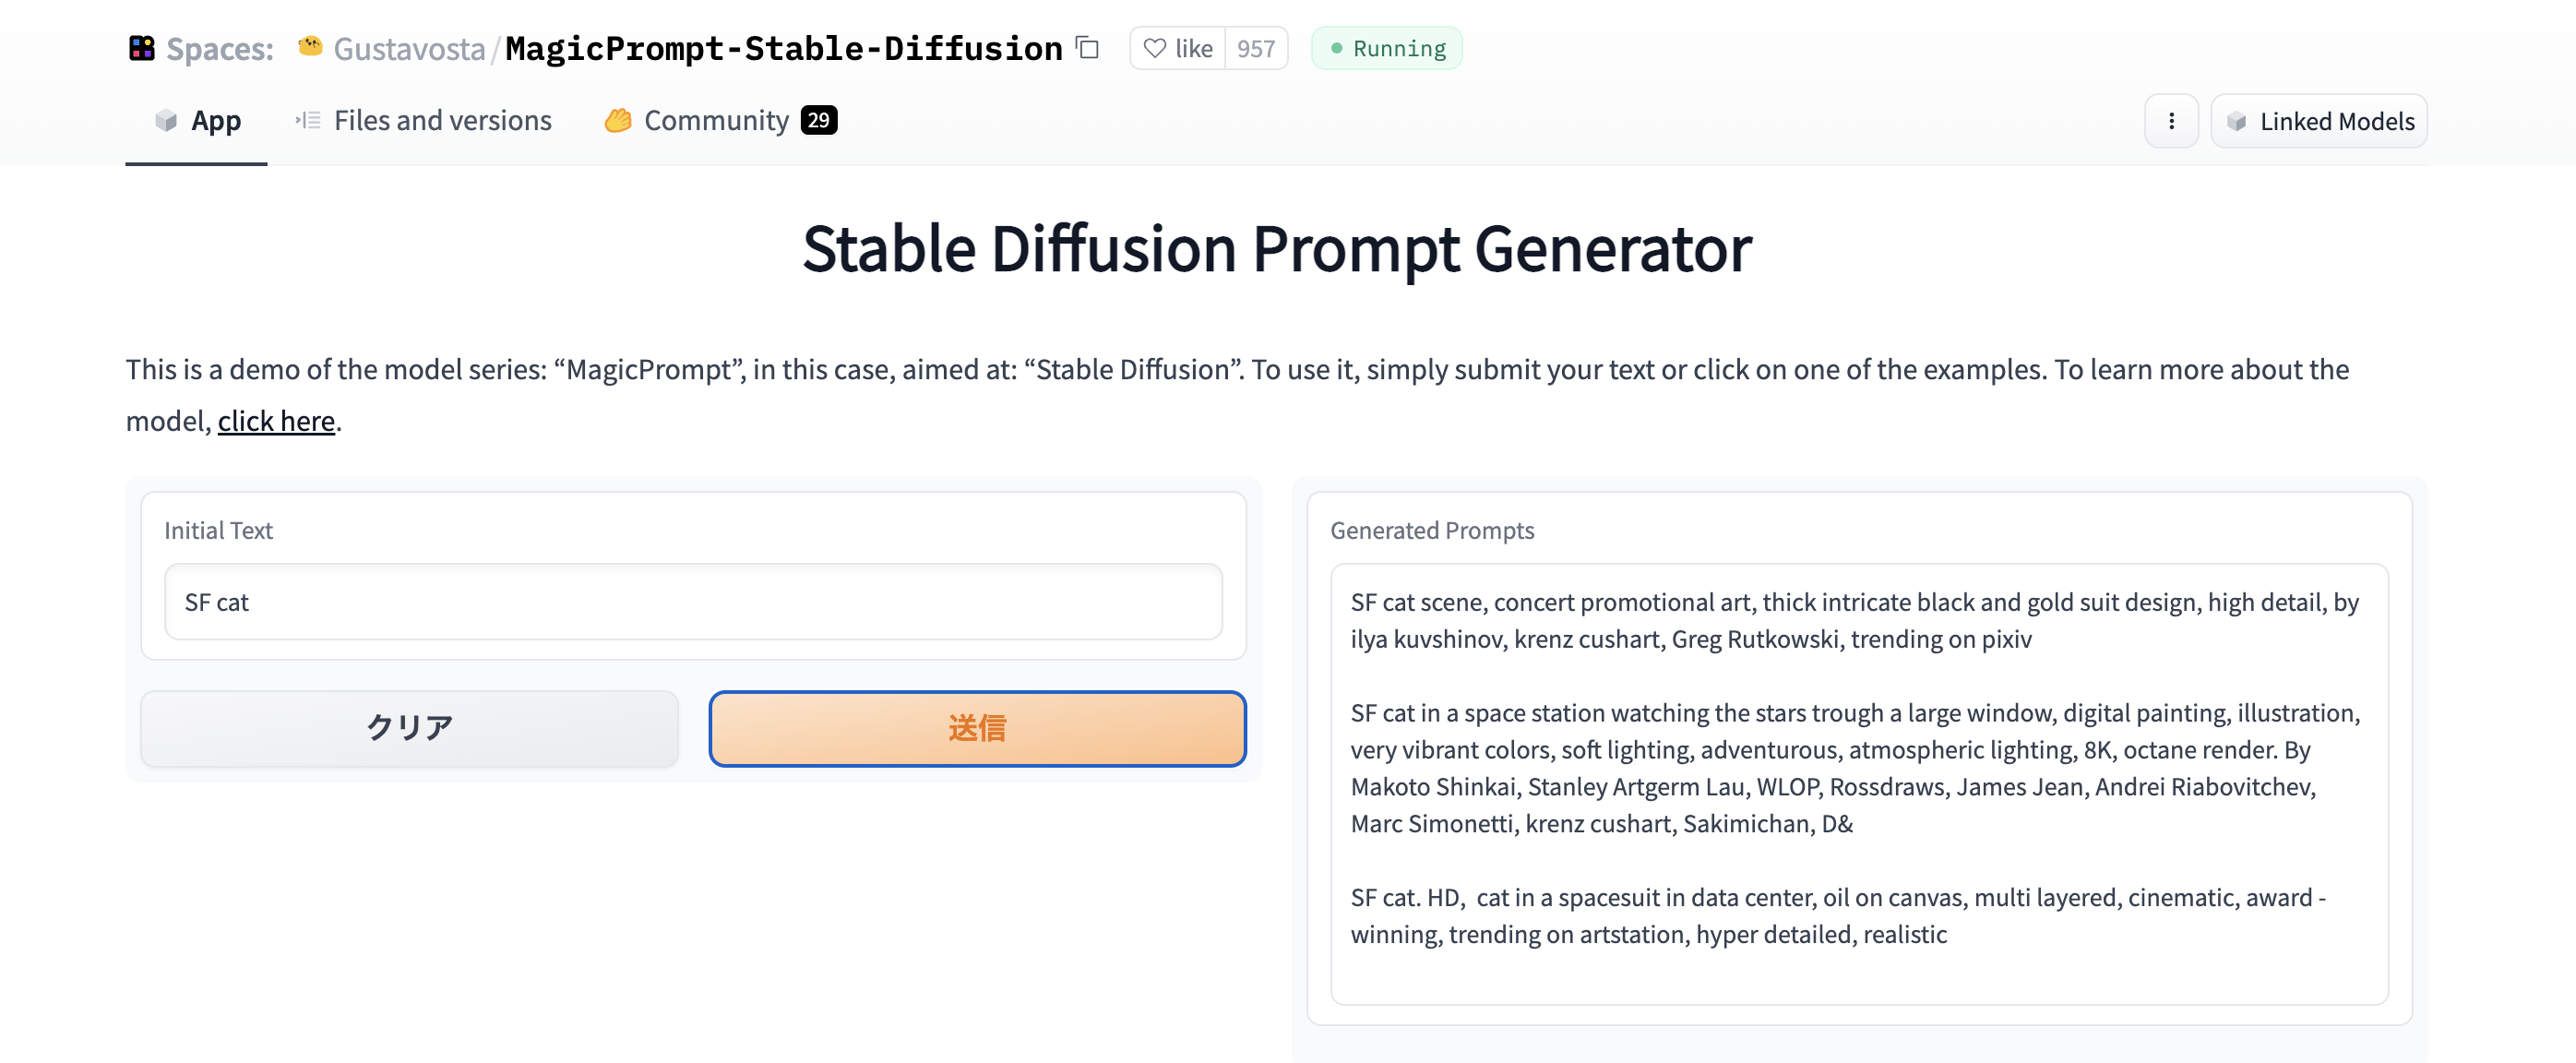
うまくAIで作りたい画像が指示できない時以下のWebアプリが便利です。
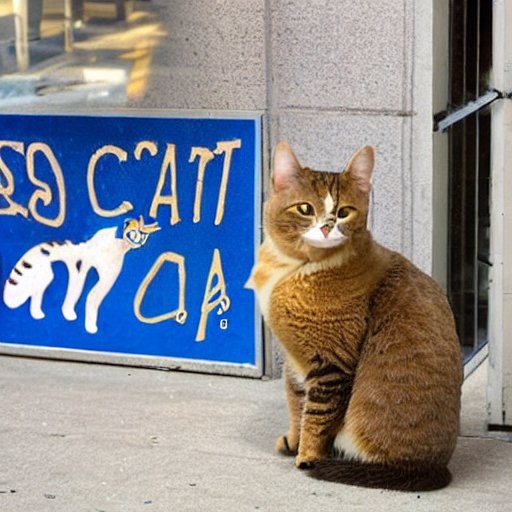
SFっぽい猫ちゃんを作りたいな、と思った時に
prompt = "SF cat"
で画像を作るとこんな感じになってしまいます。
上記Webアプリで”SF cat”を入力し実行すると、こんな感じにしたらいかが?的な候補をいくつも提示してくれます。
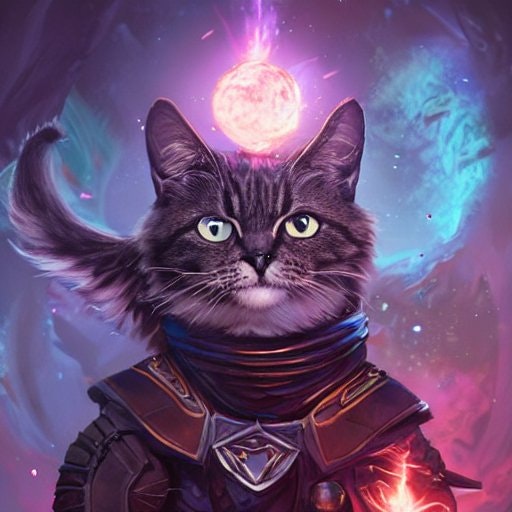
試していく中でこんなコマンドを教えてもらいました。
prompt = "space cat Anthropomorphized cat, casting evil spell, magic the gathering artwork, D&D, fantasy, cinematic lighting, centered, symmetrical, highly detailed, digital painting, artstation, concept art, smooth, sharp focus, illustration, volumetric lighting, epic Composition, 8k, art by Akihiko Yoshida and Greg Rutkowski and Craig Mullins, heroic pose, oil painting, cgsociety, magic lab"
実行したらなかなかいい感じです!
raspberry pi 4でinky impressionを動かしてみる(画像自動生成&更新フォトフレームの作成)その2