35
35

Delete article

Deleted articles cannot be recovered.

Draft of this article would be also deleted.

Are you sure you want to delete this article?

More than 5 years have passed since last update.

iOSでチュートリアル画面を作るメモ

Last updated at Posted at 2014-03-28

※追記・注意 情報が古くなってる可能性があります. あと前試したときにNavigationBarをつけたらうまく行きませんでした. [2015/8/2]

初めて起動した時に出るようなもの。
Storyboardでサクッと作りたいときのメモ

↓こんな感じの
06.jpg

やること

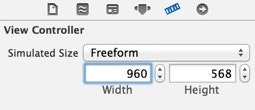
  • チュートリアルの画面にしたいViewControllerを選択して、Simulated SizeをFreeformにする。WidthとHeightはチュートリアル画面の全体の大きさになる。
    01.jpg
  • 元からあるViewにScrollViewを追加してScrollViewにViewを追加(大きさなどはどちらも元のViewに揃える)
  • AutoLayoutを設定
    • ScrollViewのAutoLayout(Spaceを0、Width・Heightの指定なし)
    • 内側のViewのAutoLayout(Spaceを0、Width・Heightを指定)
  • Viewに色々配置していく
    • ラベルとか、ボタンとかを好きなように
  • その他
    • ScrollViewのPaging Enabledにチェックをつける
    • ScrollViewのShows Horizontal IndicatorやShows Vertical Indicatorのチェックを外す
    • PageControlとかつける
    • NavigationBarつけたいときはScrollViewとかを配置する前にSimulated MetricsのTop Barを適当なものに設定しておくと良い
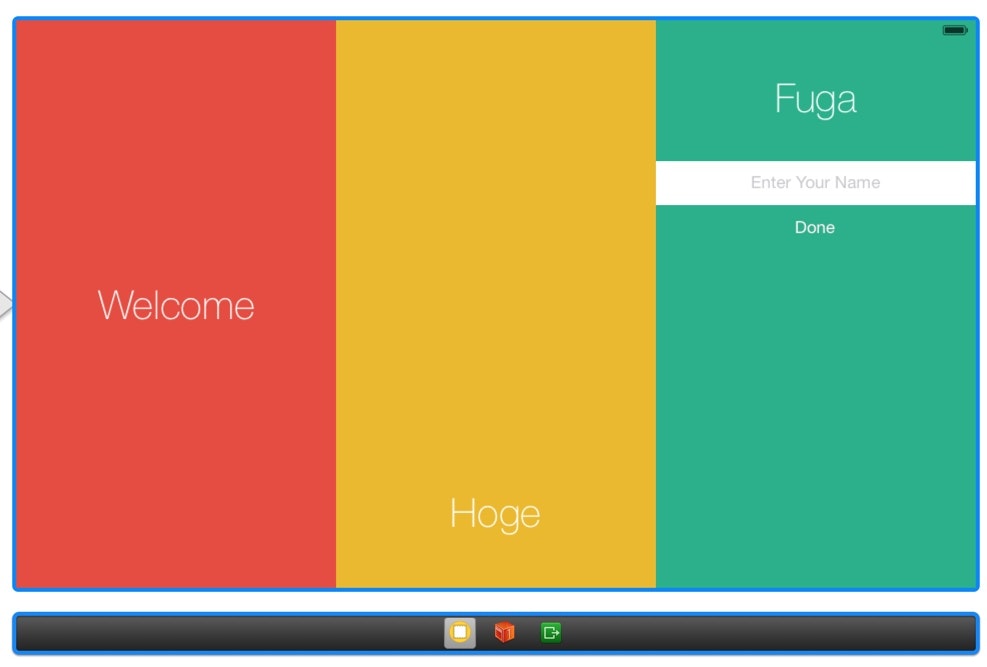
35
35
0

Register as a new user and use Qiita more conveniently

  1. You get articles that match your needs
  2. You can efficiently read back useful information
  3. You can use dark theme
What you can do with signing up
35
35

Delete article

Deleted articles cannot be recovered.

Draft of this article would be also deleted.

Are you sure you want to delete this article?