60 分で認証付き SPA + 管理画面をつくる Amplify
年の瀬にサクッとサービス作りたいな、試してみたいなって人もいらっしゃるのではないでしょうか?
Amplify でさくっとまるっとやっちゃいましょう。
早ければ 60 分ほどで完成しちゃうかもです。
今回作成するのは以下のようです
- Cloud Front + S3 で Nuxt ベースのSPA
- Amplify Console で Github ベースのデプロイメントパイプライン
- Cognito を利用した認証
- API Gateway + Lambda で API
前提
以下の経験がある方を想定しています
- AWS のアカウントを持っている
- Nuxt 触ったことある
開発の流れ
今回は以下のような STEP で行きます。
雑なデモコードですがGithubにおいておきます
- Amplify の導入
- Nuxt の初期化
- amplify で使用する IAM ユーザーの作成(必要あれば)
- amplify の初期化
- Github のリポジトリ作成
- Hosting、パイプラインの設定
- Auth の追加
- フロントエンドに Amplify のパッケージを追加
- plugin として AmplifyClass を初期化して読み込む
- サインイン、サインアップページの作成
- REST API の追加
- Lambda の微修正
- クライアントからの API 呼び出し
- 動作確認
👉 完成!
Amplify の導入
まずは amplify cli を導入します。
https://docs.amplify.aws/cli/start/install
npm install -g @aws-amplify/cli
今回は以下のような環境で作成していきます。
$ node -v # v12.18.1
$ yarn -v # 1.22.4
$ amplify -v # 4.38.1
Nuxt の初期化
まずは Nuxt で SPA の雛形を作成します。
名称は nuxt-sample-app としました。ここはお好みで変更してください。
# nuxt の初期化
$ yarn create nuxt-app nuxt-sample-app

create-nuxt-app v3.4.0
✨  Generating Nuxt.js project in nuxt-sample-app
? Project name: nuxt-sample-app
? Programming language: TypeScript
? Package manager: Yarn
? UI framework: Vuetify.js
? Nuxt.js modules: Axios
? Linting tools: ESLint, Prettier
? Testing framework: Jest
? Rendering mode: Single Page App
? Deployment target: Static (Static/JAMStack hosting)
? Development tools: jsconfig.json (Recommended for VS Code if you're not using typescript)
? Continuous integration: None
? Version control system: Git
作成した Nuxt SPA のフォルダに移動します。
$ cd nuxt-sample-app

# ディレクトリ構成
$ tree

.
├── README.md
├── assets
├── components
├── jest.config.js
├── jsconfig.json
├── layouts
├── middleware
├── node_modules
├── nuxt.config.js
├── package.json
├── pages
├── plugins
├── static
├── store
├── test
├── tsconfig.json
└── yarn.lock

# 開発環境をたちあげてみる
$ yarn dev
amplify で使用する IAM ユーザーの作成(必要あれば)
AWS 公式のワークショップに従って、amplify で使用する IAM ユーザーを作成していきます。
※ 今回は Mock は使用しないのでワークショップ中の Java のくだりは不要です
# amplify で使用する IAM User の作成
$ amplify configure

Specify the AWS Region
? region:  ap-northeast-1
Specify the username of the new IAM user:
? user name:  amplify-training1
Enter the access key of the newly created user:
? accessKeyId:  ********************
? secretAccessKey:  ****************************************
This would update/create the AWS Profile in your local machine
? Profile Name:  amplify-training1

# IAM ユーザーの確認
$ aws sts get-caller-identity --profile amplify-training1
amplify の初期化
先程作成した IAM ユーザー、または既存の IAM ユーザーを使用して、amplify を初期化していきます。
エディターはお好みで選択してください。
src ディレクトリもプロジェクトのルートディレクトリになってます(ここは src に変えたいですね)
また今回は静的ホスティング用の Build コマンドにしています。
# Amplify の初期化
$ amplify init

Note: It is recommended to run this command from the root of your app directory
? Enter a name for the project amplifynuxtsample
? Enter a name for the environment dev
? Choose your default editor: Visual Studio Code
? Choose the type of app that youre building javascript
Please tell us about your project
? What javascript framework are you using vue
? Source Directory Path:  .
? Distribution Directory Path: dist
? Build Command:  yarn generate
? Start Command: yarn start
Using default provider  awscloudformation

For more information on AWS Profiles, see:
https://docs.aws.amazon.com/cli/latest/userguide/cli-configure-profiles.html

? Do you want to use an AWS profile? Yes
? Please choose the profile you want to use amplify-training1
どんな状態か以下のコマンドで確認できます。
# 状態の確認
$ amplify status

| Category | Resource name | Operation | Provider plugin |
| -------- | ------------- | --------- | --------------- |

# 環境の確認
$ amplify env list

| Environments |
| ------------ |
| *dev         |
Github のリポジトリ作成
この後、Github と連携したパイプラインを作成します。
dev 環境としているので、 develop ブランチも作成しておきます
以下は、develop ブランチで作業していきます。
本来であれば、feature/XXXXX などを切っていきますが、本記事では簡略化のため develop ですすめます。
# main ブランチ
$ git remote add origin ${REMOTE_REPOSITORY}
$ git branch -M main
$ git push -u origin main

# develop ブランチ
$ git checkout -b develop
$ git push -u origin develop

# ブランチの確認
$ git branch -a

* develop
main
remotes/origin/develop
remotes/origin/main
Hosting、パイプラインの設定
Github の develop ブランチにプッシュされると、dev 環境でビルドがおこなわれて自動でデプロイされるようにします。
選択の途中で、AWS のコンソールに飛ばされます。
こちらのチュートリアルに画像つきで、ポチポチの方法がかいてあるので参考にしてください。
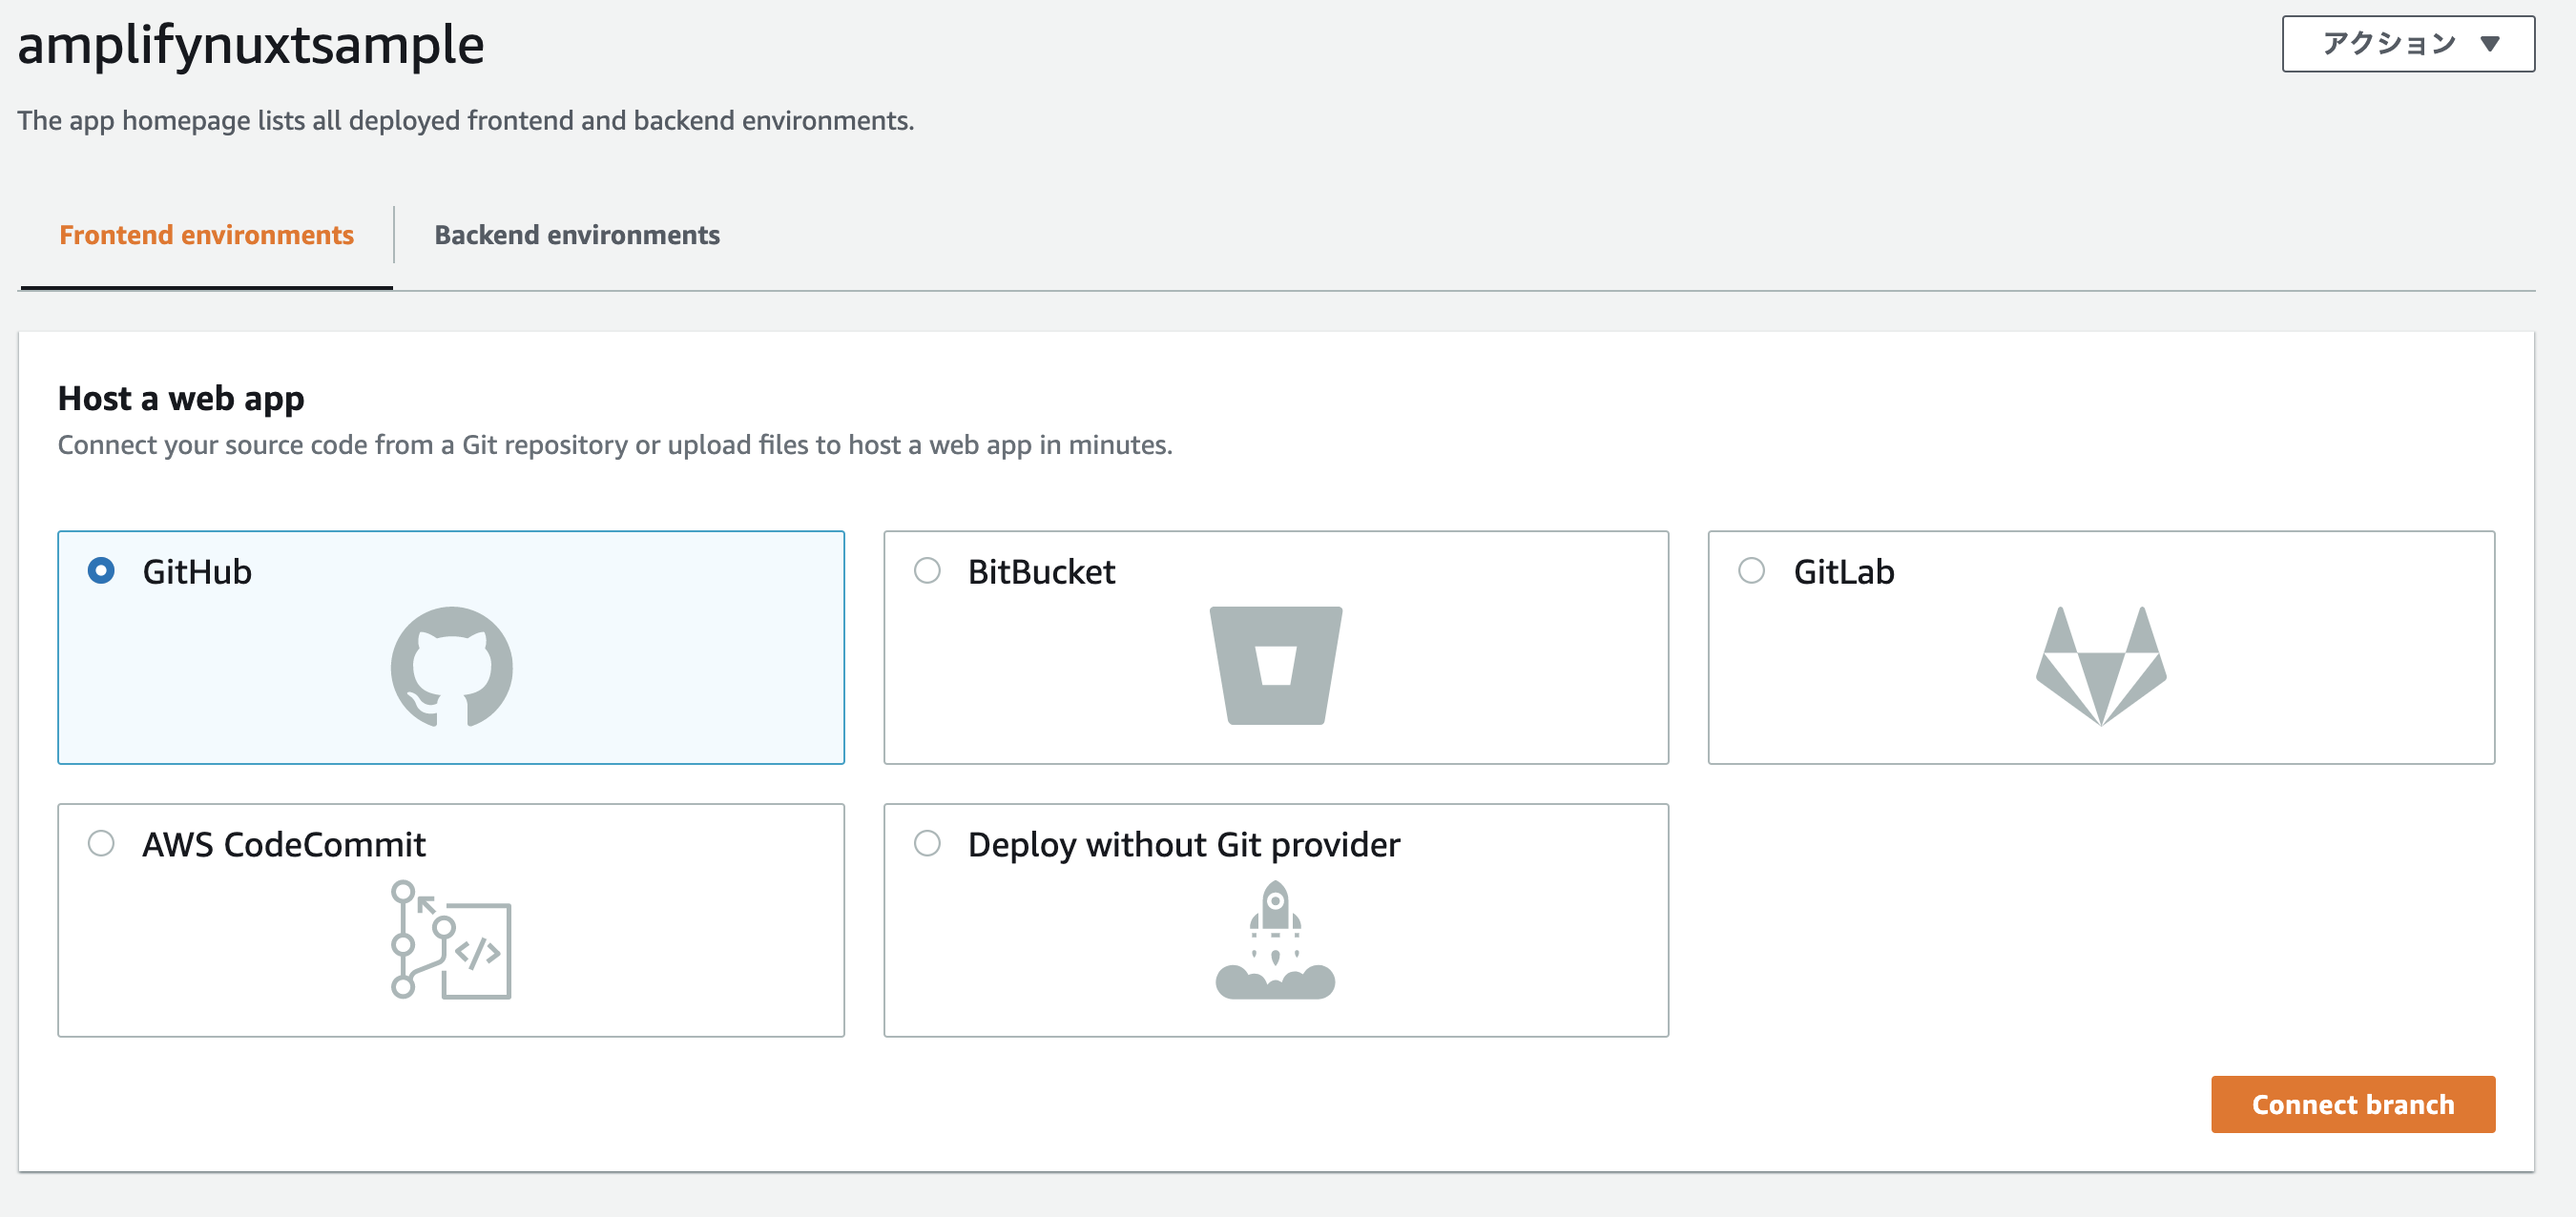
# hosting の追加。同時にパイプラインの作成
$ amplify add hosting

? Select the plugin module to execute Hosting with Amplify Console (Managed hosting with custom domains, Continuous deployment)
? Choose a type Continuous deployment (Git-based deployments)
? Continuous deployment is configured in the Amplify Console. Please hit enter once you connect your repository
Amplify hosting urls:

┌──────────────┬───────────────────────────────────────────────┐
│ FrontEnd Env │ Domain                                        │
├──────────────┼───────────────────────────────────────────────┤
│ develop      │ https://develop.d3acm6jof6wyyj.amplifyapp.com │
└──────────────┴───────────────────────────────────────────────┘
ただ、まだこの状態では動きません。
- ビルドコマンド、ビルド成果物の反映
- SPA のためのリダイレクト処理
が必要です。
ビルドコマンド、ビルド成果物の反映は、Amplify のコンソール
初期化時に設定したつもりにも関わらず反映されていません。
Amplify のコンソールの「ビルドの設定」という設定メニューからから
Amplify.yml という設定ファイルをダウンロードして、プロジェクトのルートに配置します。

以下のように YAML 内のビルドのコマンドと、成果物の参照ディレクトリを変更します.
修正できたら、コミットしてリモートの develop ブランチにプッシュしましょう。
ビルド、デプロイが自動で実行されるはずです。
version: 1
backend:
  phases:
    build:
      commands:
        - '# Execute Amplify CLI with the helper script'
        - amplifyPush --simple
frontend:
  phases:
    preBuild:
      commands:
        - yarn install
    build:
      commands:
        - yarn generate
  artifacts:
    # IMPORTANT - Please verify your build output directory
    baseDirectory: dist
    files:
      - '**/*'
  cache:
    paths:
      - node_modules/**/*
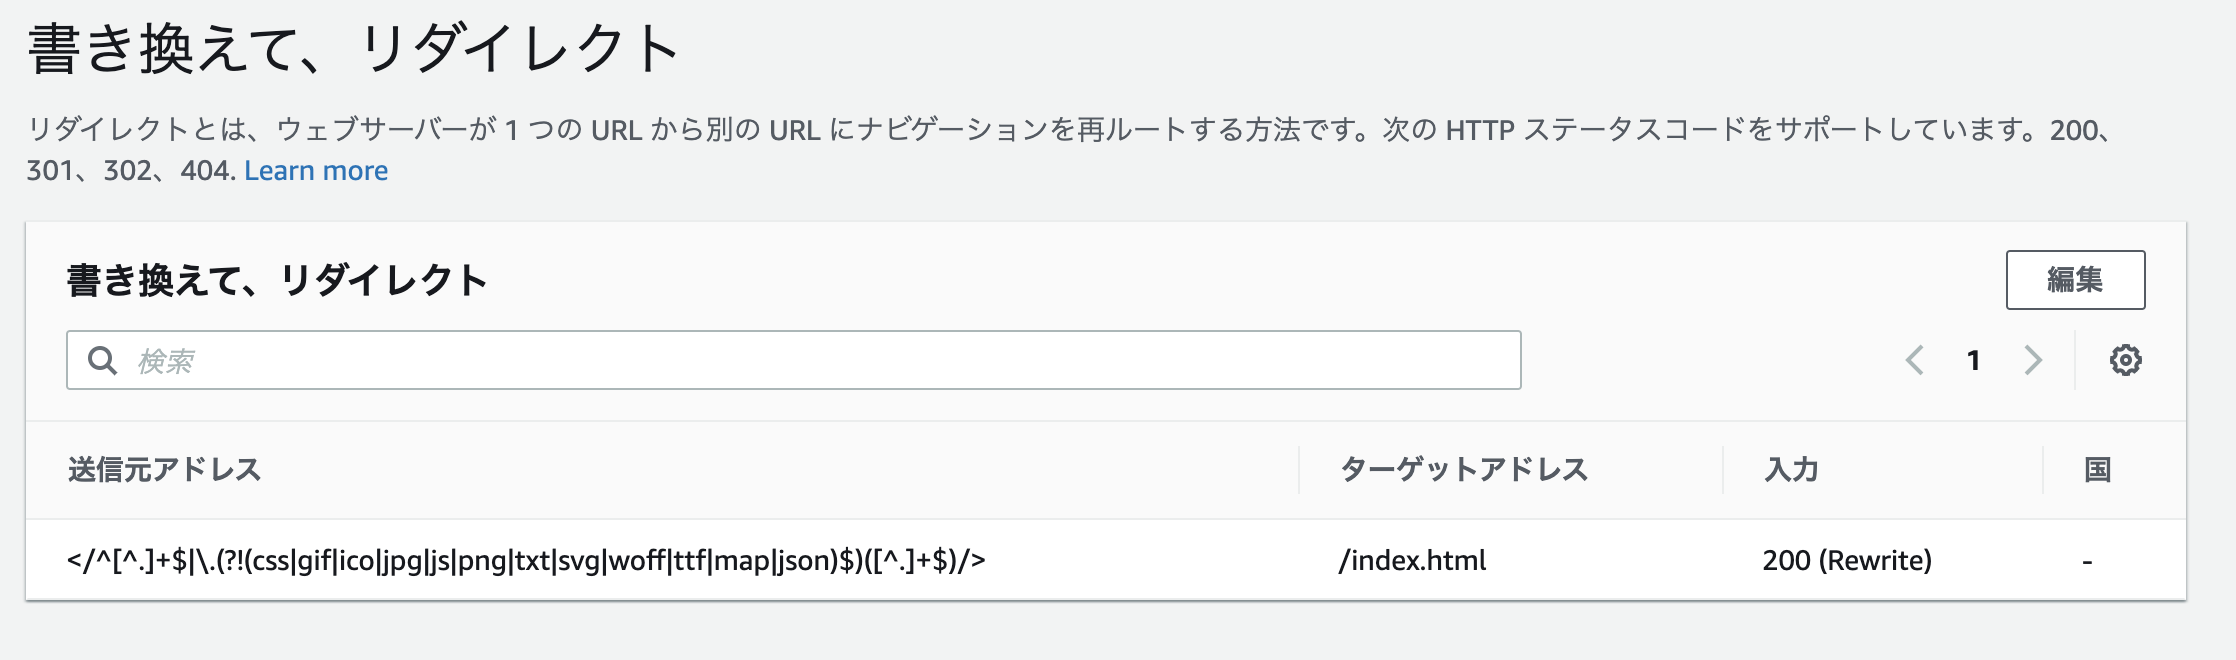
SPA のためのリダイレクト処理はこちらの公式の説明 の通りに設定します。
Amplify のコンソールの「書き換えて、リダイレクト」という設定メニューからリダイレクトの設定を行います
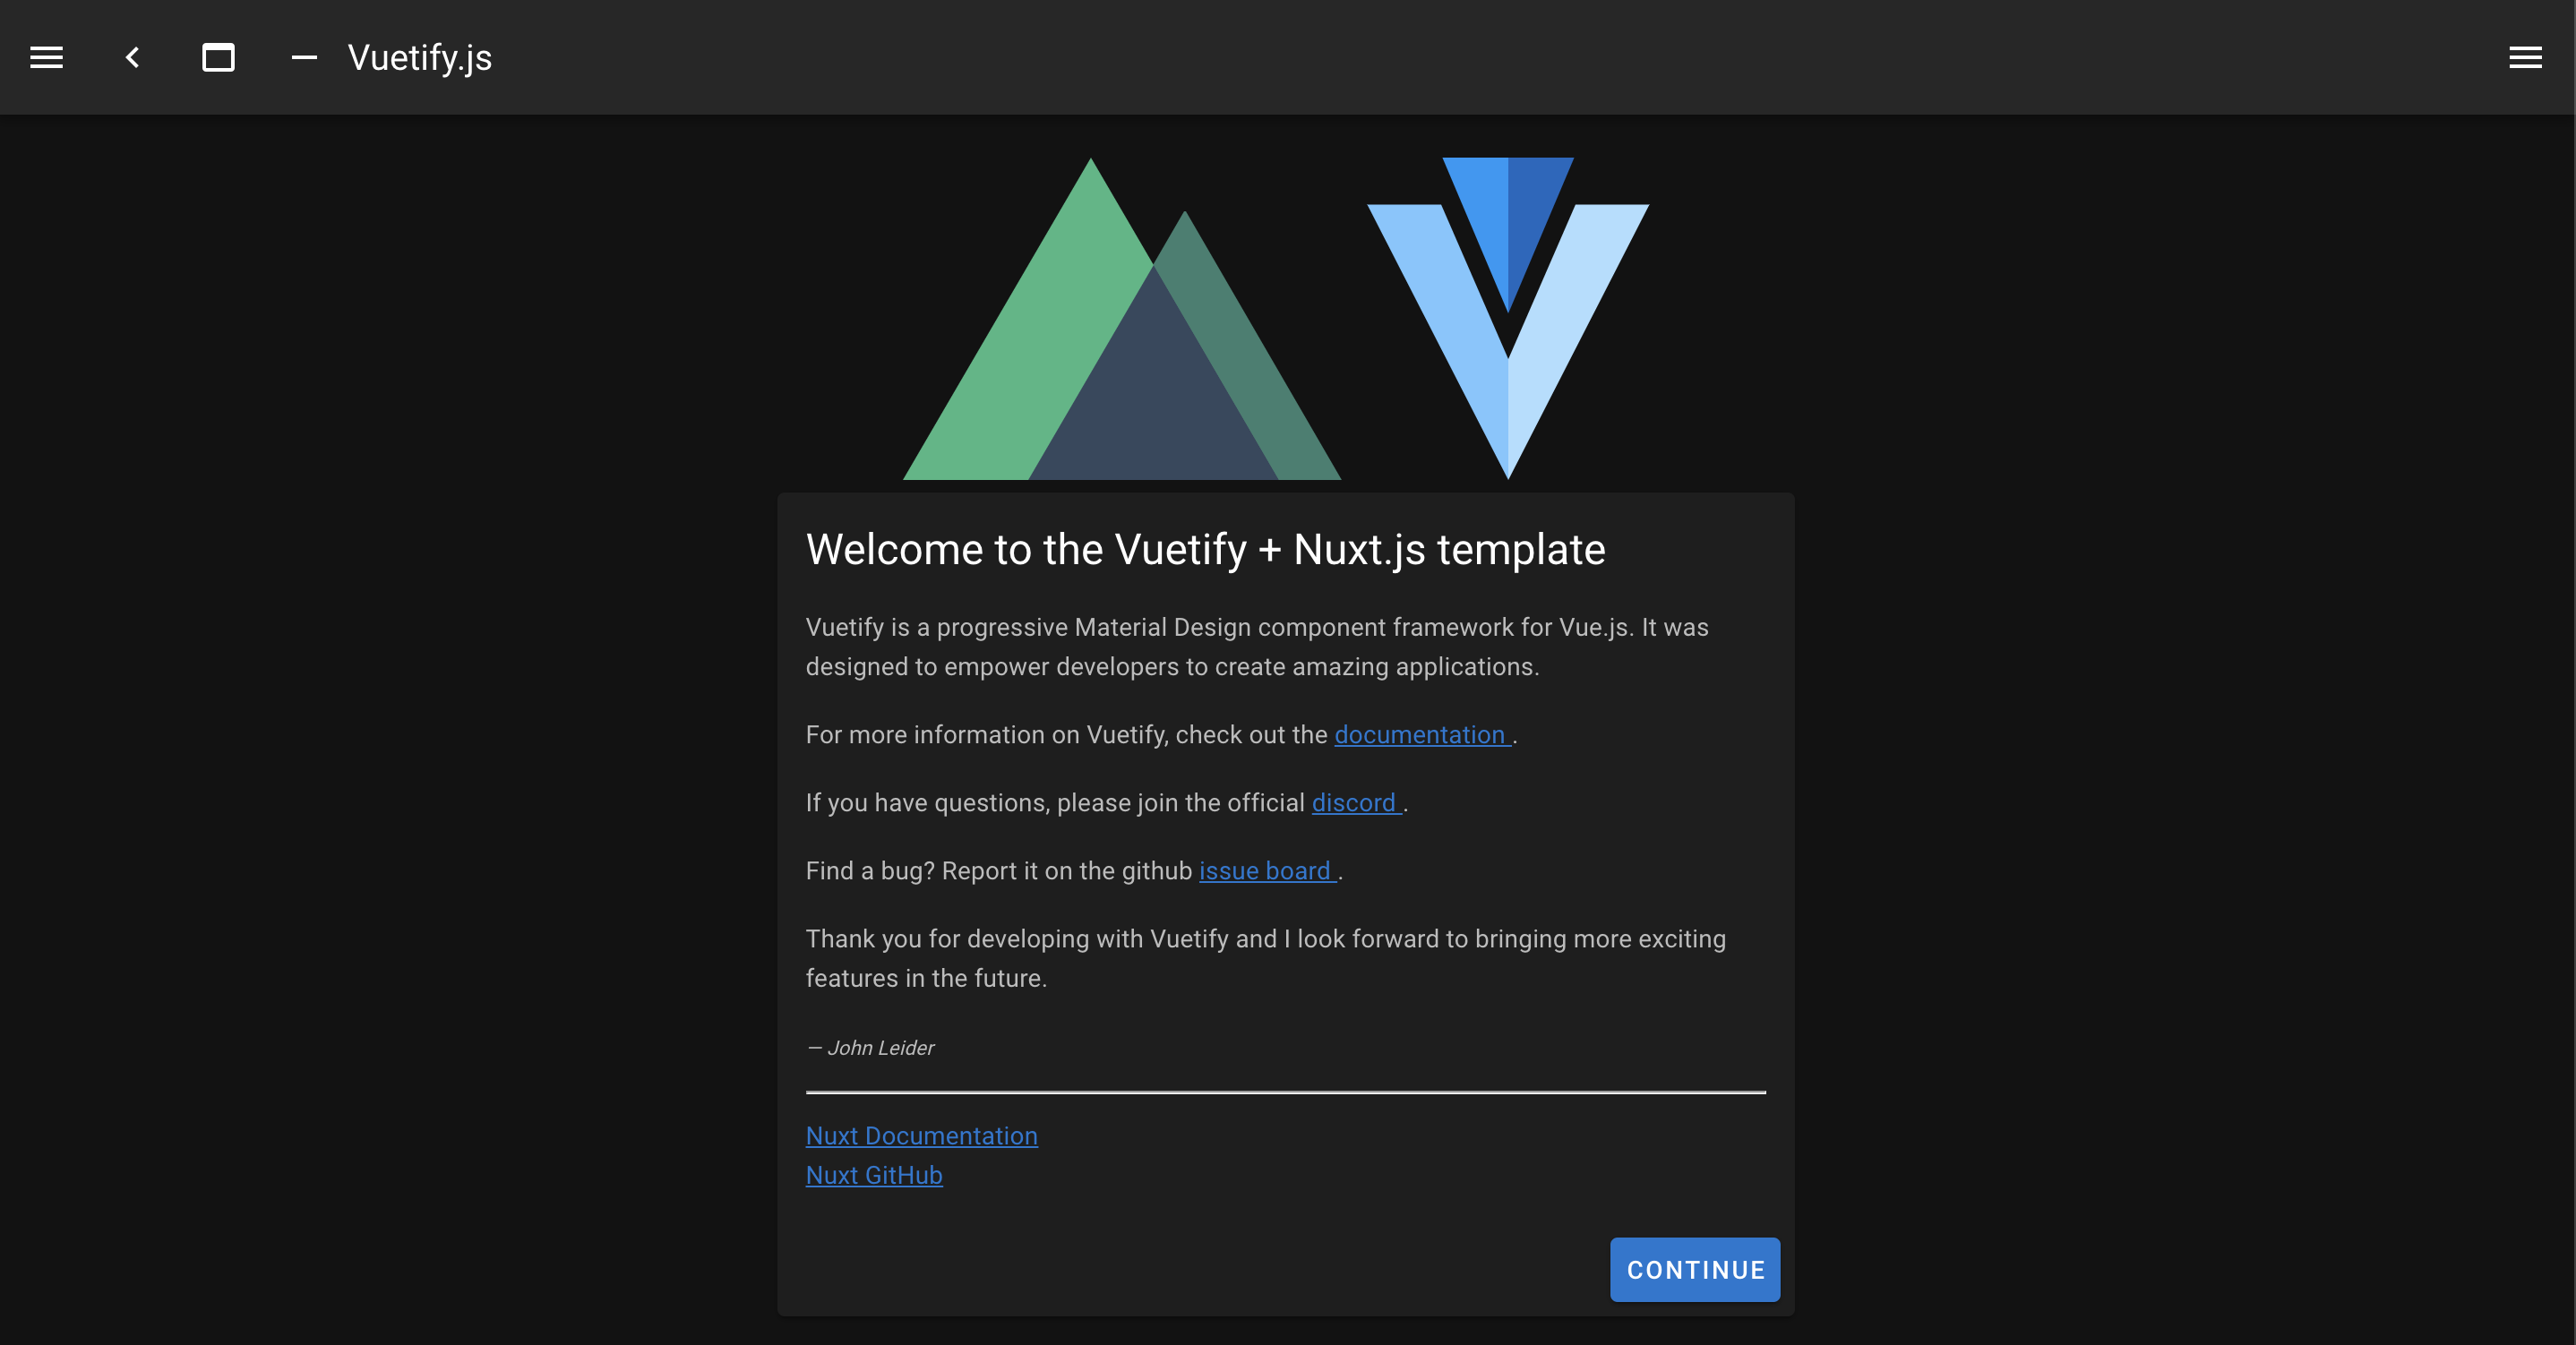
amplify status でホスティング先の URL を出力して、アクセスしてみましょう。
きっと Vue, Vuetify のロゴが並んでいることでしょう。
$ amplify status

Current Environment: dev

| Category | Resource name  | Operation | Provider plugin |
| -------- | -------------- | --------- | --------------- |
| Hosting  | amplifyhosting | No Change |                 |


Amplify hosting urls:
┌──────────────┬───────────────────────────────────────────────┐
│ FrontEnd Env │ Domain                                        │
├──────────────┼───────────────────────────────────────────────┤
│ develop      │ https://develop.d3acm6jof6wyyj.amplifyapp.com │
└──────────────┴───────────────────────────────────────────────┘
Auth の追加
# Auth 機能の追加
$ amplify add auth

Do you want to use the default authentication and security configuration? Default configuration
Warning: you will not be able to edit these selections.
How do you want users to be able to sign in? Email
Do you want to configure advanced settings? No, I am done.

# AWS のインフラに反映
$ amplify push
フロントエンドに Amplify のパッケージを追加
クライアント用の Amplify パッケージと、ログインなどの UI を簡単に作成する Amplify の Vue 用パッケージを入れておきます。
yarn add aws-amplify @aws-amplify/ui-vue
plugin として AmplifyClass を初期化して読み込む
plugins/amplify.js を作成して以下のように config を読み込みます。
aws-exports.js は Amplify の初期化時に作成されています。
せっかくの TypeScript なので、本来は ts ファイルとして作成し、Vue の型を拡張するなどしてください。
import Vue from 'vue'
import '@aws-amplify/ui-vue'
import Amplify from 'aws-amplify'
import awsconfig from '@/aws-exports'

Amplify.configure(awsconfig)
Vue.use(Amplify)
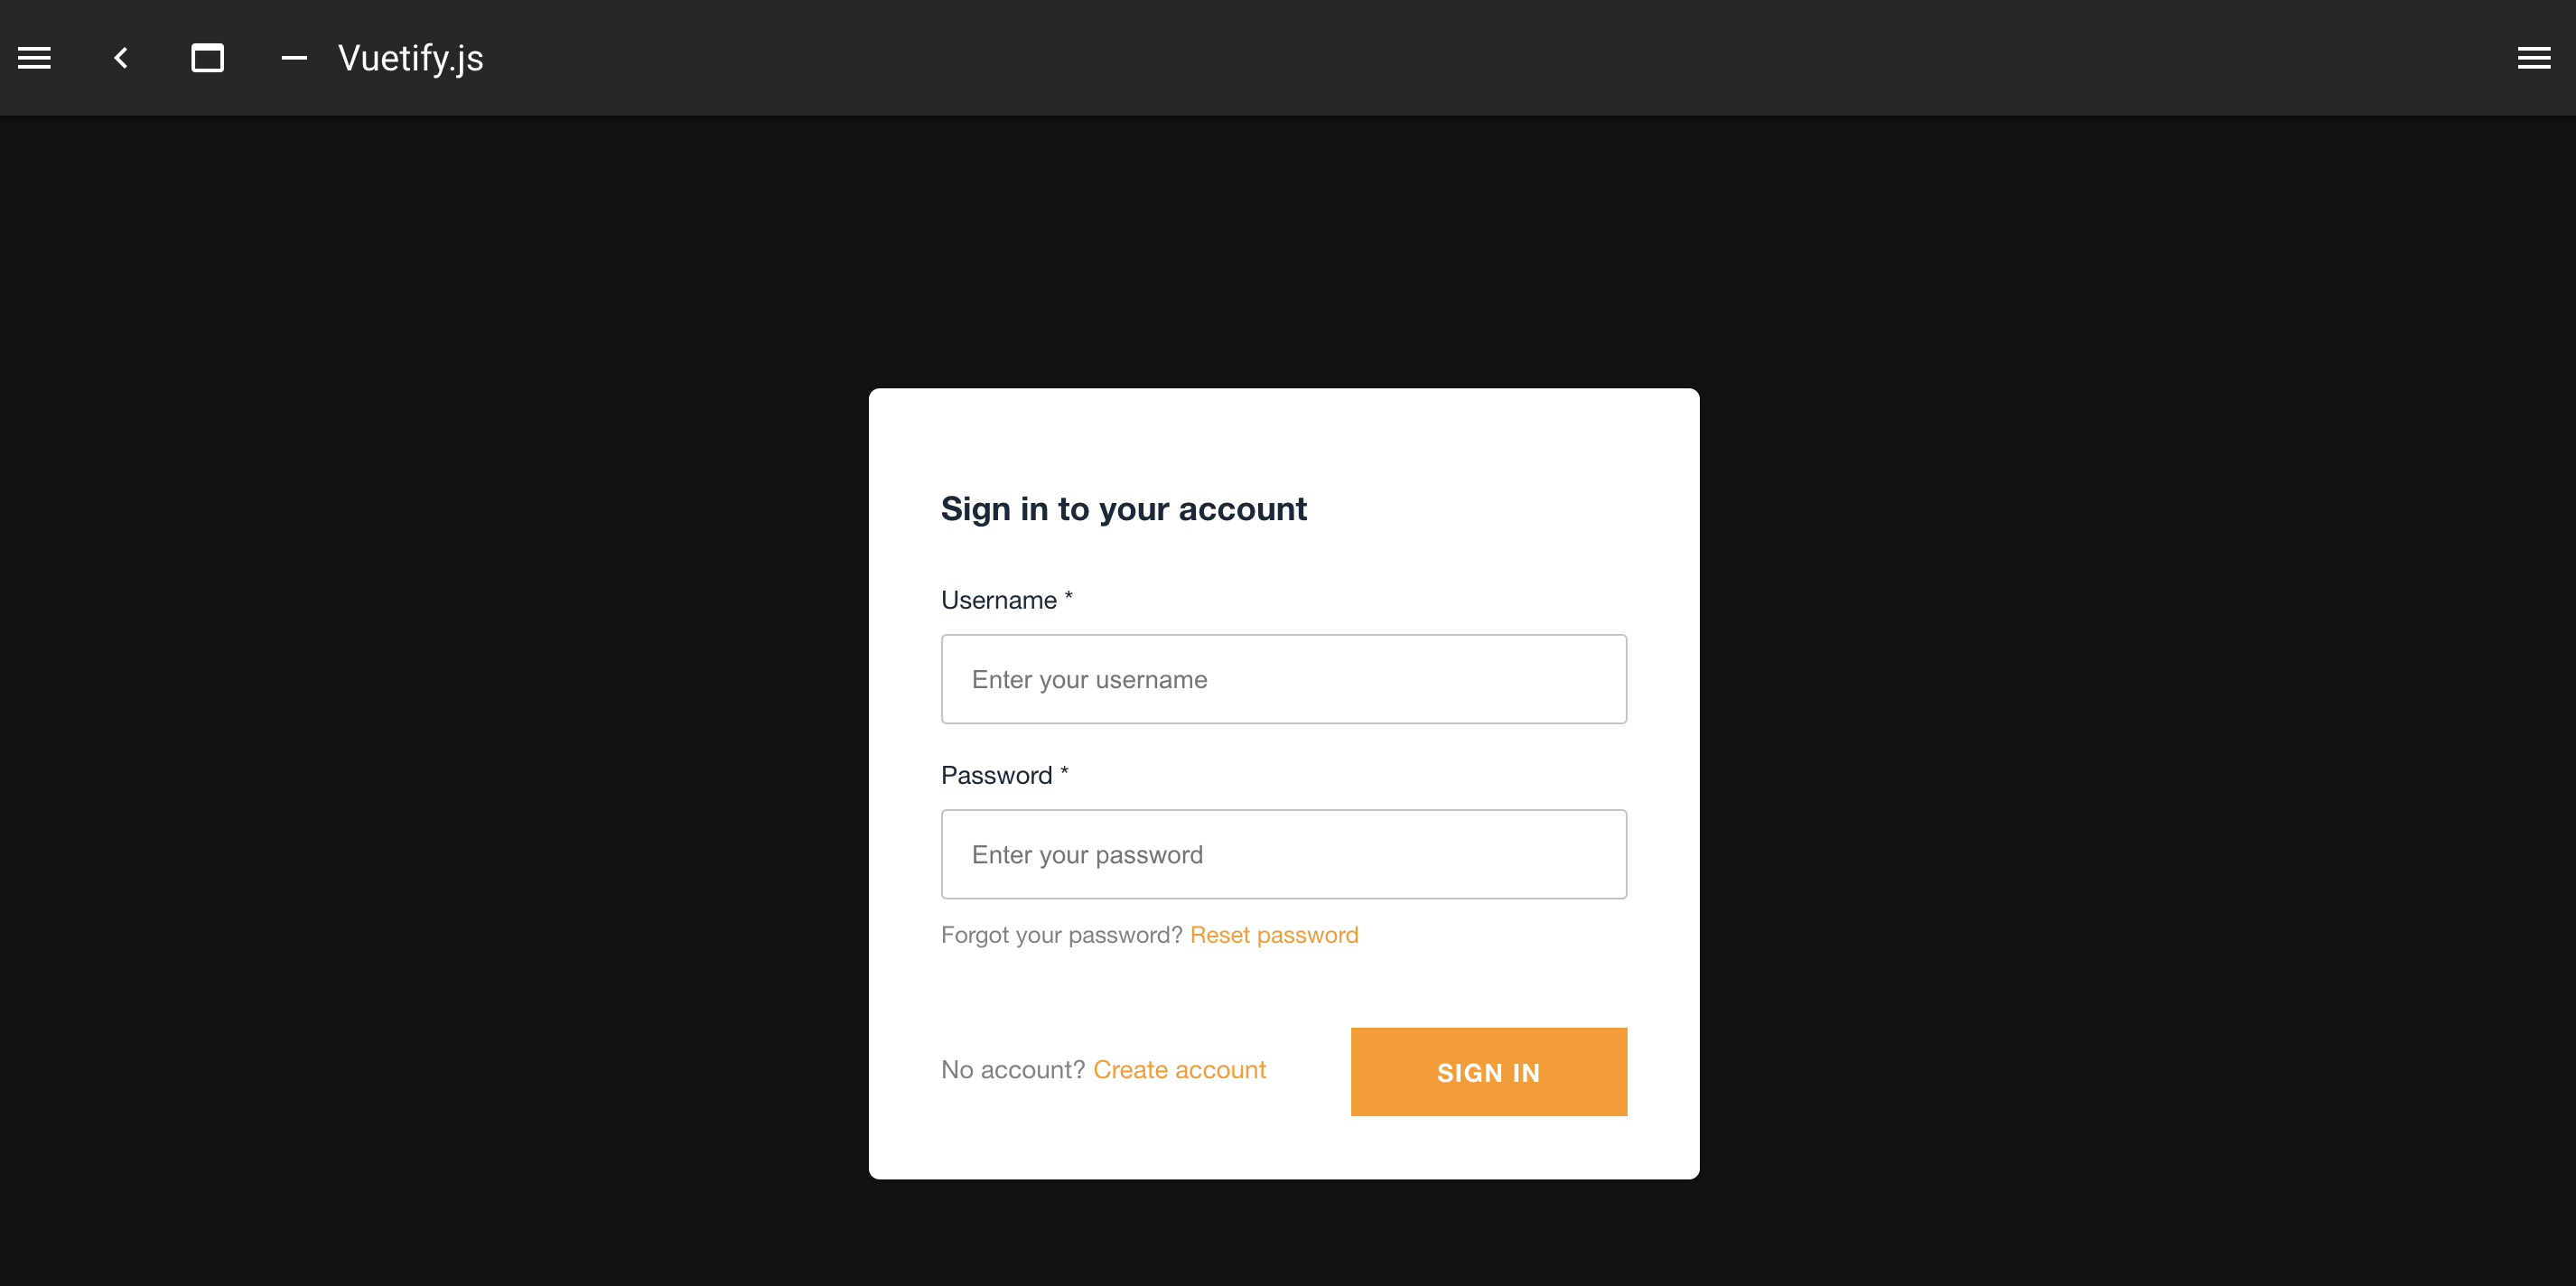
サインイン、サインアップページの作成
https://develop.xxxxxxx.amplifyapp.com/auth にサインイン、サインアップ用のページを追加します。
pages/auth.vue を作って、以下のコードを書く。これだけです。メールアドレスの所有確認のためのメール送信、認証番号の発行なども勝手にやってくれます。
詳細は Amplify の Vue の Latest パッケージ用のドキュメントを参照してください。
サインアップフォームから電話番号をなくすなど少しだけ細工しています。
User に関しては AWS コンソールの Cognito から見ることができます。
<template>
  <div>
    <amplify-authenticator username-alias="email">
      <amplify-sign-up
        slot="sign-up"
        username-alias="email"
        :form-fields.prop="formFields"
      ></amplify-sign-up>
      <amplify-sign-in slot="sign-in" username-alias="email"></amplify-sign-in>
    </amplify-authenticator>
    <div v-if="authState === 'signedin' && user">
      <amplify-sign-out></amplify-sign-out>
      <div>Hello, {{ user.username }}</div>
    </div>
  </div>
</template>

<script lang="ts">
import Vue from 'vue'
import { onAuthUIStateChange, AuthState } from '@aws-amplify/ui-components'

export default Vue.extend({
  name: 'AuthStateApp',
  data() {
    return {
      user: {} as Object | undefined,
      authState: {} as AuthState,
      formFields: [
        { type: 'username' },
        { type: 'email' },
        { type: 'password' },
      ],
    }
  },
  created() {
    onAuthUIStateChange((authState, authData) => {
      this.authState = authState
      this.user = authData
    })
  },
  beforeDestroy() {
    return onAuthUIStateChange
  },
})
</script>
REST API の追加
REST API も追加してしまいましょう。認証による制御は行いませんが、Hello from Lambda とだけ返す API を作成します
aws-amplify の API クラスの使い方はこちらの公式を参照してください
Provide a friendly name の名前を API の名前として使用するので、良き名前に変えてあげてください。
# api の追加
$ amplify add api

? Please select from one of the below mentioned services: REST
? Provide a friendly name for your resource to be used as a label for this category in the project: apic0627710
? Provide a path (e.g., /book/{isbn}): /hello
? Choose a Lambda source Create a new Lambda function
? Provide an AWS Lambda function name: amplifynuxtsamplece4865cf
? Choose the runtime that you want to use: NodeJS
? Choose the function template that you want to use: Hello World

Available advanced settings:
- Resource access permissions
- Scheduled recurring invocation
- Lambda layers configuration

? Do you want to configure advanced settings? No
? Restrict API access No
? Do you want to add another path? No
Lambda の微修正
デモの関係上 localhost から叩いてしまうこともあり、CORS を鑑みて amplify/backend/functions/src/index.js を以下のように修正しておきます。
exports.handler = async (event) => {
  // TODO implement
  const response = {
    statusCode: 200,
    //  Uncomment below to enable CORS requests
    headers: {
      'Access-Control-Allow-Origin': '*',
    },
    body: JSON.stringify('Hello from Lambda!'),
  }
  return response
}
バックエンドに反映します
$ amplify push
クライアントからの API 呼び出し
pages/auth.vue を以下のように修正します。
ここで apiName は先程の Provide a friendly name で設定した値を入れてください
<template>
  <div>
    ...

    <div v-if="authState === 'signedin' && user">
      <amplify-sign-out></amplify-sign-out>
      <div>Hello, {{ user.username }}</div>
+      <div>{{ fetchedText }}</div>
+      <v-btn @click="onClickButton">Fetch</v-btn>
    </div>
  </div>
</template>

<script lang="ts">
  ...
  beforeDestroy() {
    return onAuthUIStateChange
  },
+  methods: {
+    async onClickButton() {
+      const apiName = 'XXXXXXXX'
+      const path = '/hello'
+      const init = {}
+      try {
+        const data = await API.get(apiName, path, init)
+        if (data) {
+          this.fetchedText = data
+        }
+      } catch (error) {
+        console.error(error)
+      }
+    },
+  },
})
</script>
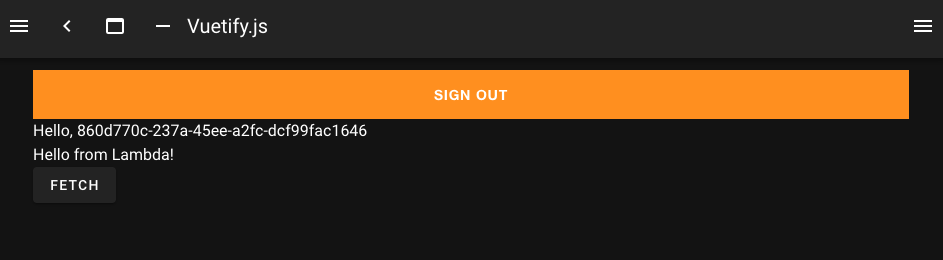
動作確認
yarn dev してまずはローカルで動作確認してみましょう。
OK であれば develop にプッシュしてみましょう。
先程の hosting で使用した URL で同じ動作が確認できるはずです!
まとめ
早い方は 60 分もかからずにここまで来てしまったのではないでしょうか?
より複雑なことをしようとすればもっと時間はかかりますが、以下のことがたったこれだけの労力で揃うのは Amplify さまさまだなと思います。
- Cloud Front + S3 で Nuxt ベースのSPA
- Amplify Console で Github ベースのデプロイメントパイプライン
- Cognito を利用した認証
- API Gateway + Lambda で API
また Amplify では管理画面も簡単に作れる機能がリリースされています。
余力があれば、管理画面と複数環境の作成ほうほうも追加できればと思います
もし先にやりたい方がいらしゃったら参考記事を御覧ください