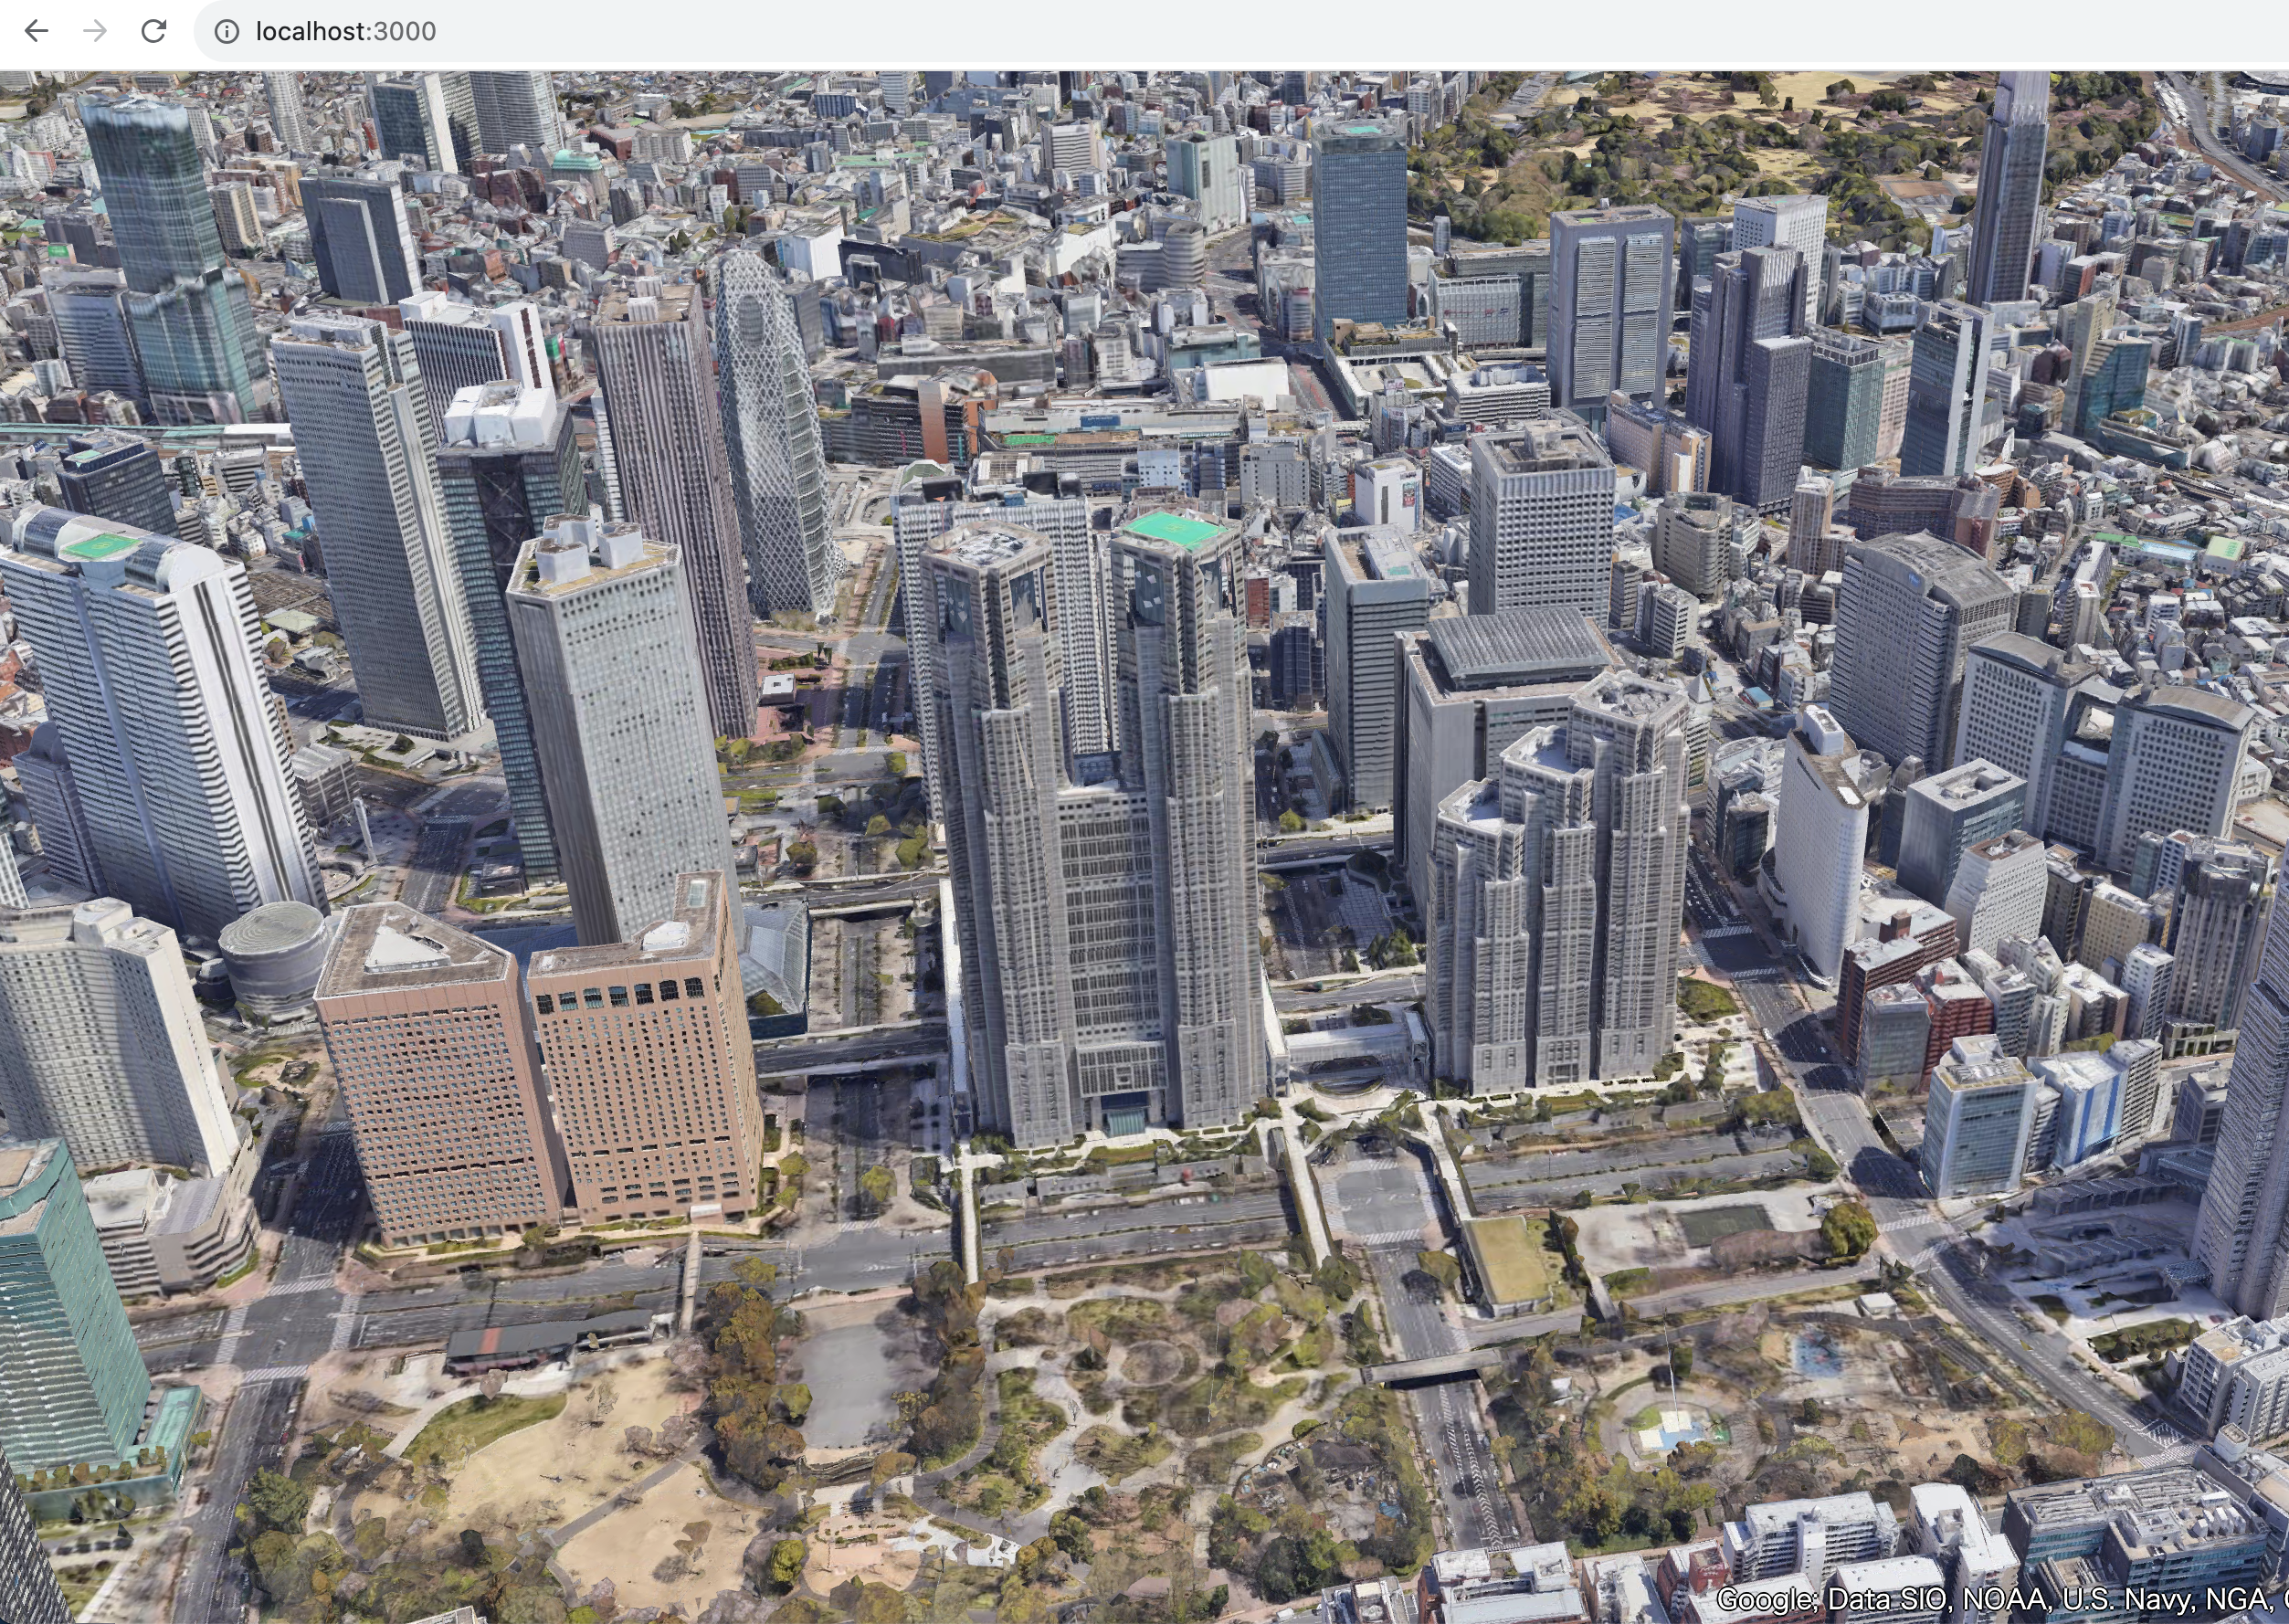
Next.jsとDeck.glでGoogleのPhotorealistic 3D Tilesを利用するためのハウツーです。カバー画像のような3D地図をブラウザで表示できるようにするところまで解説します。
Next.js Foundations Courseを参照しながら実装したため、備忘録をかねて書き残しておきます。
Map Tiles APIを有効にする
Photorealistic 3D Tilesを利用するには、Map Tiles APIが有効にになっている必要があります。まずは、以下のGoogleのドキュメントに従ってAPIを有効にして、APIキーを取得ししてください。のちほどDeck.glから3D Tileを呼び出す際にAPIキーを利用します。
Next.js アプリの作成
npx create-next-app@latest deck-demo --use-npm
✔ Would you like to use TypeScript? … Yes
✔ Would you like to use `src/` directory? … No
✔ Would you like to use App Router? (recommended) … No
アプリケーションのディレクトリを作成する際にいくつかの質問がありますが、今回の記事は上記の設定で行っています。App RouterをNoにすると、Page Routerを利用するプロジェクトが作成されます。
App Router vs Pages Router
現行のNext.jsでは、App RouterとPages Routerという2つのルーターが存在していて、プロジェクト作成時に選択します。Pages Routerと、App Routerではディレクトリ構成が異なるため、以下の記事ではPage Routerを選択した場合について記述しています。App Routerの方がバージョンとしては新しく推奨(recommended)となっていますが、今回は初学者としてPages Routerから使い方を理解したかったため、このような選択をしています。
cd deck-demo
mkdir components
アプリケーションのディレクトリに移動して、componentsディレクトリを作成しておきます。
npm install deck.gl
必要なライブラリをインストールしましょう。
実装
index.tsx、deck-map.tsx、deck-map.module.cssの3つのファイルを作成していきます。
root/
 ├ pages/
 │ └ index.tsx
 └ components/
   ├ deck-map.tsx
   └ deck-map.module.css
pages/
pages以下にindex.tsxやhoge.tsxのようなファイルを作成することで、ドメイン名/hogeでルーティングされアクセスできるようになります。
pages/index.tsxはすでに初期設定のページが存在しているので、以下のように書き換えます。
import Head from 'next/head'
import dynamic from 'next/dynamic';
const DeckMap = dynamic(() => import('../components/deck-map'), {
  ssr: false
});

export default function Home() {
  return (
  <>
    <Head><title>deck.gl Photorealistic 3D Tiles example</title></Head>
    <DeckMap />
  </>
  );
}
Deck.glの記述はindexとは別のコンポーネントとして作成して、Dynamic Importを使って読み込む必要があるので注意。SSR(サーバーサイドレンダリング)に失敗してエラーがでるの回避するため、Dynamic Importを使用して、ssr: falseの状態でインポートしています。
components/
ルーティングしたくない(ユーザーが直接アクセスしない)ページは、componentsディレクトリ以下に作成します。
ここではDeck.glのドキュメントよりUsing deck.gl with React、Googleのドキュメントより3D タイル レンダラを使用するをそれぞれ参照して記述しています。
import React, { useState } from 'react';
import DeckGL from '@deck.gl/react/typed';
import {Tile3DLayer} from '@deck.gl/geo-layers/typed';
import styles from './deck-map.module.css';

const GOOGLE_API_KEY = `YOUR_API_KEY_HERE`;
const TILESET_URL = `https://tile.googleapis.com/v1/3dtiles/root.json`;

// Viewport settings
const INITIAL_VIEW_STATE = {
  longitude: 139.695398,
  latitude: 35.68853,
  zoom: 16,
  bearing: 90,
  pitch: 70,
  height: 200
};

// DeckGL react component
export default function App() {
  const [credits, setCredits] = useState(new Set());

  const layers = [
  new Tile3DLayer({
   id: 'google-3d-tiles',
   data: TILESET_URL,
   loadOptions: {
    fetch: {
      headers: {
        'X-GOOG-API-KEY': GOOGLE_API_KEY
      }
    }
  },
  onTilesetLoad: (tileset3d) => {
    tileset3d.options.onTraversalComplete = (selectedTiles) => {
      const credits = new Set();
      selectedTiles.forEach((tile) => {
        const { copyright } = tile.content.gltf.asset;
        copyright.split(';').forEach(credits.add, credits);
      });
      setCredits(credits);
      return selectedTiles;
    };
  }
  })
  ];

  return (
    <div>
      <div className={styles.map}>
        <DeckGL initialViewState={INITIAL_VIEW_STATE} controller={true} layers={layers} />
      </div>
      <div className={styles.credits}>{Array.from(credits).join('; ')}</div>
    </div>
);
}
GOOGLE_API_KEYは、前項で取得したAPIキーに置き換えてください。ここでは、ハードコーディングしていますが、next.jsでは.env.localに環境変数を定義します。
Deck.glのパッケージのインポートは、.jsxの場合と、.tsxの場合で異なります。TypeScriptでコードを記述する場合、@deck.gl/module_name/typedとなります。
https://deck.gl/docs/get-started/using-with-typescript
-
.jsx
import DeckGL from '@deck.gl/react';
import {GeoJsonLayer} from '@deck.gl/layers'; -
.tsx
import DeckGL from '@deck.gl/react/typed';
import {GeoJsonLayer} from '@deck.gl/layers/typed';
.map {
  position: absolute;
  top: 0;
  bottom: 0;
  width: 100%;
}

.credits {
  position: absolute;
  bottom: 0;
  right: 0;
  padding: 2px;
  font-size: 15px;
  color: white;
  text-shadow: -1px 0 black, 0 1px black, 1px 0 black, 0 -1px black;
}
ローカルサーバーの起動
アプリのルートディレクトリで以下のコマンドを実行します。
npm run dev
http://localhost:3000にアクセスして、以下のように3D地図が表示されたら成功です。お疲れ様でした。
