はじめに
こんんちは、山田です。
今回は、Appliation Load Balancerを用いて、URLのパスごとに接続先のポート番号を変更する方法について記載していきます。
全体構成図
今回使用するAWSリソースは以下の通りです。
| AWSリソース名 | 個数 | 備考 |
|---|---|---|
| VPC | 1 | - |
| Subnet | 4 | PublicSubnet 2つ PrivateSubnet 2つ |
| EC2 | 3 | EC2-①(Windows) EC2-②(RHEL) EC2-③(RHRL) |
| InternetGateWay | 1 | - |
| ALB | 1 | - |
| Route53 | 1 | PrivateHostZone 1つ |
以下に全体構成図を記載します。
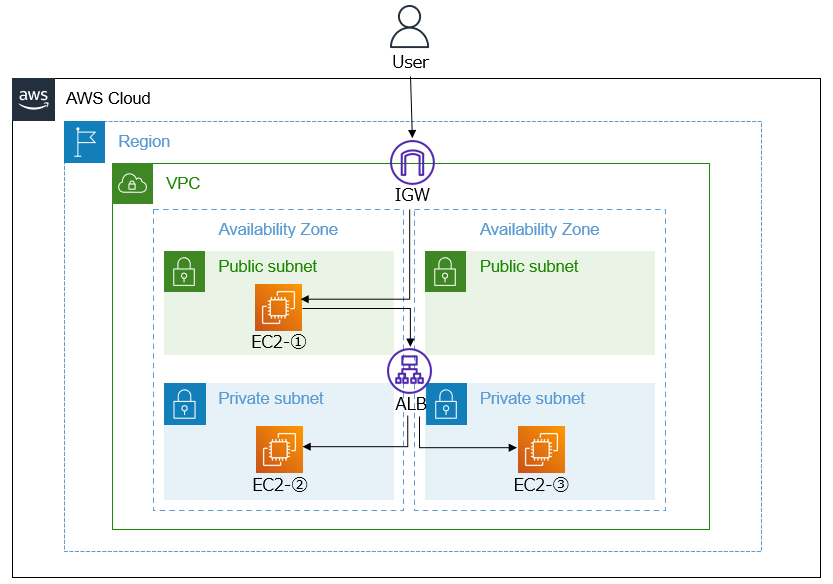
ALBに関しては、接続元URLごとに、接続先のポート番号が変わるように設定します。今回はホスト名は「yamada.test.local」で同一とし、パスごとにルーティングをするように設定します。また、Webサーバソフトウェアとして、「Apache」を使用します。
| URL | ポート番号 |
|---|---|
| http://yamada.test.local/hoge1 | 80 |
| http://yamada.test.local/hoge2 | 81 |
 |
|
| ① UserはInternetGateWayを介して、EC2にSSH接続する。 | |
| ② EC2ログイン後、ALBに接続する。その際、Route53のプライベートホストゾーンを用いて、名前解決をする。 | |
| ③ ALBはトラフィックを、EC2-②、EC2-③に振り分ける。 |
構築手順
以下より実際の構築手順に関して、記載していきます。
前提条件
VPC、Subnet、EC2、InternetGateWay(IGW)は構築済みとします。
Apacheの設定
① EC2-①に、リモートデスクトップ接続します。
② 「TeraTerm」を用いて、EC2-②にSSH接続します。
③ Apacheをインストールします
yum -y install httpd
④ Listenするポート番号を追加します。
cd /etc/httpd/conf
vi httpd.conf
---------------------------
Listen 80
Listen 81 #81を追加
---------------------------
⑤ バーチャルホストの設定をします。
cd /etc/httpd/conf.d
vi vhost.conf #バーチャルホスト設定ファイル作成
----------------------------------------------------------------------
<VirtualHost *:80>
    DocumentRoot /test #今回はドキュメントルートとして「/test」を設定
    ServerName localhost
</VirtualHost>

<VirtualHost *:81>
    DocumentRoot /test
    ServerName localhost
</VirtualHost>
----------------------------------------------------------------------
⑥ ディレクトリ,ファイルを作成します。
cd /
mkdir test
cd /test
mkdir hoge1
cd hoge1
vi index.html
----------------------------------------
<html>

<head>
<title>EC2-2</title>
</head>

<body>
hoge1
</body>

</html>
------------------------------------------

mkdir hoge2
cd hoge2
vi index.html
----------------------------------------
<html>

<head>
<title>EC2-2</title>
</head>

<body>
hoge2
</body>

</html>
------------------------------------------
⑦ Apache起動,自動起動の設定をします。
systemctl start httpd #Apache起動
systemctl enable httpd #Apache自動起動設定
systemctl status httpd #runningになっていることを確認
⑧ EC2-③にログインし、③~⑦の設定を同様に行います。
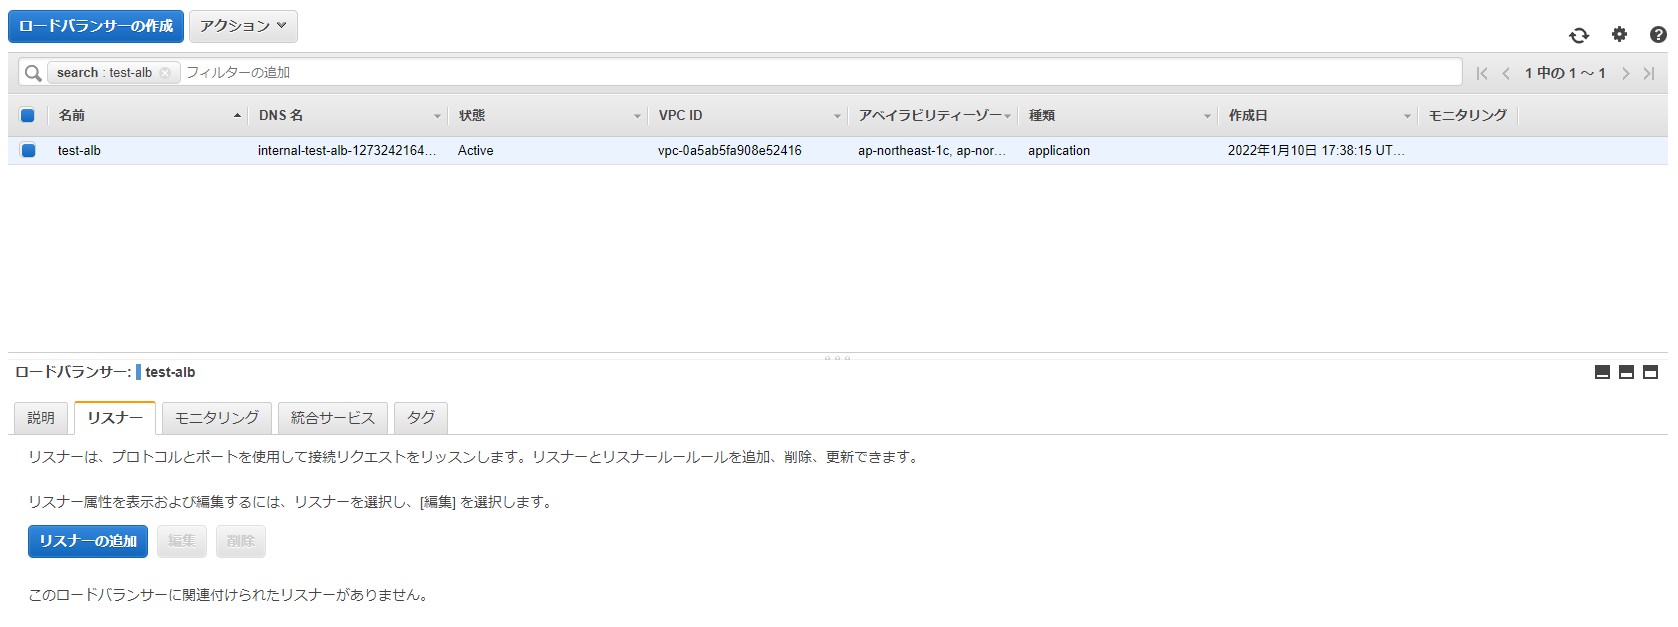
ApplicationLoadBalancer(ALB)作成
① AWS管理コンソール画面->EC2->ロードバランサー->ロードバランサーの作成をクリックします。
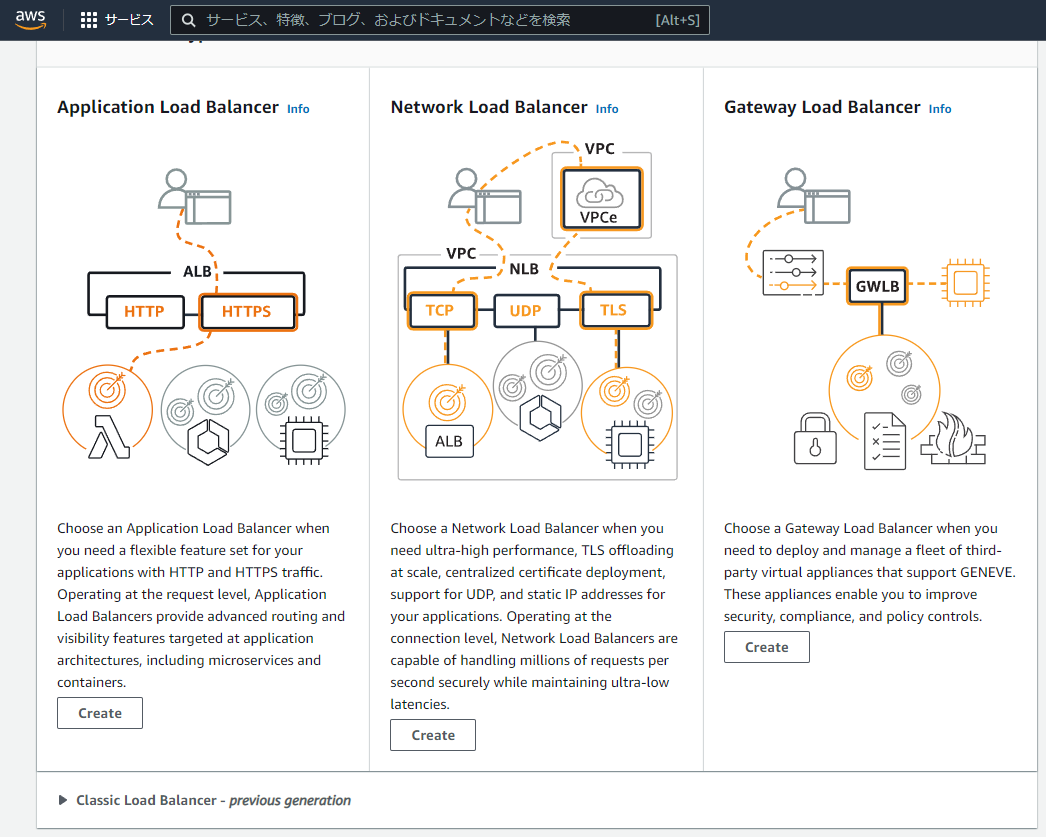
② 以下のような画面が表示されるので、ALBを選択します。
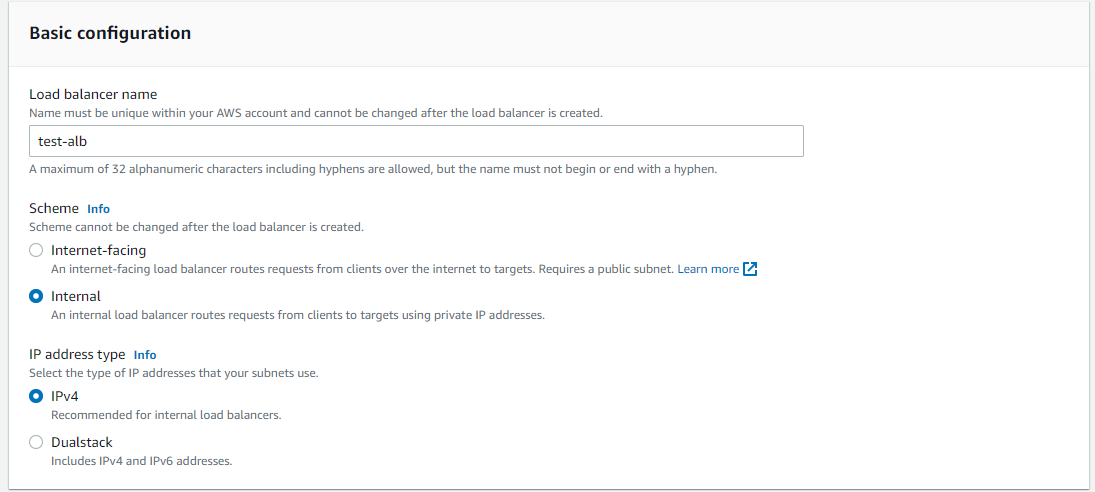
③ 以下に設定項目を記載します。
| 設定項目 | 設定値 | 備考 |
|---|---|---|
| name | test-alb | - |
| Scheme | Internal | 今回は内部向けなのでInternalを選択 |
| IP address type | IPv4 | - |
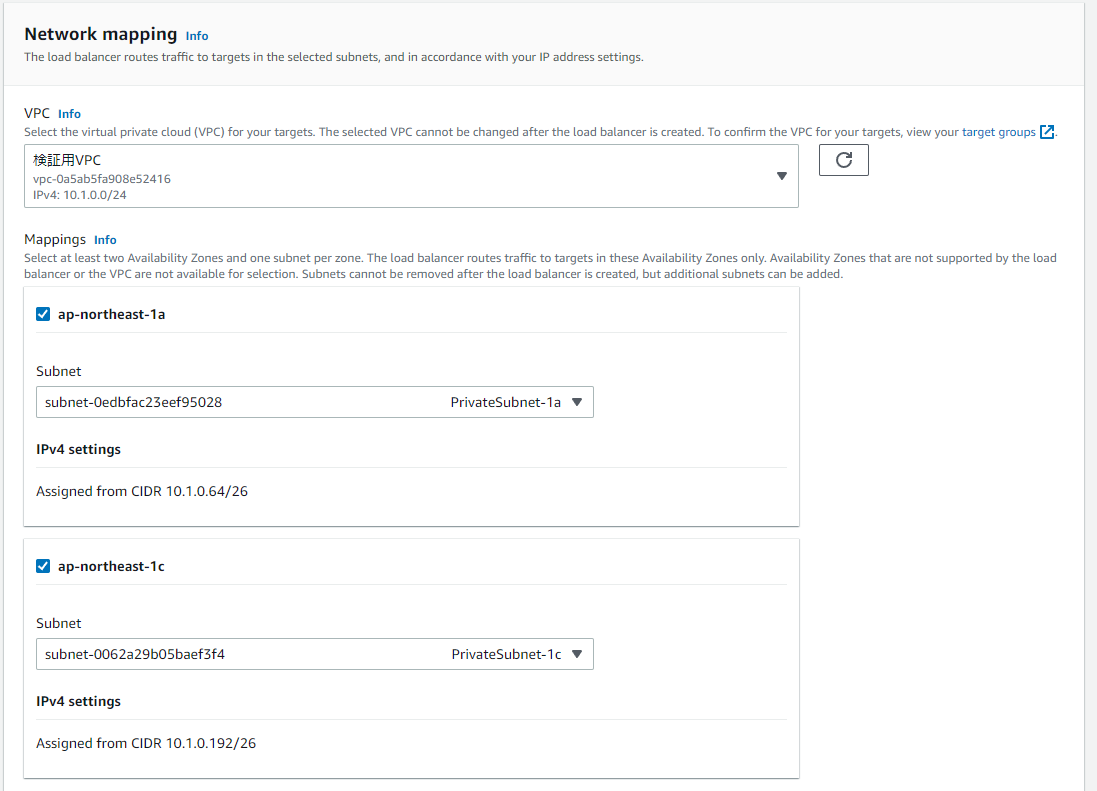
| VPC | 検証用VPC (作成したVPC選択) |
- |
| Mapping | PrivateSubnet-1a、PrivateSubnet-1c (作成したPrivateSubnetを選択) |
今回は内部向けなのでPrivateSubnetを指定 |
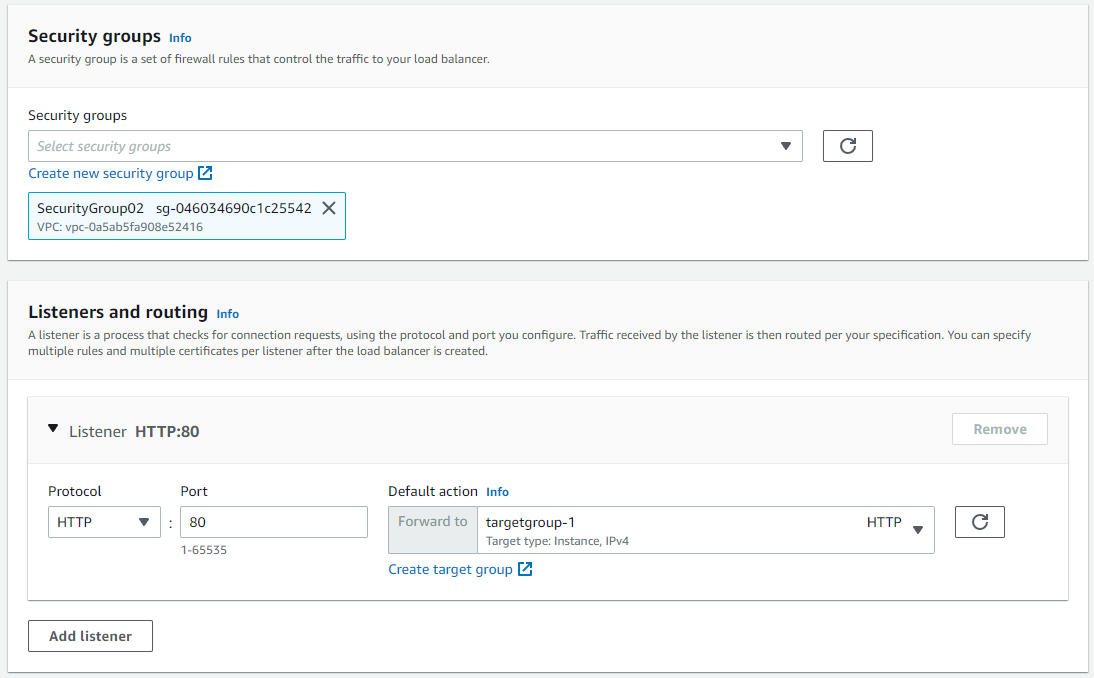
| SecurityGroup | SecurityGroup (作成したSecurityGroupを選択) |
- |
| Listener | 後ほど変更 | - |
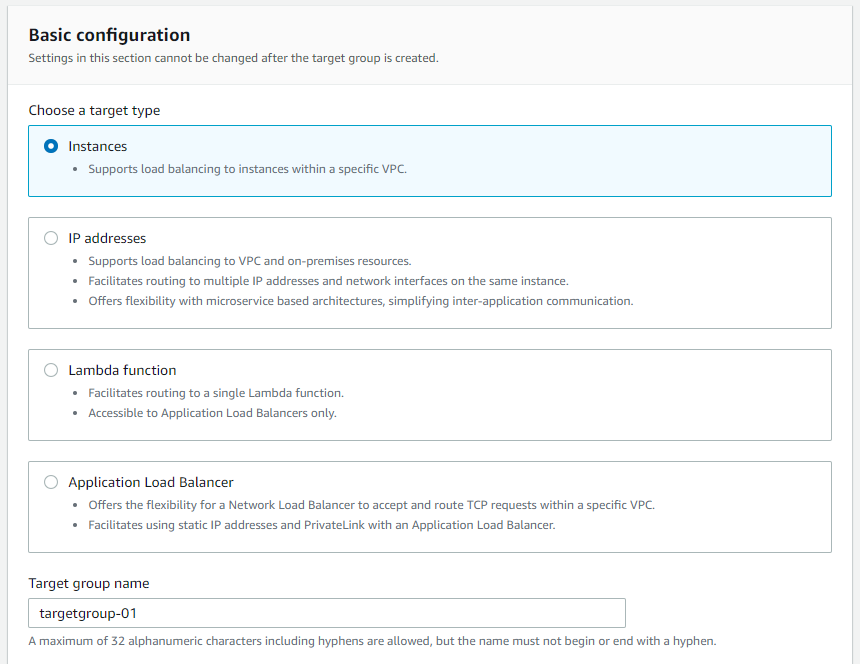
④ ターゲットグループを作成します。
| 設定項目 | 設定値 | 備考 |
|---|---|---|
| target type | Instances | - |
| target group name | targetgroup-01 targetgroup-02 |
ポート番号80,81番用に2つ作成 |
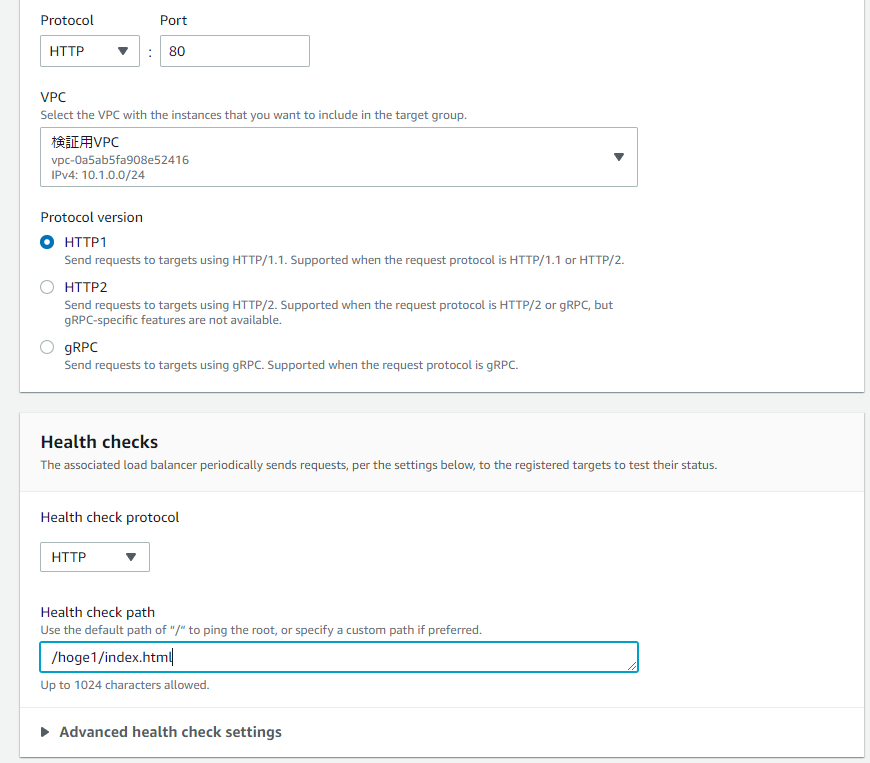
| Protocol Port | HTTP 80 (targetgroup-01) HTTP 81 (targetgroup-02) |
- |
| Protocol version | HTTP1 | - |
| Health check protocol | HTTP | - |
| Health check path | /hoge1/index.html (targetgroup-01) /hoge2/index.html (targetgroup-02) |
- |
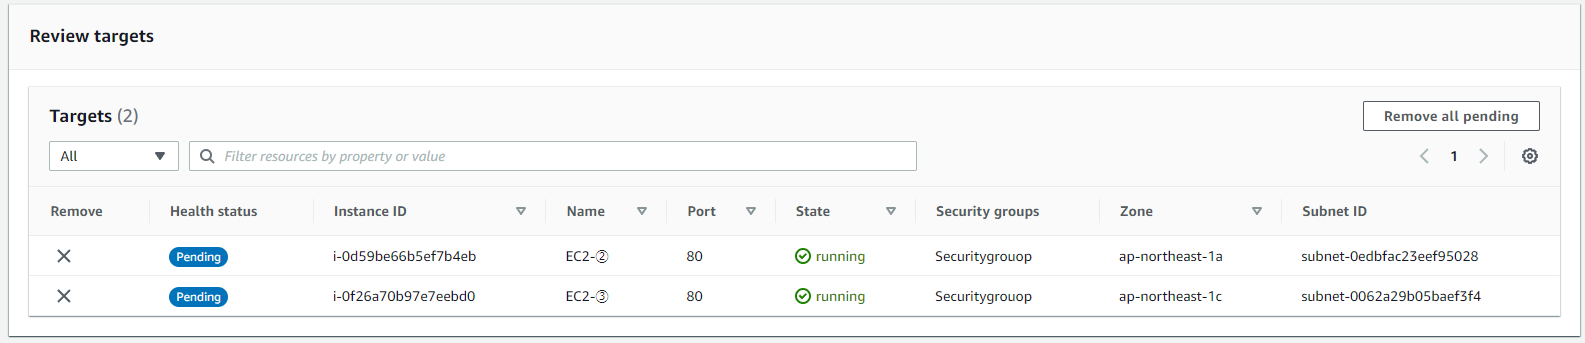
| Target Instance | EC2-② EC2-③ |
- |
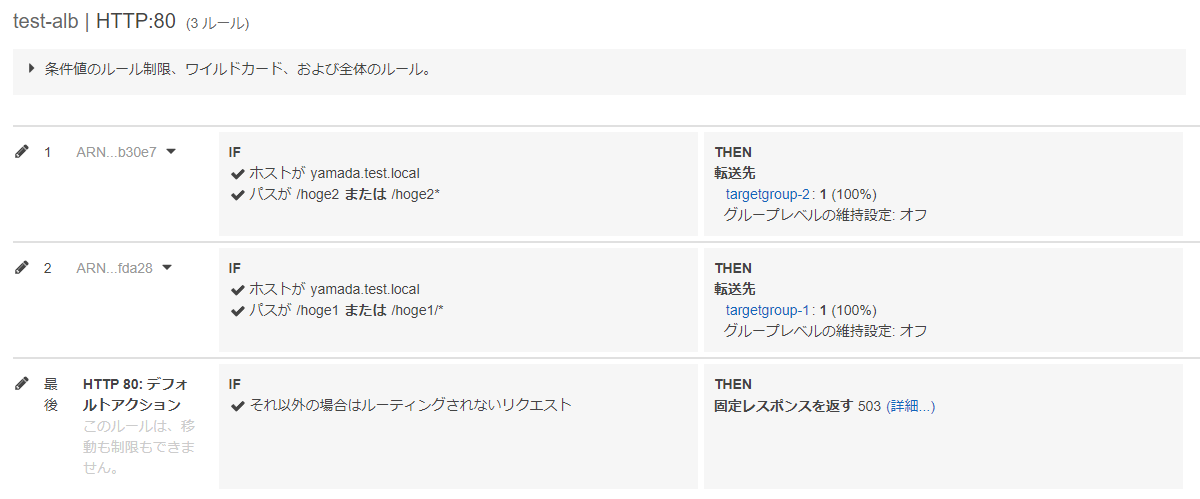
④ リスナー設定変更
リスナー->リスナー追加をクリックします。
以下に設定項目を記載します。
| ホスト | パス | 転送先 |
|---|---|---|
| yamada.test.local | /hoge1 または /hoge1/* | targetgroup-1 |
| yamada.test.local | /hoge2 または /hoge2/* | targetgroup-2 |
Route53、プライベートホストゾーン設定
① AWS管理コンソール->Route53->ホストゾーン->ホストゾーンの作成をクリックします。
ドメイン名「test.local」、ホストゾーンタイプは「プライベートホストゾーン」で作成します。
| ホストゾーン種類 | ドメイン名 |
|---|---|
| プライベートホストゾーン | test.local |
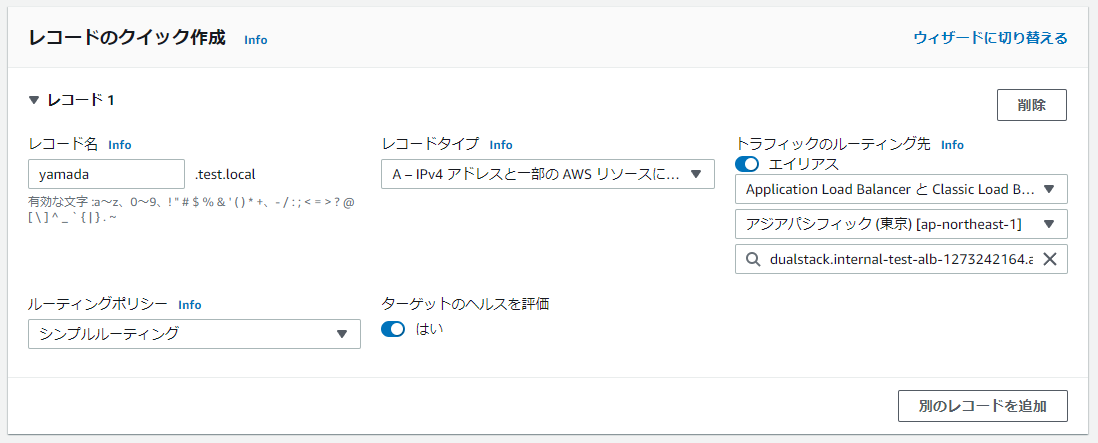
② レコードを作成します。
| 設定項目 | 設定値 |
|---|---|
| レコード名 | yamada.test.local |
| レコードタイプ | A |
| トラフィックルーティング先 | internal-test-alb-1273242164.ap-northeast-1.elb.amazonaws.com (ALBのDNS名) |
| ルーティングポリシー | シンプルルーティング |
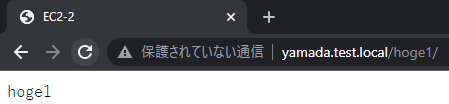
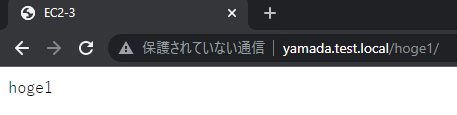
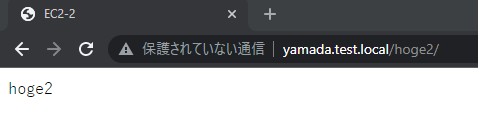
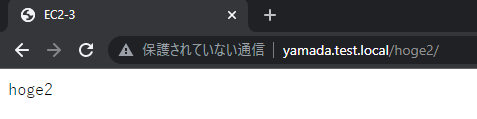
動作確認
① 「http://yamada.test.local/hoge1/」、「http://yamada.test.local/hoge2」にそれぞれアクセスし、「hoge1」「hoge2」の文字列がそれぞれ表示されることを確認できれば、完了です!