AppsFlyerとは
AppsFlyerは、いわゆるディープリンクを提供するサードパーティーとなっております。
従来ではディープリンク = Firebase Dynamic Linksが王道でしたが、2025年8月のサービス終了を受けて別のサービスが注目されつつあります。AppsFlyerもそのうちのひとつです。
代替サービスの検討ももちろんあったのですが、無料枠でできることや運用面を考慮してAppsFlyerを選択する結果となりました。
OneLink機能
OneLink機能はAppsFlyerのディープリンク機能のことを指します。
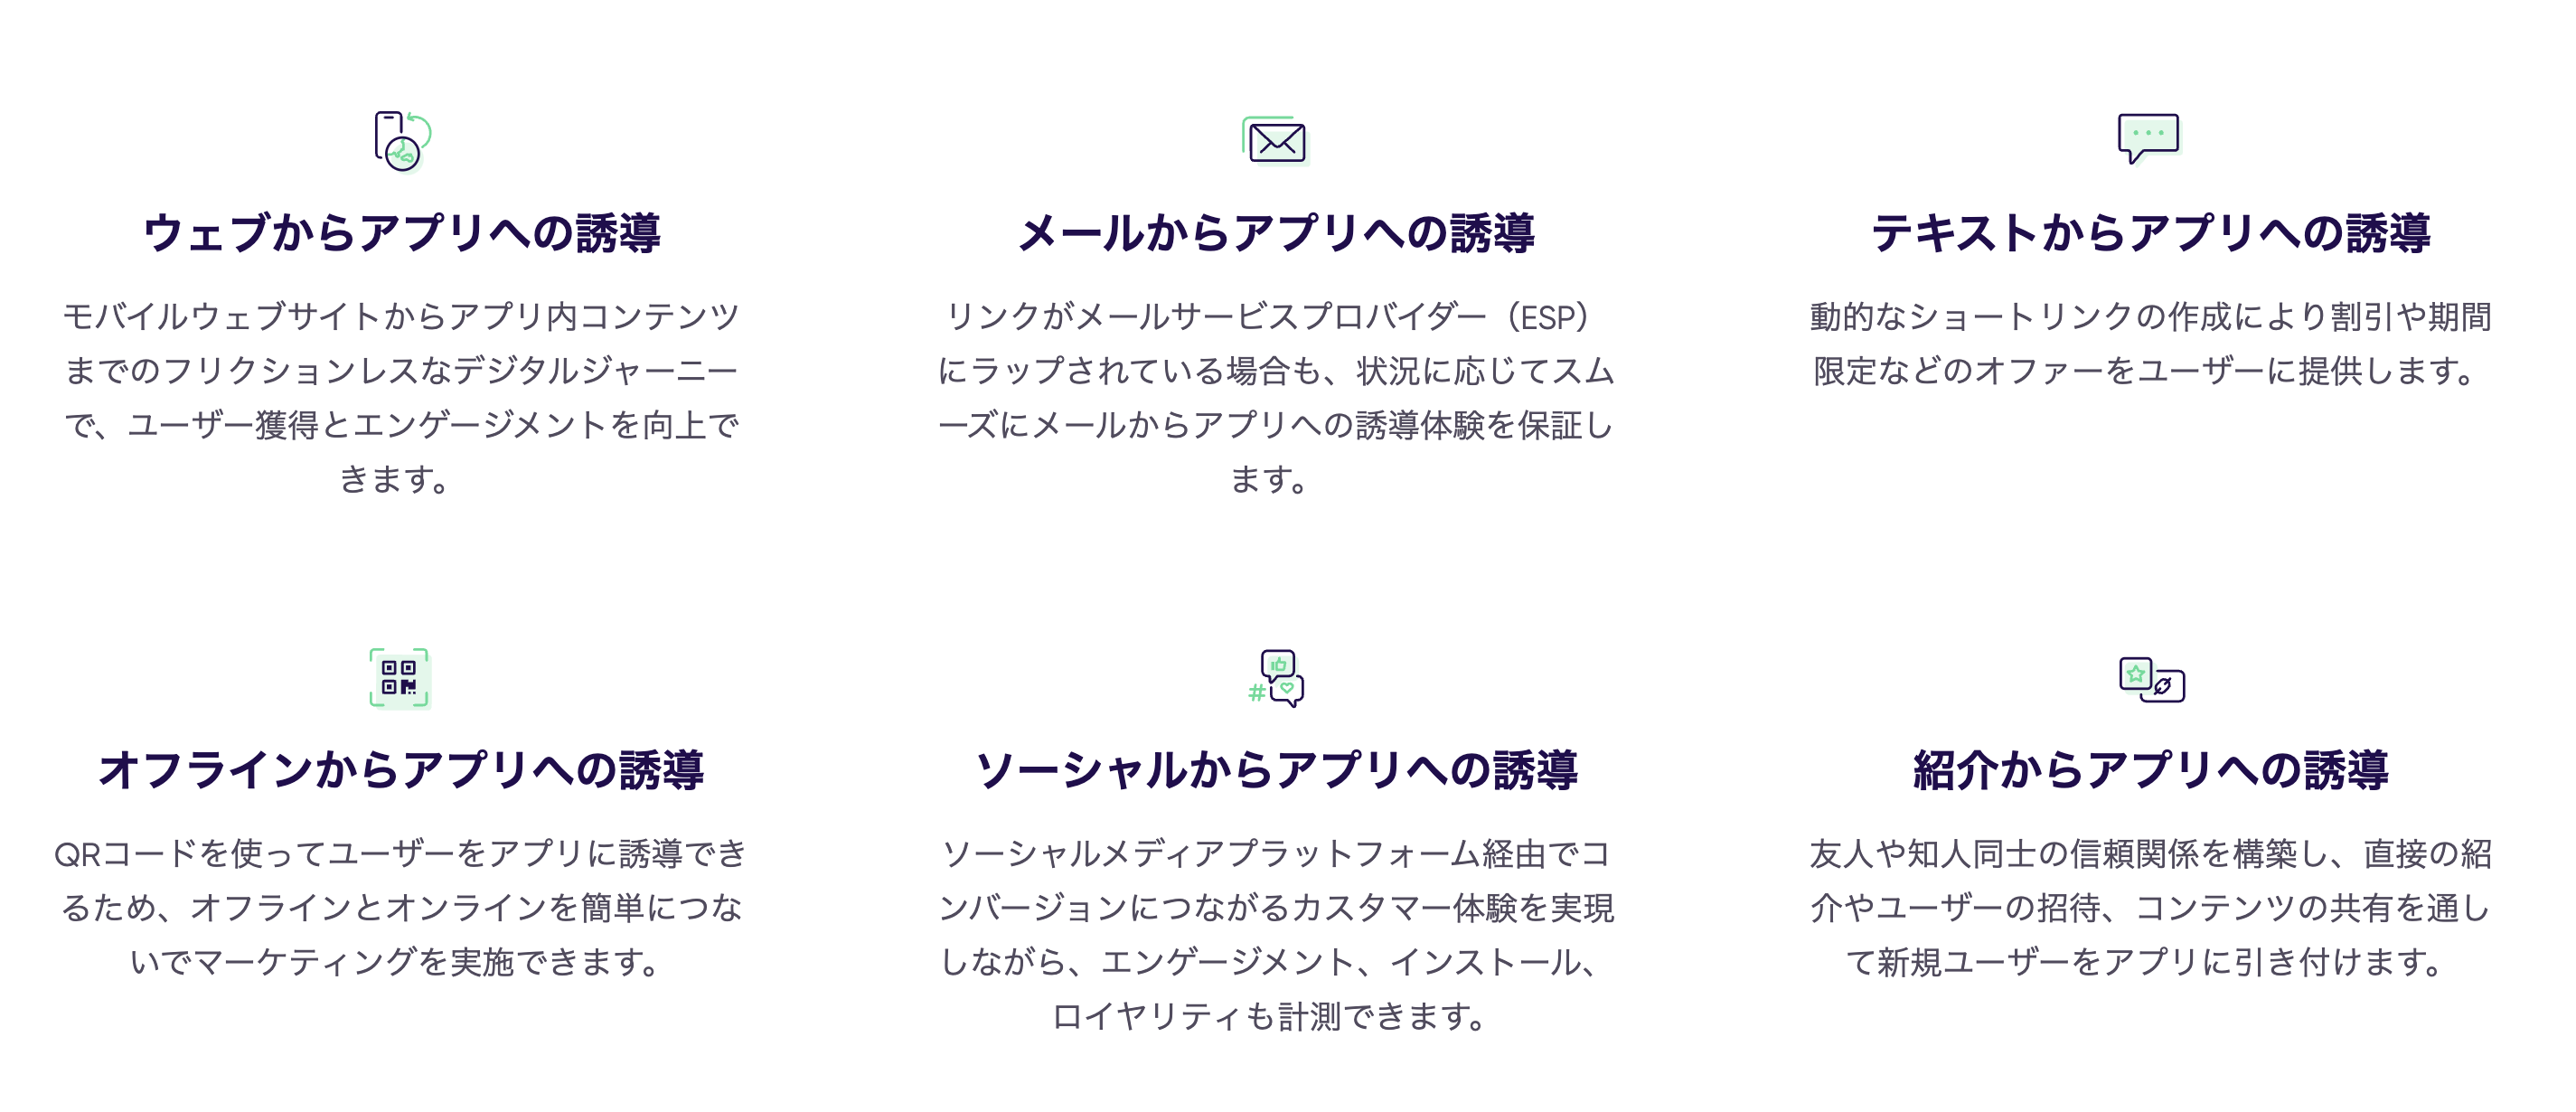
冒頭でのイラストにもあるとおりモバイルアプリへのスムーズな導線のサポートをしてくれます。
OneLinkについての詳しい説明は省略しますが、URLとQRコードを生成してくれます。
Flutterで使うには
パッケージ
pub.devでパッケージが公開されているのでこれを利用します。
flutter pub add appsflyer_sdk
ネイティブ側の設定(Android)
<!-- Deep Linking -->
<intent-filter  android:autoVerify="true">
    <action android:name="android.intent.action.VIEW" />
    <category android:name="android.intent.category.DEFAULT" />
    <category android:name="android.intent.category.BROWSABLE" />
    <data android:scheme="https"
            android:host="xxxx.onelink.me" />
</intent-filter>
<!-- Deep Linking -->
ネイティブの設定(iOS)
<!-- AppsFlyer -->
<key>com.apple.developer.associated-domains</key>
<array>
	<string>applinks:test.onelink.me</string>
</array>
<key>FlutterDeepLinkingEnabled</key>
<true/>
<?xml version="1.0" encoding="UTF-8"?>
<!DOCTYPE plist PUBLIC "-//Apple//DTD PLIST 1.0//EN" "http://www.apple.com/DTDs/PropertyList-1.0.dtd">
<plist version="1.0">
	<dict>
		<key>aps-environment</key>
		<string>development</string>
		<key>com.apple.developer.associated-domains</key>
		<array>
			<string>applinks:mirrorfit.onelink.me</string>
		</array>
	</dict>
</plist>
Flutterの実装
runApp()の前に以下を記載
AppsFlyerOptions appsFlyerOptions = AppsFlyerOptions(
  afDevKey: const String.fromEnvironment('appsFlyerDevKey'),
  // ignore: avoid_redundant_argument_values
  appId: const String.fromEnvironment('appId'),
  showDebug: true,
  timeToWaitForATTUserAuthorization: 50,
  appInviteOneLink: 'oneLinkID',
  disableAdvertisingIdentifier: false,
  disableCollectASA: false,
  manualStart: true,
);
class AppsFlyerService {
  AppsFlyerService._();

  final _appsflyerSdk = AppsflyerSdk(appsFlyerOptions);

  Future<void> init() async {
    await _appsflyerSdk.initSdk(
      registerConversionDataCallback: true,
      registerOnAppOpenAttributionCallback: true,
      registerOnDeepLinkingCallback: true,
    );

    _appsflyerSdk.startSDK(
      onSuccess: () {
        logger.i('✈️ AppsFlyer SDK initialized successfully ✈️');
      },
      onError: (int errorCode, String errorMessage) {
        logger.i('AppsFlyer SDK initialization failed: $errorMessage');
      },
    );
  }

  /// ディープリンクの処理
  Future<void> handleDeepLink(BuildContext context) async {
    _appsflyerSdk.onDeepLinking((DeepLinkResult dp) {
      switch (dp.status) {
        case Status.FOUND:
          final deepLink = dp.deepLink;
          if (deepLink == null) {
            logger.i('Status.FOUND but deep link not found');
            return;
          }
          navigateToScreen(context, deepLink);
        case Status.NOT_FOUND:
          logger.e('deep link not found');
        case Status.ERROR:
          logger.e('deep link error: ${dp.error}');
        case Status.PARSE_ERROR:
          logger.e('deep link status parsing error');
      }
    });
  }

  /// 画面遷移をする
  void navigateToScreen(BuildContext context, DeepLink deepLink) {
    // 💡 ここのパラメーターはOneLinkの設定により異なります
    final screenType = deepLink.afSub1;
    final contentId = deepLink.afSub2;
    // 遷移処理
  }
}
微妙に詰まったところ
1. AndroidのlaunchMode
deepLinkで立ち上げる都合、singleTopからsingleTaskにする必要がありました
<activity android:name=".MainActivity" android:exported="true" android:launchMode="singleTask" ...
2. initializeとlistenerの設定順序が逆
先ほどAppsFlyerServiceにはinit, handleDeepLinkの2つのメソッドがありました。
これは通常他のSDKではinitしてからlistenerの設定をすると思いますが、AppsFlyerについては逆で指定すべきでした。
そのため、handleDeepLinkの設定をしてからinitSdkをするというやや煩わしいことをしなくてはなりません。
3. go_routerでiOS特有のハンドリングが必要
OneLinkは発行すると以下のようなURLとなります
https://{ドメイン}.onelink.me/{チームID}/{固有値}
この状態でgo_routerを使っているアプリケーションを開くと、iOSの場合go_routerで定義したパスを見に行ってしまうため「URLが見つからない」とエラーが出ます。
そのため、以下のような設定が必要でした。
final goRouterProvider = Provider((ref) {
  return GoRouter(
    debugLogDiagnostics: true,
    navigatorKey: NavigationKey.rootNavigatorKey,
    initialLocation: '/',
    redirect: (context, state) {
      final currentRoute = state.uri.toString();
      final user = FirebaseAuthService.authStateNotifier.value;

      // ここがiOS向けの設定
      // pathにhttps://が含まれる場合はtopに戻す
      if (currentRoute.contains('https://')) {
        return user != null ? '/home' : '/';
      }

      if (user != null) {
        return null;
      }
      return '/login';
    },
4. バックグラウンド -> フォアグラウンド復帰した時にも処理が必要
AppLifecycleState.pauzedになった時にもリスナー登録と初期化処理の設定が必要になります。
  @override
  void didChangeAppLifecycleState(AppLifecycleState state) {
    // NOTE: initStateとフォアグラウンド復帰時にチェックする
    switch (state) {
      case AppLifecycleState.paused:
        Future.delayed(Duration.zero, () async {
          // AppsFlyerのリスナー登録
          // こちらはサンプルです
          await _handleDeepLink();
          // AppsFlyerの初期化
          await AppsFlyerService.init();
        });
        break;
      case AppLifecycleState.inactive:
      case AppLifecycleState.resumed:
      case AppLifecycleState.detached:
      case AppLifecycleState.hidden:
        break;
    }
  }
5. iOSの場合、LINEやinstagramはユーザーの設定が必要
iOSの場合、URLはアプリ内ブラウザで開かれてしまいます。
そうなるとアプリの挙動がおかしくなったりするため設定を変えていくかユーザーに呼びかけが必要です。
LINEの場合
| 設定のLINEラボ | リンクをデフォルトのブラウザで開くをON |
|---|---|
 |
 |
instagramの場合
| 設定からWebサイトのアクセス許可 | メッセージリンク | 外部ブラウザーで開くをオン |
|---|---|---|
 |
 |
 |
