基本のおさらい
FlutterでBottomSheetを表示する際は、showBottomsheetメソッド、もしくはshowModalBottomSheetを用いて表示をすると思います。
showBottomsheetの例
Scaffold.of(context).showBottomSheet<void>(
  (BuildContext context) {
    return Container(
      height: 200,
      color: Colors.amber,
      child: Center(
        child: Column(
          mainAxisAlignment: MainAxisAlignment.center,
          mainAxisSize: MainAxisSize.min,
          children: <Widget>[
            const Text('BottomSheet'),
            ElevatedButton(
              child: const Text('Close BottomSheet'),
              onPressed: () {
                Navigator.pop(context);
              },
            ),
          ],
        ),
      ),
    );
  },
);
showModalBottomSheetの例
showModalBottomSheet<dynamic>(
  context: context,
  builder: (BuildContext context) {
    return Container(
      height: 100,
      width: MediaQuery.sizeOf(context).width,
      decoration: const BoxDecoration(
        color: Colors.white,
        borderRadius: BorderRadius.only(
          topLeft: Radius.circular(16),
          topRight: Radius.circular(16),
        ),
      ),
    );
  },
);
記載の面でも、showModalBottomSheetの方が使いやすいためそちらを中心に進めていきます。
本題:bottomSheetの高さ調整について
では、まず上記のサンプルコードを定義します。
一旦全体のコードを提示します。
import 'package:flutter/material.dart';

void main() {
  runApp(const MyApp());
}

class MyApp extends StatelessWidget {
  const MyApp({super.key});

  @override
  Widget build(BuildContext context) {
    return MaterialApp(
      title: 'Flutter Demo',
      theme: ThemeData(
        colorScheme: ColorScheme.fromSeed(seedColor: Colors.deepPurple),
        useMaterial3: true,
      ),
      home: const MyHomePage(),
    );
  }
}

class MyHomePage extends StatelessWidget {
  const MyHomePage({super.key});

  Future<void> showBottomSheetDemo(BuildContext context) {
    return showModalBottomSheet<dynamic>(
      context: context,
      builder: (BuildContext context) {
        return Container(
          height: 100,
          width: MediaQuery.sizeOf(context).width,
          decoration: const BoxDecoration(
            color: Colors.white,
            borderRadius: BorderRadius.only(
              topLeft: Radius.circular(16),
              topRight: Radius.circular(16),
            ),
          ),
        );
      },
    );
  }

  @override
  Widget build(BuildContext context) {
    return Scaffold(
        appBar: AppBar(
          title: const Text('Flutter Demo'),
        ),
        body: const Center(
          child: Text(
            'Hello, world!',
            style: TextStyle(fontSize: 24),
          ),
        ),
        floatingActionButton: FloatingActionButton(
          onPressed: () {
            showBottomSheetDemo(context);
          },
          child: const Icon(Icons.add),
        ));
  }
}
上記のアプリの、FloatingActionButtonをタップすると以下のように高さ100のボトムシートが表示されます。

ちなみに、Flutterではメディアクエリを用いて簡易的に画面の高さや幅が取得できます。
今回はiPhone14のシュミレーターで検証していますが、iPhone14の高さは844.0でした。
print(MediaQuery.sizeOf(context).height.toString());
// flutter: 844.0
なので、今度は画面いっぱいに広がるようにheight: 844と指定してみます。
Future<void> showBottomSheetDemo(BuildContext context) {
  return showModalBottomSheet<dynamic>(
    context: context,
    builder: (BuildContext context) {
      return Container(
-       height: 100,
+       height: 844,
        width: MediaQuery.sizeOf(context).width,
        decoration: const BoxDecoration(
          color: Colors.white,
          borderRadius: BorderRadius.only(
            topLeft: Radius.circular(16),
            topRight: Radius.circular(16),
          ),
        ),
      );
    },
  );
}
では、もう一度表示させた結果を添付します。
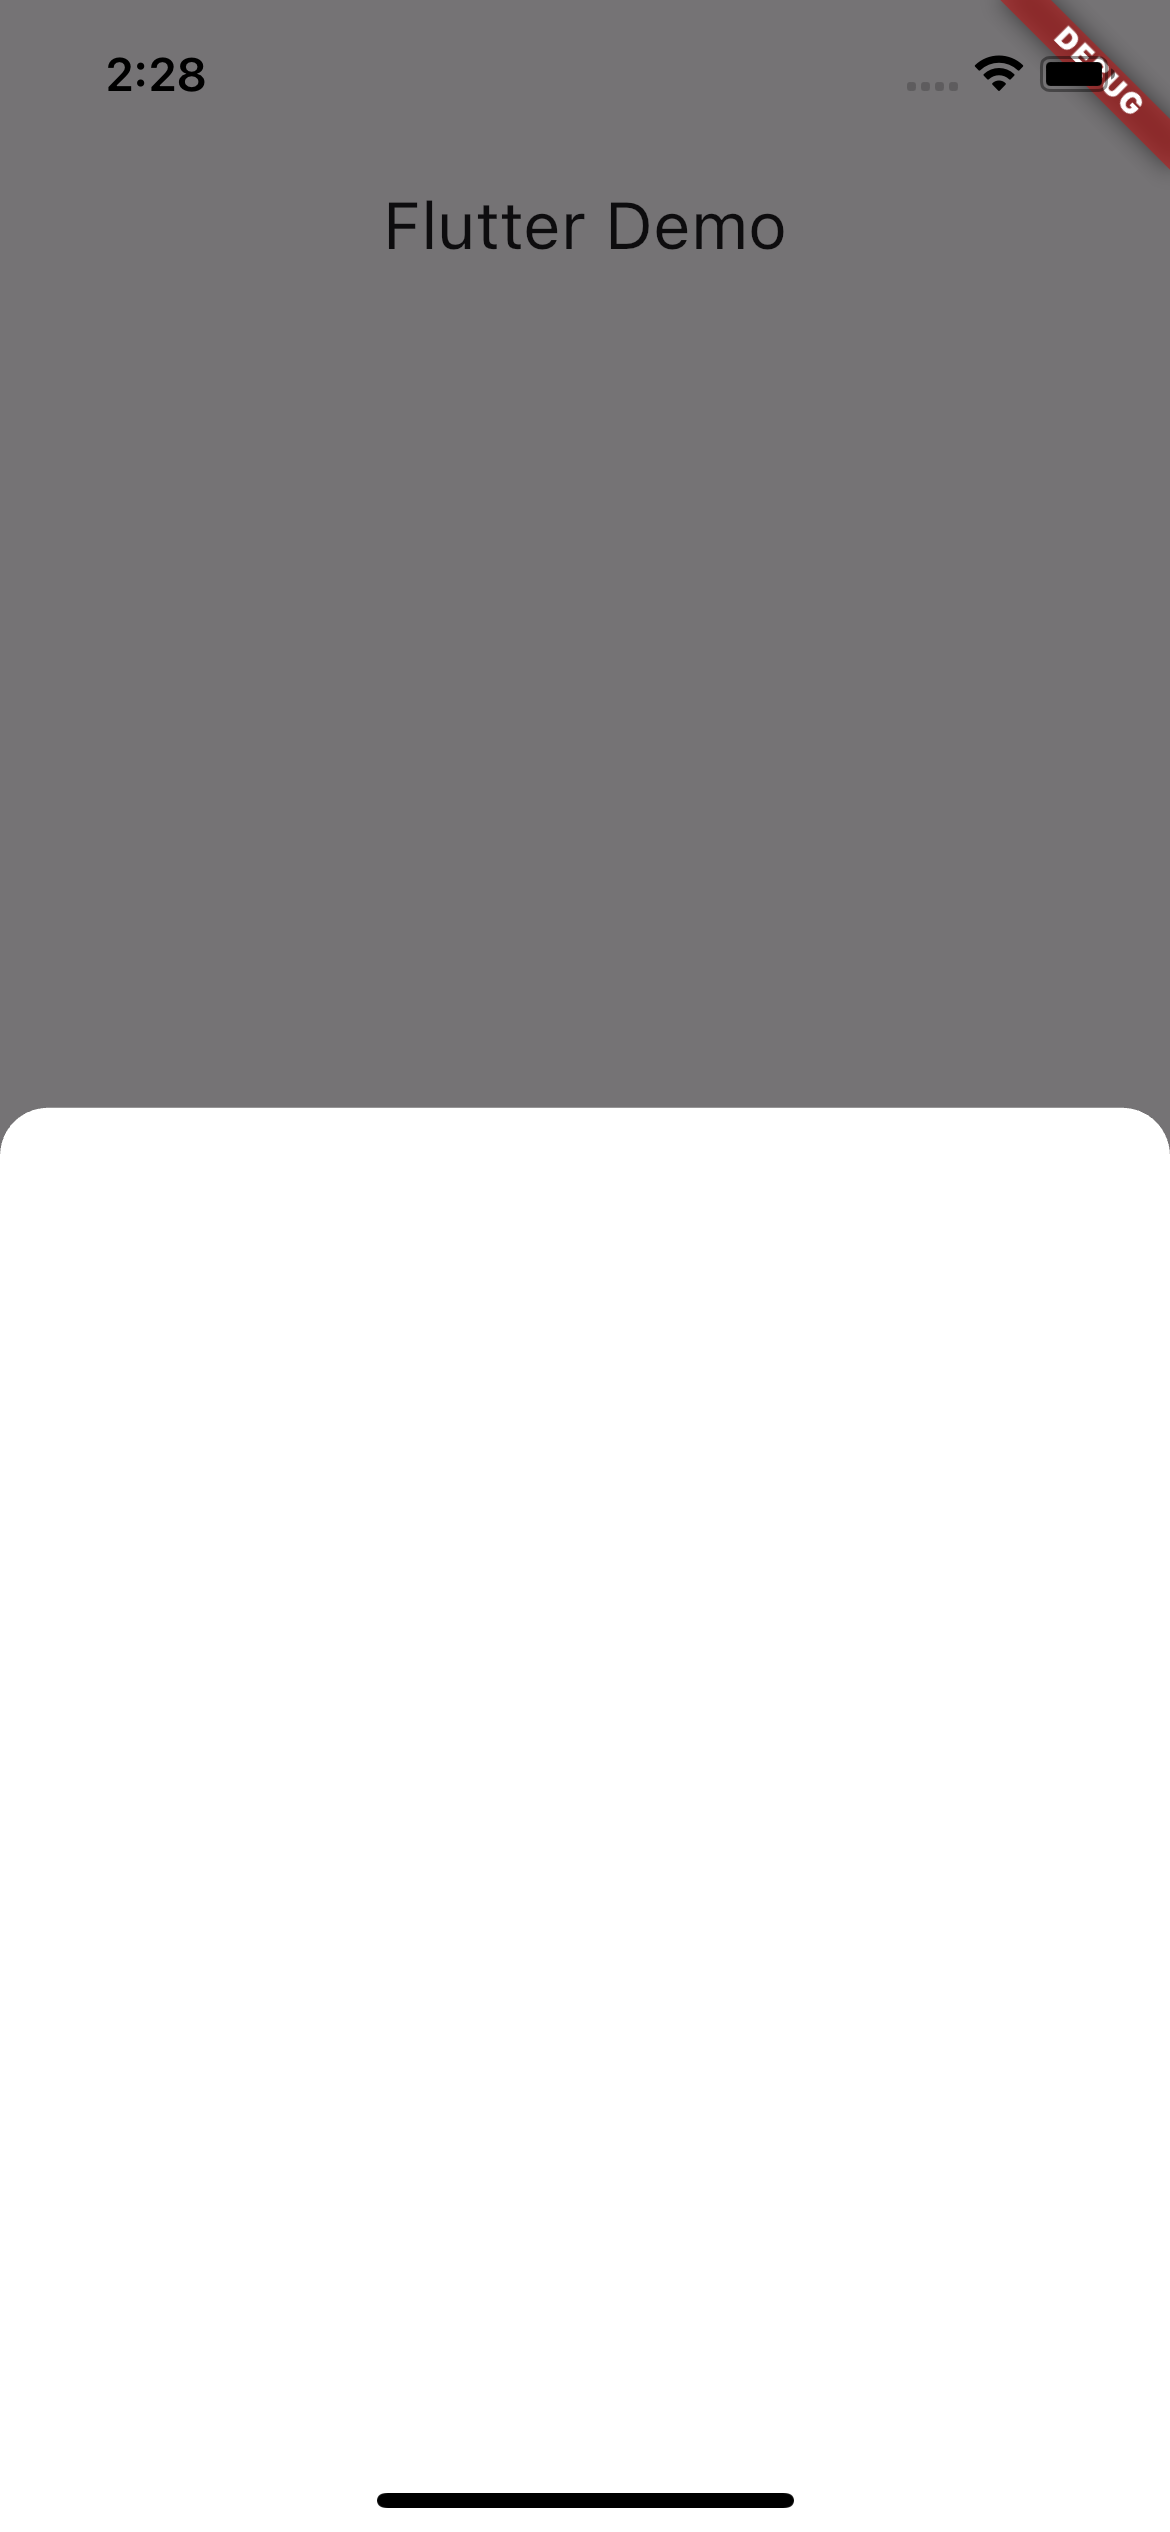
あれ?半分くらいの高さにしかなりませんね。。
そうです、Flutterのボトムシートは、一工夫しないと50%の高さで制御されてしまいます。
対処法
ボトムシートの高さが50%未満の場合はこういった考慮は不要ですが、50%以上超える場合は以下のようにパラメーターを設定してください。
Future<void> showBottomSheetDemo(BuildContext context) {
  return showModalBottomSheet<dynamic>(
    context: context,
+   isScrollControlled: true,
+   backgroundColor: Colors.transparent, // これはついで
    builder: (BuildContext context) {
      return Container(
-        height: 844,
+        height: 800, // 最大高さより少し小さめを設定
        width: MediaQuery.sizeOf(context).width,
        decoration: const BoxDecoration(
          color: Colors.white,
          borderRadius: BorderRadius.only(
            topLeft: Radius.circular(16),
            topRight: Radius.circular(16),
          ),
        ),
      );
    },
  );
基本的に、以下のisScrollControlledが設定してあれば高さの調整が可能です。
backgroundColorは、未指定の場合MaterialAppで定義したthemeの色が自動で適応されてしまいUIの阻害になりうるため、透明(transparent)で指定しておくと無難でしょう。
isScrollControlled: true,
backgroundColor: Colors.transparent,