概要
Ruby で作られたテキストエディタ Textbringer (https://github.com/shugo/textbringer)にはプレゼンテーションモード(https://github.com/shugo/textbringer-presentation)があります。これを Windowsで使いたいと思います。
環境
Windows と言っても Windows10 で WSL を使うのであれば簡単です。以下の環境で行います。
- Windows 10 Home 64bit バージョン 1903
- WSL(Windows Subsystem for Linux)を利用
- Ubuntu 18.04 LTS
- WSLtty
- rbenv
- ruby 2.6.5p114 (2019-10-01 revision 67812) [x86_64-linux]
Textbringer のインストール
https://qiita.com/kurod1492/items/c759c1533ae98d937d95の記事に書いていますのでご覧ください。
Textbringer-presentation のインストール
gem でインストールすることができます。
$ gem install textbringer-presentation
textbringer で markdown ファイルを開き M-x presentation を実行すればプレゼンテーションを開始することができます。
q を押すとプレゼンテーションを終了します。
mlterm のインストール
WSLtty では画像を表示することができませんでした。mlterm を使えば表示できたので、mlterm を使うことにしました。
apt でインストールします。
$ sudo apt install mlterm
mlterm で使うときの設定が Textbringer の README(https://github.com/shugo/textbringer/blob/master/README.md)に書かれていますのでそのようにします。
libsixel、imagemagick のインストール
画像を表示するために libsixel と imagemagick が必要のようで、以下のようにパッケージでインストールします。
sudo apt install imagemagick libsixel1 libsixel-bin
これで画像を表示することができます。
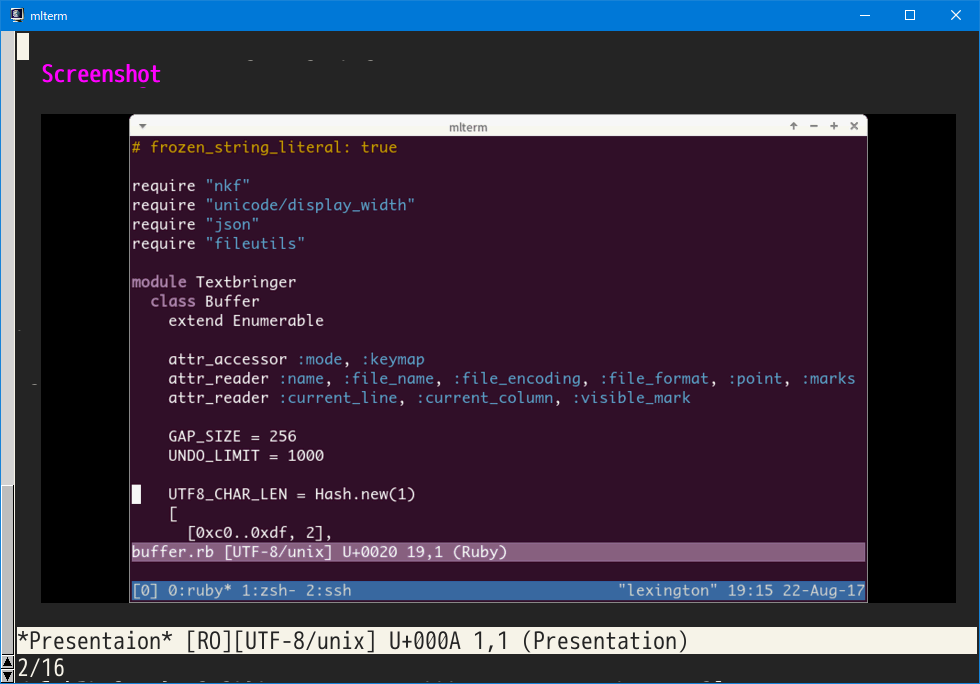
以下の画像は mlterm で Textbringer の README の Screenshot のスライドを表示しているスクリーンショットです。