Google認証プロバイダーの作成
以下のAmplifyのドキュメントを参考に実施してみました。
https://docs.amplify.aws/lib/auth/social_signin_web_ui/q/platform/android/
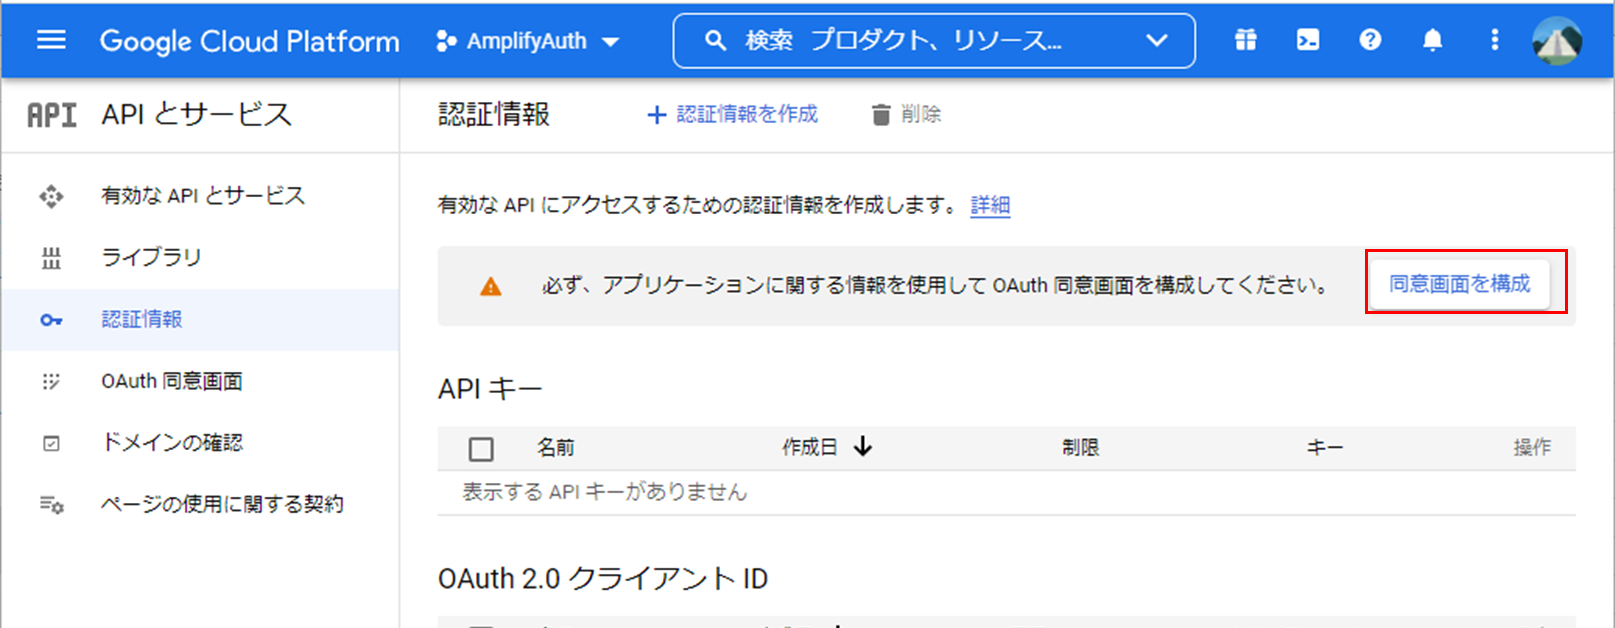
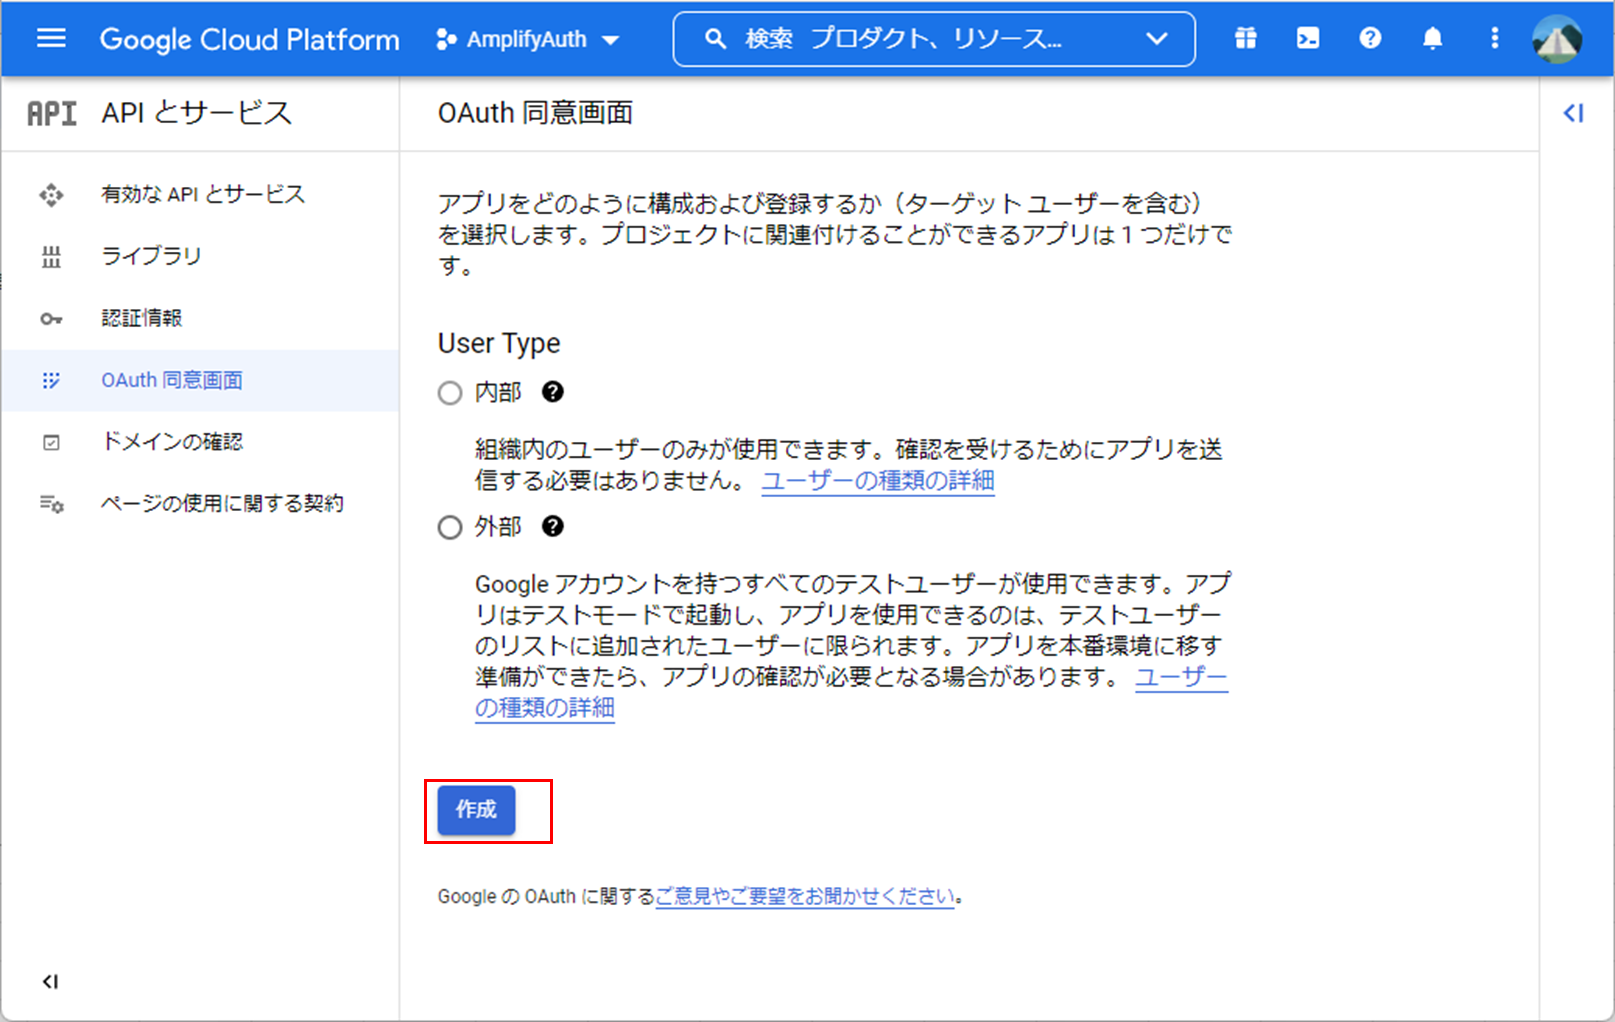
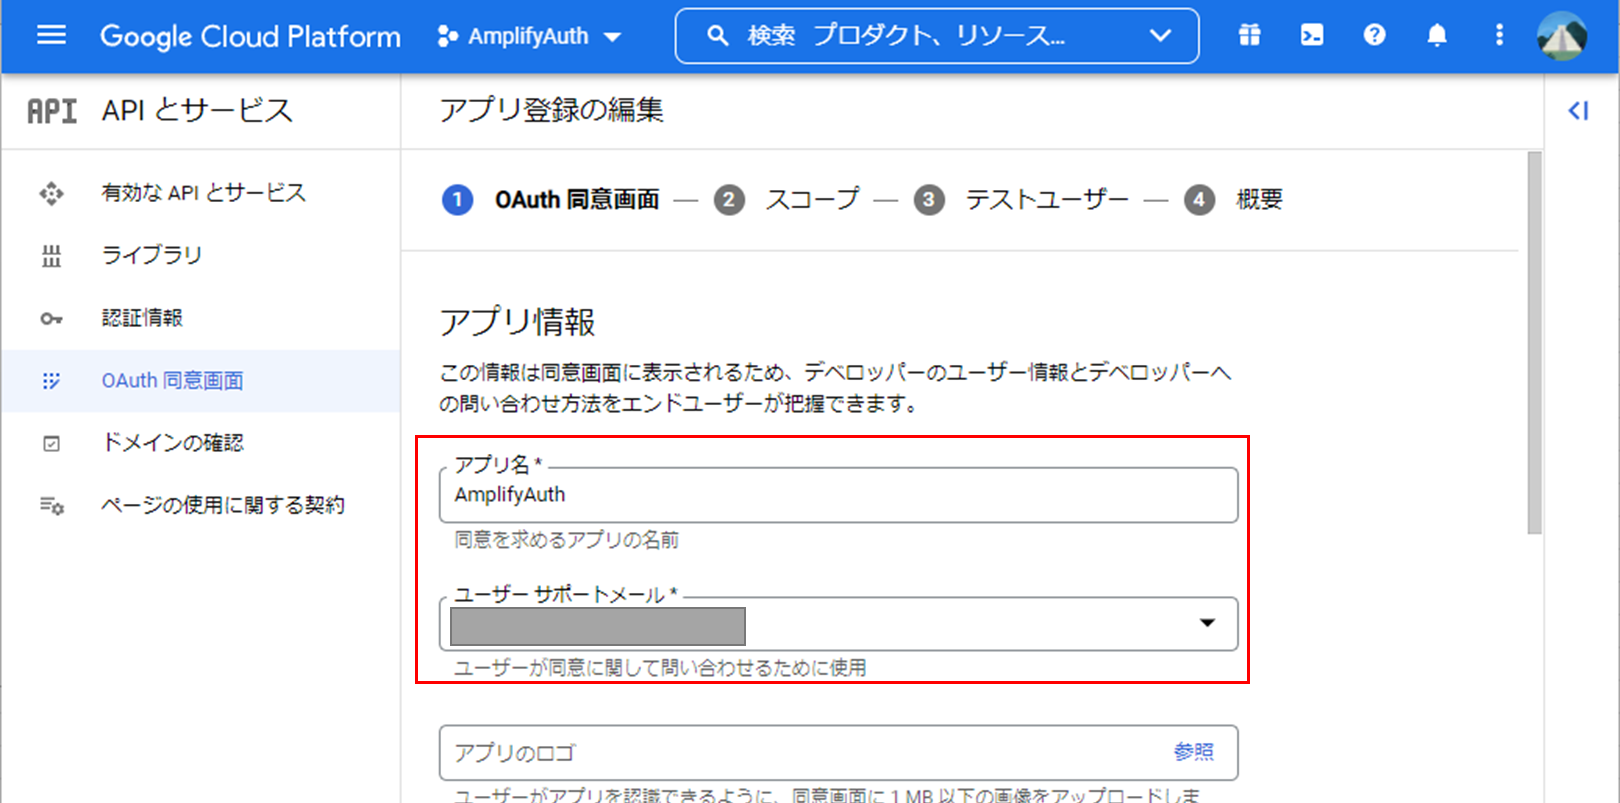
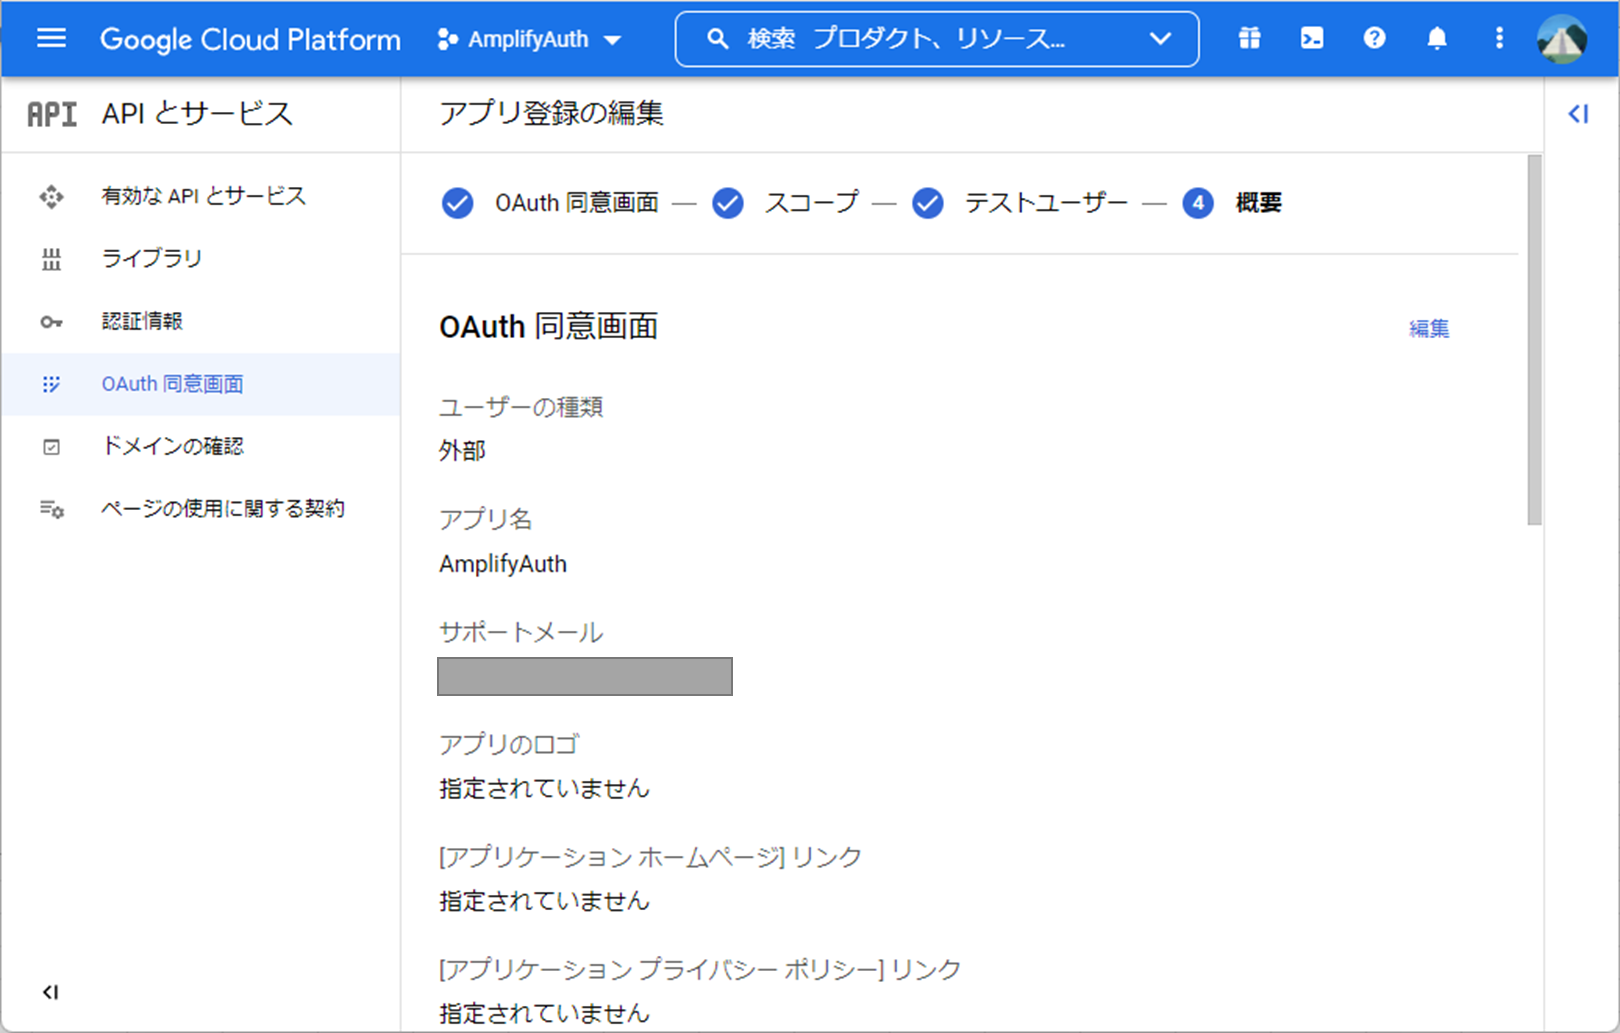
同意画面の作成
-
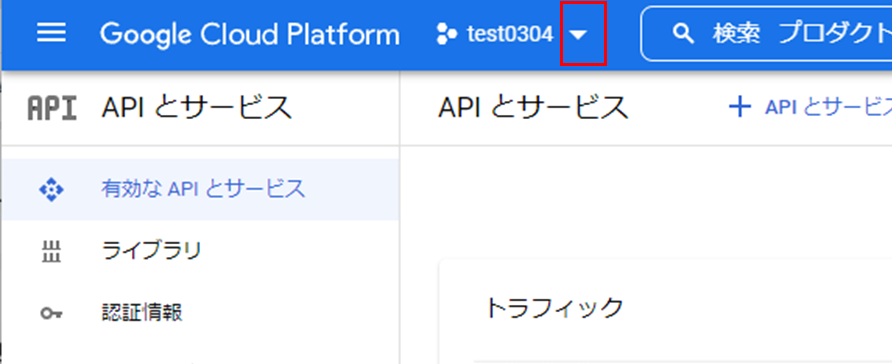
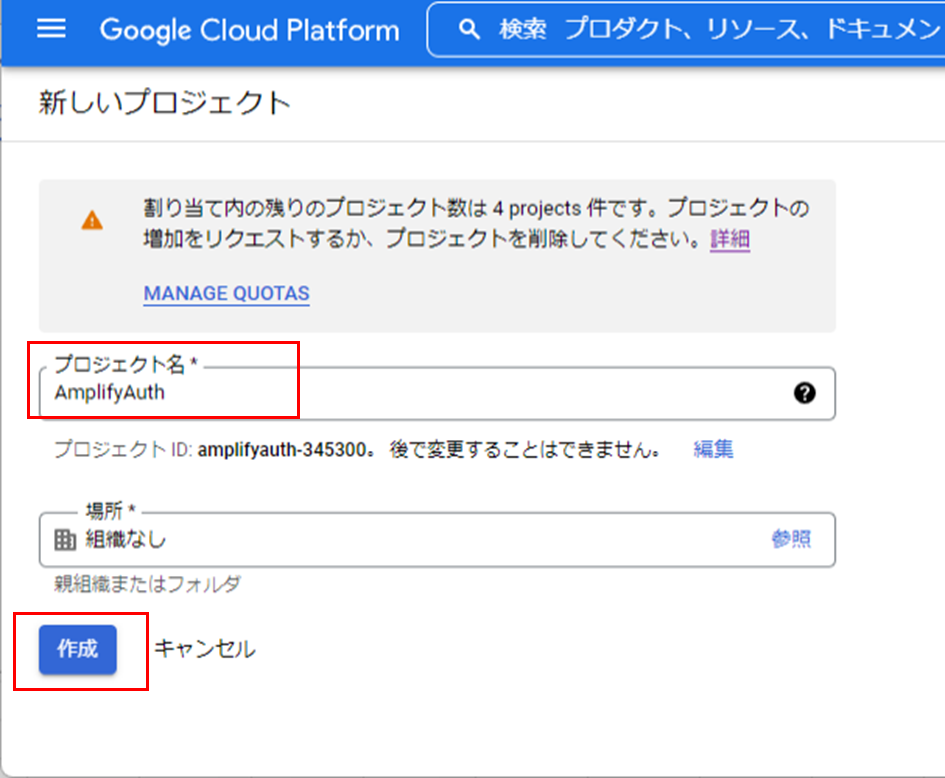
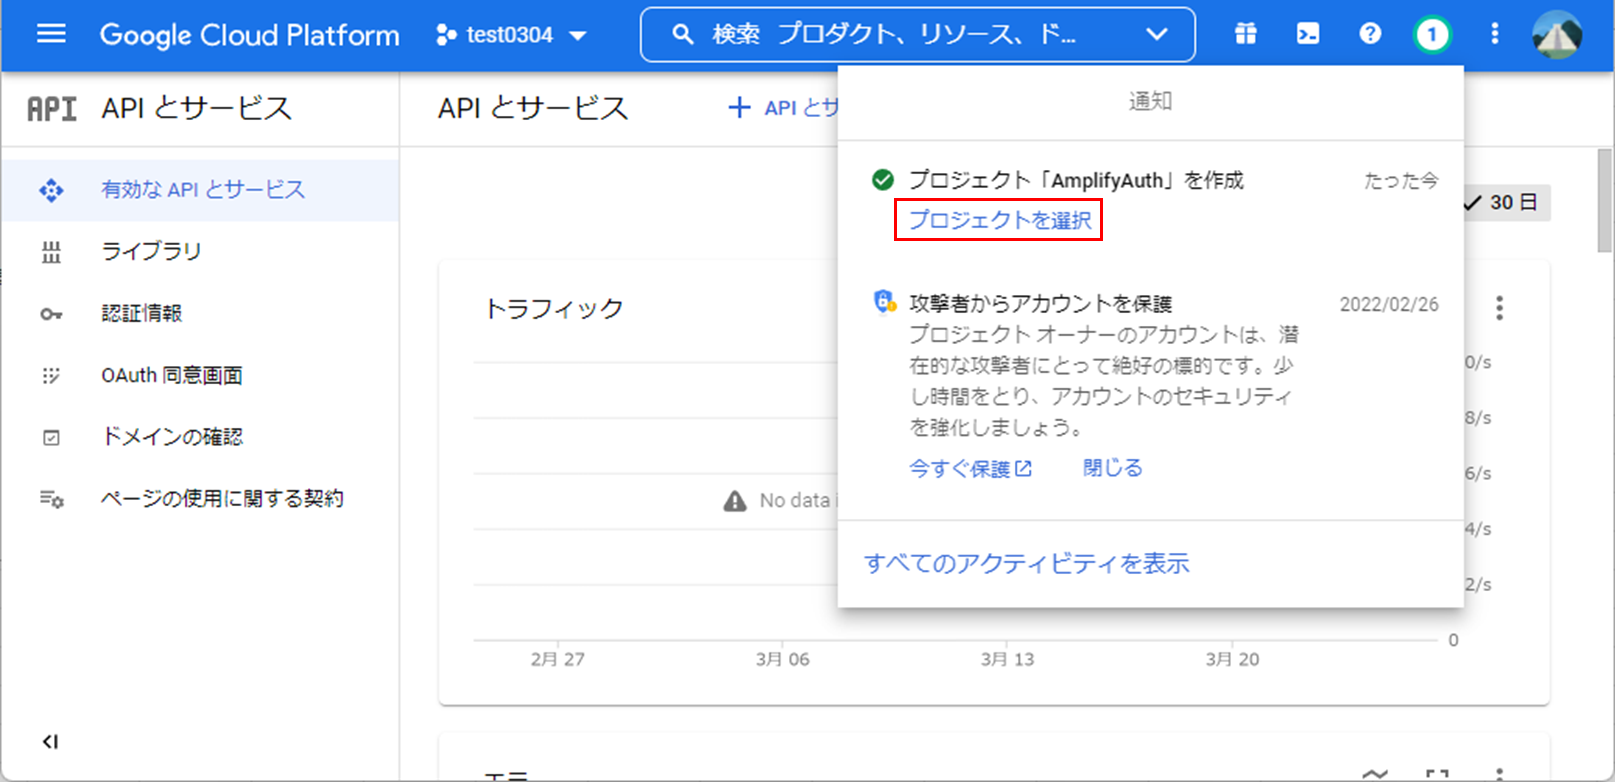
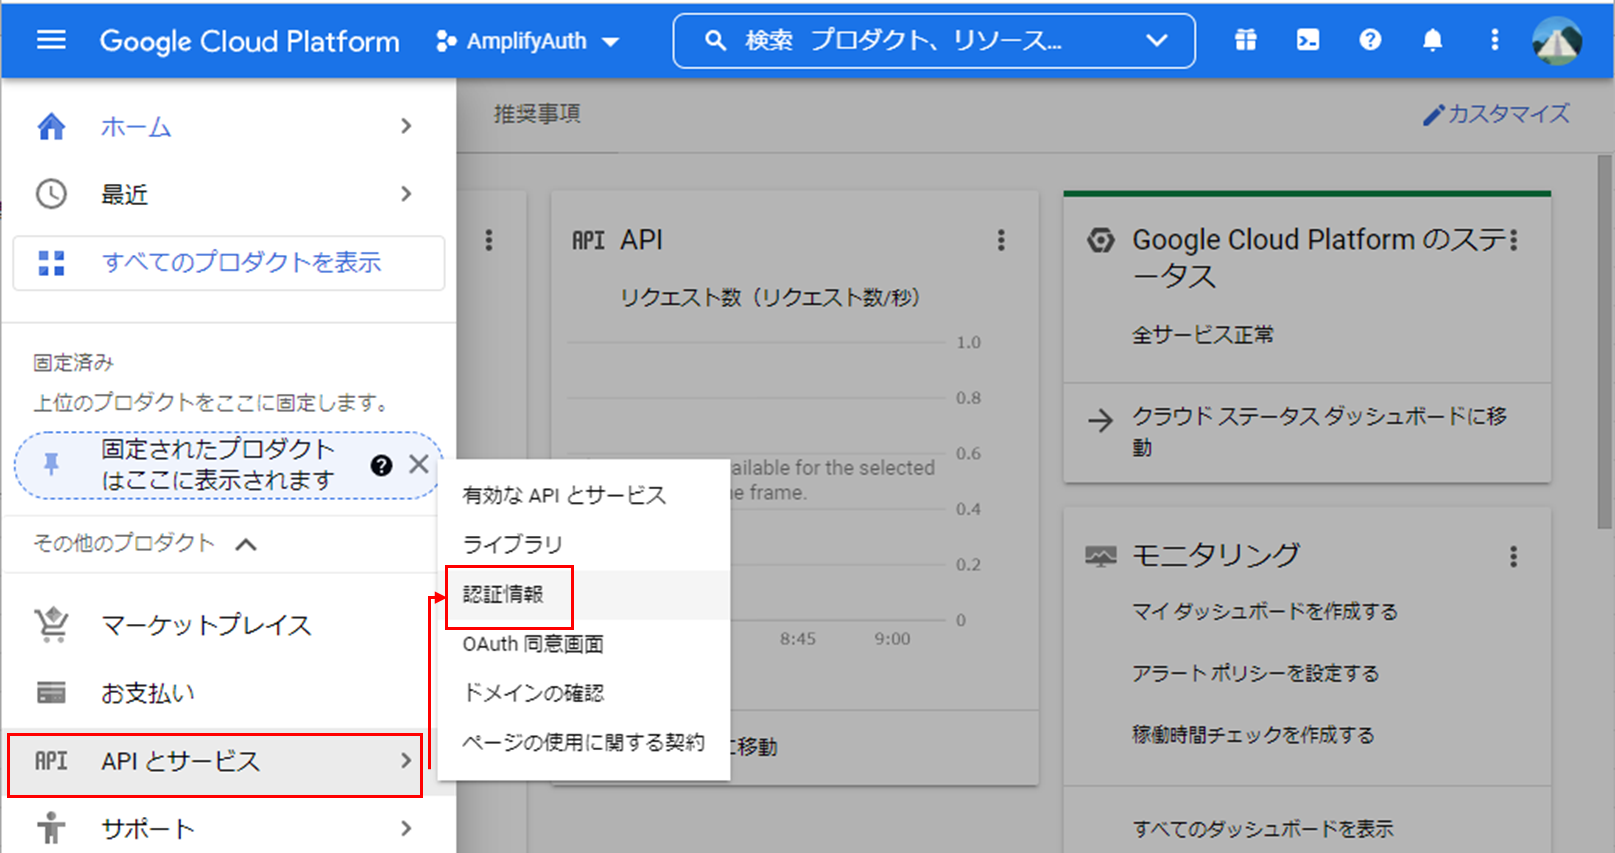
Googleデベロッパーコンソールを開く
https://console.cloud.google.com/apis/dashboard
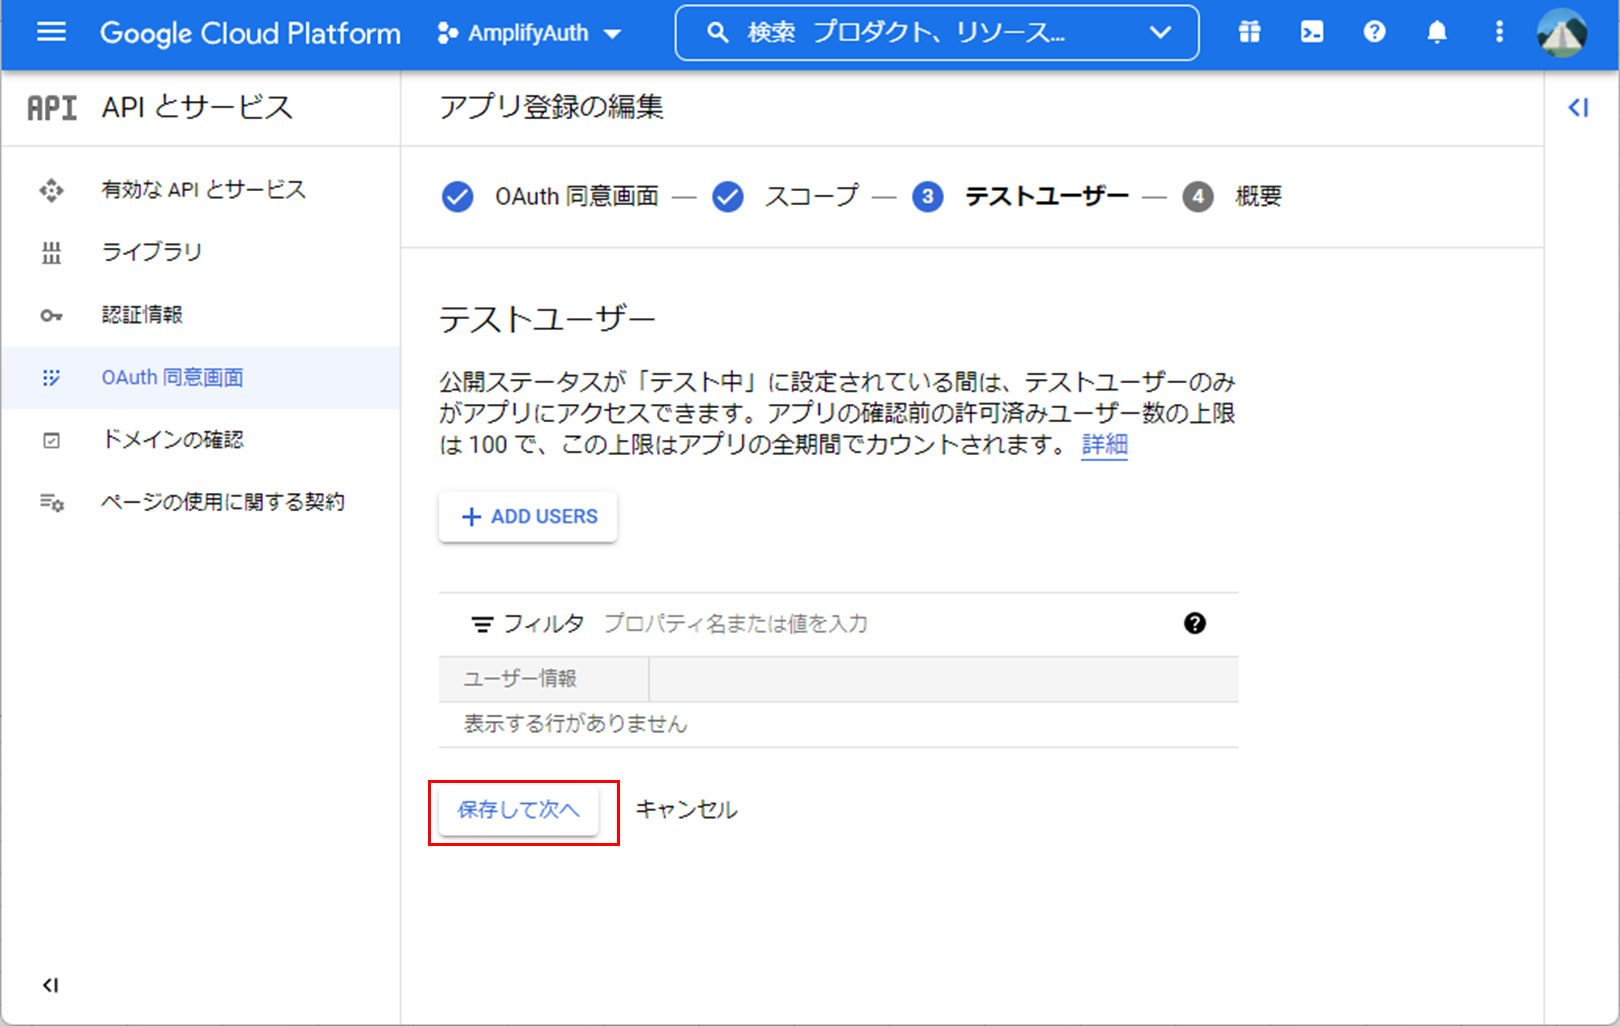
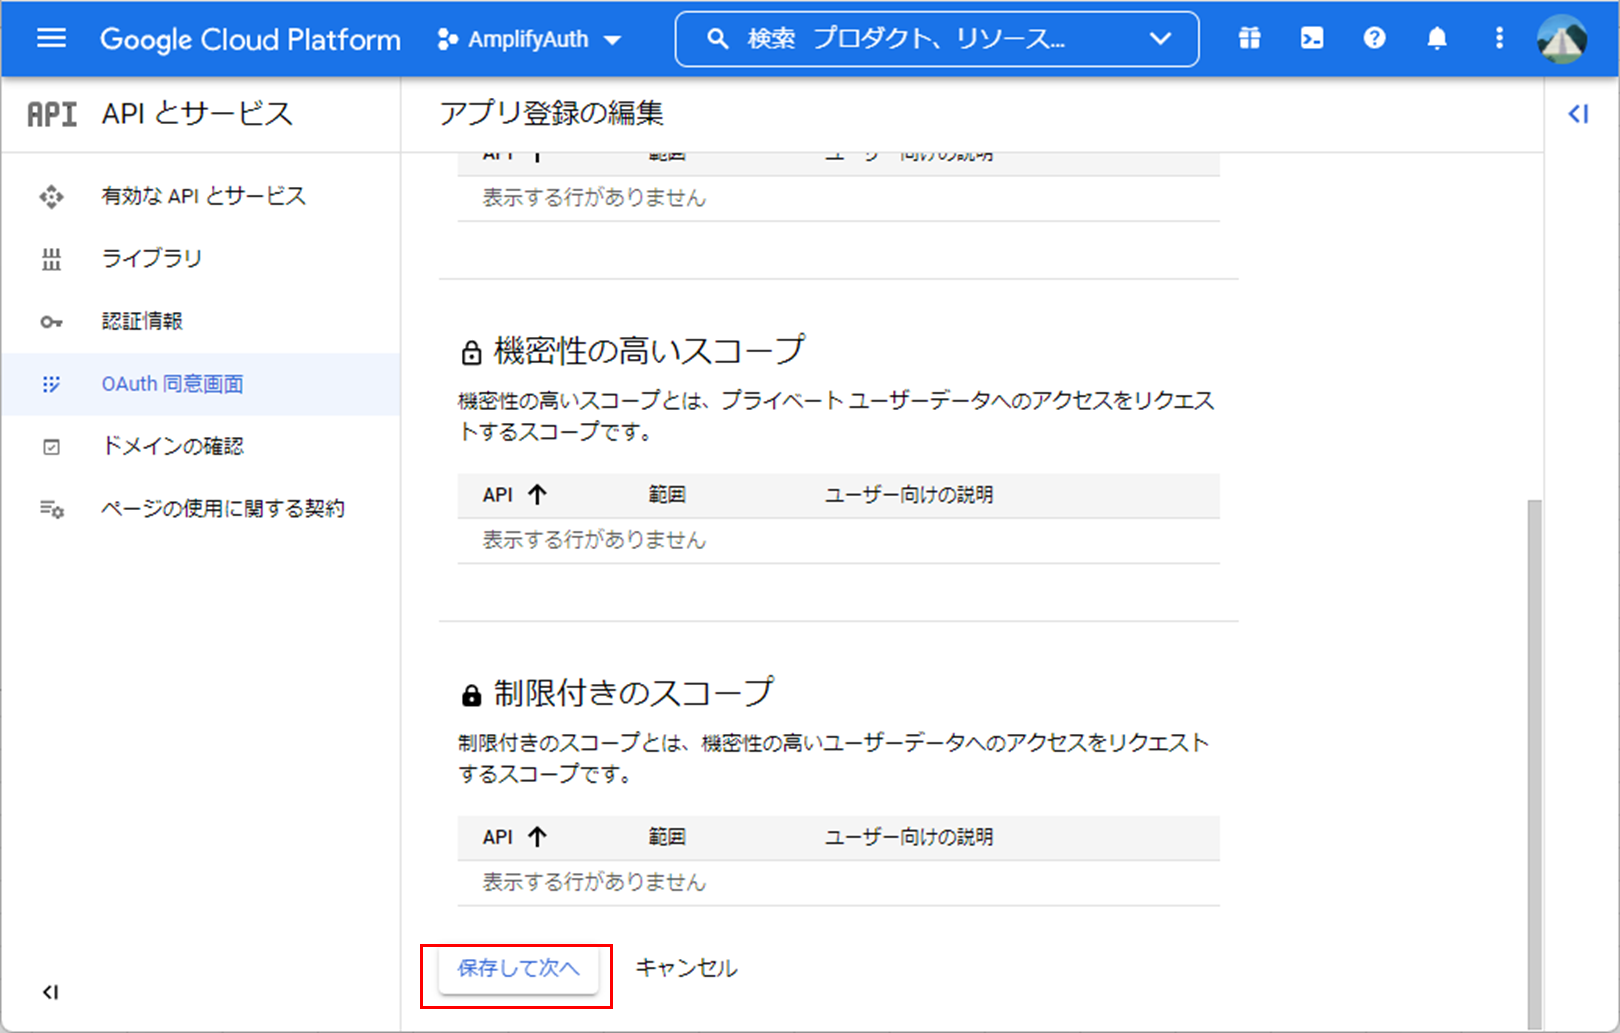
1.スコープ設定画面で、 [保存して次へ](ページの下部)
任意でスコープ設定を実施。今回は特に必要ないので設定しない
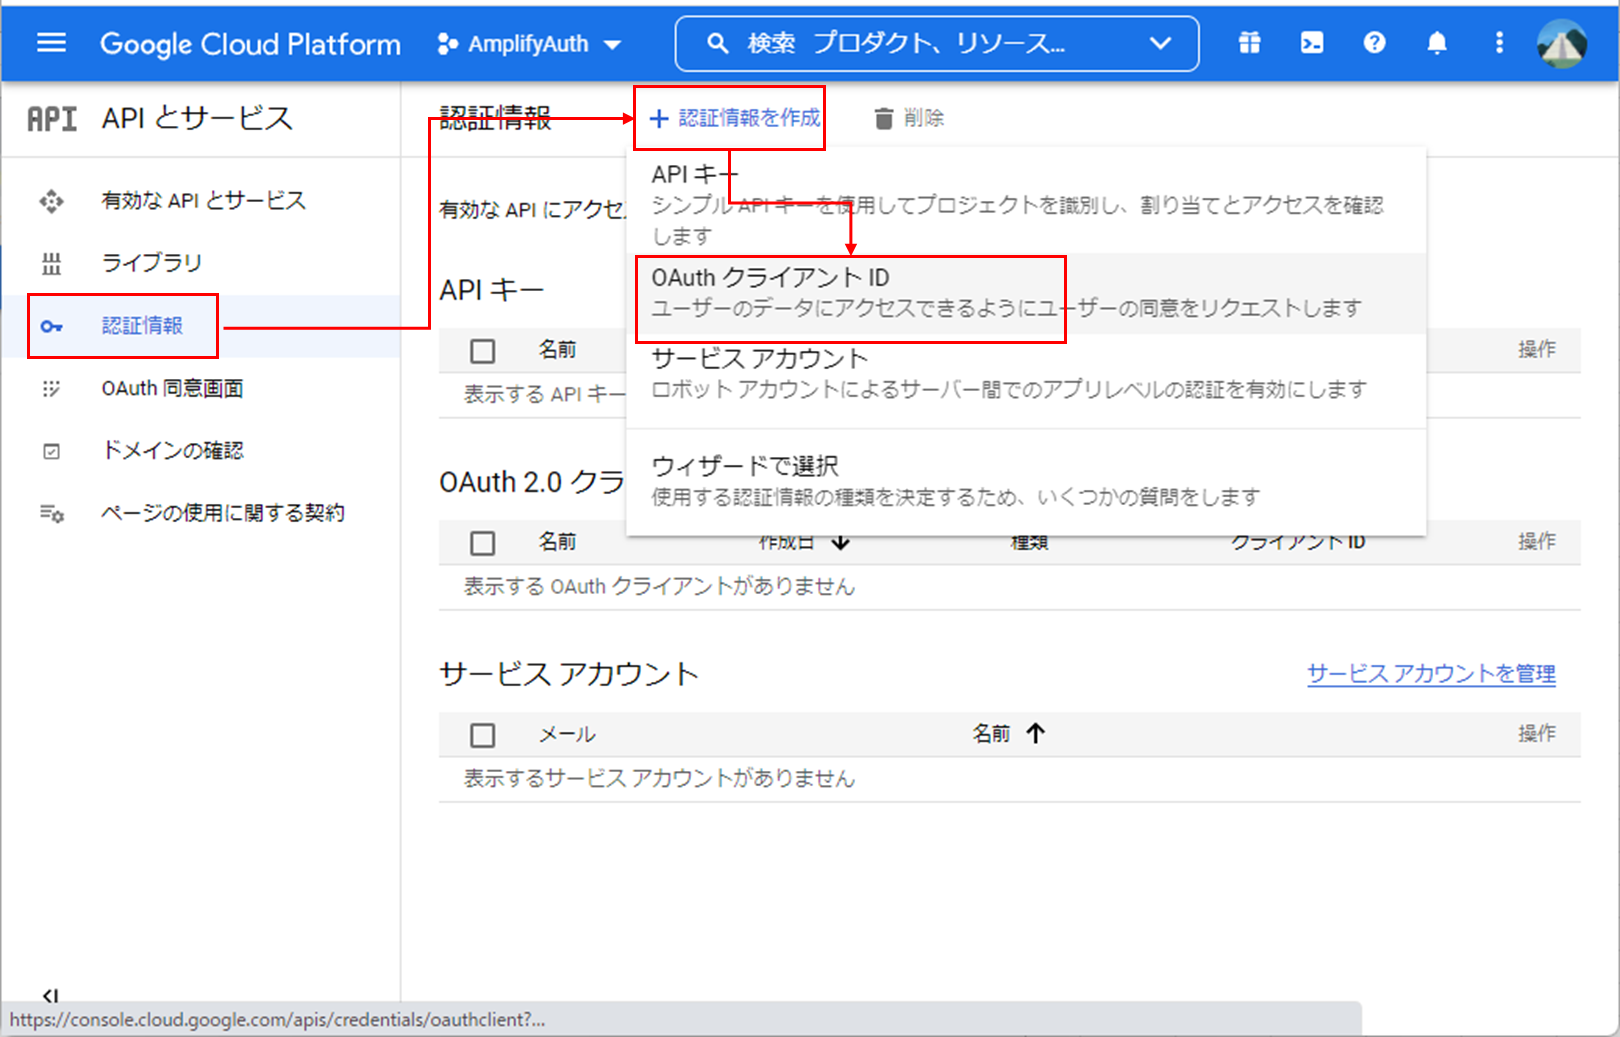
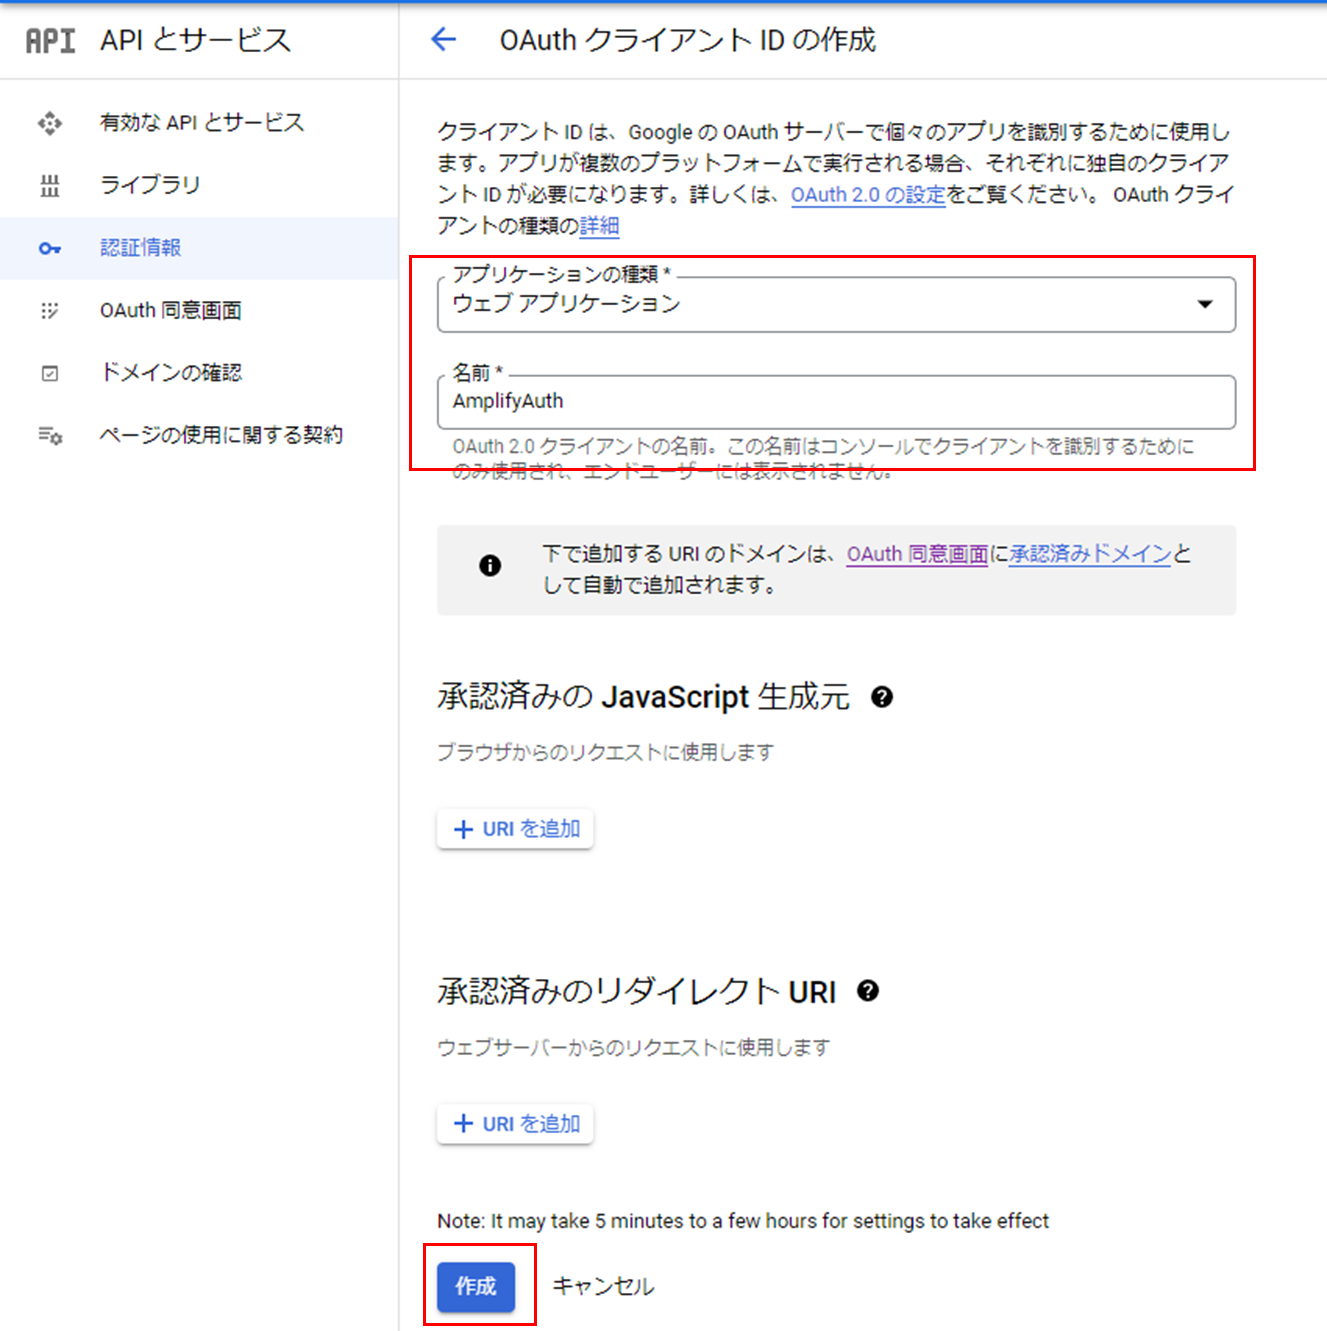
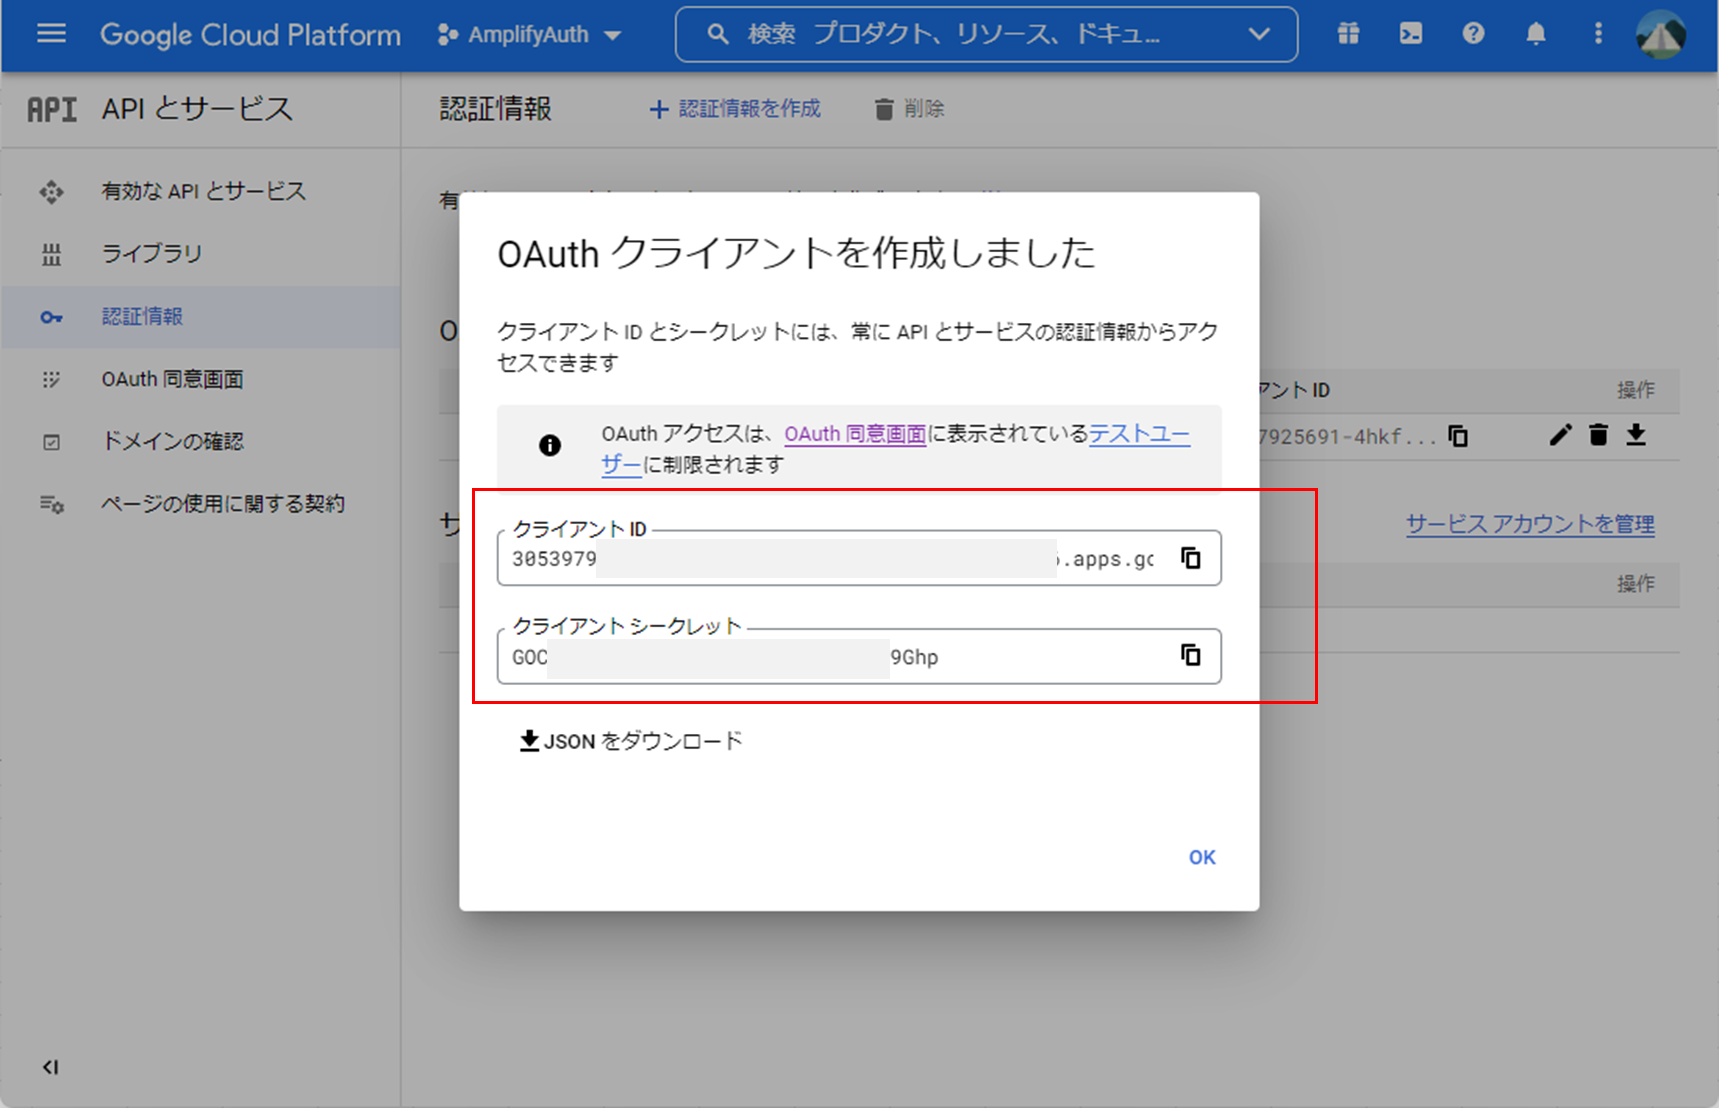
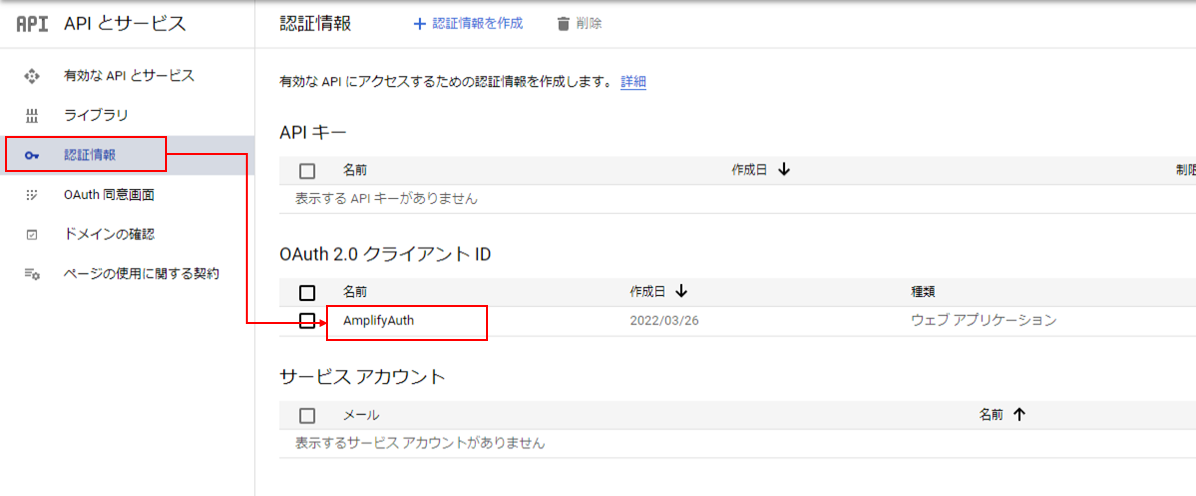
ClientIdの作成
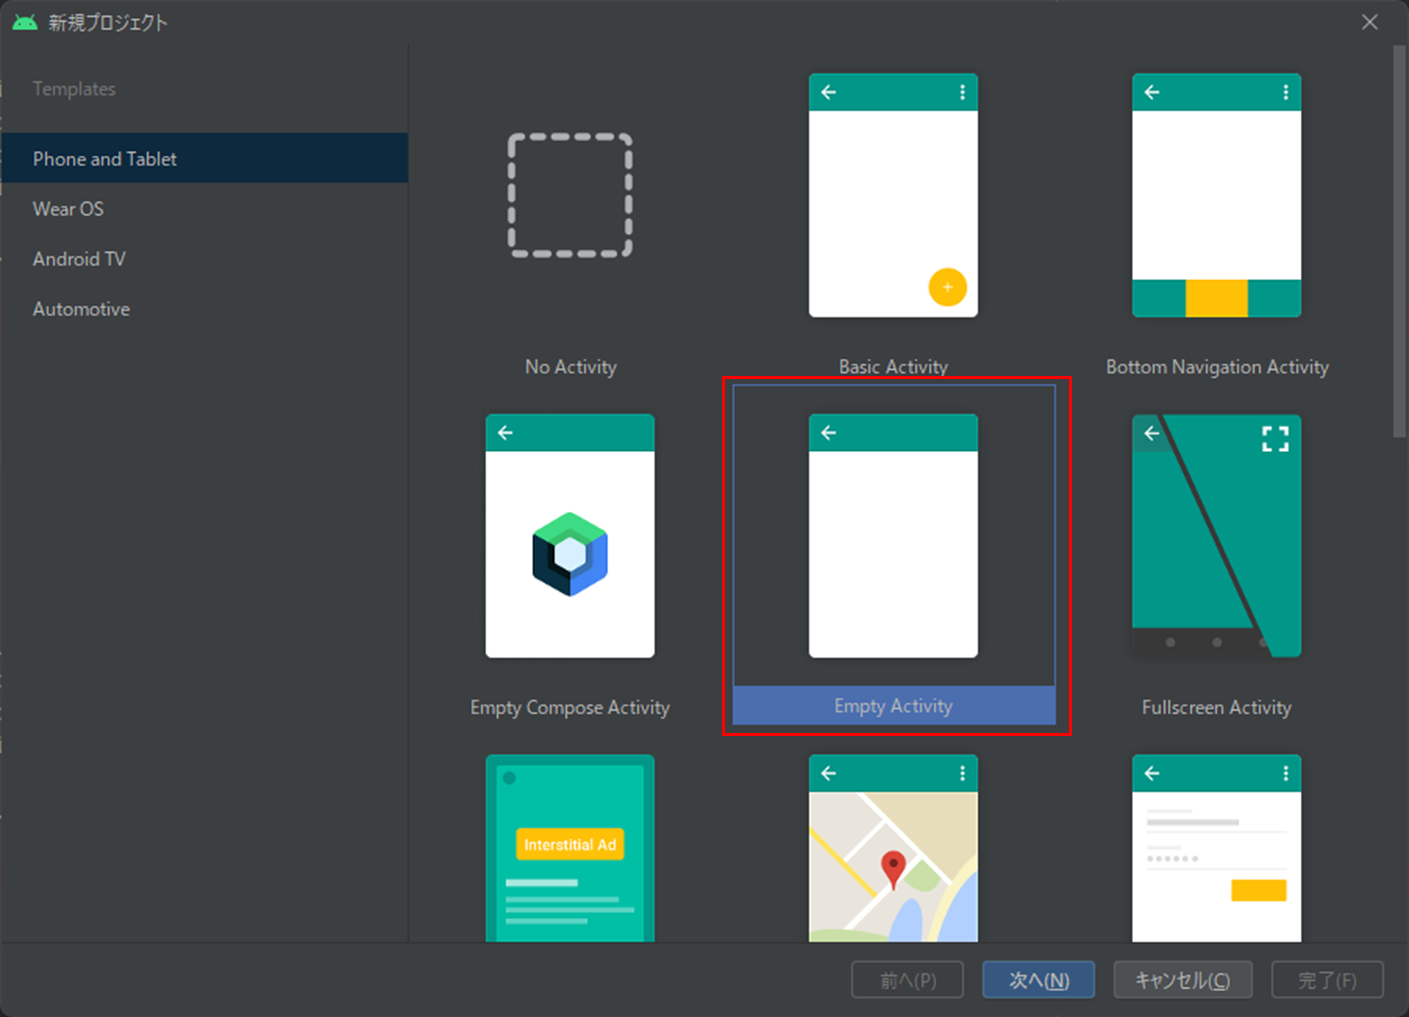
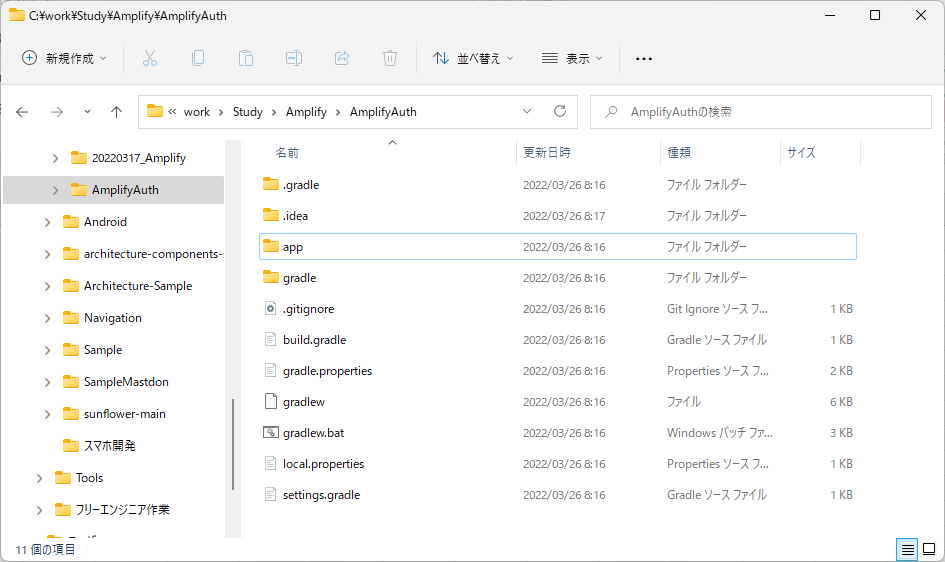
Android Projectの作成
-
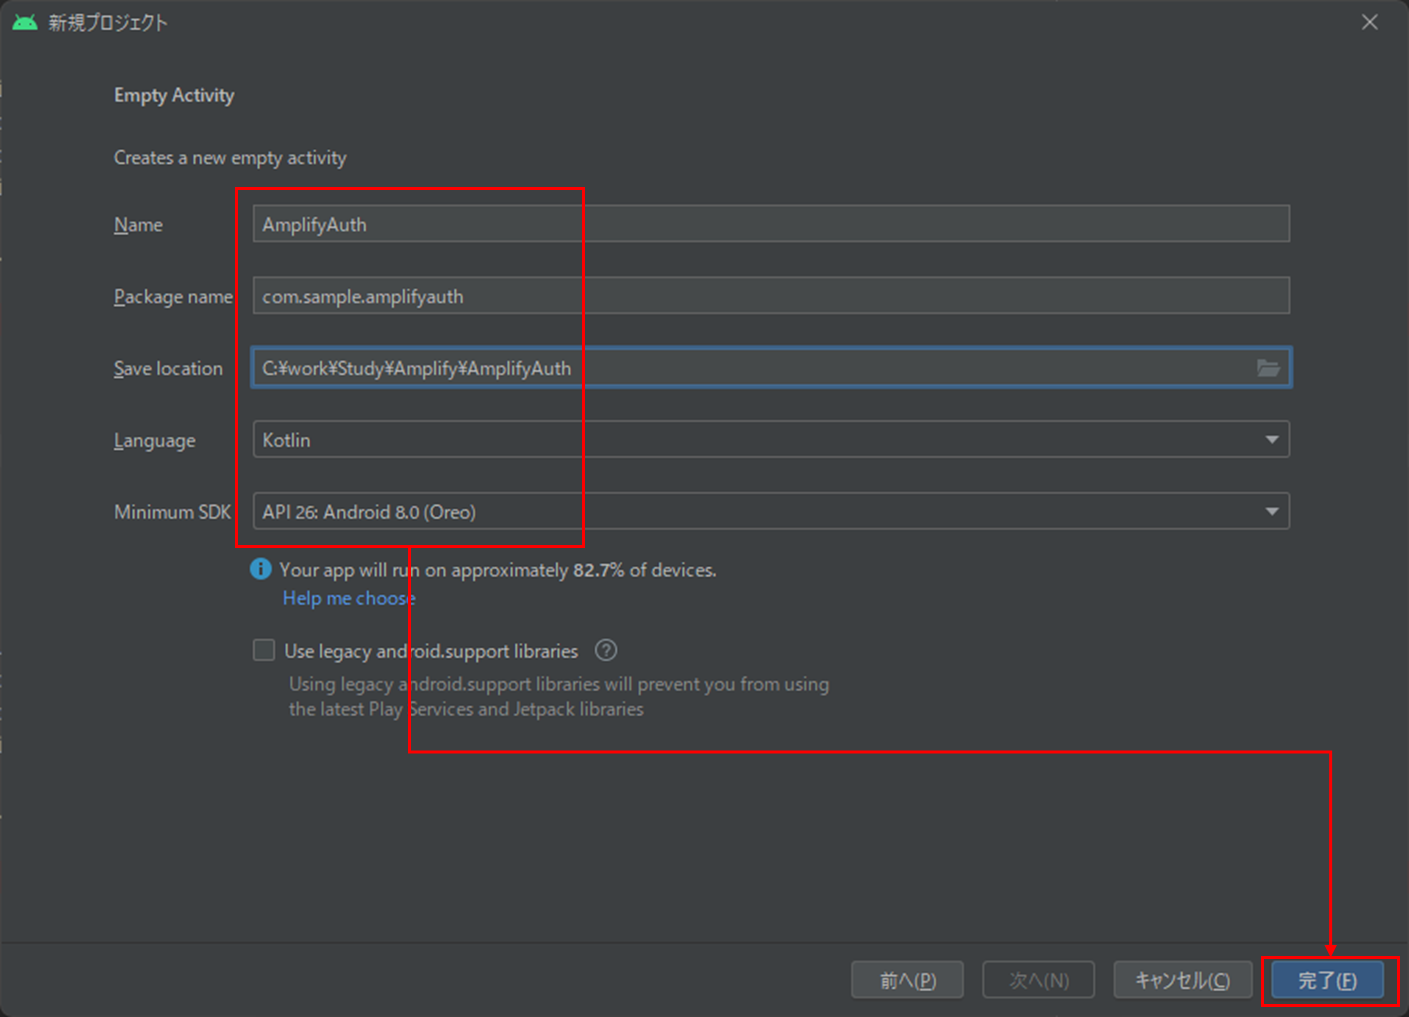
各項目に任意の値を入力し、[完了]
Name:任意
Package name:任意
Save location:任意
Language:Kotlin
Minimum SDK:API 26: Android 8.0(Oreo) ※なるべく最新が良い
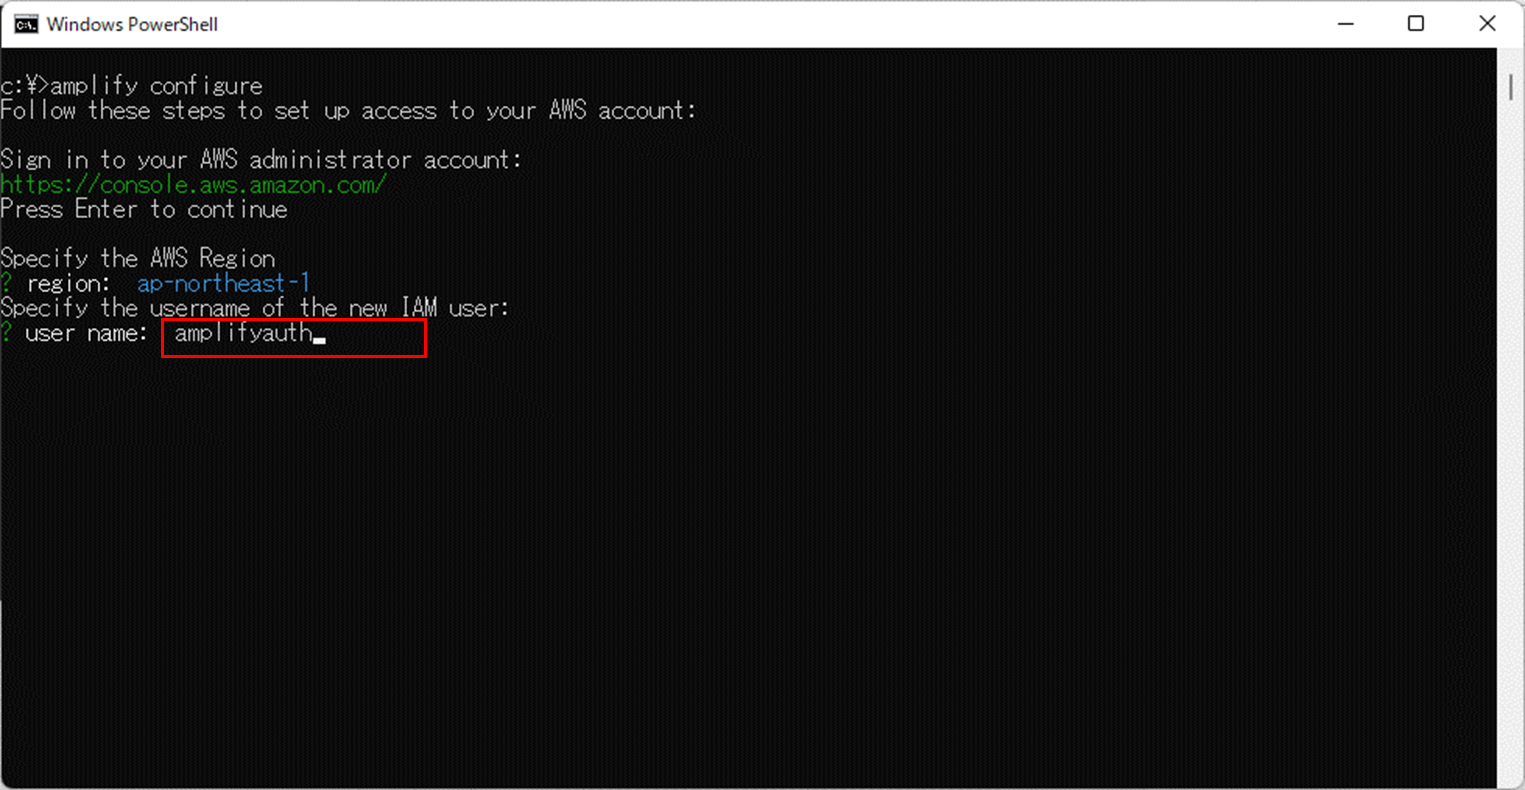
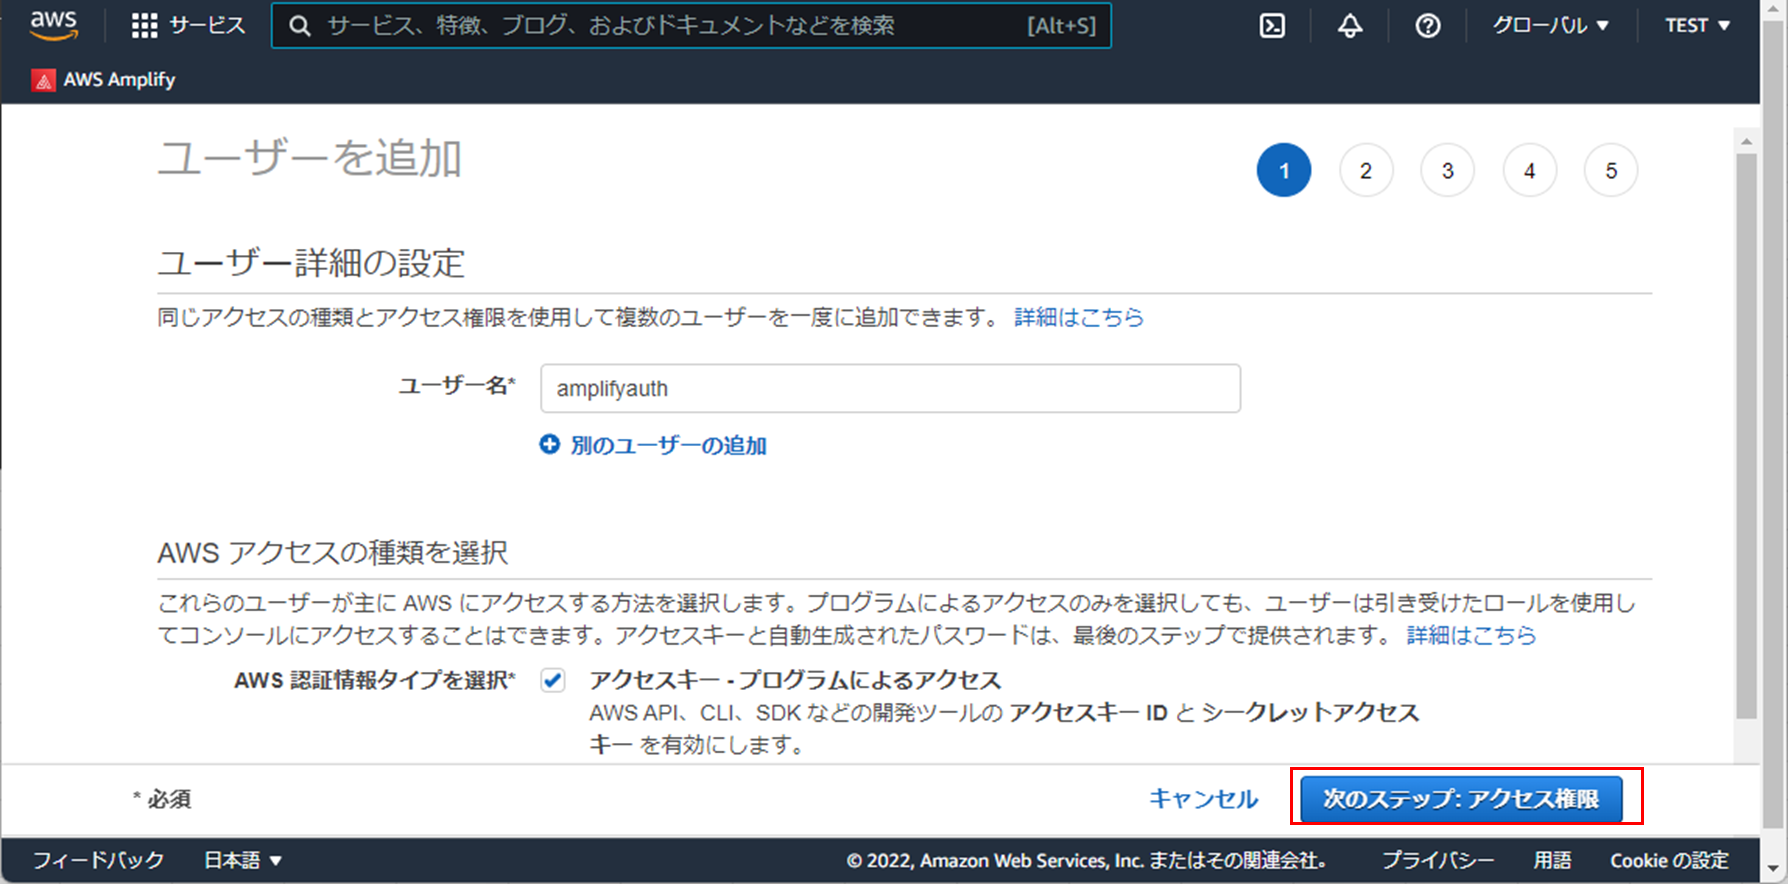
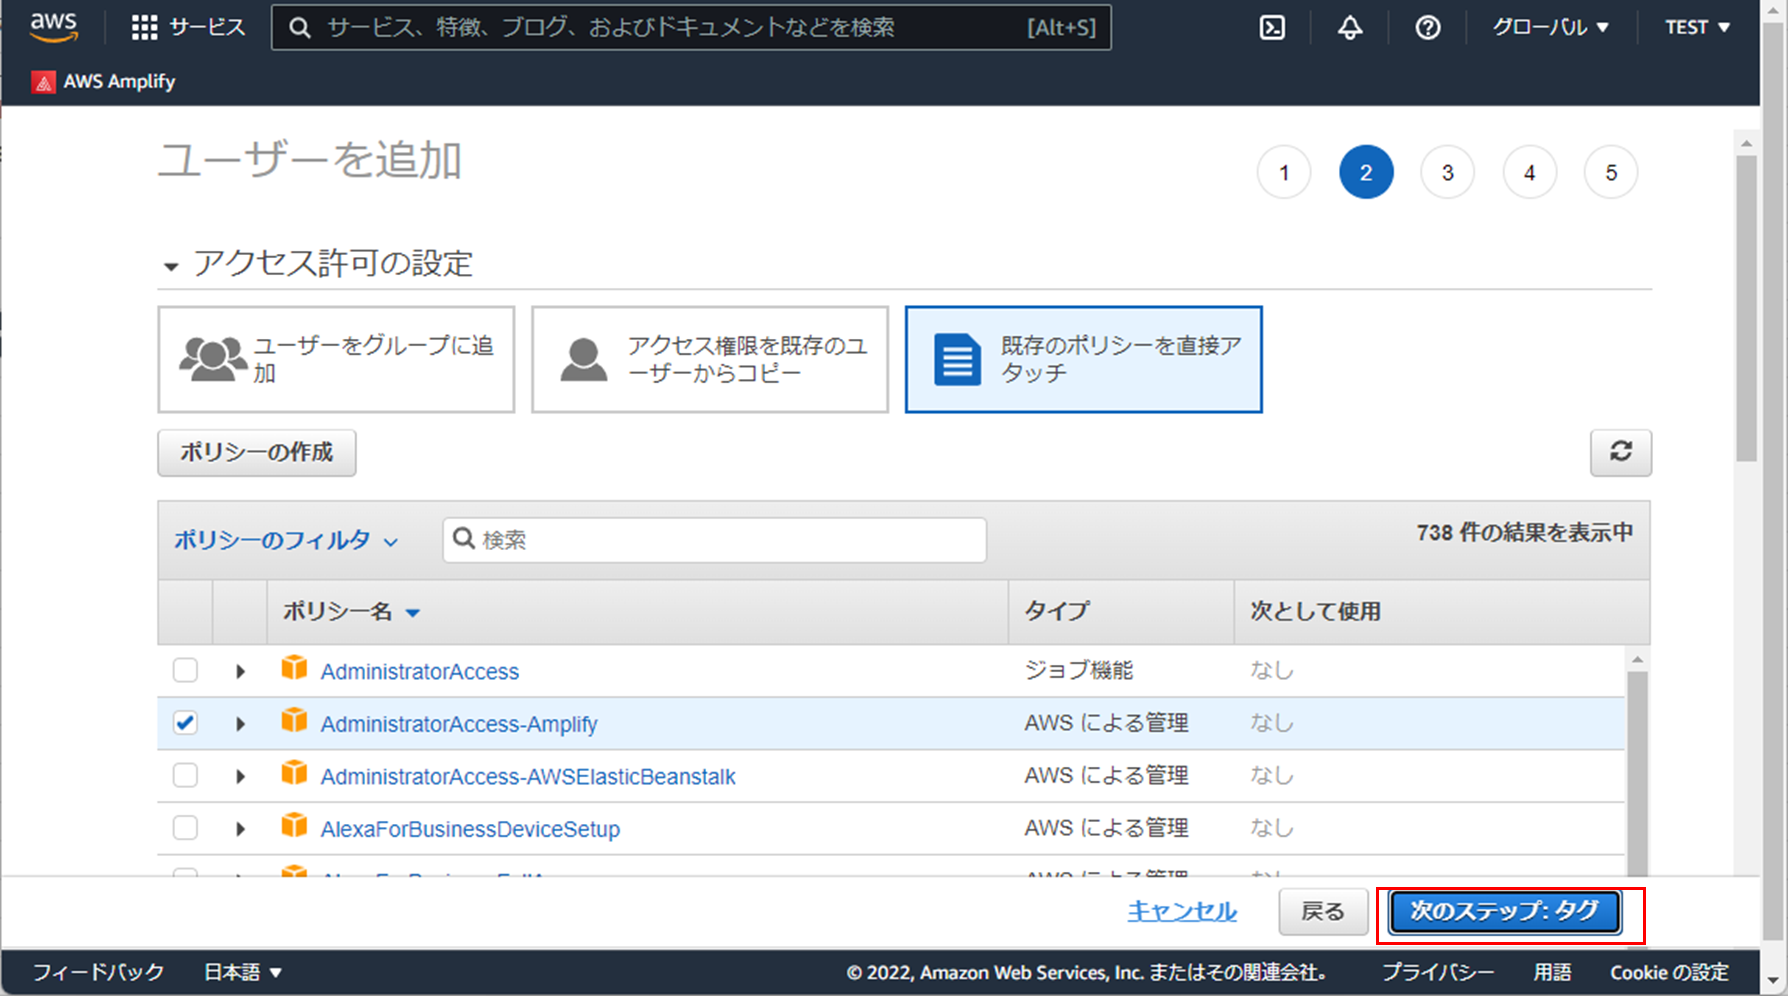
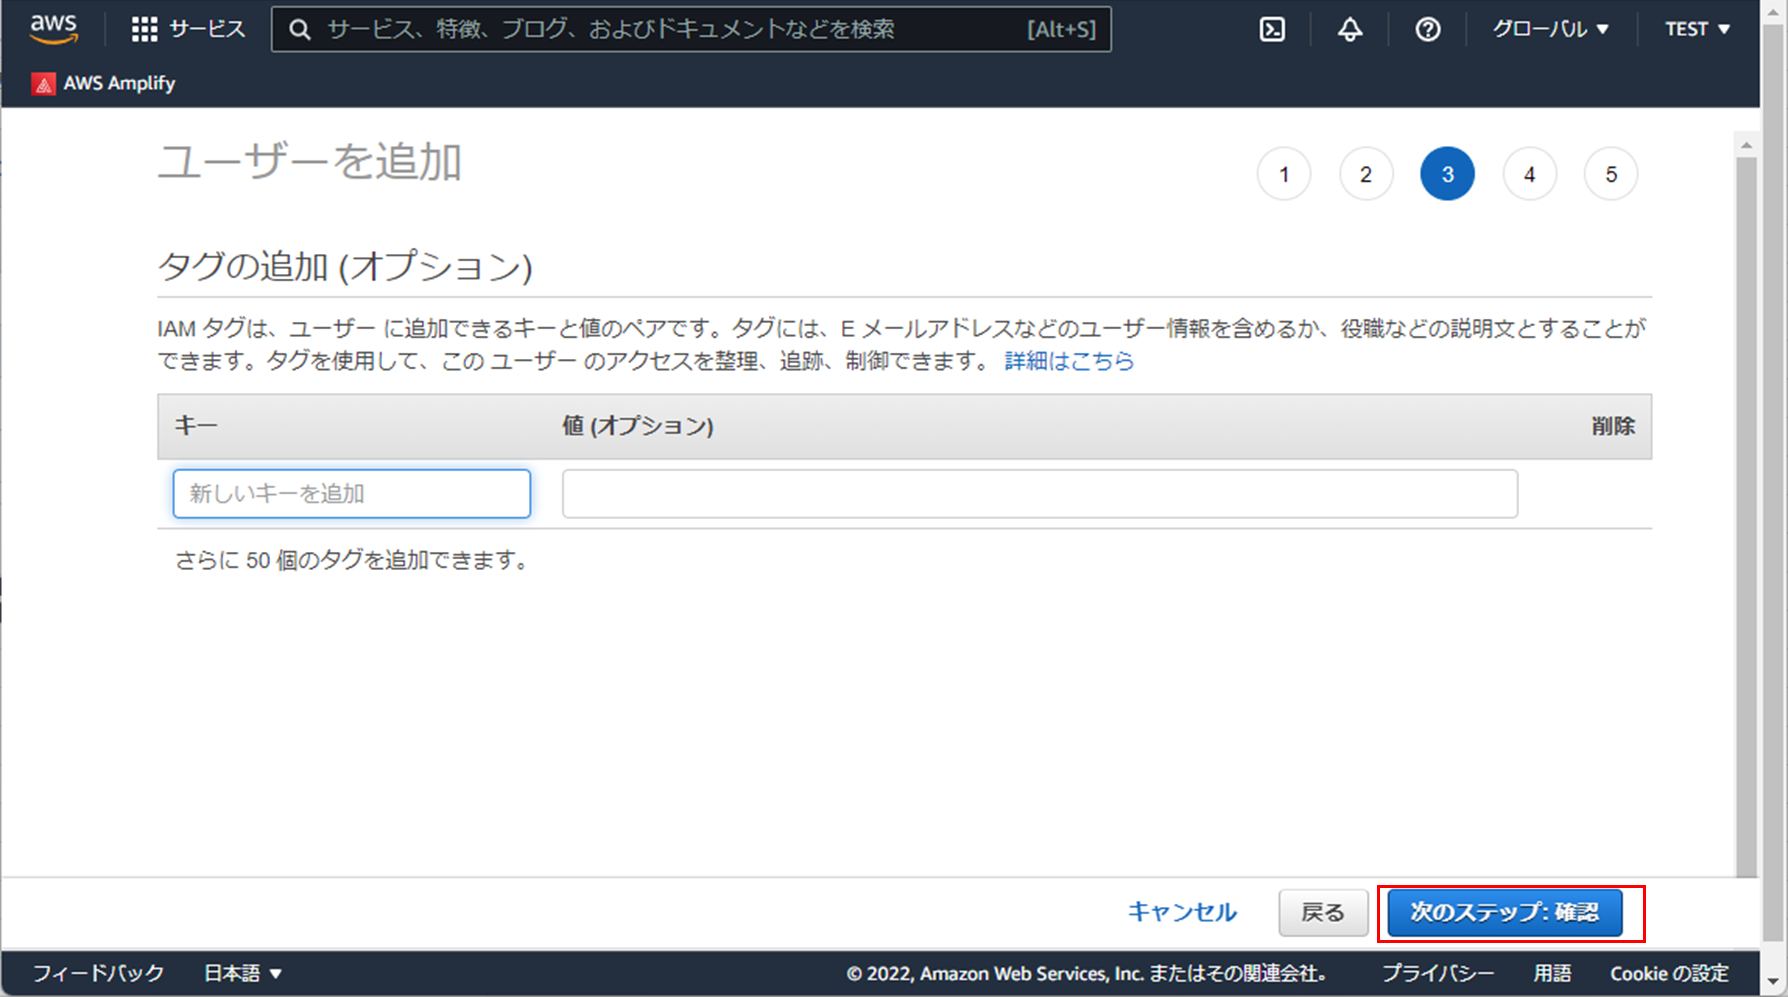
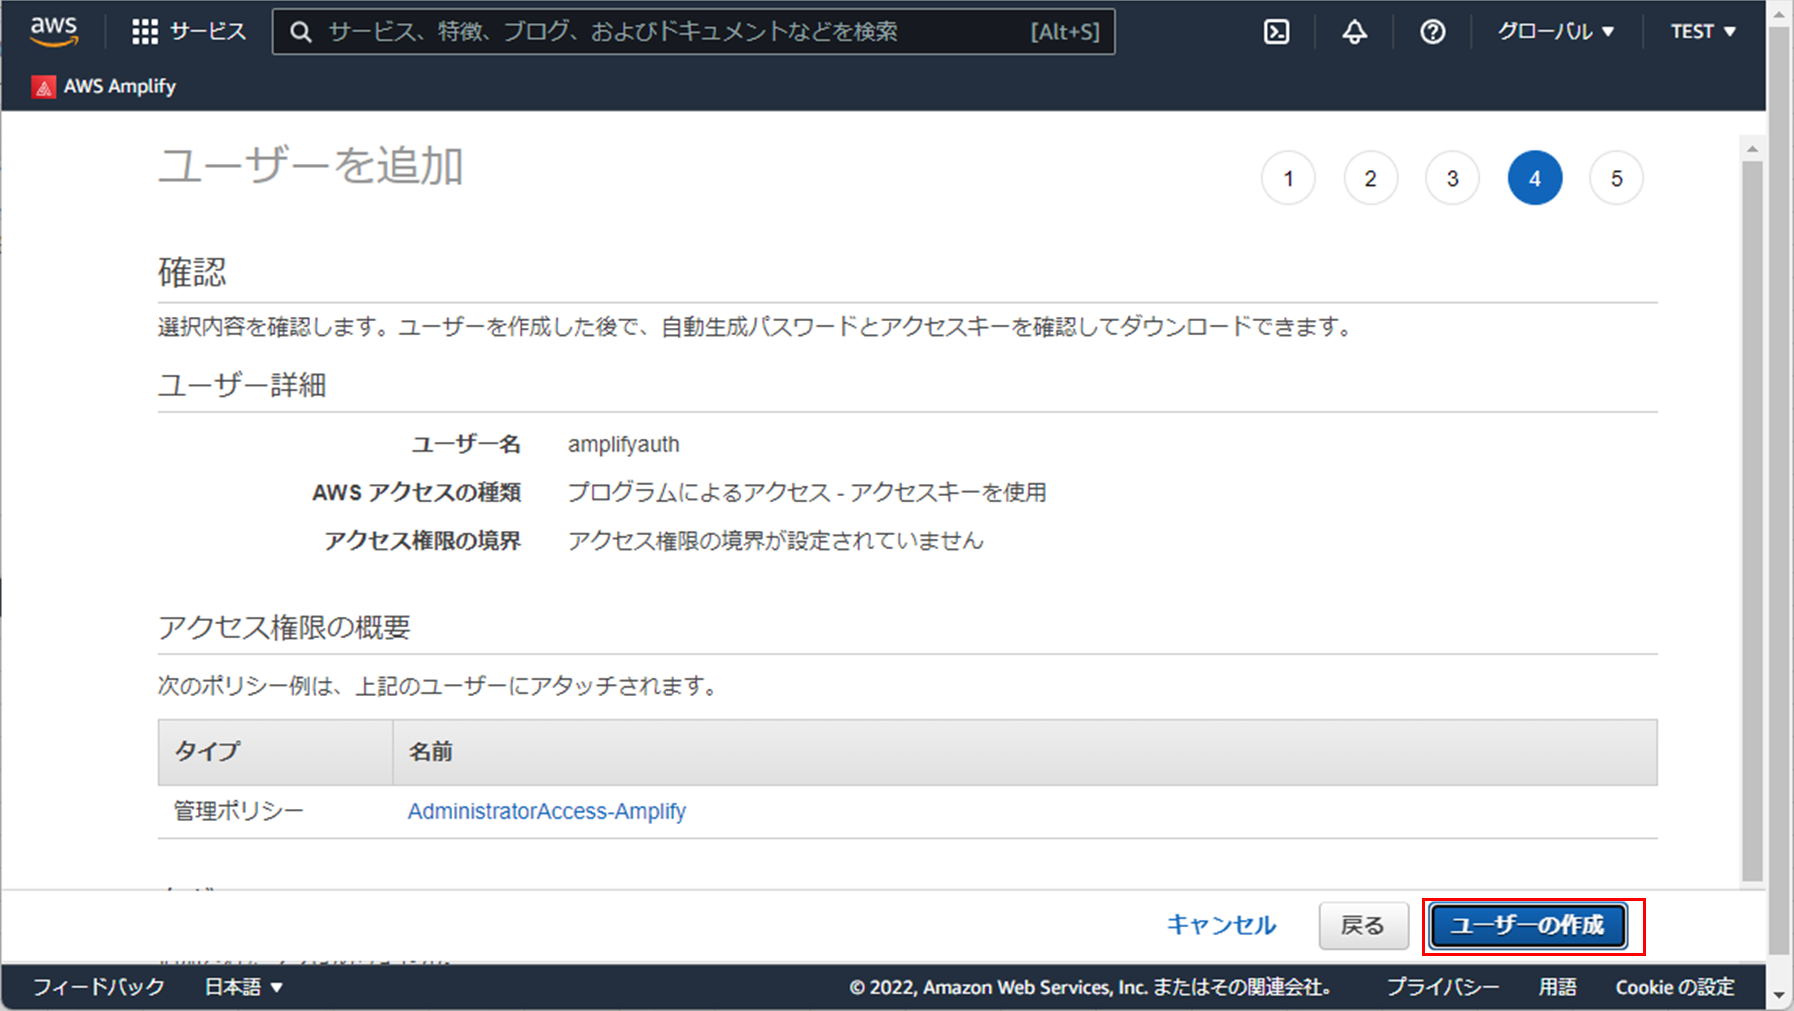
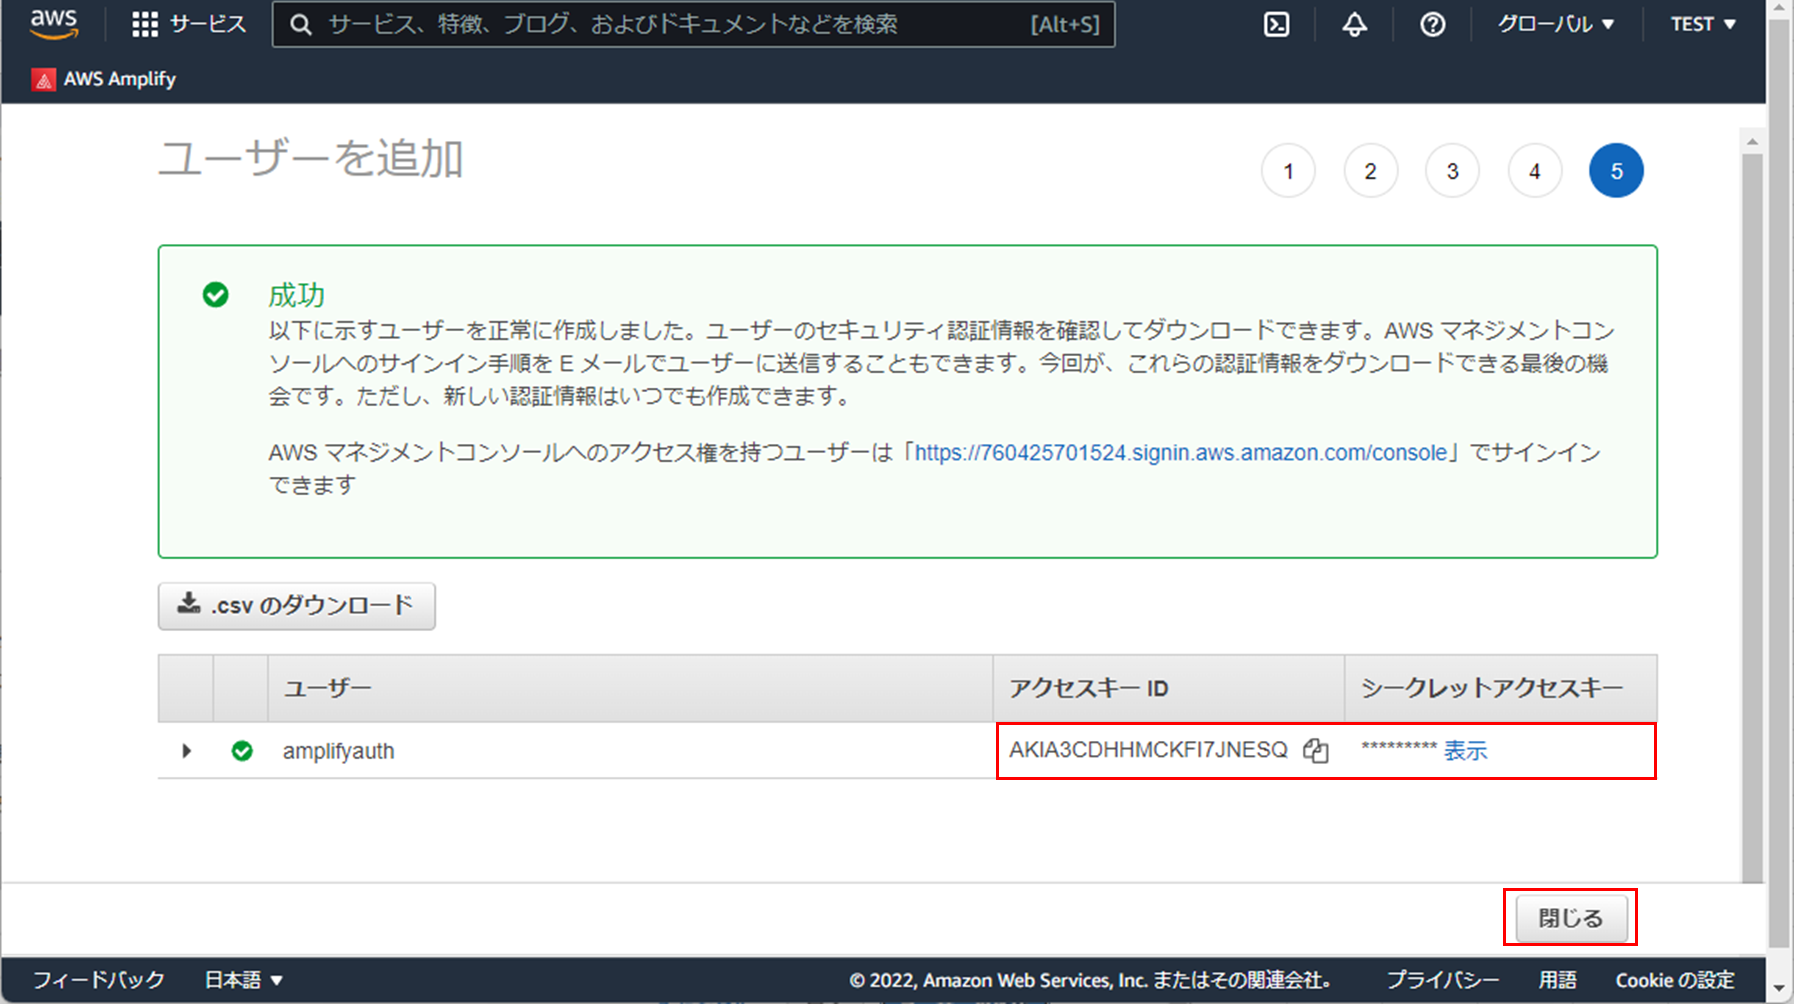
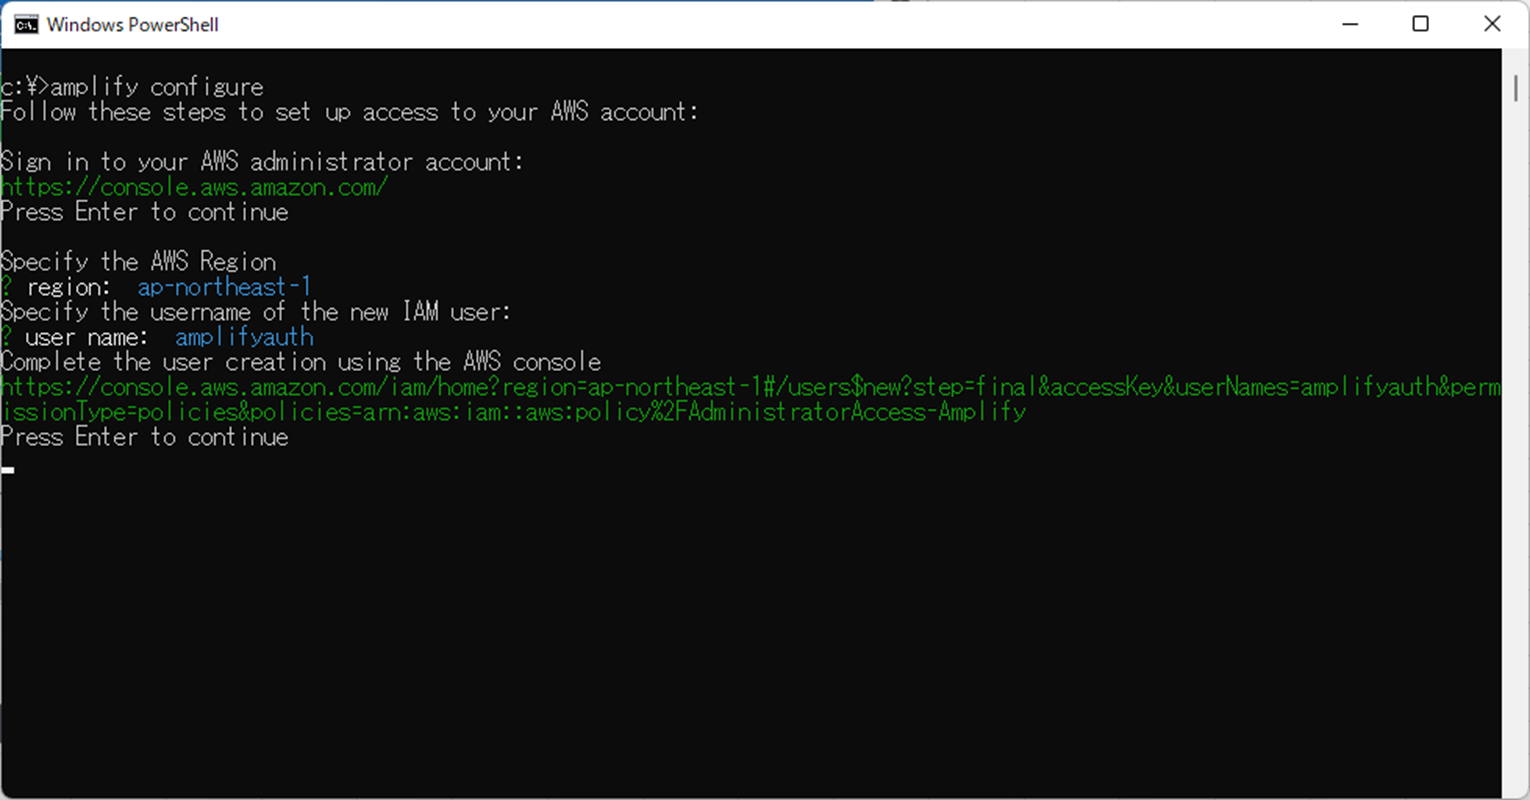
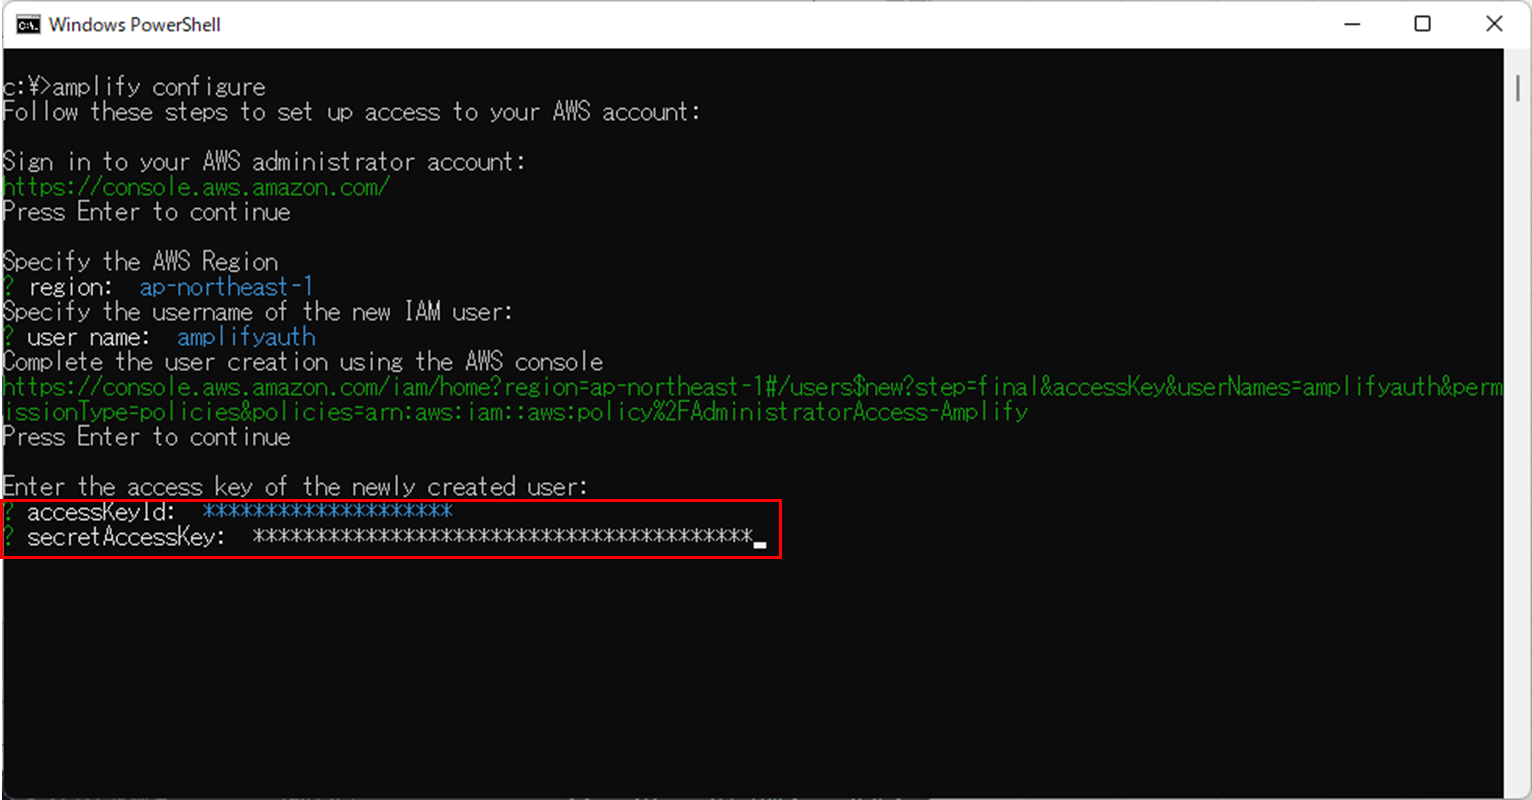
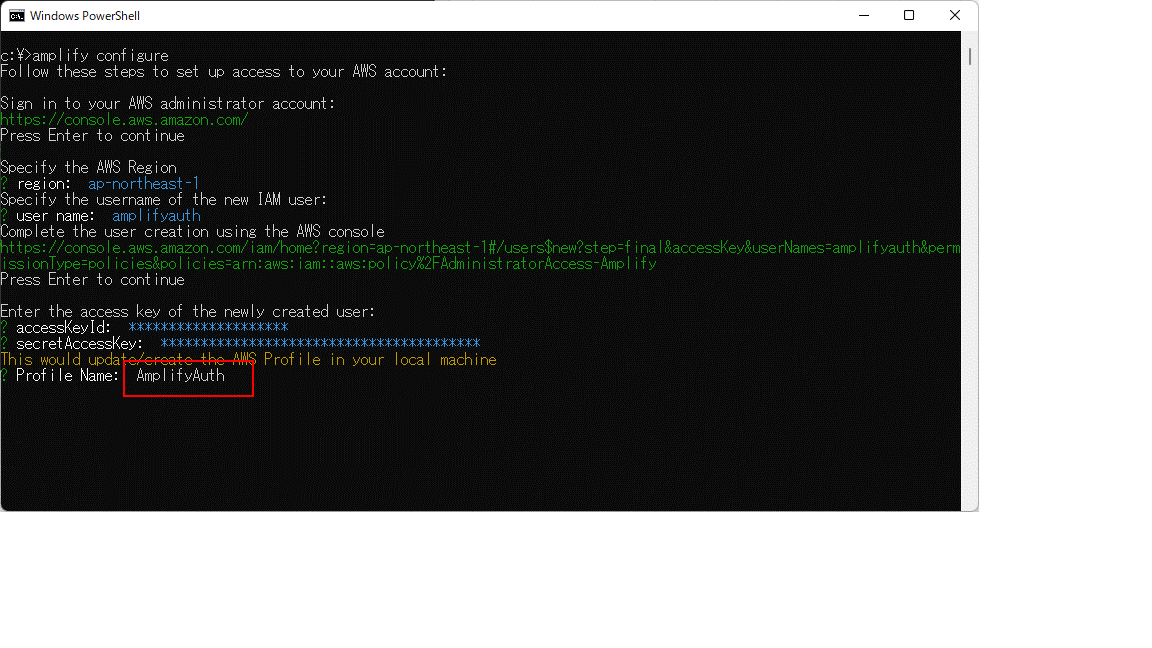
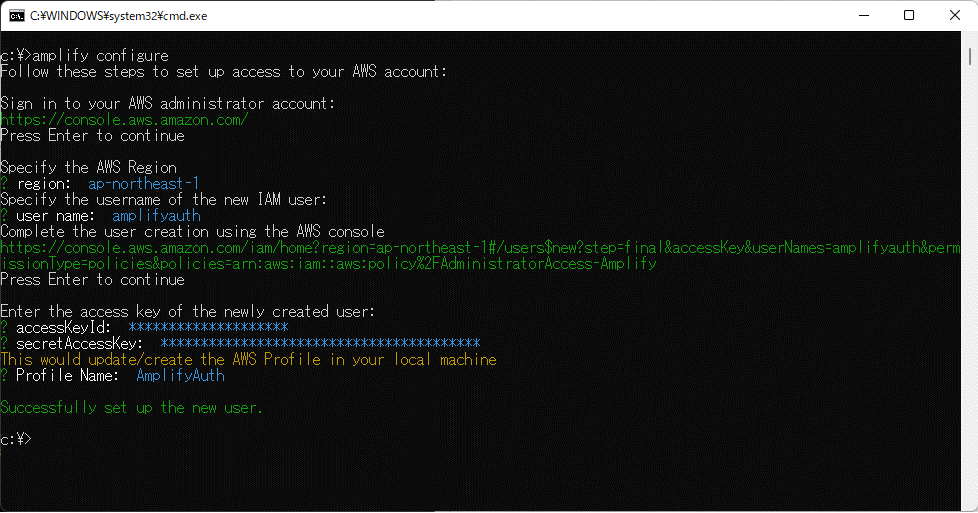
Amplify用IAMユーザの作成
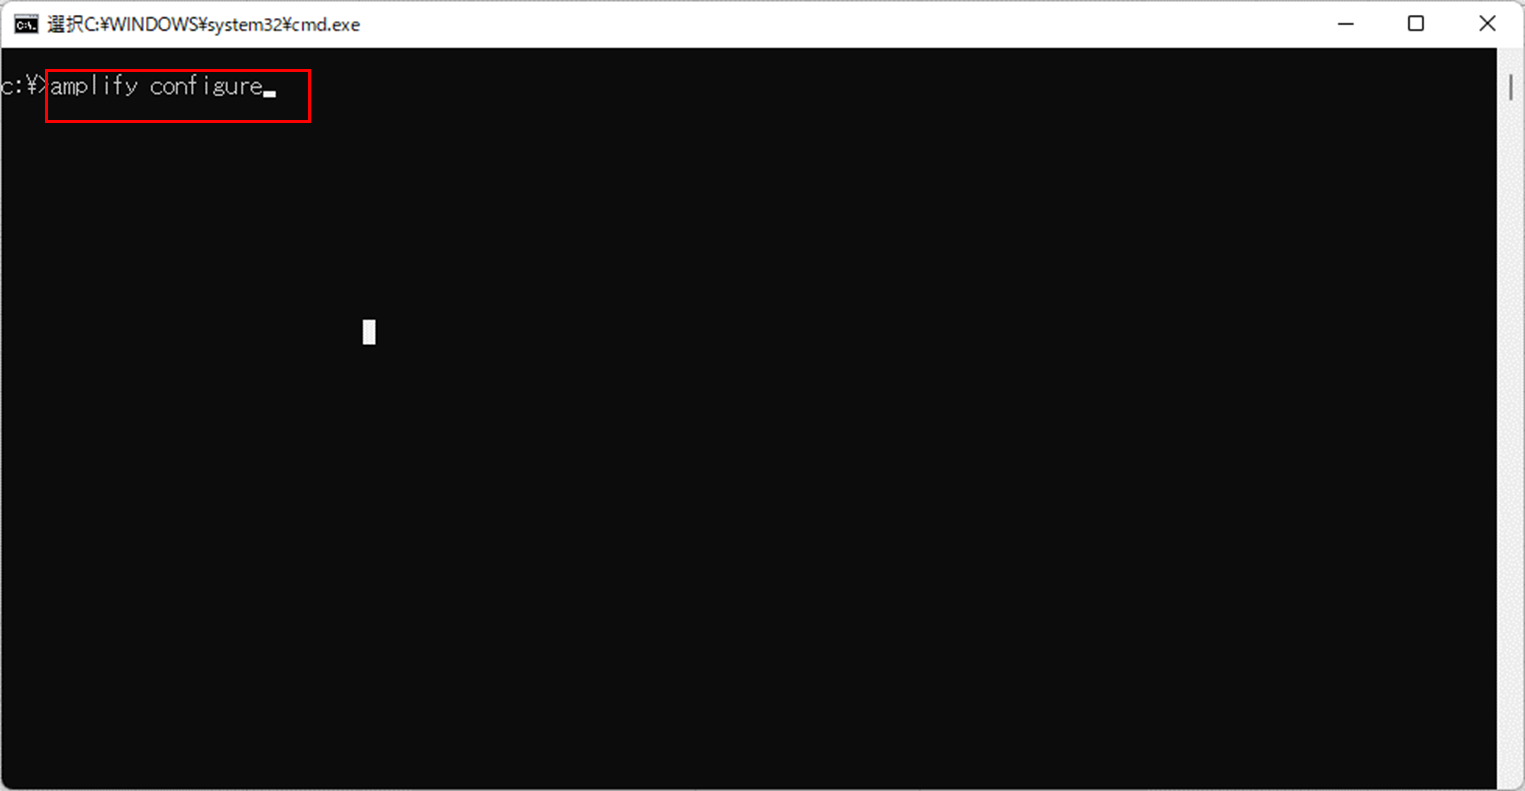
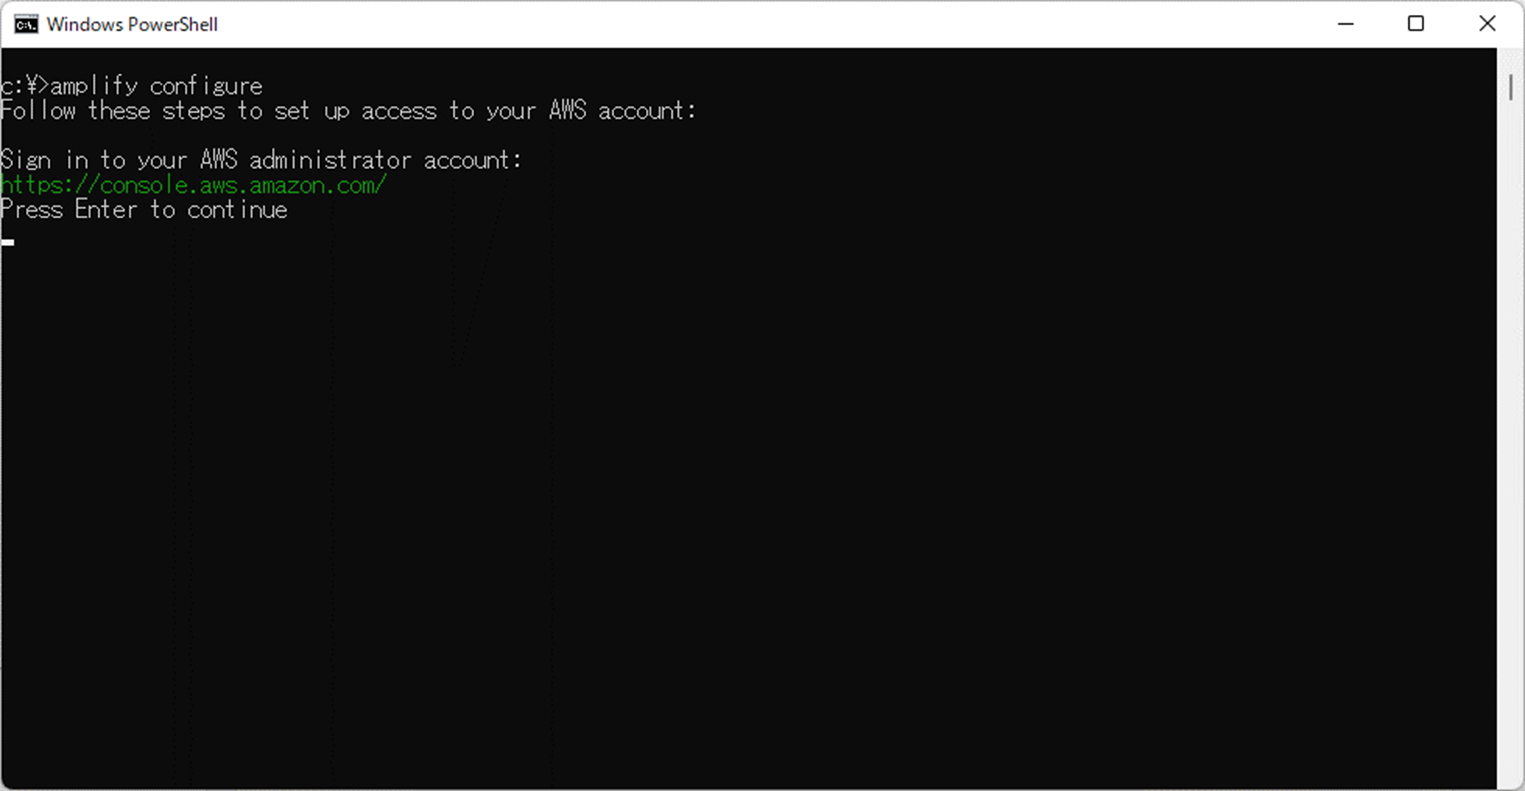
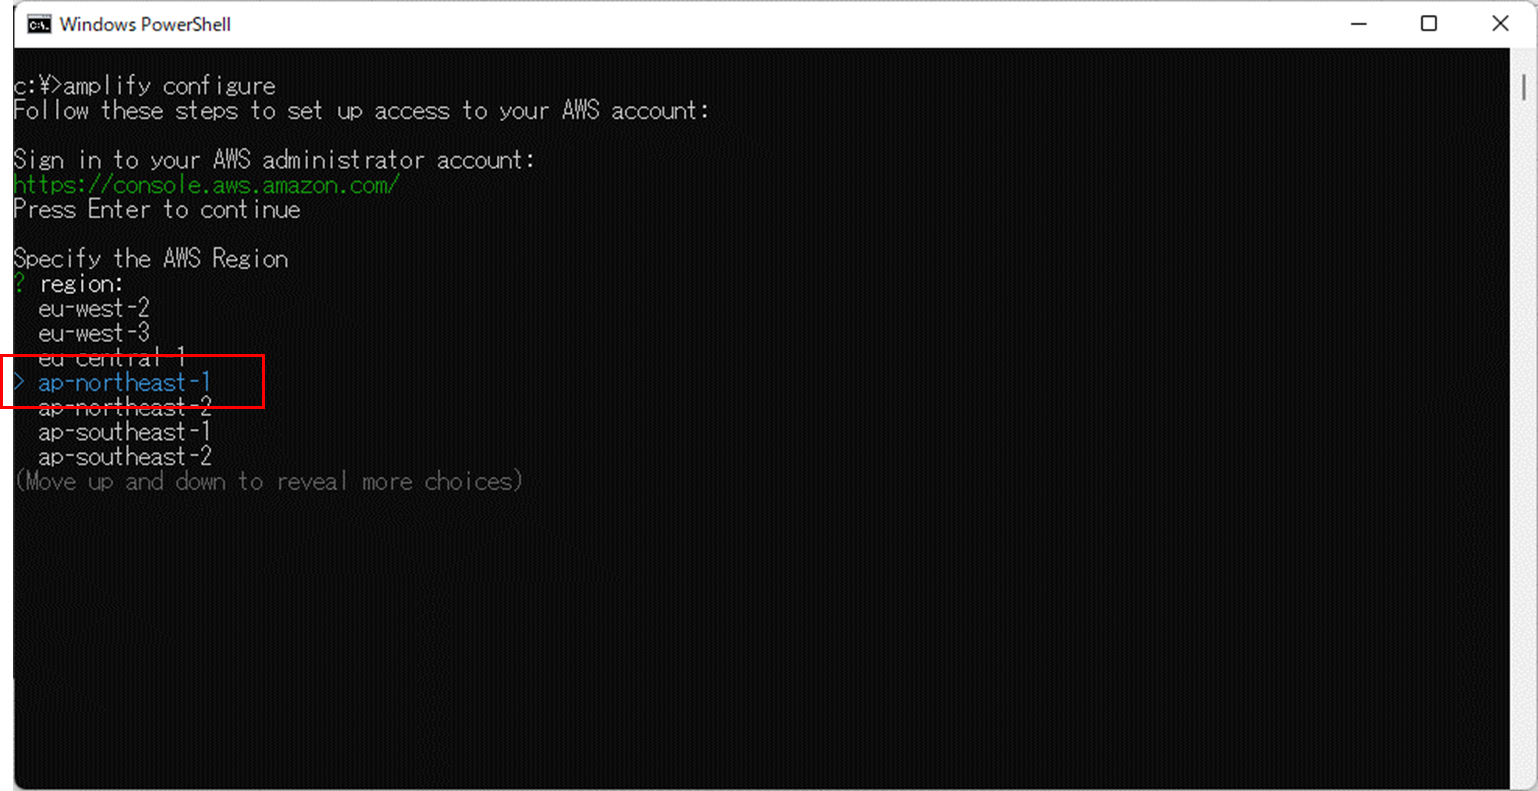
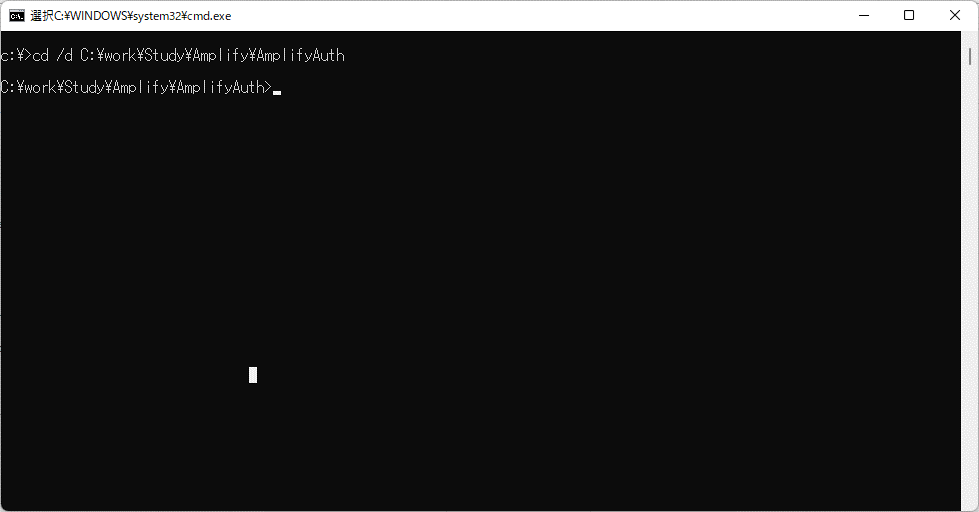
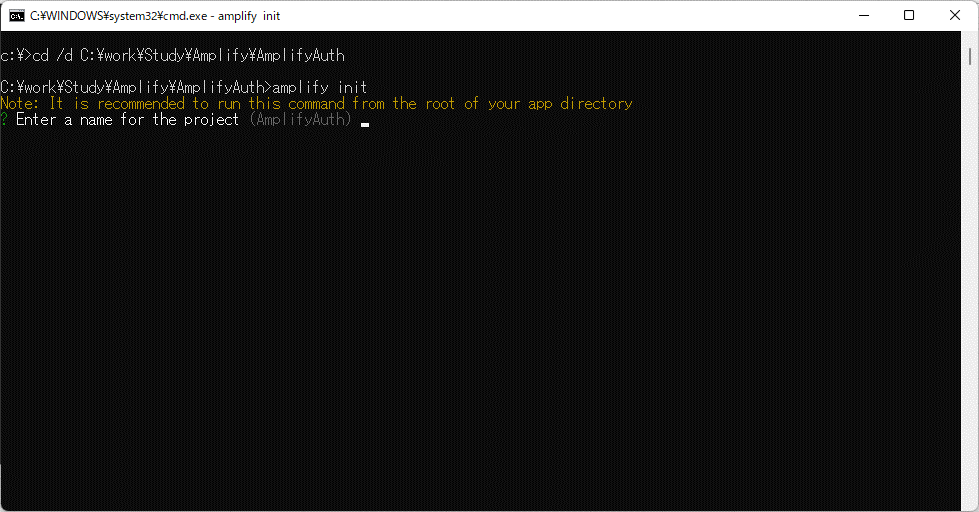
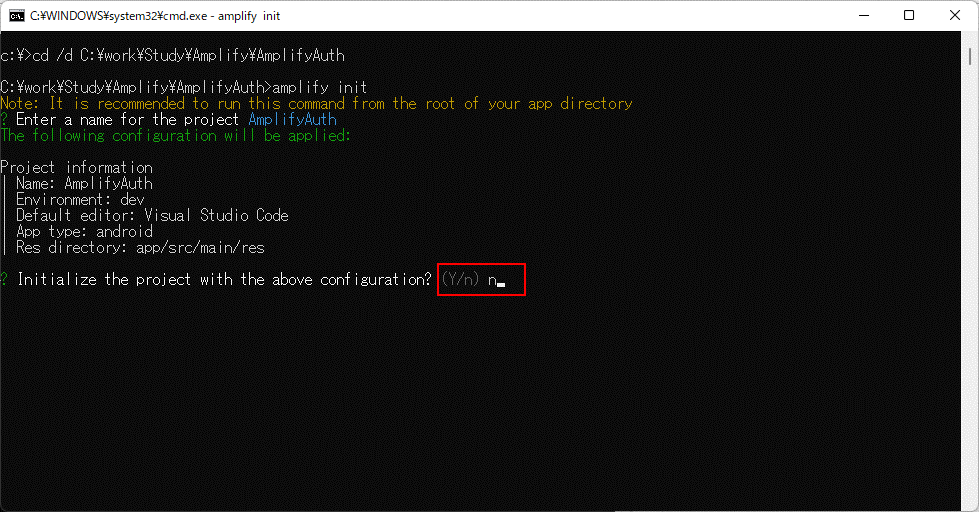
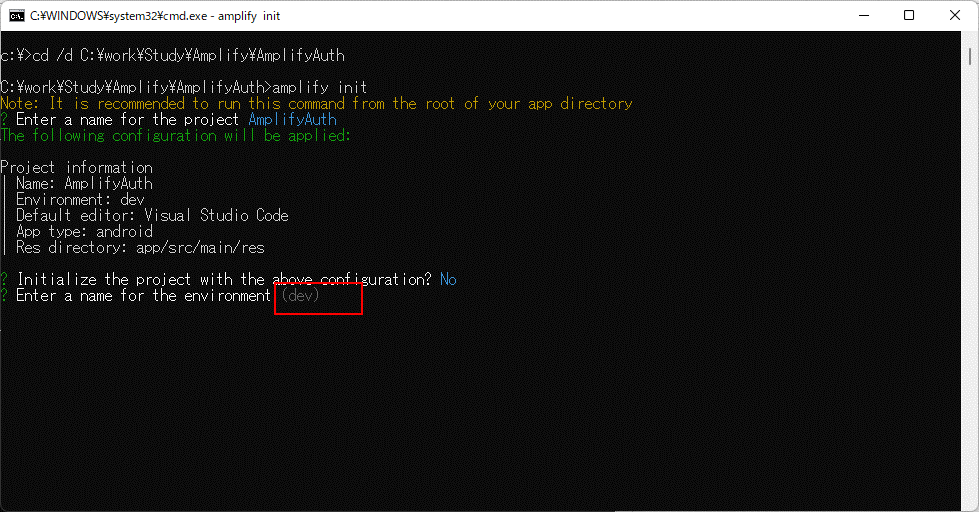
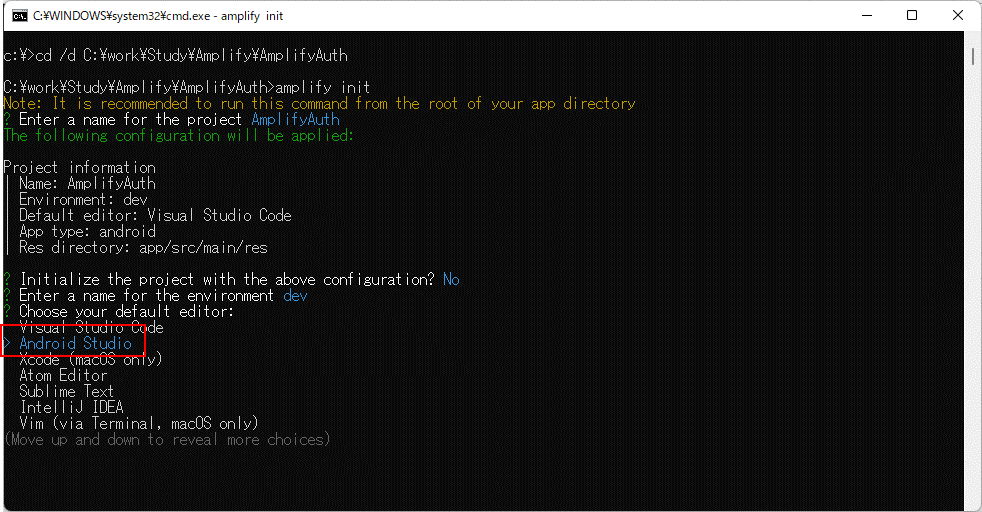
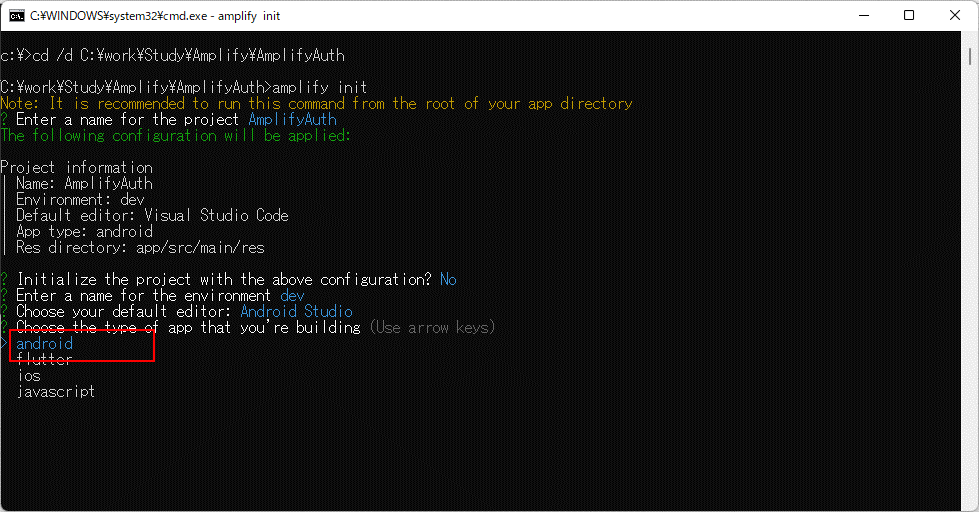
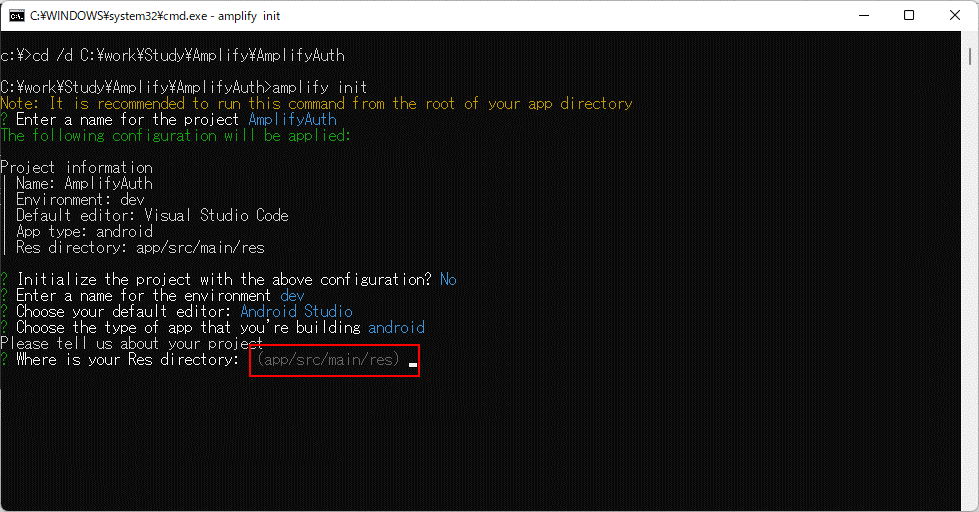
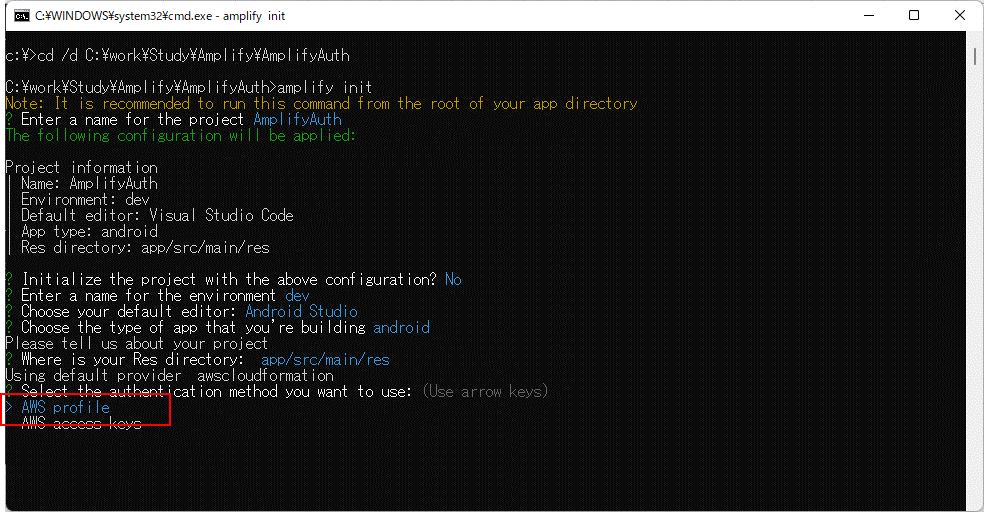
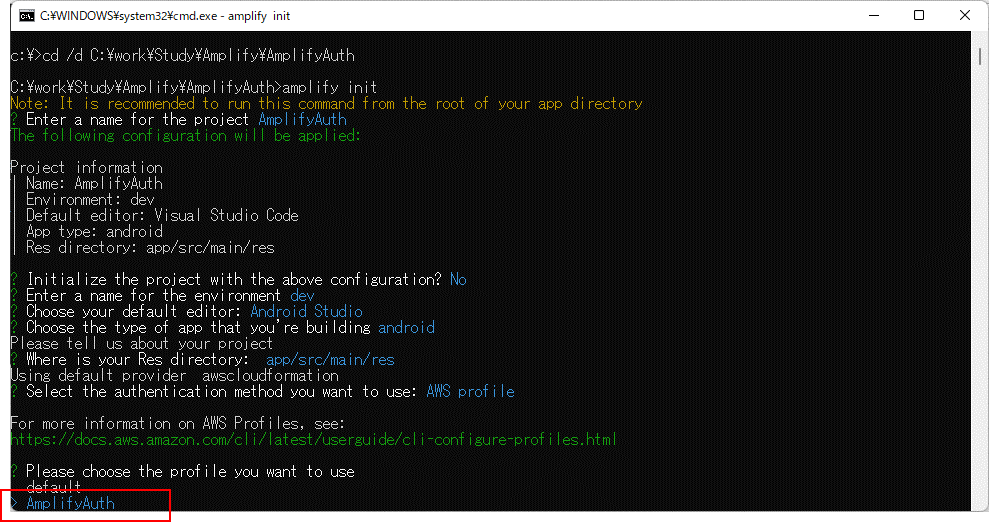
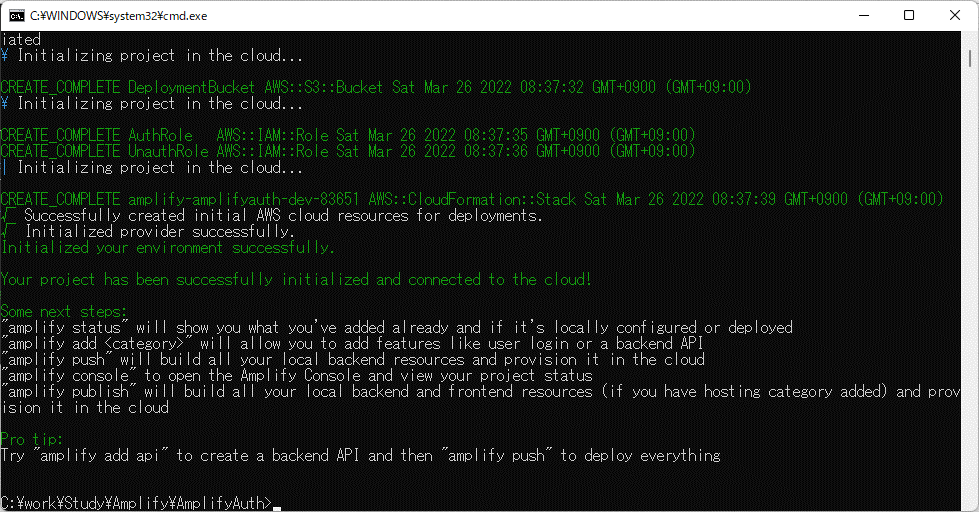
Amplifyの初期化
Amplifyに認証設定を追加
-
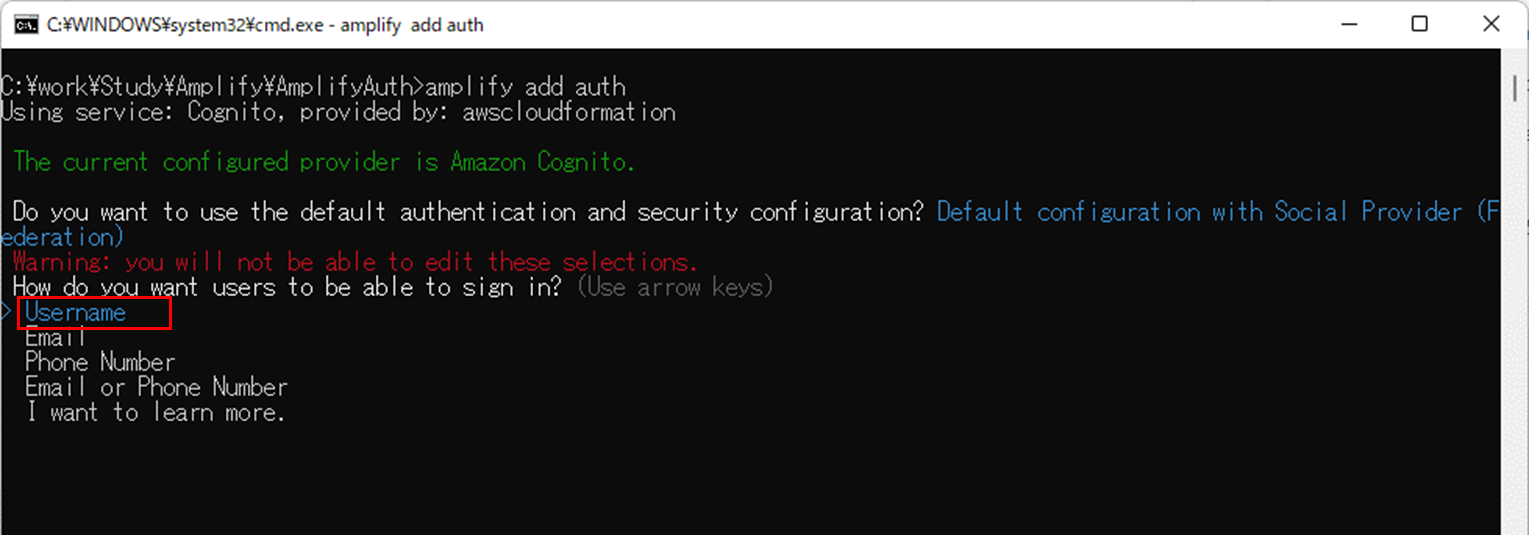
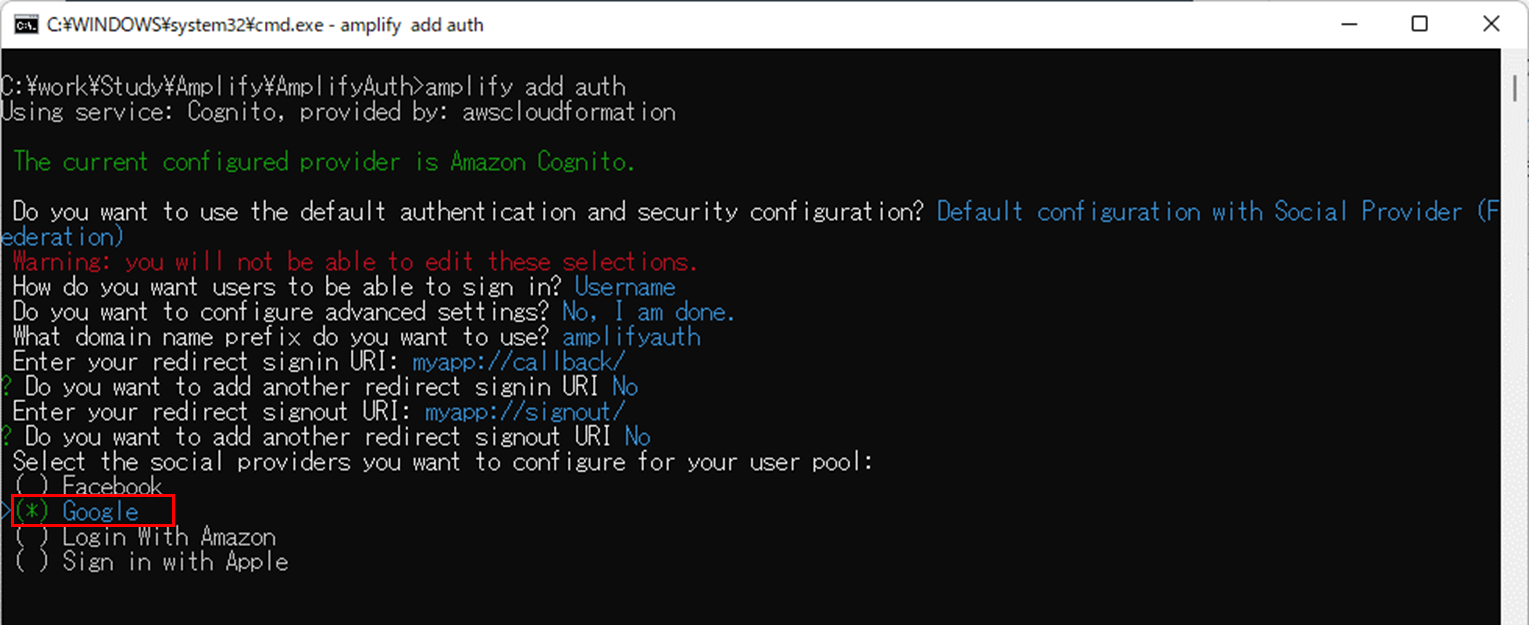
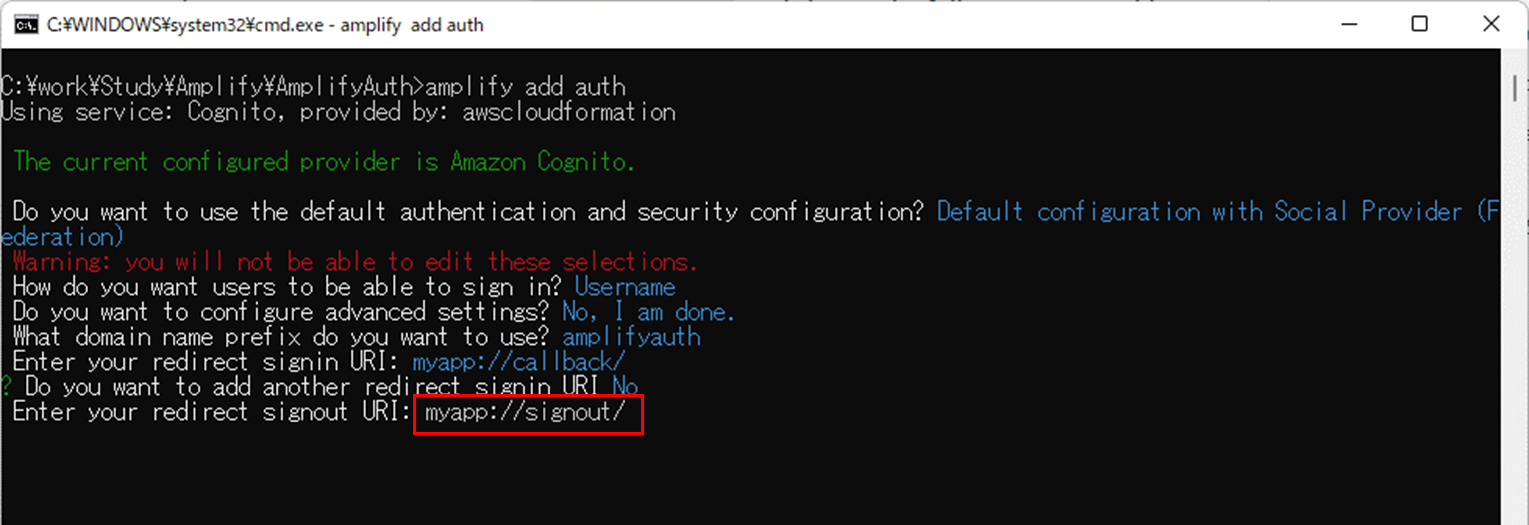
コマンドプロンプトから[amplify add auth]を実行
※実行ディレクトリは、[amplify init]を実行したプロジェクトのルートディレクトリから実行

-
[Default configuration with Social Provider (Federation)]を選択

-
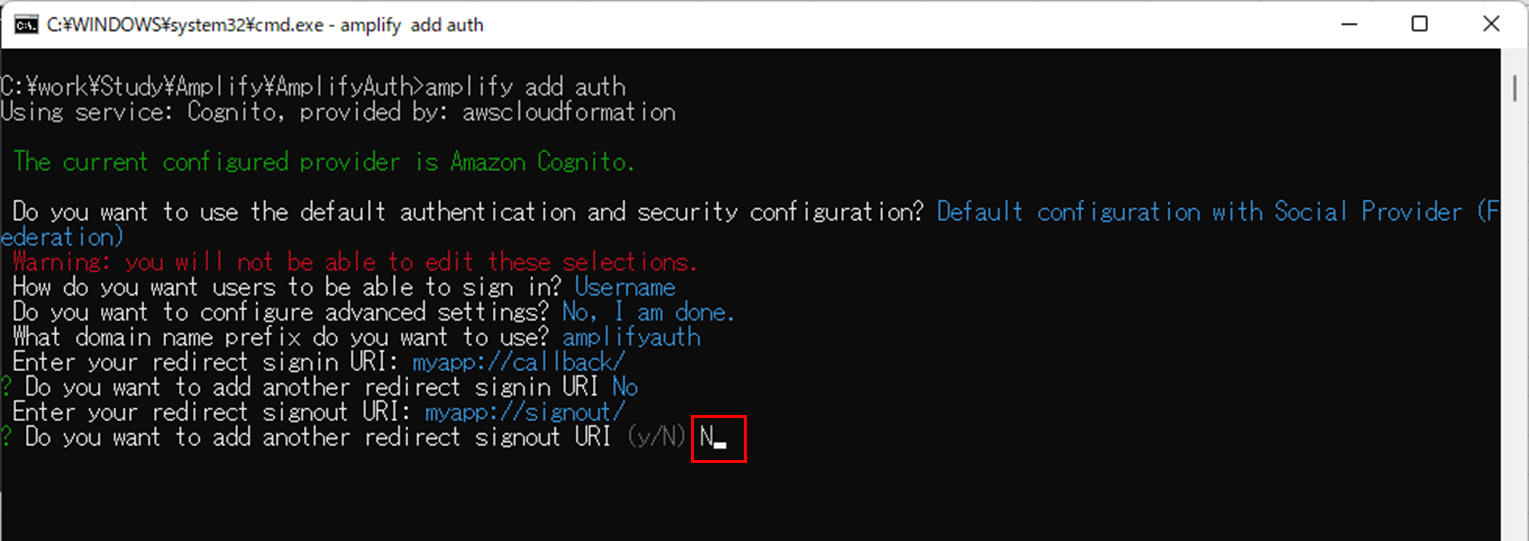
認可画面のリダイレクトURIとして[myapp://callback/]を入力
※後続の手順で、Android Projectへの設定も追加します。

-
サインアウト時のリダイレクトURIとして[myapp://sigout]を入力
※設定値として入力するだけで、今回の手順ではサインアウトは実行しません
-
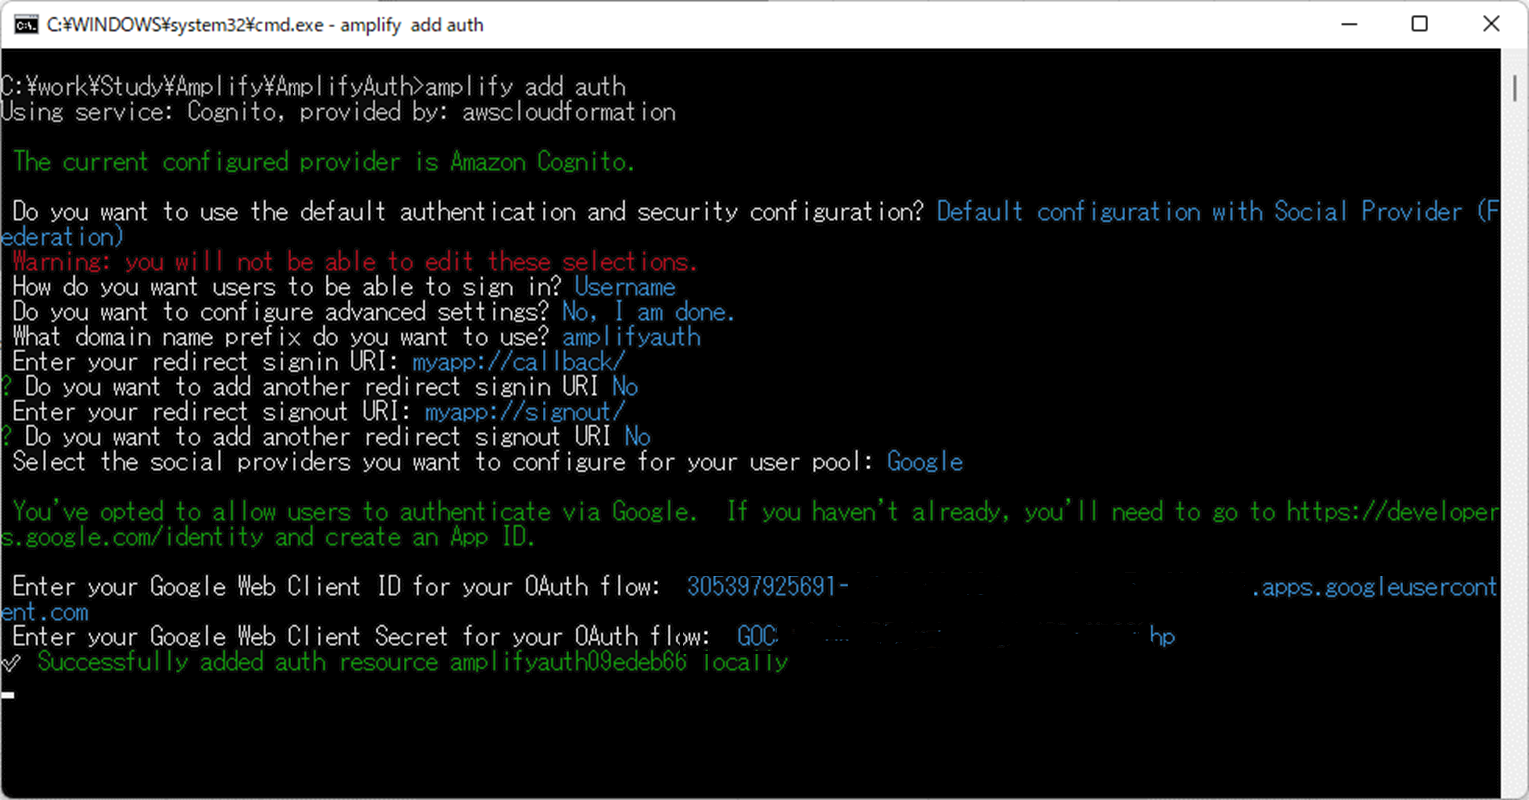
[Google認証プロバイダーの作成]⇒[ClientIdの作成]の手順で取得した、Googleの[クライアントID], [クライアントシークレット]を設定
-
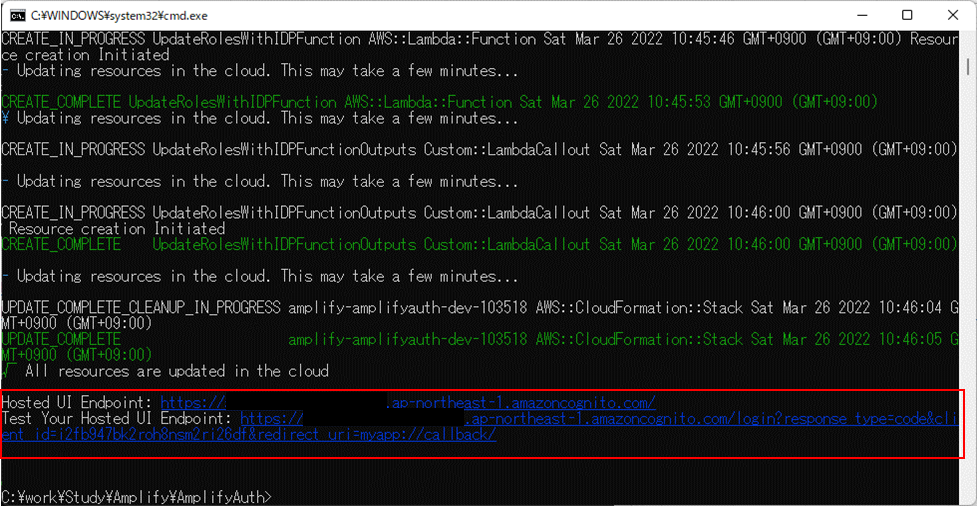
Push完了後に、AWS上のHostedUIのURLが表示されるため、取得して保存しておく
※[amplify status]でも確認できます。
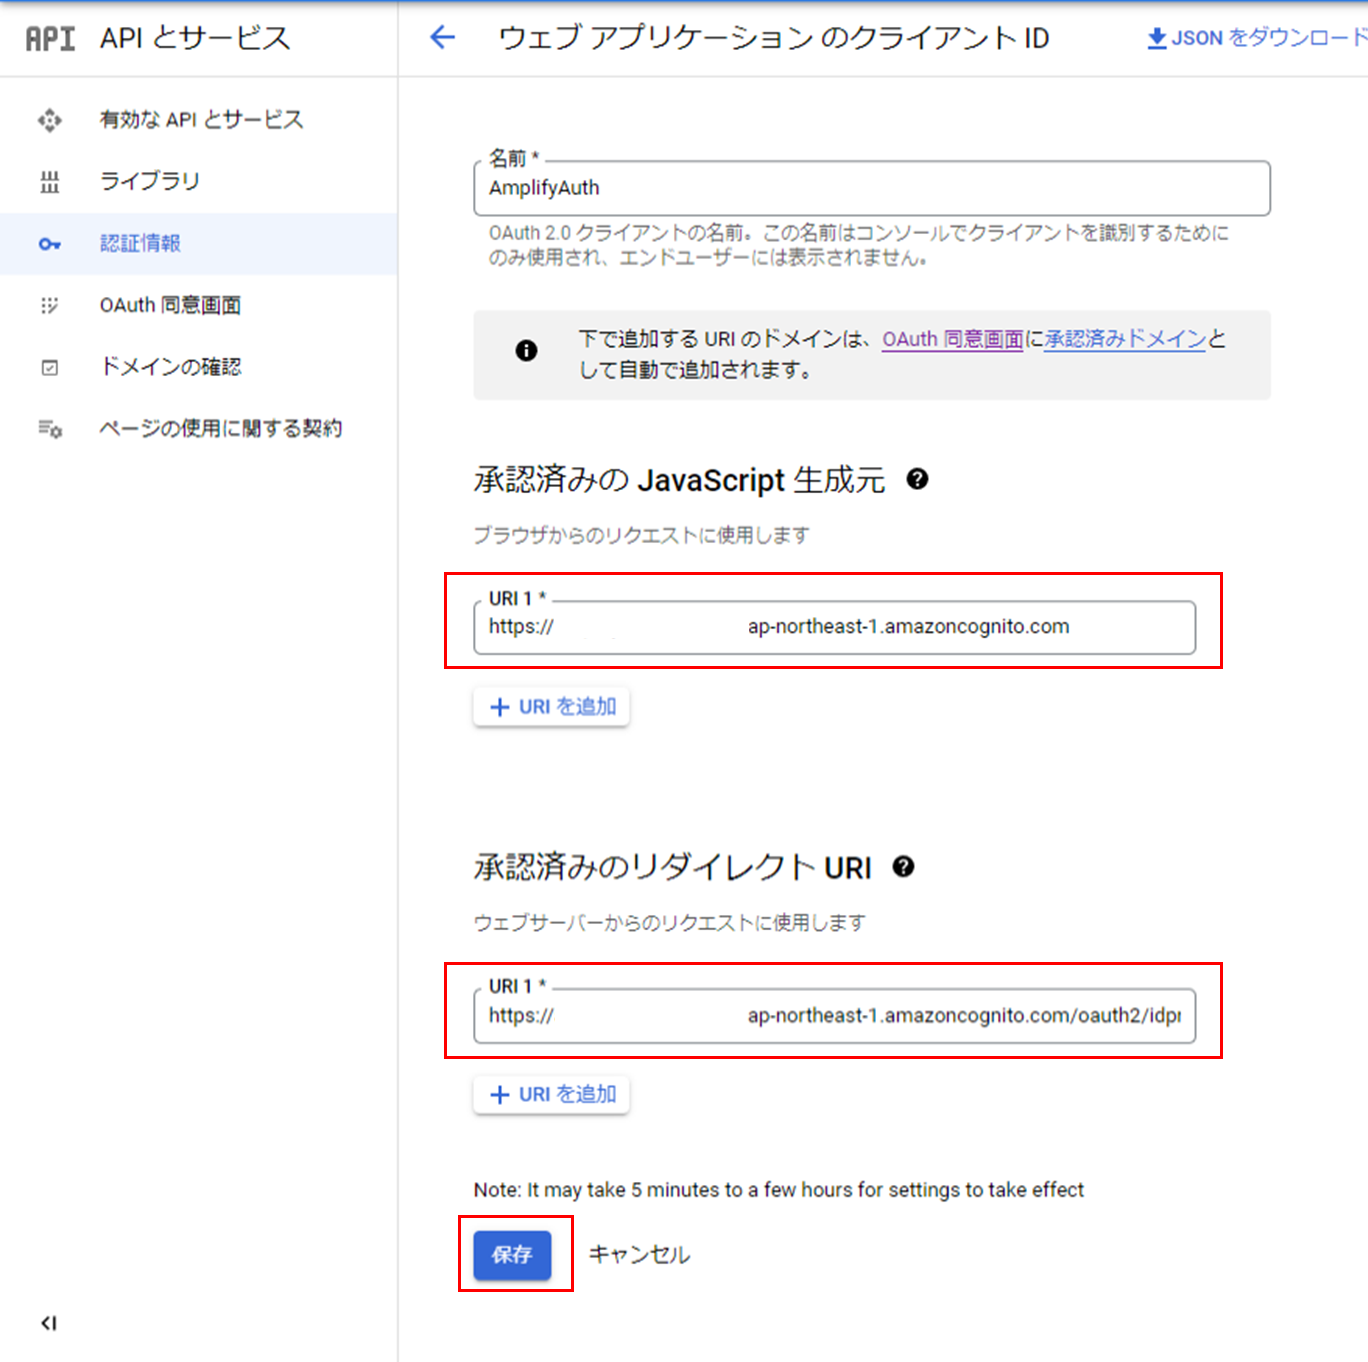
Google認証プロバイダーにAmplifyのHostedUIの設定
-
[承認済みのJavaScript生成元]、[承認済みのリダイレクトURI]を入力し、[保存]
承認済みのJavaScript生成:HostedUIのドメイン名
承認済みのリダイレクトURI:HostedUIのドメイン名/oauth2/idpresponse
Android ProjectへGoogle認証実装
-
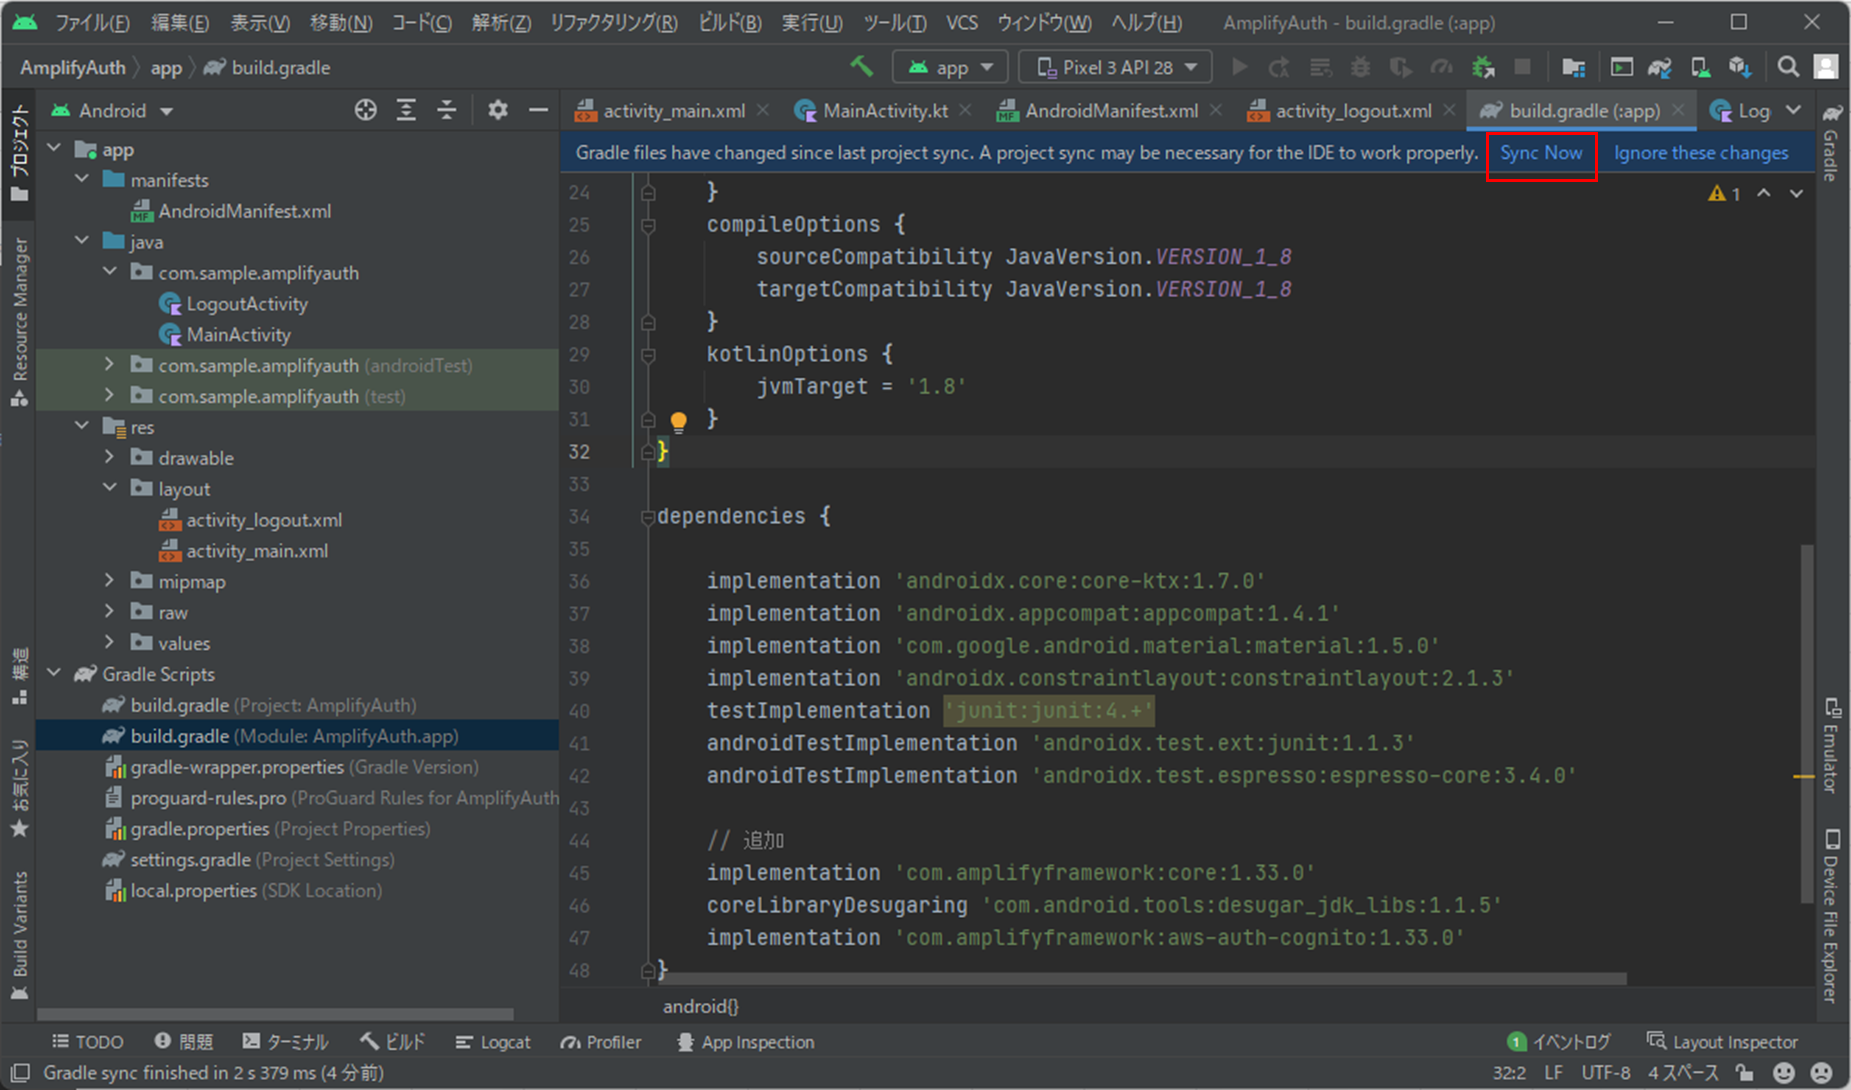
作成したAndroid Projectを開き、[build.gradle]の設定を変更
dependenciesに[com.amplifyframework], [com.android.tools], [com.amplifyframework:aws-auth-cognito]を追加build.gradleplugins { id 'com.android.application' id 'kotlin-android' } android { compileSdk 31 defaultConfig { applicationId "com.sample.amplifyauth" minSdk 26 targetSdk 31 versionCode 1 versionName "1.0" testInstrumentationRunner "androidx.test.runner.AndroidJUnitRunner" } buildTypes { release { minifyEnabled false proguardFiles getDefaultProguardFile('proguard-android-optimize.txt'), 'proguard-rules.pro' } } compileOptions { // Support for Java 8 features coreLibraryDesugaringEnabled true sourceCompatibility JavaVersion.VERSION_1_8 targetCompatibility JavaVersion.VERSION_1_8 } kotlinOptions { jvmTarget = '1.8' } } dependencies { implementation 'androidx.core:core-ktx:1.7.0' implementation 'androidx.appcompat:appcompat:1.4.1' implementation 'com.google.android.material:material:1.5.0' implementation 'androidx.constraintlayout:constraintlayout:2.1.3' testImplementation 'junit:junit:4.+' androidTestImplementation 'androidx.test.ext:junit:1.1.3' androidTestImplementation 'androidx.test.espresso:espresso-core:3.4.0' // 追加 implementation 'com.amplifyframework:core:1.33.0' coreLibraryDesugaring 'com.android.tools:desugar_jdk_libs:1.1.5' implementation 'com.amplifyframework:aws-auth-cognito:1.33.0' } -
[AndroidManifest.xml]の変更
AndroidManifest.xml<?xml version="1.0" encoding="utf-8"?> <manifest xmlns:android="http://schemas.android.com/apk/res/android" package="com.sample.amplifyauth"> <!-- queries を追加 --> <queries> <intent> <action android:name="android.intent.action.VIEW" /> <data android:scheme="https" /> </intent> <intent> <action android:name= "android.support.customtabs.action.CustomTabsService" /> </intent> </queries> <application android:allowBackup="true" android:icon="@mipmap/ic_launcher" android:label="@string/app_name" android:roundIcon="@mipmap/ic_launcher_round" android:supportsRtl="true" android:theme="@style/Theme.AmplifyAuth"> <activity android:name=".MainActivity" android:exported="true"> <intent-filter> <action android:name="android.intent.action.MAIN" /> <category android:name="android.intent.category.LAUNCHER" /> </intent-filter> </activitya> <!-- Activityを追加 --> <activity android:name="com.amplifyframework.auth.cognito.activities.HostedUIRedirectActivity" android:exported="true"> <intent-filter> <action android:name="android.intent.action.VIEW" /> <category android:name="android.intent.category.DEFAULT" /> <category android:name="android.intent.category.BROWSABLE" /> <data android:scheme="myapp" /> </intent-filter> </activity> </application> </manifest> -
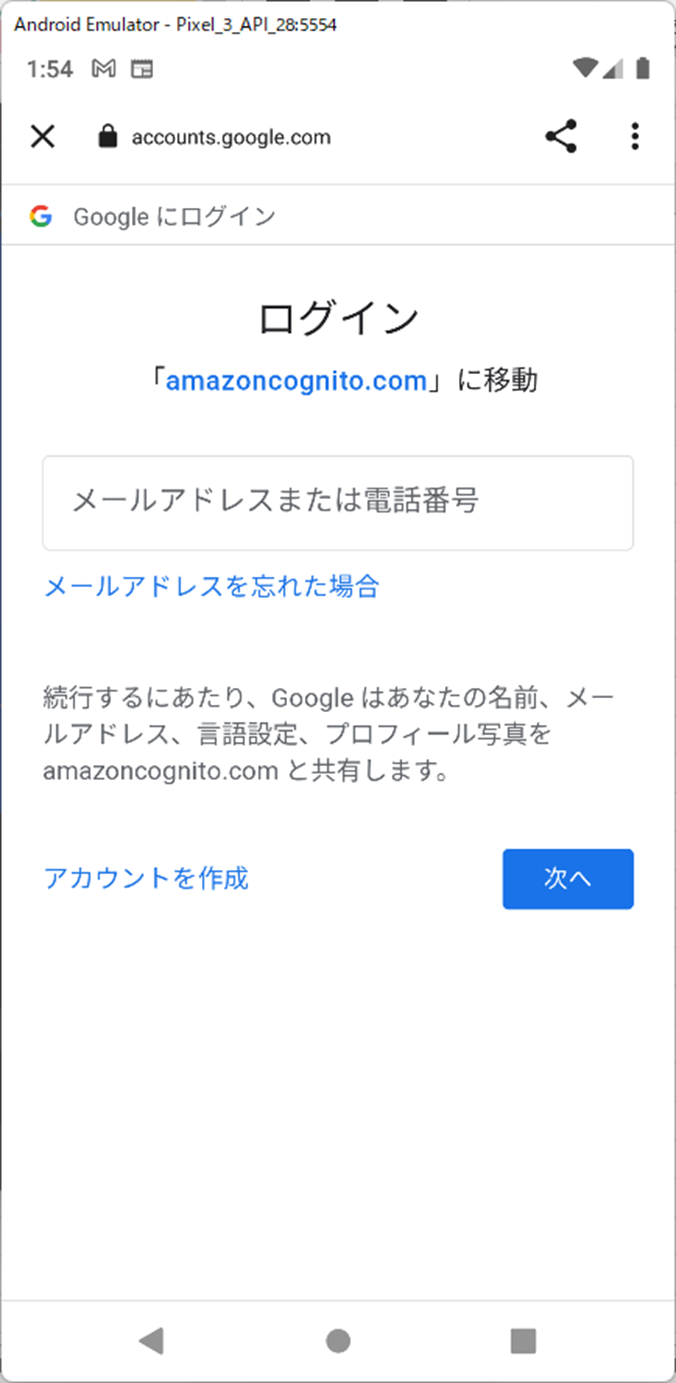
認可画面表示用ロジックの追加
[MainActivity.kt]を以下のように変更AndroidManifest.xmlpackage com.sample.amplifyauth import androidx.appcompat.app.AppCompatActivity import android.os.Bundle import android.util.Log import com.amplifyframework.auth.AuthProvider import com.amplifyframework.auth.cognito.AWSCognitoAuthPlugin import com.amplifyframework.core.Amplify class MainActivity : AppCompatActivity() { override fun onCreate(savedInstanceState: Bundle?) { super.onCreate(savedInstanceState) setContentView(R.layout.activity_main) // Add this line, to include the Auth plugin. Amplify.addPlugin(AWSCognitoAuthPlugin()) Amplify.configure(applicationContext) Amplify.Auth.signInWithSocialWebUI(AuthProvider.google(), this, { Log.i("AuthQuickstart", "Sign in OK: $it") }, { Log.e("AuthQuickstart", "Sign in failed", it) } ) } }
