通常、横スクロールなHTML要素であれば、要素の下にスクロールバーが出ますが、以前案件で、HTML要素の上にもスクロールバーを設置するというものありました。
その際に使用した、プラグインは使わずにjQueryを使って設置する、ちょっとだけトリッキーな方法をご紹介します。
JS使ってまで上に設置する必要あるんかい!というツッコミが沸くかと思いますが、ちょっとした小技としてご参考になれば嬉しいです。
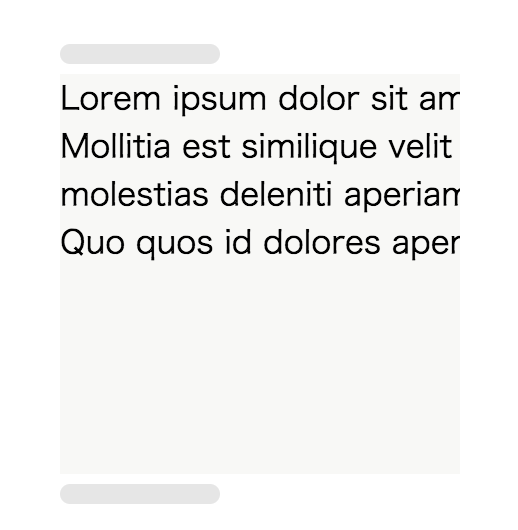
完成イメージ
サンプルコード
jQueryを使用します。ここでは3.3.1を使用しました。
ディレクトリ構造
root/
├ index.html
├ style.css
├ main.js
HTML
index.html
<!DOCTYPE html>
<html lang="ja">
<head>
<meta charset="UTF-8">
<title>横スクロールなHTML要素の上下にスクロールバーを設置する</title>
<link rel="stylesheet" href="style.css">
</head>
<body>
  <div id="wrapper">
    <div class="scrollbar" id="scrollbar"><div class="inner"></div></div>
    <div class="scrollbox" id="scrollbox">
      <div class="inner">
        <p class="txt">Lorem ipsum dolor sit amet, consectetur adipisicing elit. Mollitia est similique velit provident illo pariatur quia dolores, molestias deleniti aperiam rerum ducimus, odio, dolorem eos. Quo quos id dolores aperiam!</p>
      </div>
    </div>
  </div>
<script
  src="https://code.jquery.com/jquery-3.3.1.slim.min.js"
  integrity="sha256-3edrmyuQ0w65f8gfBsqowzjJe2iM6n0nKciPUp8y+7E="
  crossorigin="anonymous"></script>
<script src="main.js"></script>
</body>
</html>
コンテンツが入るボックスの上に<div class="scrollbar" id="scrollbar"><div class="inner"></div></div>を設置しています。
このdiv要素で擬似スクロールバーを設置します。
CSS
次にスタイルを指定していきます。
style.css
# wrapper {
  width: 200px;
  margin: auto;
  padding: 100px 0;
}
.scrollbar {
  width: 100%;
  height: 10px;
  overflow-x: scroll;
  overflow-y: hidden;
}
.scrollbar .inner {
  width: 500px;
  height: 1px;
}
.scrollbox {
  width: 100%;
  margin-top: 5px;
  overflow-x: scroll;
  overflow-y: hidden;
}
.scrollbox .inner {
  width: 500px;
  height: 200px;
  margin-bottom: 5px;
  background-color: #F9F8F6;
}
.scrollbox .txt {
  margin: 0;
  font-size: 16px;
  line-height: 1.5;
}
/* スクロールバーのスタイル */
.scrollbar::-webkit-scrollbar,
.scrollbox::-webkit-scrollbar {
  height: 10px;
}
.scrollbar::-webkit-scrollbar-track,
.scrollbox::-webkit-scrollbar-track {
  border-radius: 5px;
}
.scrollbar::-webkit-scrollbar-thumb,
.scrollbox::-webkit-scrollbar-thumb {
  border-radius: 5px;
  background-color: #e7e7e7;
}
スタイル指定のポイントをまとめます。
-
.scrollbarに.scrollbox(スクロールをする外側のボックス)と同じwidthを指定する。 -
.scrollbar>.innerに.scrollbar > .inner(コンテンツが入る内側のボックス)と同じwidthを指定する。 -
.scrollbarのheightを1pxとする。
現地点での見た目はこんな感じです。
まるで.scrollboxに2つのスクロールバーが付いているかのように見えます。
JavaScript
最後にJSで.scrollbarと.scrollboxのそれぞれスクロールが連動するように設定します。
main.js
$(function() {
  'use strict';
  $("#scrollbar, #scrollbox").on('scroll', function() {
    if ( $(this).attr('id') === 'scrollbar' ) {
      $('#scrollbox').scrollLeft($(this).scrollLeft());
    } else {
      $("#scrollbar").scrollLeft($(this).scrollLeft());
    }
  });
});
表示を確認してみましょう。.scrollbarと.scrollboxのそれぞれスクロールが連動してれば、完成です。