概要
サーバーにHubotを導入し、Slackに接続した状態で永続的に起動しておく方法
Hubotの導入
npmでHubotをインストール
(npmが入っていない場合は先にnpmを入れる)
% npm install -g yo generator-hubot
Hubot用のディレクトリを作成して移動
(今回はbotというディレクトリを作るが、実際はなんでもいい)
$ mkdir bot
$ cd bot/
Hubotを作成
$ yo hubot
※ 設定を聞かれるのでBot adapterにだけslackと入力する。他はEnter。
Hubotの起動
$ bin/hubot
Enterを押してbot>となったところにbot pingを実行して "PONG"と返ってくればHubotが正常に導入されている。
Ctrl+cでHubotを停止できる。
HubotをSlackに接続する
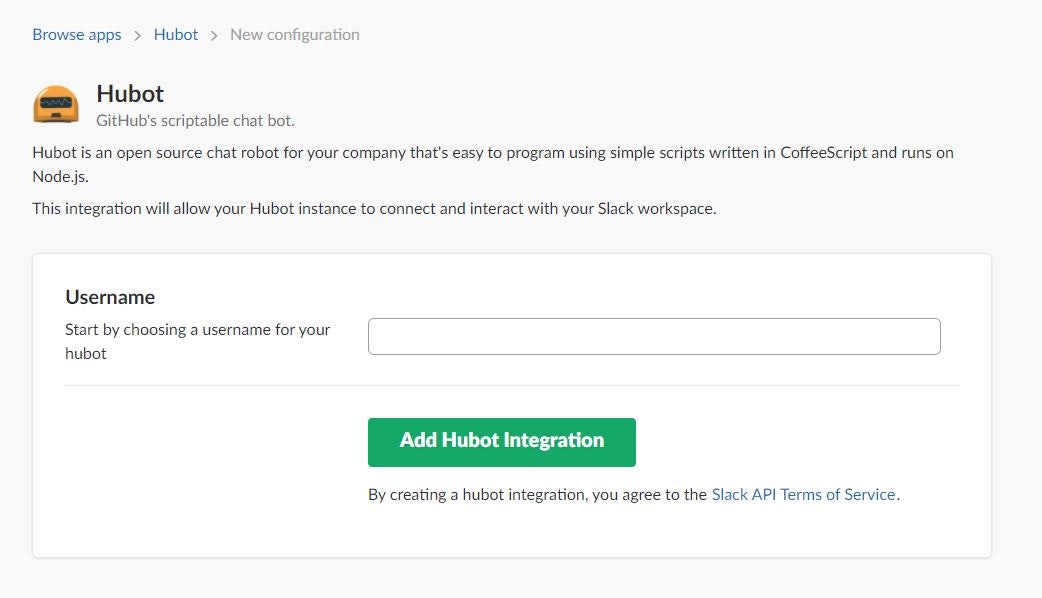
SlackでHubotのアカウントを作成
Slack>bots>hubot>Add Configuration で新しくHubotを登録

その後作成したHubotのアカウントをSlackの対象のチャンネルに追加
HubotをSlackに接続して起動
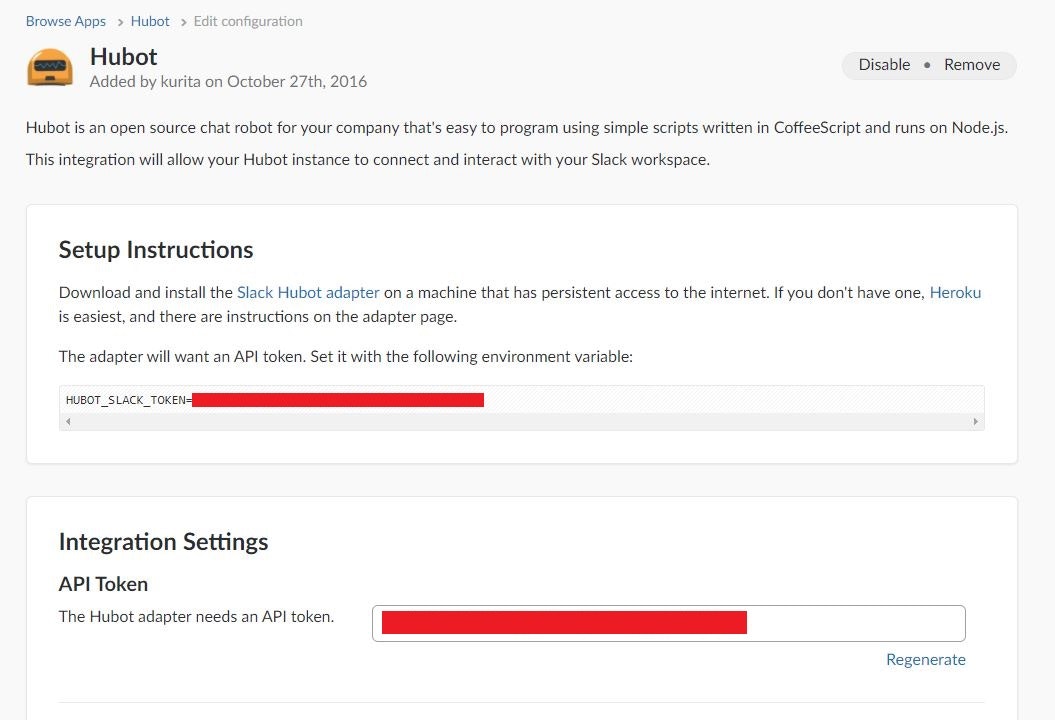
作成したbot/bin 配下にあるhubotファイルをviもしくはテキストエディターなどで開き、下記をexecの行よりも上に追記する
export HUBOT_SLACK_TOKEN="SlackでHubotのアカウントを作成した際のアクセストークン"
bot配下で下記コマンドを実行するとSlackで作成したHubotに接続してHubotが起動される
$ bin/hubot --adapter slack
Slackの対象のチャンネルでbot pingと送ったらHubotのアカウントが"PONG"と返してくれば成功
Hubotを永続化する
このままだとサーバーの接続を切るとHubotも終了してしまうので永続化の処理をする。
Foreverのインストール
$ npm install forever --save
PATHの設定
ホームディレクトリ($ cd で移動)にある .bash_profileファイルをviもしくはテキストエディターなどで開き、最終行に下の一行を書き足す。
export PATH=$PATH:/home/vagrant/bot/node_modules/.bin
その後下記コマンドで再読込
$ source .bash_profile
hubotの起動ファイル書き換え
bot/bin 配下にあるhubotファイルをviもしくはテキストエディターなどで開き、execから始まる行を下に書き換える。
forever start -c coffee node_modules/.bin/hubot --adapter slack
永続化起動
bot配下で下記コマンドを実行するとSlackに繋がったHubotが起動し、サーバーの接続を切っても起動し続けることができる。
$ bin/hubot
