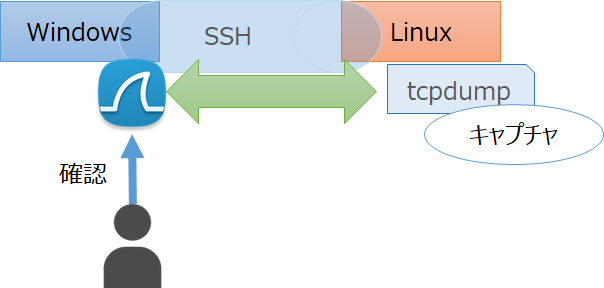
概要
- Windows上でWireSharkを起動し、リモートのLinuxのtcpdumpの結果をリアルタイムで表示する
- SSHトンネルでリモートのtcpdumpの結果をWireSharkの入力にリダイレクト(?)する
方法
前提
確認環境
- Windows 10 64bit
- WireShark 3.2.3
- Amazon Linux release 2 (Karoo)
- tcpdump version 4.9.2
条件
- Windowsからコマンドプロンプトで対象のLinuxにsshできる
- 対象のWindowsにWireSharkがインストールされている
- コマンドプロンプトで
wiresharkが実行できる
- コマンドプロンプトで
- 対象のLinuxにtcpdumpがインストールされている
コマンド
- コマンドプロンプトで以下のワンライナーでOK。
- tcpdump のパス等は適宜読み替えのこと。
- 一点注意点は普通にSSHでログインする時と通っているパスが異なるようなので、
ssh [RemoteHost] -i [SSH Key] echo $PATH等で通っているパスを確認しておくとハマりポイントを一つ回避できるかも。
c:\>ssh [RemoteHost] -i [SSH Key] "sudo /usr/sbin/tcpdump -U -w - -i eth0" | wireshark -k -i -
参考
Wireshark Tcpdump Remote Capturing - YouTube https://www.youtube.com/watch?v=C7nhdAL9oPg
CaptureSetup/Pipes - The Wireshark Wiki https://wiki.wireshark.org/CaptureSetup/Pipes#Remote_Capture