よく、「あれどう書くんだっけ?」となるHTMLテンプレート周りのあれこれをメモします。
データバインディング
import { Component } from '@angular/core';
@Component({
  selector: 'app-root',
  templateUrl: './app.component.html',
  styleUrls: ['./app.component.css']
})
export class AppComponent {
  importData:string = "importMessage"//変数「importData」に「importMessage」を代入
}
<!--変数「importData」を表示する-->
<h1>{{importData}}</h1>

双方向データバインディング
次に双方向データバインドです。
双方向とは
画面側からプログラム(ts)
プログラムから画面
と行き来させる方法です。
双方向の場合は、FormModuleが必要になるので追加します。
import { BrowserModule } from '@angular/platform-browser';
import { NgModule } from '@angular/core';
import { AppComponent } from './app.component';
import {FormsModule} from "@angular/forms";//ここを追加

@NgModule({
  declarations: [
    AppComponent
  ],
  imports: [
    BrowserModule,
    FormsModule//ここを追加
  ],
  providers: [],
  bootstrap: [AppComponent]
})
export class AppModule {}
app.component.tsは通常のデータバインドと差はなく、変数を用意しておくだけです。
import { Component } from '@angular/core';
@Component({
  selector: 'app-root',
  templateUrl: './app.component.html',
  styleUrls: ['./app.component.css']
})
export class AppComponent {
  name = 'masao';
}
inputタグに値を入れると、それがapp.component.tsに送られ、
app.component.tsのname変数の値が{{name}}にデータバインドされます。
<!--ts側へ送られます-->
<input  type="text" [(ngModel)]="name">
<!--ts側から受け取ります-->
<h1>{{name}}</h1>

条件分岐if
trueだった場合表示し
falseだった場合非表示にします。
FormModuleが必要になるので追加します。
import { BrowserModule } from '@angular/platform-browser';
import { NgModule } from '@angular/core';
import { AppComponent } from './app.component';
import {FormsModule} from "@angular/forms";//ここを追加

@NgModule({
  declarations: [
    AppComponent
  ],
  imports: [
    BrowserModule,
    FormsModule//ここを追加
  ],
  providers: [],
  bootstrap: [AppComponent]
})
export class AppModule {}
変数flgにfalseをもたせます。
import { Component } from '@angular/core';
@Component({
  selector: 'app-root',
  templateUrl: './app.component.html',
  styleUrls: ['./app.component.css']
})
export class AppComponent {
  flg = false;//追加
}
*ngIfにtrueかfalseを指定します。
<h1 *ngIf="flg">テキスト1</h1><!--falseなので非表示-->
<h1 *ngIf="!flg">テキスト2</h1><!--trueなので表示-->

*ngIf="false"の場合htmlファイルに書かれもしなくなります。
条件分岐switch
条件にあったものを表示ます。
FormModuleが必要になるので追加します。
import { BrowserModule } from '@angular/platform-browser';
import { NgModule } from '@angular/core';
import { AppComponent } from './app.component';
import {FormsModule} from "@angular/forms";//ここを追加

@NgModule({
  declarations: [
    AppComponent
  ],
  imports: [
    BrowserModule,
    FormsModule//ここを追加
  ],
  providers: [],
  bootstrap: [AppComponent]
})
export class AppModule {}
変数sexに性別として男をもたせます。
import { Component } from '@angular/core';
@Component({
  selector: 'app-root',
  templateUrl: './app.component.html',
  styleUrls: ['./app.component.css']
})
export class AppComponent {
  sex = "men";//追加
}
セレクトボックスから性別を選び、選んだ性別によって下のメッセージが変わるように作っています。
セレクトボックスからapp.component.tsへ値を送っている仕組みは双方向データバインディングをご参考にしてください。
<!--selectボックスで値を指定して変数sexに送る-->
<select [(ngModel)]="sex">
  <option value="men">男</option>
  <option value="women">女</option>
  <option value="secret">秘密</option>
</select>

<!--変数sexの中身によって表示を変える-->
<div [ngSwitch]="sex">
  <div *ngSwitchCase="'men'">500円です。</div>
  <div *ngSwitchCase="'women'">300円です。</div>
  <div *ngSwitchDefault></div>
</div>
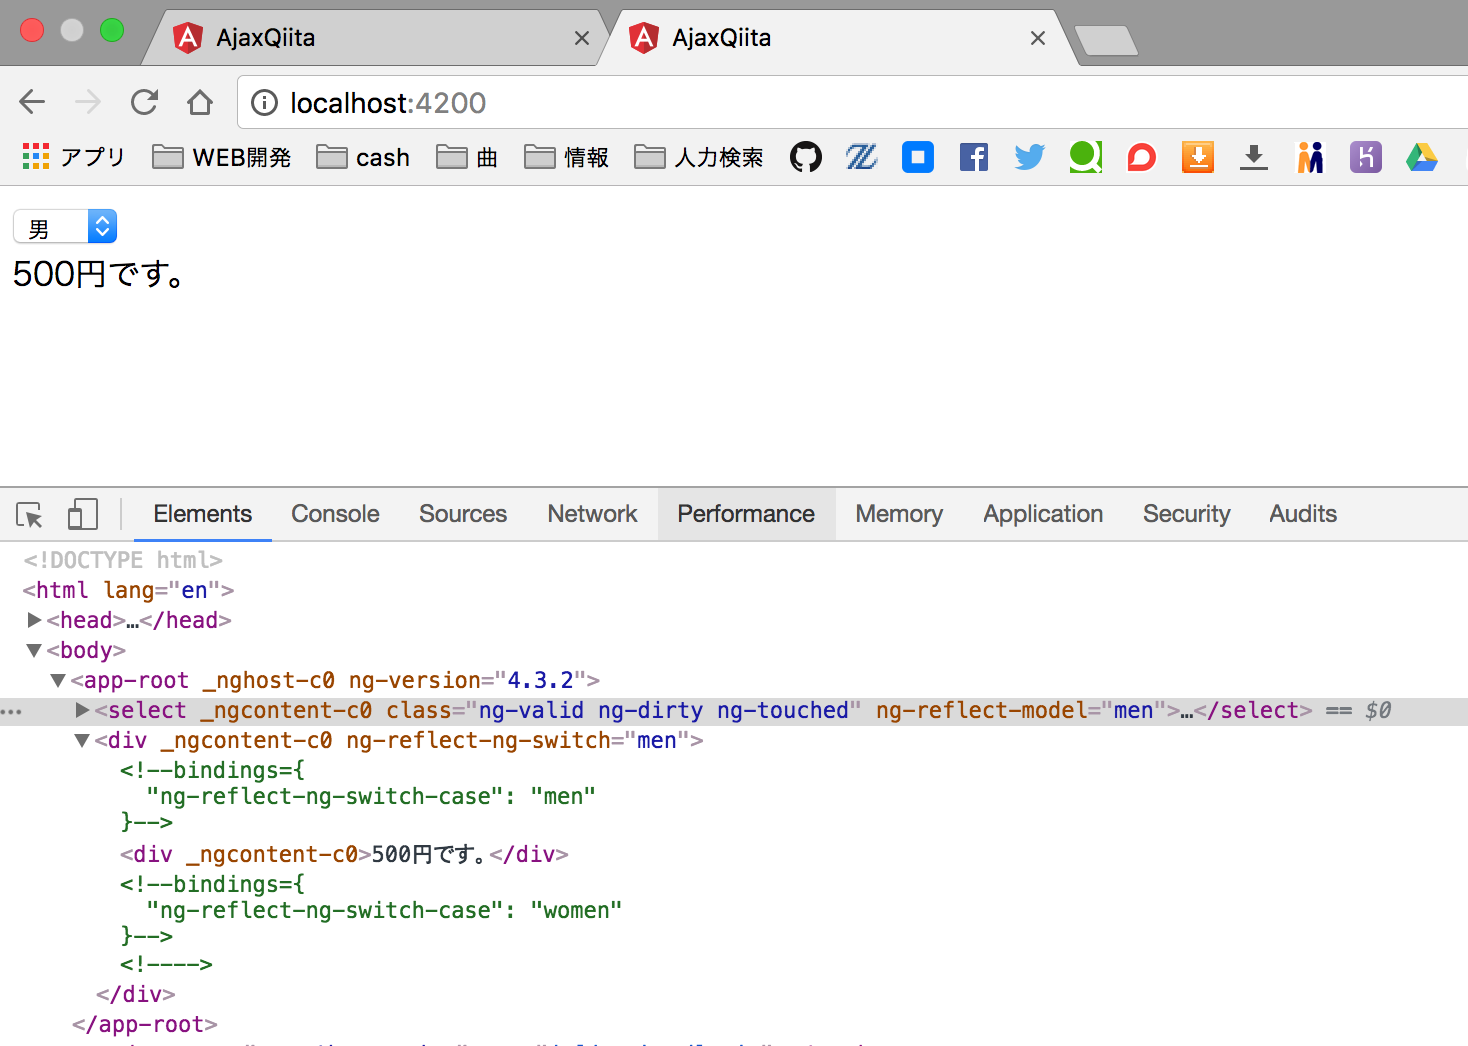
複数の表示を操ることができます。
ループ処理
配列の値などを繰り返し表示します。
FormModuleが必要になるので追加します。
import { BrowserModule } from '@angular/platform-browser';
import { NgModule } from '@angular/core';
import { AppComponent } from './app.component';
import {FormsModule} from "@angular/forms";//ここを追加

@NgModule({
  declarations: [
    AppComponent
  ],
  imports: [
    BrowserModule,
    FormsModule//ここを追加
  ],
  providers: [],
  bootstrap: [AppComponent]
})
export class AppModule {}
app.component.tsには表示する配列を用意しておきます。
import { Component } from '@angular/core';
@Component({
  selector: 'app-root',
  templateUrl: './app.component.html',
  styleUrls: ['./app.component.css']
})
export class AppComponent {
  names = ["masao0","masao1","masao2","masao3"];
}
配列を一つづつ読み出し、バインドします。
<ul>
  <li *ngFor="let name of names; let i=index">{{name}}</li><!--ここが繰り返される-->
</ul>
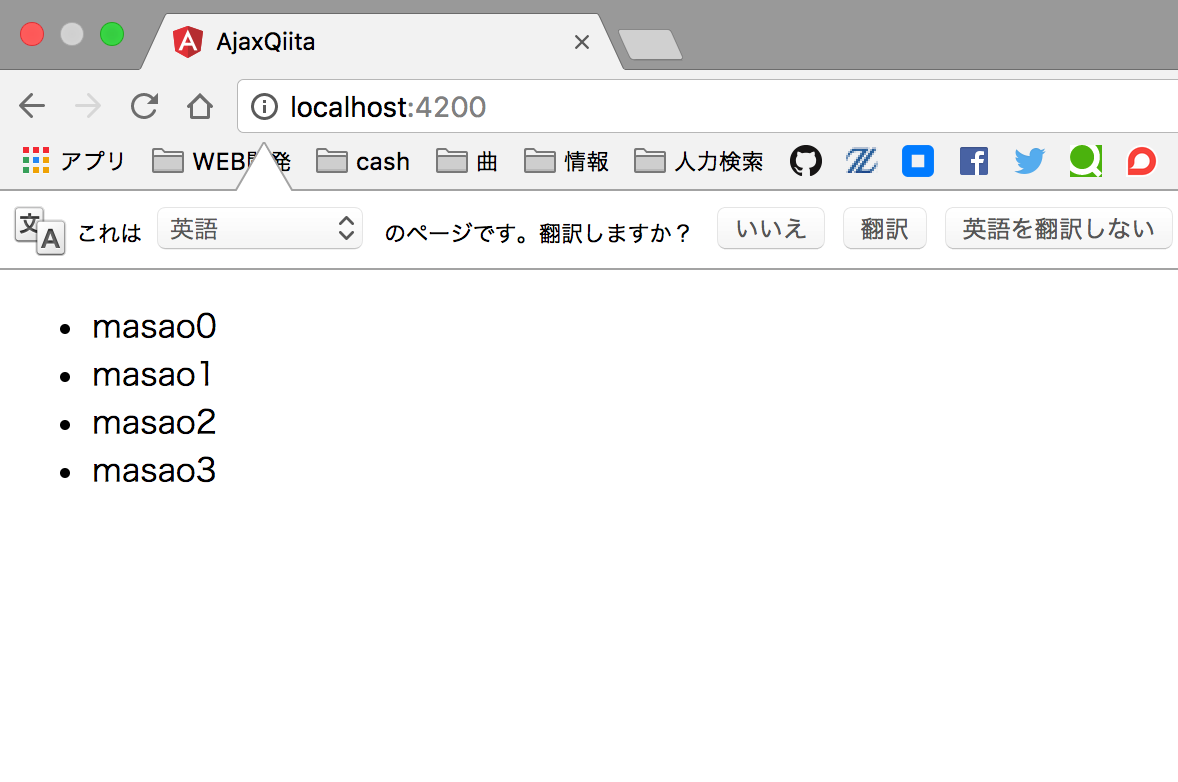
配列の中身をすべて表示しています。
要素追加
こちらはFormsModuleは必要ありません。
変数に要素に指定したい値を代入しておきます。
import { Component } from '@angular/core';
@Component({
  selector: 'app-root',
  templateUrl: './app.component.html',
  styleUrls: ['./app.component.css']
})
export class AppComponent {
  url = "http://google.co.jp";
}
要素に変数を割り当てます。
<ul>
  <a [href]="url">こちら</a>
</ul>
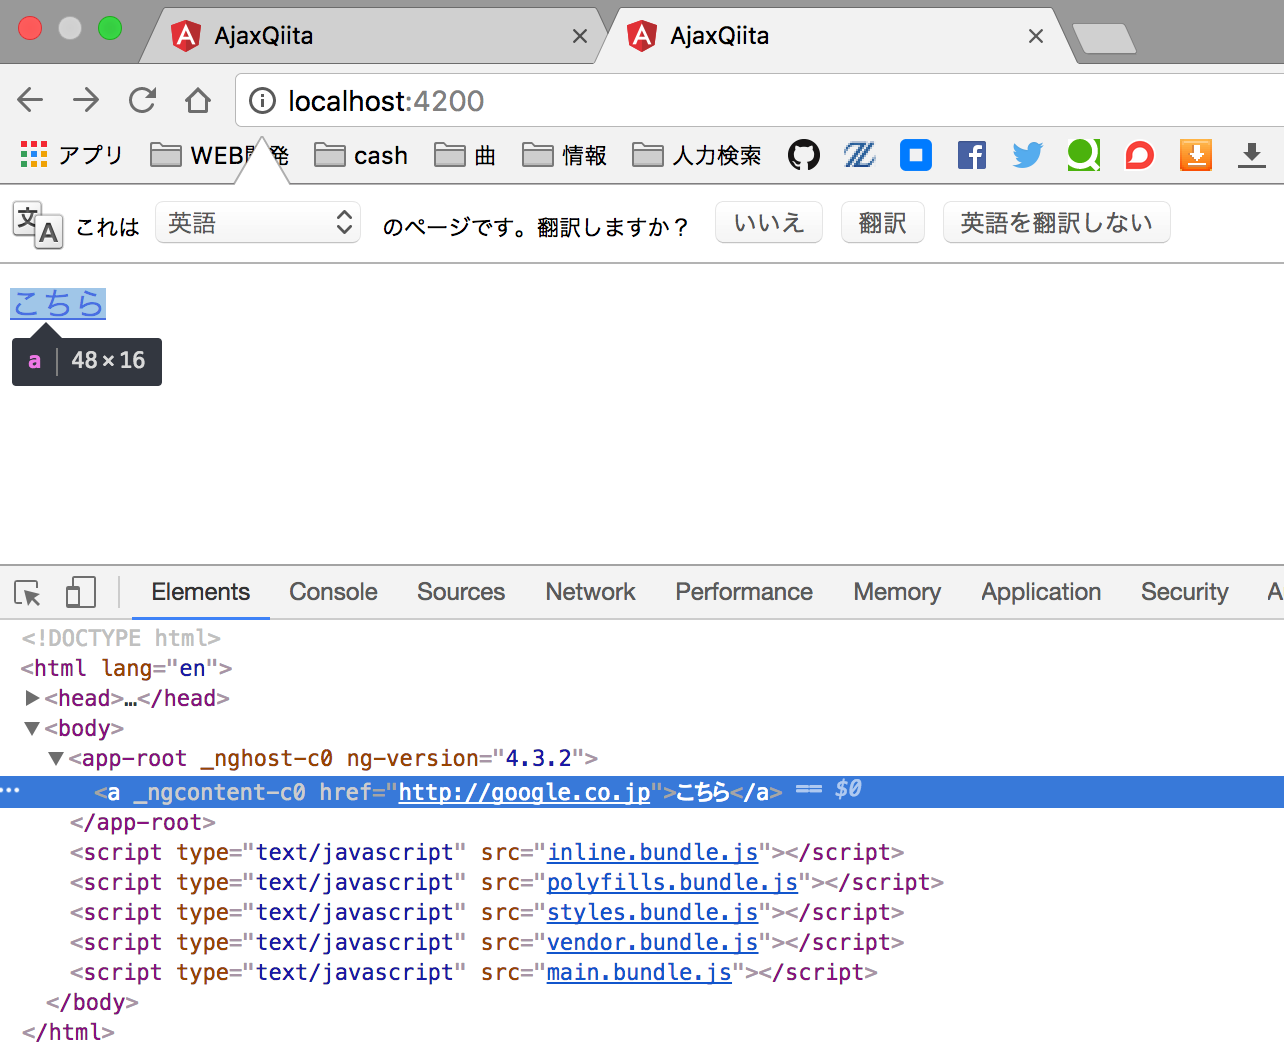
hrefに変数url内のgoogleのURLが割り当てられているのがわかります。
CSSを追加
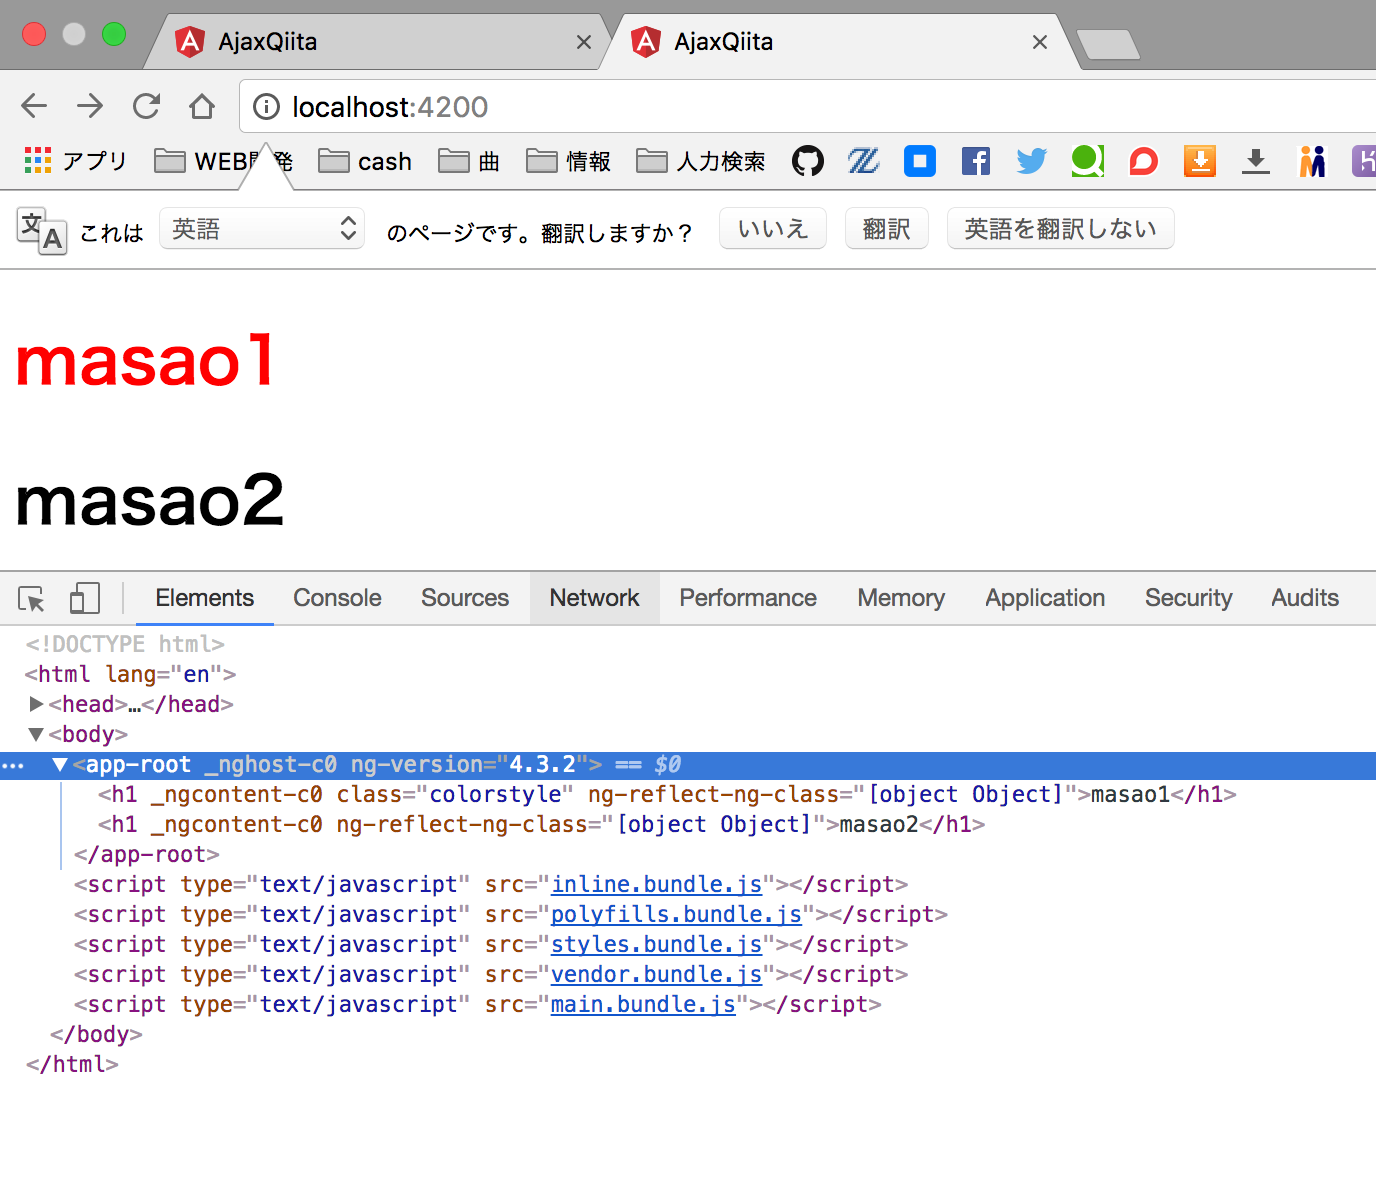
CSSのクラスをタグに割り当てます。
<h1 [ngClass]="{colorstyle:true}">masao1</h1>
<h1 [ngClass]="{colorstyle:false}">masao2</h1>
.colorstyle{
  color:red;
}
イベント追加
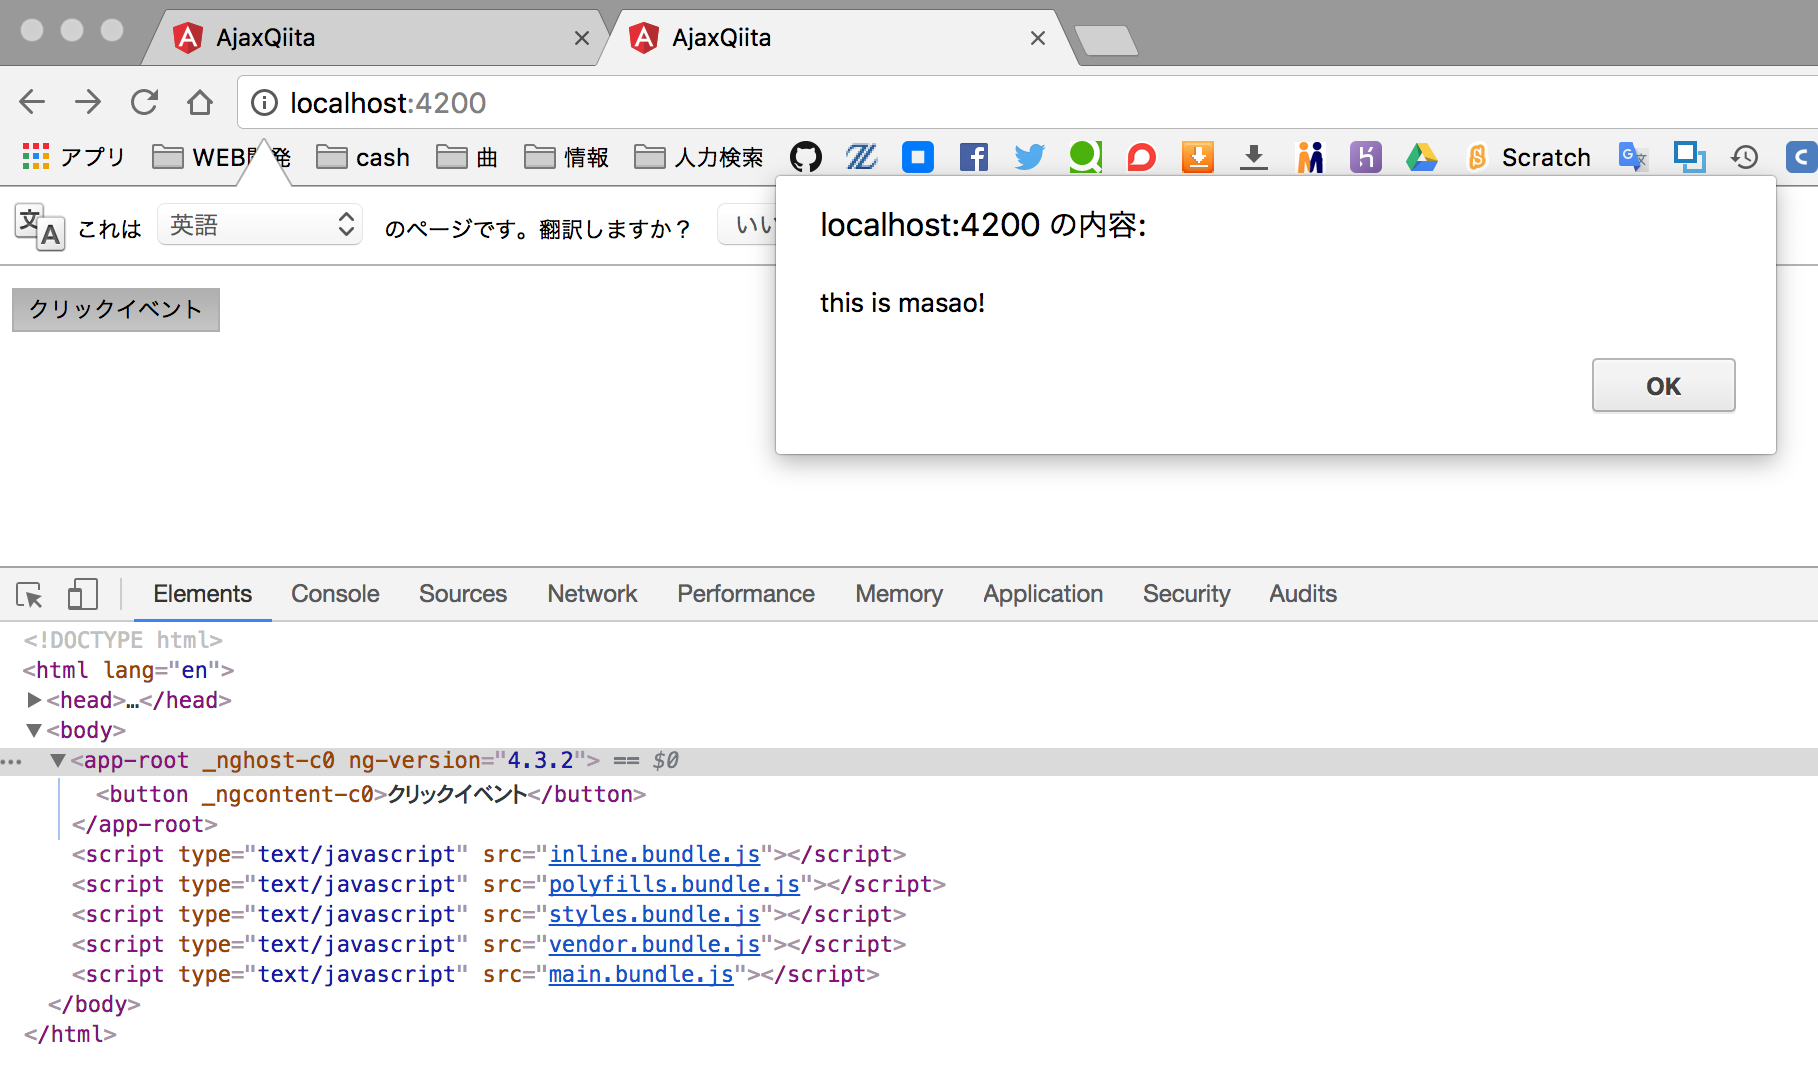
<button (click)="masao()">クリックイベント</button><!--クリックイベントを追加-->
import { Component } from '@angular/core';
@Component({
  selector: 'app-root',
  templateUrl: './app.component.html',
  styleUrls: ['./app.component.css']
})
export class AppComponent {
  masao(){
    alert('this is masao!');
  }
}
パイプ
{{text|uppercase}}
<!--uppercaseは大文字に変換する-->
import { Component } from '@angular/core';
@Component({
  selector: 'app-root',
  templateUrl: './app.component.html',
  styleUrls: ['./app.component.css']
})
export class AppComponent {
  text:string = "masao";
}
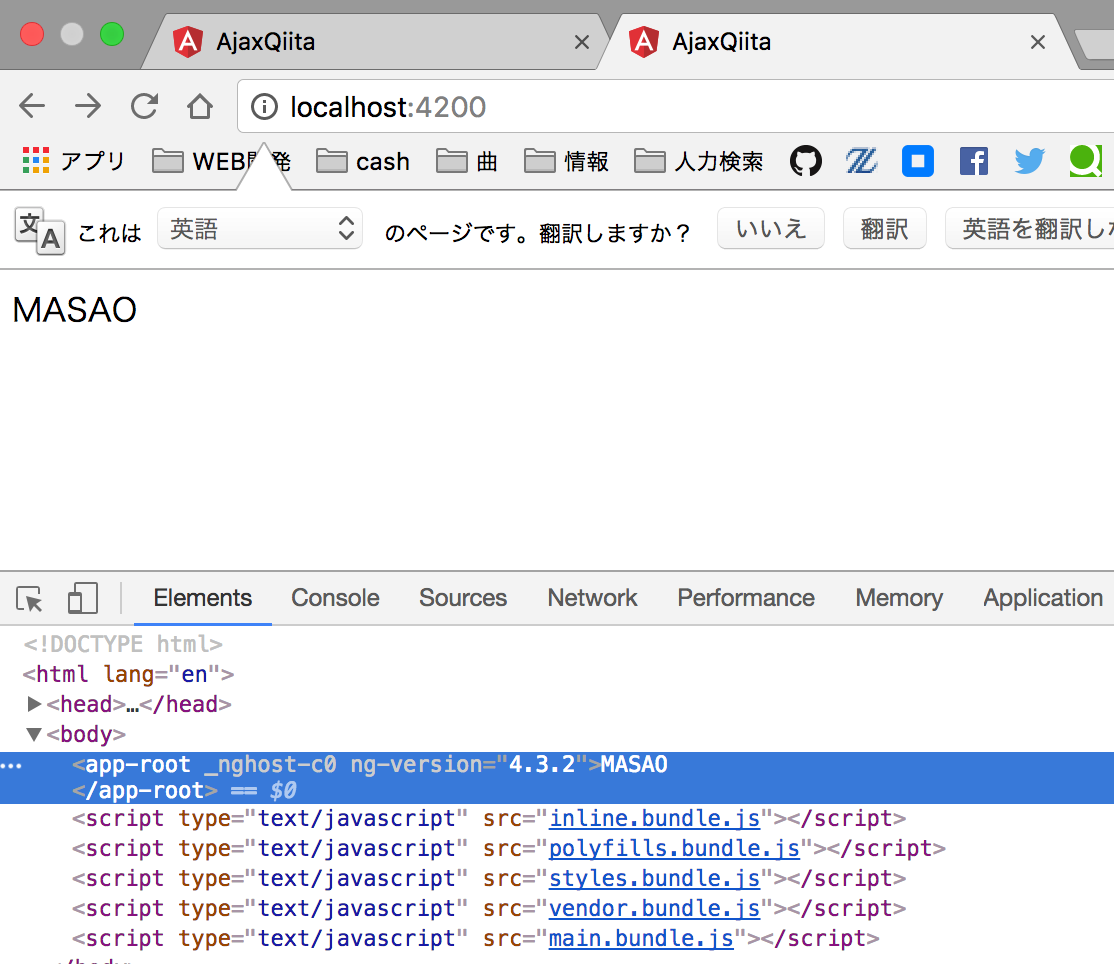
masaoが大文字で表示されています。
自作タグ
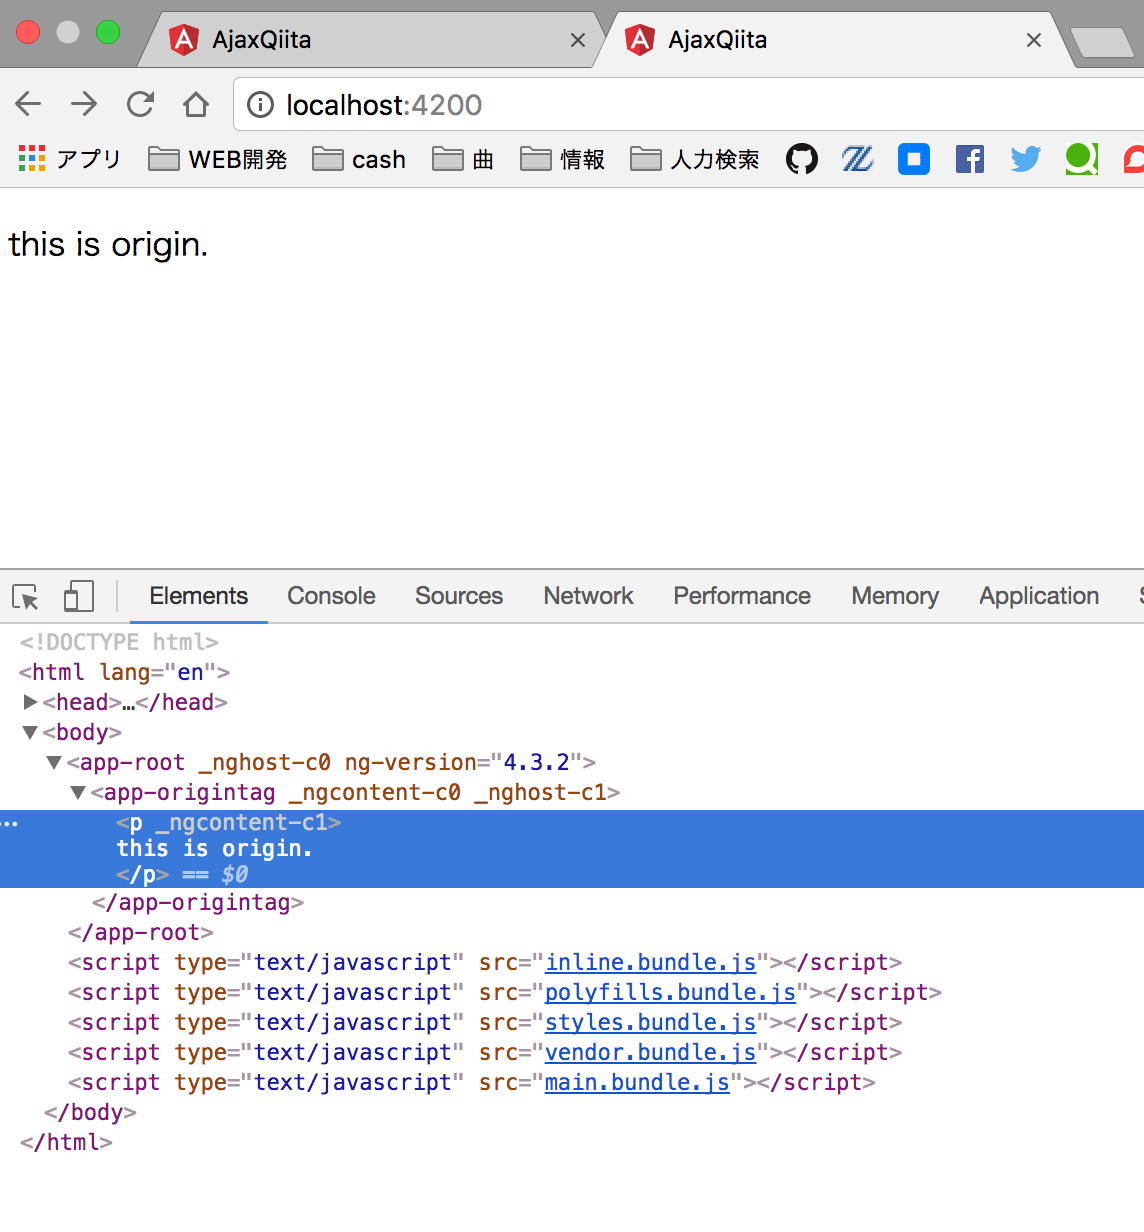
componentを作ります。
kuniatsu$ ng generate component origintag
新しく作ったcomponentのHTMLファイルを編集します。
app.component.htmlではなくorigintag.component.htmlです。
<p>
this is origin.
</p>
自作タグはセレクター名で使用します。
<app-origintag></app-origintag>
