0
0

Delete article

Deleted articles cannot be recovered.

Draft of this article would be also deleted.

Are you sure you want to delete this article?

More than 3 years have passed since last update.

Anacondaの設定やあれこれ

Last updated at Posted at 2020-12-27

はじめに

Windows10におけるAnacondaの導入と使用するコマンドについてまとめる

導入の流れ

  1. Anacondaのダウンロード
    サイトに移動して64-Bit Graphical Installer (457 MB)を選択
    2020-12-23-23-37-15.png

  2. インストール

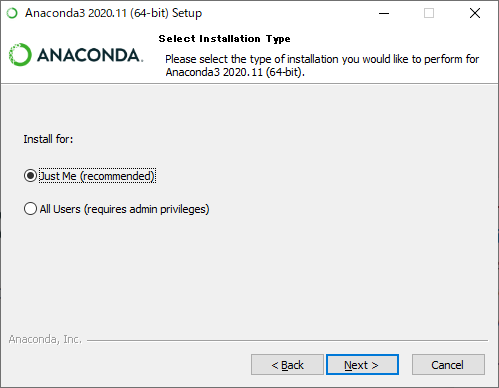
    1. インストール対象を選択
      推奨設定を選択
      2020-12-24-22-07-16.png

    2. インストール先の選択
      任意のパスを選択
      2020-12-24-22-12-55.png

    3. 高度な設定
      推奨設定を使用
      2020-12-24-22-15-20.png

  3. パスの設定

    1. Windowsキー + S環境変数を編集を入力
      2020-12-27-13-32-23.png

    2. ユーザー環境変数のPathを編集
      2020-12-27-13-37-58.png

    3. インストール先の環境についてPathを追加
       2020-12-27-13-47-22.png

仮想環境構築

  1. Anaconda Navigator (anaconda3)起動
    2020-12-27-00-10-58.png

  2. Environmentsタブを選択
    2020-12-27-00-46-40.png

  3. Createを選択
    2020-12-27-01-13-43.png

  4. 仮想環境名を入力する
    2020-12-27-01-14-11.png

Anaconda Navigatorによるライブラリの追加

Homeタブで仮想環境のライブラリを追加

anaconda_navi_home_install.gif

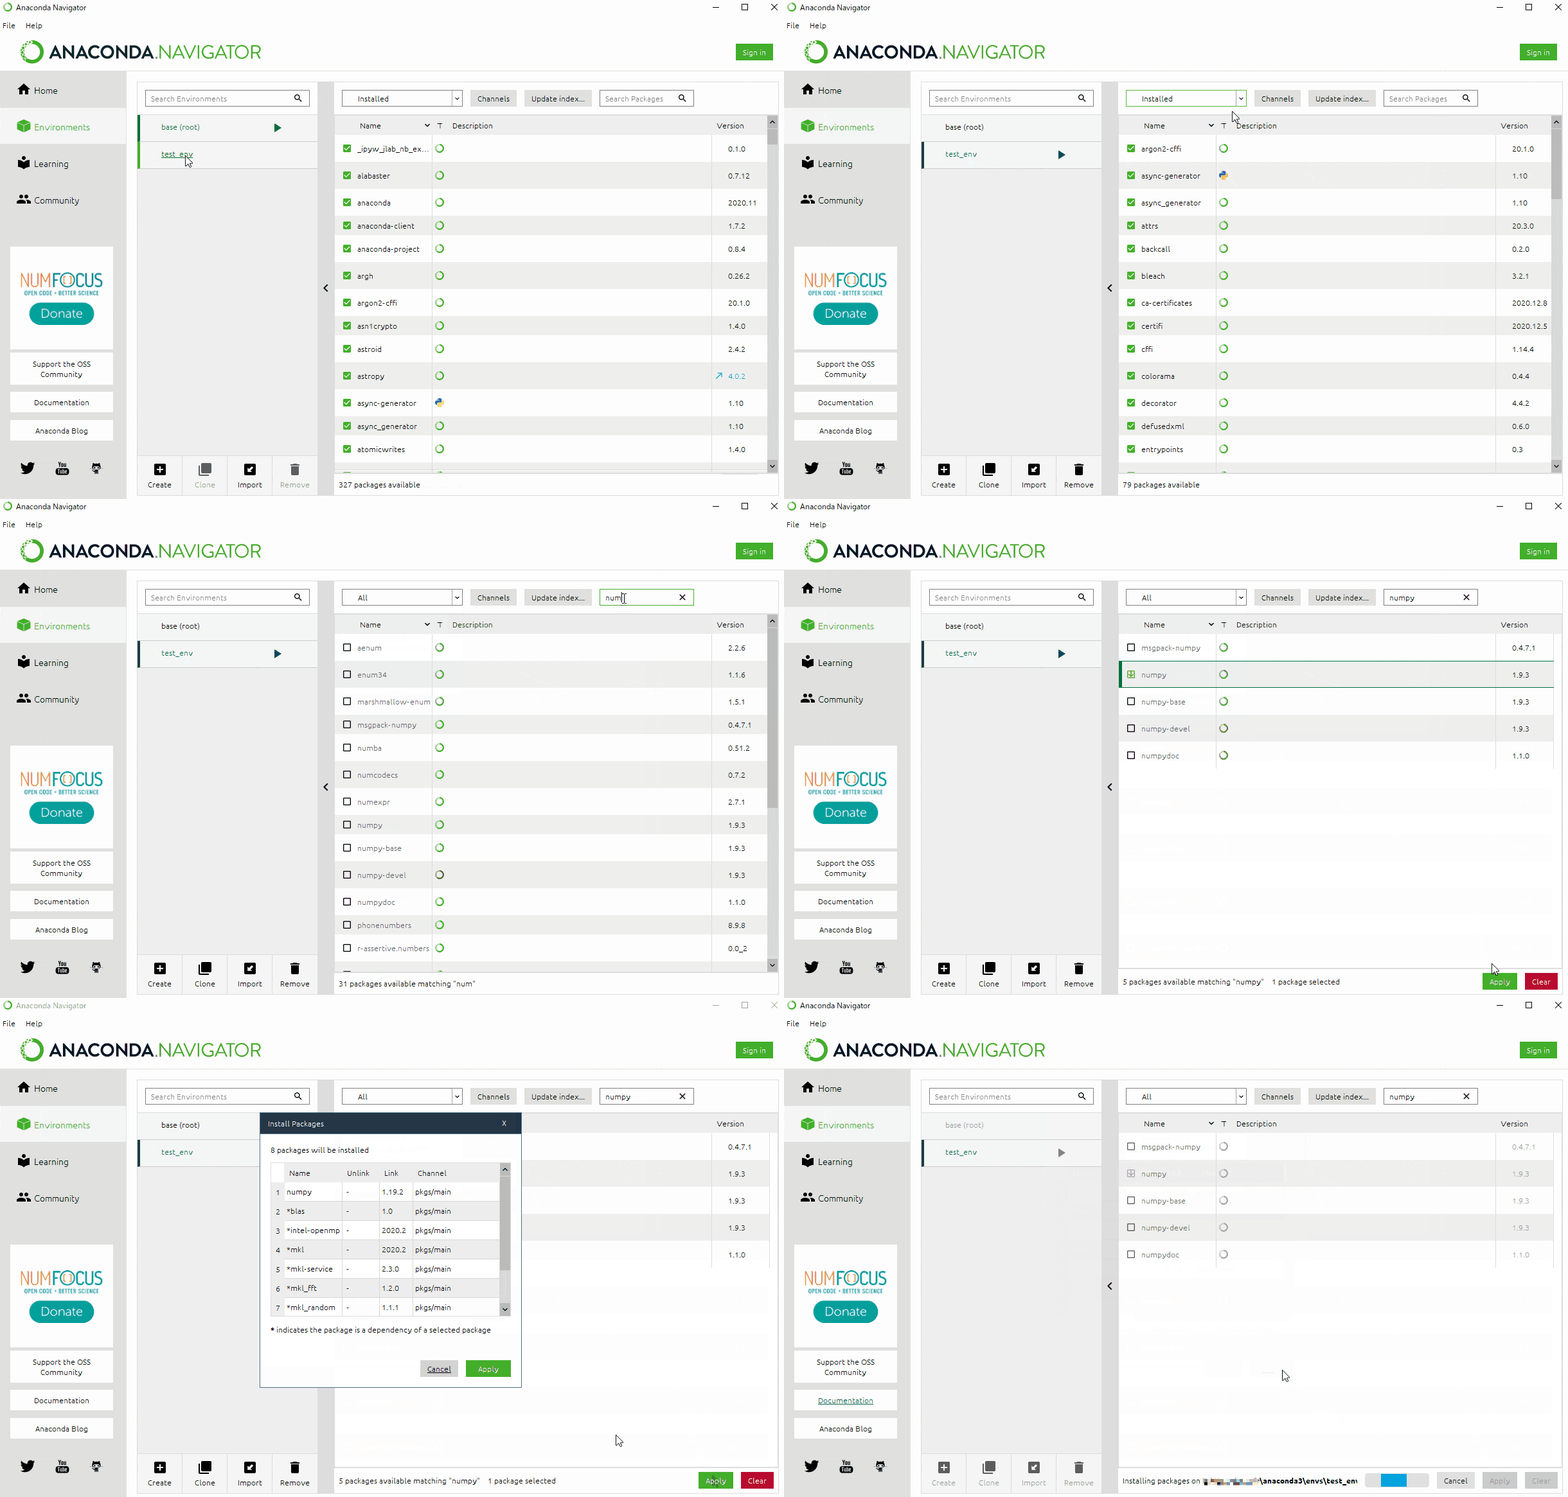
Environmentsタブで仮想環境のライブラリを追加

anaconda_navi_env_install.gif

ターミナルを用いて仮想環境のライブラリを追加

  1. Open Terminalを選択してターミナルを開く
    anaconda_navi_terminal01_install.gif

  2. condaコマンドを用いてライブラリを追加する
    anaconda_navi_terminal02_install.gif

コマンド

# 仮想環境のアクティベイト
activate [仮想環境名]
# 仮想環境リストの取得
conda info -e
# ライブラリの追加
conda install [ライブラリ名]
# 仮想環境のファイル出力
conda env export > tf230gpu.yml
# ファイルから仮想環境の構築
conda env create -f [ファイル名.yml]
0
0
0

Register as a new user and use Qiita more conveniently

  1. You get articles that match your needs
  2. You can efficiently read back useful information
  3. You can use dark theme
What you can do with signing up
0
0

Delete article

Deleted articles cannot be recovered.

Draft of this article would be also deleted.

Are you sure you want to delete this article?