個人開発するにしても、どんなサービス世にdeployするとしても、データベース設計と認証機能の実装は必須だよねってことで、今回はNext.jsを使ったログイン機能の実装をアウトプットしたいと思います。
今回のログイン機能を学習するにあたって、以下の動画が大変参考になりました。ありがとうございました。
実行環境
node: v18.20.5
npm: v10.8.2
next: 15.1.5
macbook proを利用した構築になります。
Next.jsをCreate
npx create-next-app@latest
npmではなくてnpxで実行してね。
プロジェクトの起動
npm run dev
でローカルホストを立ち上げます。
ポートはデフォルトだと3000になります。
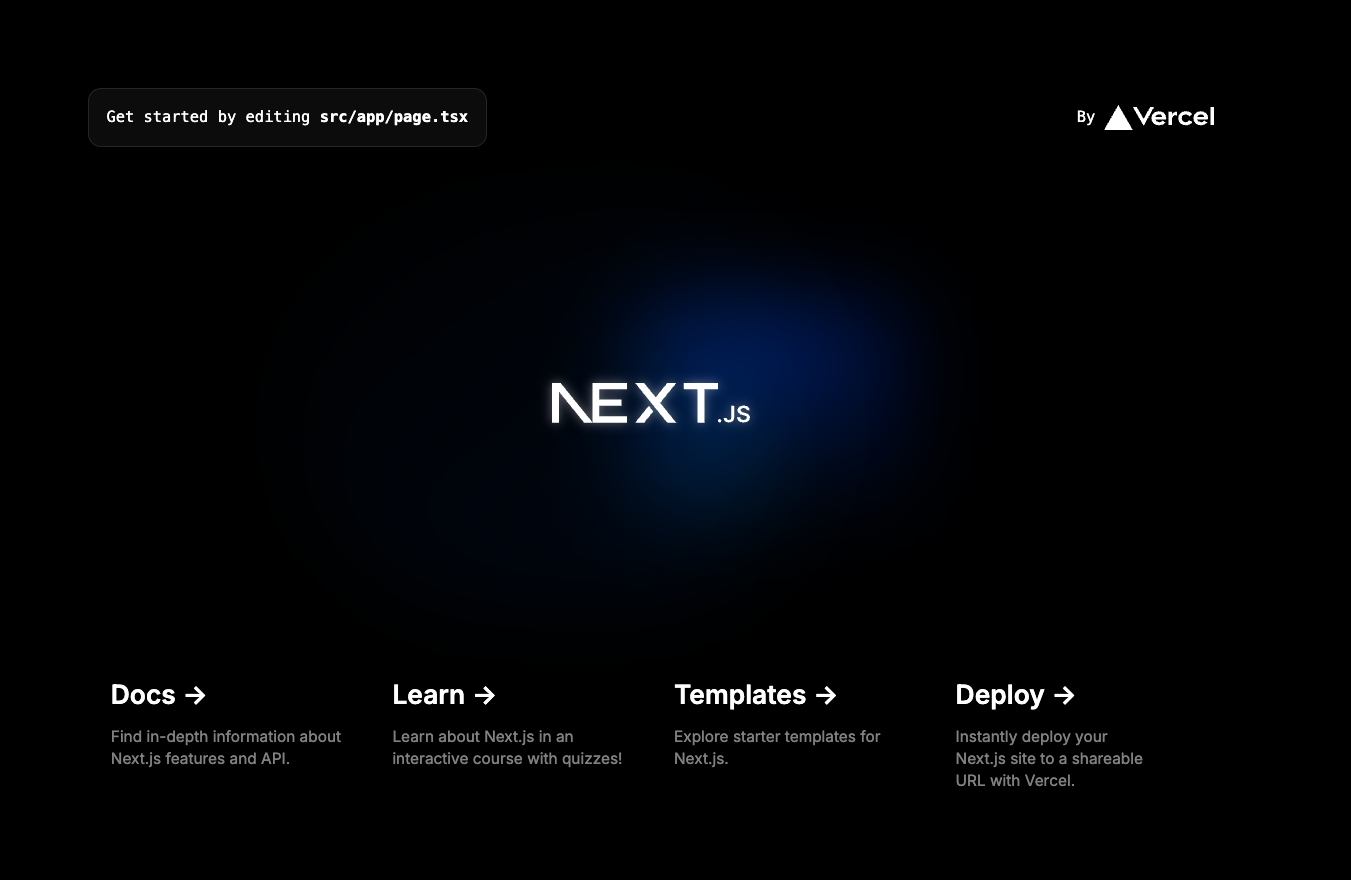
以下画面にアクセスできればOKです。

この状態でTailwindcssもRecommend通りやってれば入っているはずなので、そのまま進めていきます。
Package.json
"dependencies": {
    "@radix-ui/react-avatar": "^1.1.2",
    "@radix-ui/react-dropdown-menu": "^2.1.4",
    "@radix-ui/react-navigation-menu": "^1.2.3",
    "@radix-ui/react-slot": "^1.1.1",
    "@types/bcrypt": "^5.0.2",
    "bcrypt": "^5.1.1",
    "class-variance-authority": "^0.7.1",
    "clsx": "^2.1.1",
    "jsonwebtoken": "^9.0.2",
    "lucide-react": "^0.473.0",
    "next": "15.1.5",
    "next-auth": "^5.0.0-beta.25",
    "react": "^19.0.0",
    "react-dom": "^19.0.0",
    "tailwind-merge": "^2.6.0",
    "tailwindcss-animate": "^1.0.7",
    "zod": "^3.24.1"
  },
  "devDependencies": {
    "@eslint/eslintrc": "^3",
    "@types/jsonwebtoken": "^9.0.7",
    "@types/node": "^20",
    "@types/react": "^19",
    "@types/react-dom": "^19",
    "eslint": "^9",
    "eslint-config-next": "15.1.5",
    "postcss": "^8",
    "tailwindcss": "^3.4.1",
    "typescript": "^5"
  }
うまくいくまでにいろいろ試したので不要なものも結構入ってます(zodとか)
ページの作成
ページ構成は簡単にします。

サインインボタンを用意し、サインインすればサインアウトボタンが表示されるようになるというものです。
動画を参考に、セッションデータから情報を取得してくるのも画面では含めています。
ログイン認証についての考え方
基本はNext-authを使って認証周りを作っていくことにしました。個人開発、ということを念頭に置いていると規模感としては1万ユーザー集まるプロジェクト作れれば御の字だと自分の感覚では考えているので、その規模感で耐えられるようにと考えると、next-authがシンプルだし十分な機能かなと。
いろんなプロバイダーにも対応しているのでやりやすいですね。
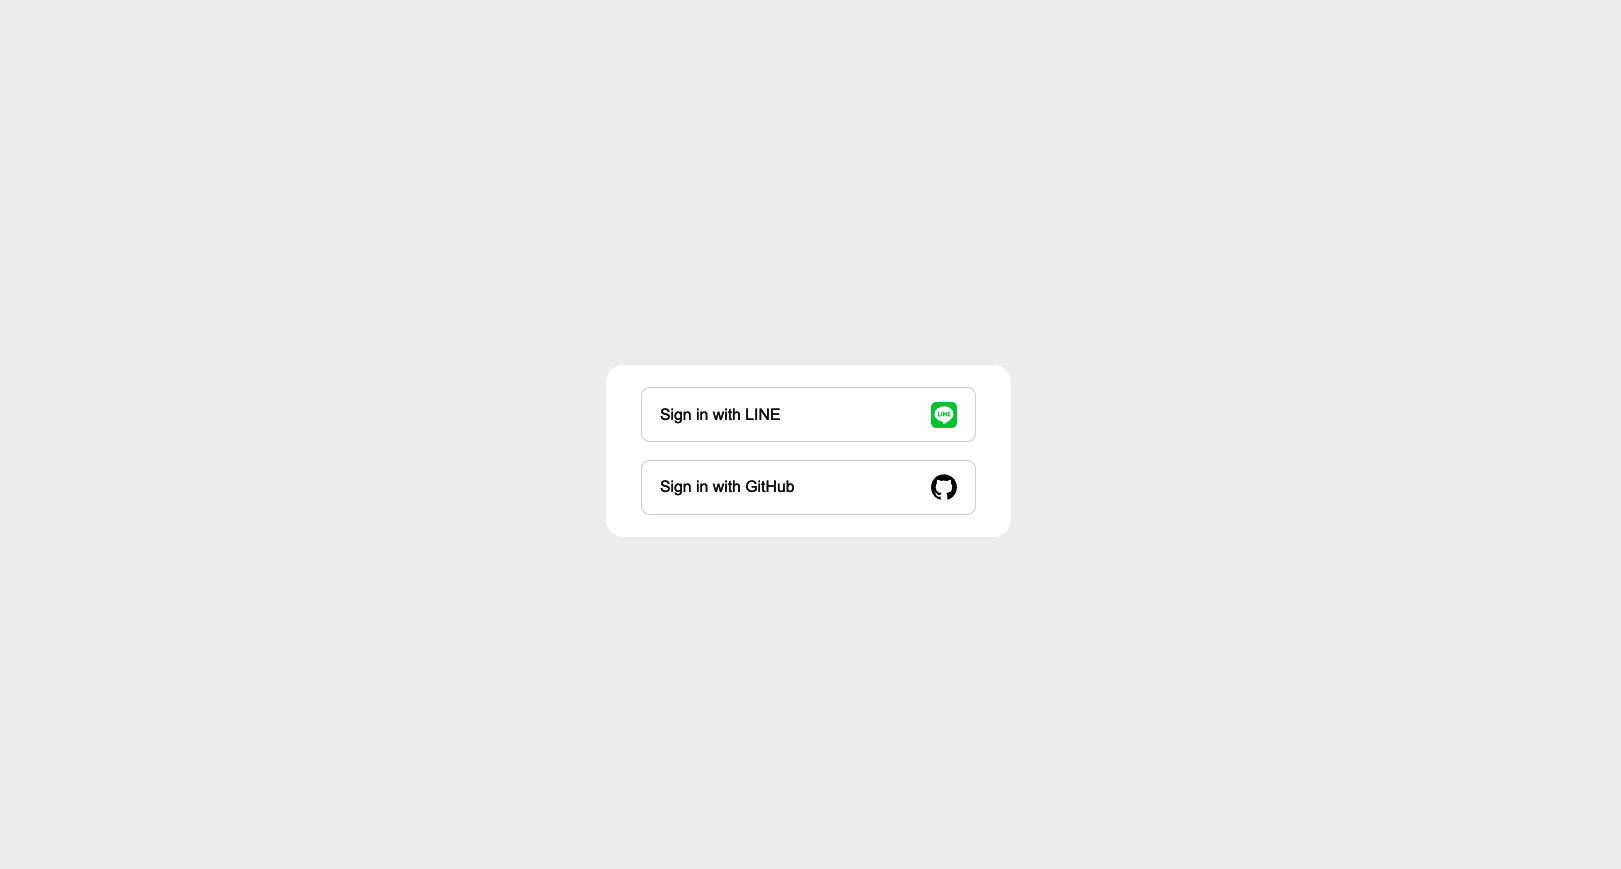
サインインをクリックすることで、定義したプロバイダーが別画面で表示されログインを試すことができます。
具体的にはNextAuth関数に含まれるsignIn関数についてConfig(引数)を渡して実行することで認証周りの挙動が実装されます。
フォームを作って、バリデーションして、登録されたデータがあればその情報を取得してログイン後のページを表示させるといったAPIの作成をしなくても実装できるのが拍子抜けというかすごく感動ものでした。
Next.jsのルートディレクトリにauth.tsファイルを作成し、そこでNextAuth関数に渡す引数の定義をしていきます。
import NextAuth, { NextAuthConfig } from "next-auth";
import Line from "next-auth/providers/line"
import github from "next-auth/providers/github";

export const config: NextAuthConfig = {
    theme: {
        colorScheme: "light"
    },
    providers: [
        Line({
            clientId: process.env.AUTH_LINE_ID as string,
            clientSecret: process.env.AUTH_LINE_SECRET,
            checks: ["state"]
        }),
        github({
            clientId: process.env.AUTH_GITHUB_ID,
            clientSecret: process.env.AUTH_GITHUB_SECRET,
            style: {
                text: "#24292f",
                bg: "#fff",
            }
        }),
    ],
    basePath: "/api/auth",
    callbacks: {
        authorized({request, auth}){
            try{
                const { pathname } = request.nextUrl;
                if(pathname === "/serverpage") return !!auth;
                return true
            } catch(err){
                console.log(err)
            }
        },
        jwt({token, trigger, session}) {
            if(trigger === "update") token.name  = session.user.name;
            return token;
        },
    }
}

export const {handlers, signIn, signOut, auth} = NextAuth(config)
そしてここでexportした関数たちをauth-componentsとして呼び出します。
import React from "react";
import { Button } from "./ui/button";
import { signIn, signOut } from "@/auth";

export function SignIn({
    // provider,
    ...props
    }: { provider?: string } & React.ComponentPropsWithRef<typeof Button>) {
    return (
        <form
        action={async () => {
            "use server";
            await signIn();
        }}
        >
        <Button {...props} className="bg-blue-400 hover:bg-white hover:text-blue-400">サインイン</Button>
        </form>
    );
}

export function SignOut({
  // provider,
  ...props
}: { provider?: string } & React.ComponentPropsWithRef<typeof Button>) {
  return (
    <form
      action={async () => {
        "use server";
        await signOut();
      }}
      className="w-full"
    >
      <Button variant="ghost" className="w-full p-0" {...props}>
        ログアウト
      </Button>
    </form>
  );
}
そしてこのコンポーネントをpage.tsxの中で呼び出せばOKです。
import { auth } from "@/auth";
import { SignIn, SignOut } from "../components/auth-components";
// import CustomLink from "@/components/custom-link";

export default async function Home(){
  const session = await auth();

  return (
    <div className="w-8/12 flex flex-col items-center justify-center p-4 mx-auto text-center bg-gray-300 rounded-lg min-h-60">
      {!session?.user ? (
        <SignIn className="w-full"/>
      ) : (
        <SignOut /> )}
    </div>
  )
}
でも画面で用意しているサーバー側からの見た目は、ログインしないと見られないようにしているわけですが、これはmiddlewareの機能として作成しています。
具体的には任意のパスにマッチするものをアクセスから除外するというような書き方になるわけですが、ルートディレクトリに直接middleware.tsを作成し以下のように記述しています。
export { auth as middleware } from "@/auth";

export const config = {
    matcher: ['/serverpage/:path*']
}
クライアント側からの見た目と書いたページはサーバーアクションを経由しないので、ログインしてもしなくても見られるのですが、ログインしていない状態でサーバー側からの見た目というページにアクセスすると以下のページにリダイレクトされます。
ということで実際に今回はLINEとGithubでプロバイダーを作成したわけですが、ログインが完了すると

この画面になります。
そしてサーバー側からの見た目ページにいくとセッションデータが取得できているのがわかるはずです。
