はじめに
AndroidのCustomViewに専用の属性を用意しonDrawの中で使うよという話。
サクッと実装したい内容だけどいっつも忘れてるところからスタートするので記事にしました。
あとkotlinで書いてる記事も少ないように感じたので、何か誰かの役に立てれば...
(JetpackCompose時代に今更感はある)
CustomViewクラスを作る
class SampleCustomView @JvmOverloads constructor(
    context: Context, attrs: AttributeSet? = null, defStyleAttr: Int = 0
) : View(context, attrs, defStyleAttr) {
    /* これから実装 */
}
これはテンプレなので特別書くことはありません。
attrs.xmlを作る
独自に作りたい属性を定義します。
とりあえずStringを2つ作ることにします。
<?xml version="1.0" encoding="utf-8"?>
<resources>
    <declare-styleable name="SampleCustomView">
        <attr name="sampleTextA" format="string" />
        <attr name="sampleTextB" format="string" />
    </declare-styleable>
</resources>
これでSampleCustomViewにsampleTextAとsampleTextBという属性が追加されました。
レイアウトファイルでCustomViewを配置する
<?xml version="1.0" encoding="utf-8"?>
<LinearLayout xmlns:android="http://schemas.android.com/apk/res/android"
    xmlns:app="http://schemas.android.com/apk/res-auto"
    xmlns:tools="http://schemas.android.com/tools"
    android:layout_width="match_parent"
    android:layout_height="match_parent"
    android:orientation="vertical"
    tools:context=".MainActivity">

    <com.example.hogehoge.SampleCustomView
        android:layout_width="match_parent"
        android:layout_height="200dp"
        android:layout_marginTop="200dp"
        android:background="@color/cardview_dark_background"
        app:sampleTextA="サンプルAだよ"
        app:sampleTextB="sampleB" />

</LinearLayout>
先ほどのsampleTextAとsampleTextBが使えるようになります。
※この時点ではまだ何も表示されません
わかりやすいようにbackgroundに色を当てています。
ではこのCustomViewに要素を描画していきます。
CustomViewで属性を取得する
// 最初に作成したクラスに追記していく
class SampleCustomView @JvmOverloads constructor(
    context: Context, attrs: AttributeSet? = null, defStyleAttr: Int = 0
) : View(context, attrs, defStyleAttr) {

    private val paint = Paint()
    private val sampleTextA: String
    private val sampleTextB: String

    init {
        context.theme.obtainStyledAttributes(
            attrs,
            R.styleable.SampleCustomView,
            0,
            0
        ).apply {
            try {
                sampleTextA = getString(R.styleable.SampleCustomView_sampleTextA).toString()
                sampleTextB = getString(R.styleable.SampleCustomView_sampleTextB).toString()
            } finally {
                recycle()
            }
        }
    }

    override fun onDraw(canvas: Canvas) {
        paint.color = Color.CYAN
        paint.textSize = 100F
        canvas.drawText(sampleTextA, 0F, 100F, paint)
        canvas.drawText(sampleTextB, 300F, 300F, paint)
    }
}
だいたい公式Developerサイトの通りではありますが...
申し訳程度にonDrawでCanvasに描画しています。
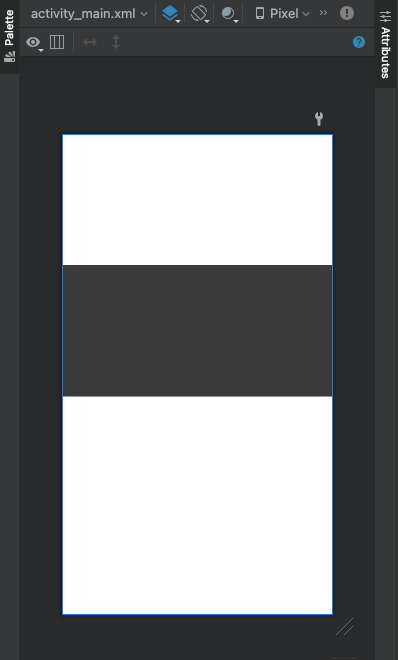
| エミュレータ | レイアウトファイル(デザイン) |
|---|---|
 |
 |
しっかりと取得した属性(String)を描画できていますね。
レイアウトファイルでもデザイン領域にちゃんと反映されます。
以上です。
参考
公式AndroidDeveloperサイト
・ビュークラスを作成する
書籍
・Androidを支える技術Ⅰ(1-4)