Intel Management Engine BIOS Extension を起動
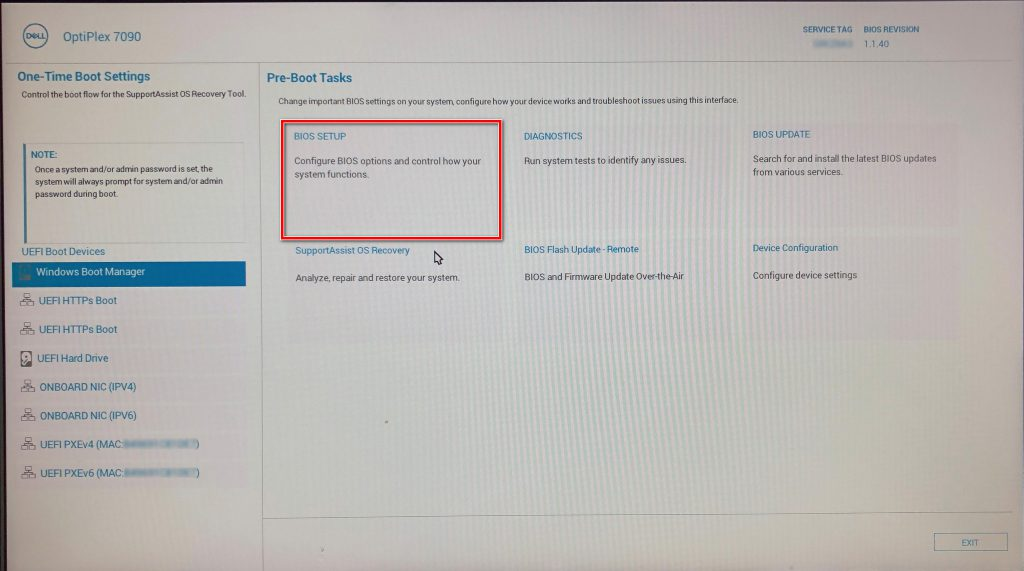
起動時の DELL ロゴ 表示前に F12 を押して メニューを表示させ BIOS の設定画面に遷移
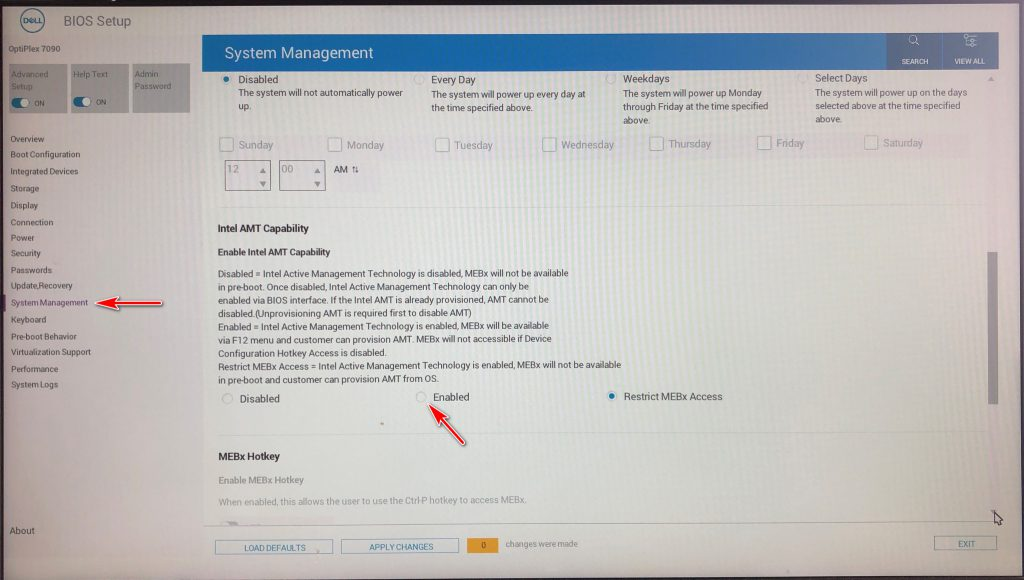
BIOS SETUP – System Management –
Intel AMT Capability を [Enabled] に変更
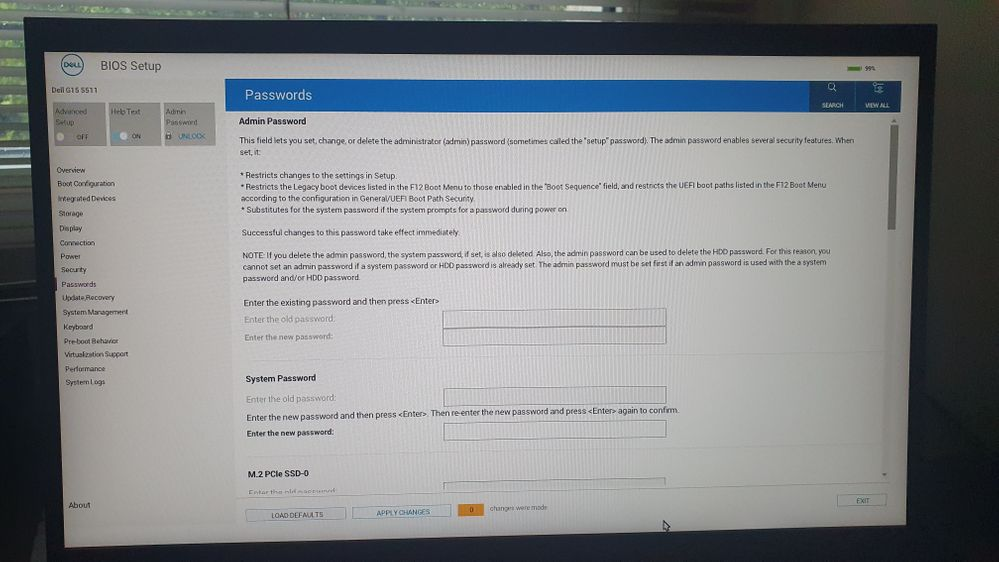
BIOS SETUP – Passwords –
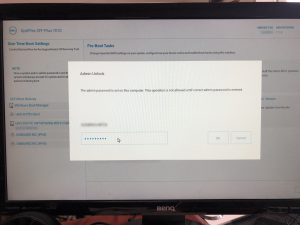
admin のパスワード入力後にエンターキーを押下
confirm 表示後に再度パスワード入力後にエンターキーを押下
[APPLY CHANGES] クリックして設定を反映する
[EXIT] クリックしてで再起動する
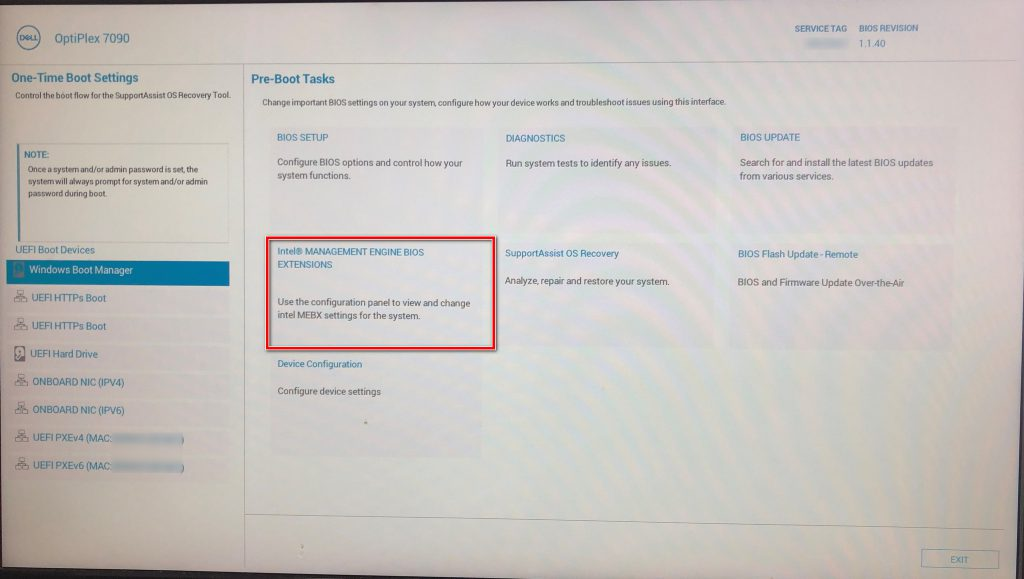
DELL ロゴ 表示前で F12 キー 押下で 起動メニュー表示
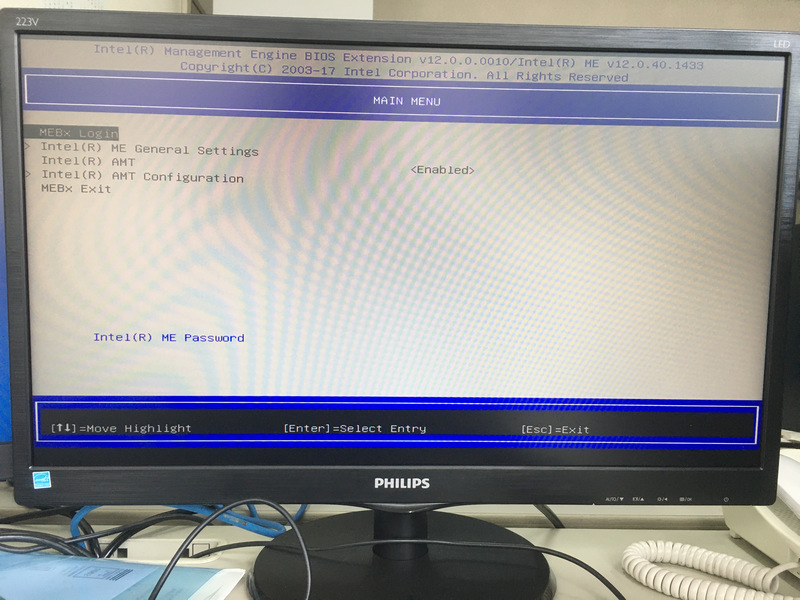
“Intel Management Engine BIOS Extension (MEBx) ”が表示される
前述で設定した admin のパスワード 入力後にエンターキーを押下
[MEBx Login] でエンターキーを押下
初期パスワード admin を入力 (前述で設定したパスワードではないので注意)
続けて、新しいパスワード(要確認を含む) 入力後にエンターキーを押下
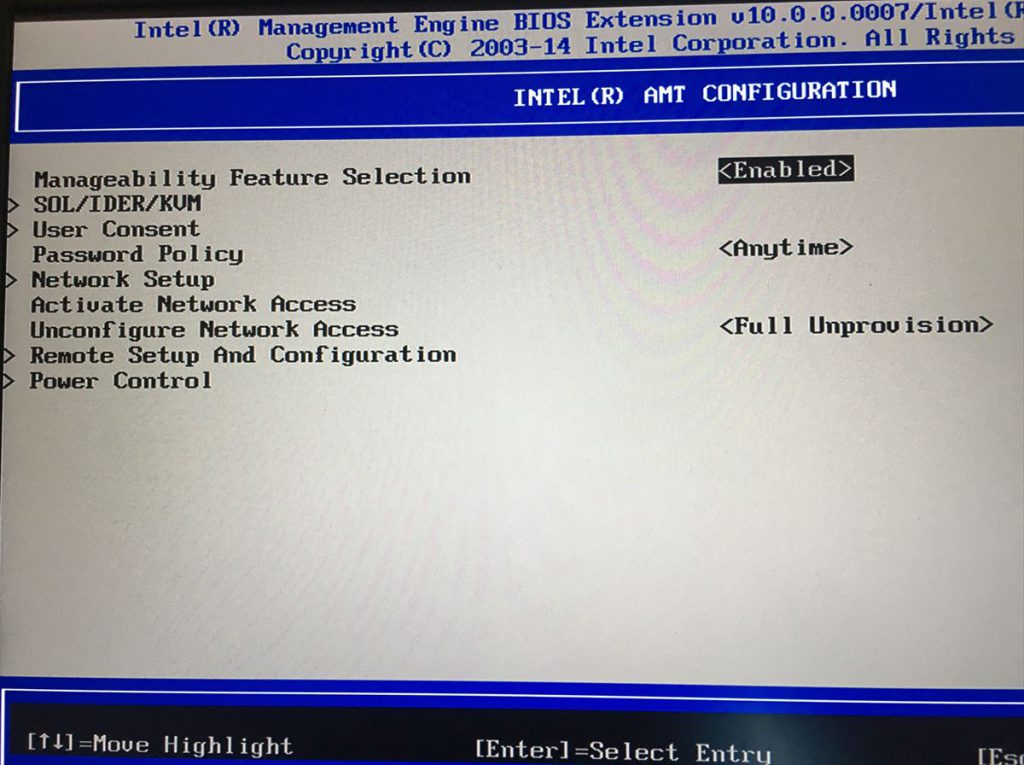
[Intel AMT Configuration] でエンターキーを押下
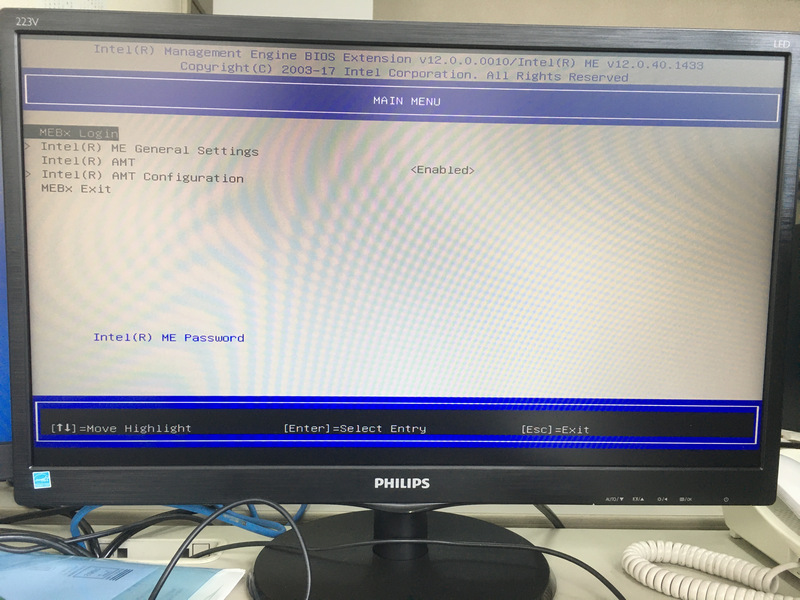
Intel AMT Configuration 画面
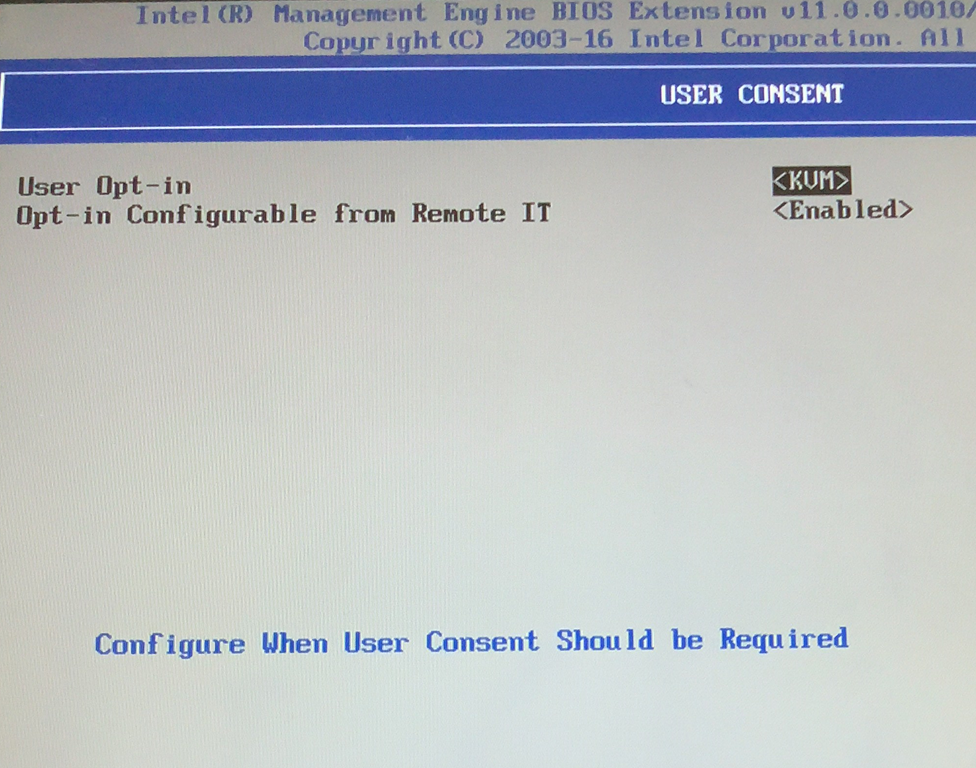
[User Consent] でエンターキーを押下
User Consent 画面
User Opt-in : [None] を選択
[ESC] でメニューに戻る
Intel AMT Configuration 画面
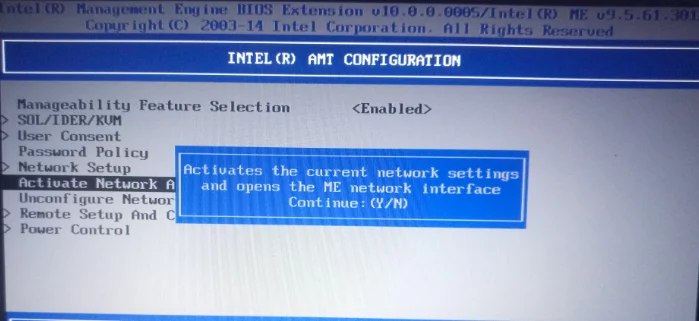
[Activate Network Access] でエンターキーを押下
“Activates the current network settings and opens the ME network interface Continue:(Y/N)”
:Yキーを入力
[ESC] でメニューに戻る
[MEBx Exit] を選択してトップメニューに戻る
[Exit] を選択して再起動する
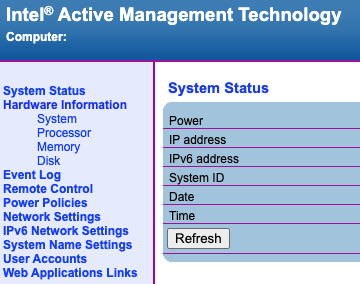
vPro設定端末(IPアドレス: 172.17.xx.xxx)へブラウザからアクセス ※[MEBx Login]パスワード
https://172.17.xx.xxx:16993/logon.htm

参考情報:
[DELL] Intel vPro, AMT, MEBx でリモート
「INTEL(R) AMT CONFIGURATION」メニュー