個人メモ
前提
- 新規で作る場合の手順
- 以下のイメージはVSCodeを使用
- Reactを使用(Reactでテンプレートからサンプルプログラムを作れる程度の環境構築済み)
- 開発環境でのテスト実行までを記載、実デプロイ等は含まれていません
手順
- 手順その1 プロジェクトの作成
コマンドラインにて下記を入力
> npx create-react-app [プロジェクト名] --template cra-template-pwa-typescript
TypeScriptでの記述を想定
- 手順その2 PWAの有効化
[プロジェクト名]/src/index.tsxを書き換え
index.tsx
import React from "react";
import ReactDOM from "react-dom/client";
import "./index.css";
import App from "./App";
import * as serviceWorkerRegistration from "./serviceWorkerRegistration";
import reportWebVitals from "./reportWebVitals";

const root = ReactDOM.createRoot(
  document.getElementById("root") as HTMLElement
);
root.render(
  <React.StrictMode>
    <App />
  </React.StrictMode>
);

// If you want your app to work offline and load faster, you can change
// unregister() to register() below. Note this comes with some pitfalls.
// Learn more about service workers: https://cra.link/PWA
- serviceWorkerRegistration.unregister();
+ serviceWorkerRegistration.register();

// If you want to start measuring performance in your app, pass a function
// to log results (for example: reportWebVitals(console.log))
// or send to an analytics endpoint. Learn more: https://bit.ly/CRA-vitals
reportWebVitals();
下記画像のようにアドレスバー右端のアイコンをクリックすると、
「アプリをインストールしますか?」のプロンプトが出ればOK(Chromeの場合)

- 手順その3 アプリの作りこみ
好きなようにアプリを作りこんでください。
以降は、テンプレートのまま進めた場合になります。
- 手順その4 インストールボタンの実装
[プロジェクト名]/src/installButton.tsxを新規追加する
installButton.tsx
import { useEffect, useState } from "react";

interface IBeforeInstallPromptEvent extends Event {
  readonly platforms: string[];
  readonly userChoice: Promise<{
    outcome: "accepted" | "dismissed";
    platform: string;
  }>;
  prompt(): Promise<void>;
}

export const PwaInstallButton = () => {
  const [prompt, setPrompt] = useState<IBeforeInstallPromptEvent | null>(null);
  const [installed, setInstalled] = useState<boolean>(false);

  useEffect(() => {
    const event = (e: IBeforeInstallPromptEvent) => {
      e.preventDefault();
      setPrompt(e);
    };

    window.addEventListener("beforeinstallprompt", event as any);

    return () => {
      window.removeEventListener("beforeinstallprompt", event as any);
    };
  }, []);

  useEffect(() => {
    const event = () => {
      setInstalled(true);
    };

    window.addEventListener("appinstalled", event as any);

    return () => {
      window.removeEventListener("appinstalled", event as any);
    };
  }, []);

  const handleClikcInstall = () => {
    if (prompt) return prompt.prompt();
    return Promise.reject(
      new Error(
        'Tried installing before browser sent "beforeinstallprompt" event'
      )
    );
  };

  return (
    <button disabled={!prompt} onClick={handleClikcInstall}>
      {installed ? "Install済みです" : "Installする"}
    </button>
  );
};
実際にはbutton部分をMaterial-UIの部品で置き換えて使用する
画面に上記ボタンを追加する(今回は画面上部)
[プロジェクト名]/src/App.tsx
App.tsx
import React from "react";
import logo from "./logo.svg";
import "./App.css";
+import { PwaInstallButton } from "./installButton";

function App() {
  return (
    <div className="App">
      <header className="App-header">
+        <PwaInstallButton />
        <img src={logo} className="App-logo" alt="logo" />
        <p>
          Edit <code>src/App.tsx</code> and save to reload.
        </p>
        <a
          className="App-link"
          href="https://reactjs.org"
          target="_blank"
          rel="noopener noreferrer"
        >
          Learn React
        </a>
      </header>
    </div>
  );
}

export default App;
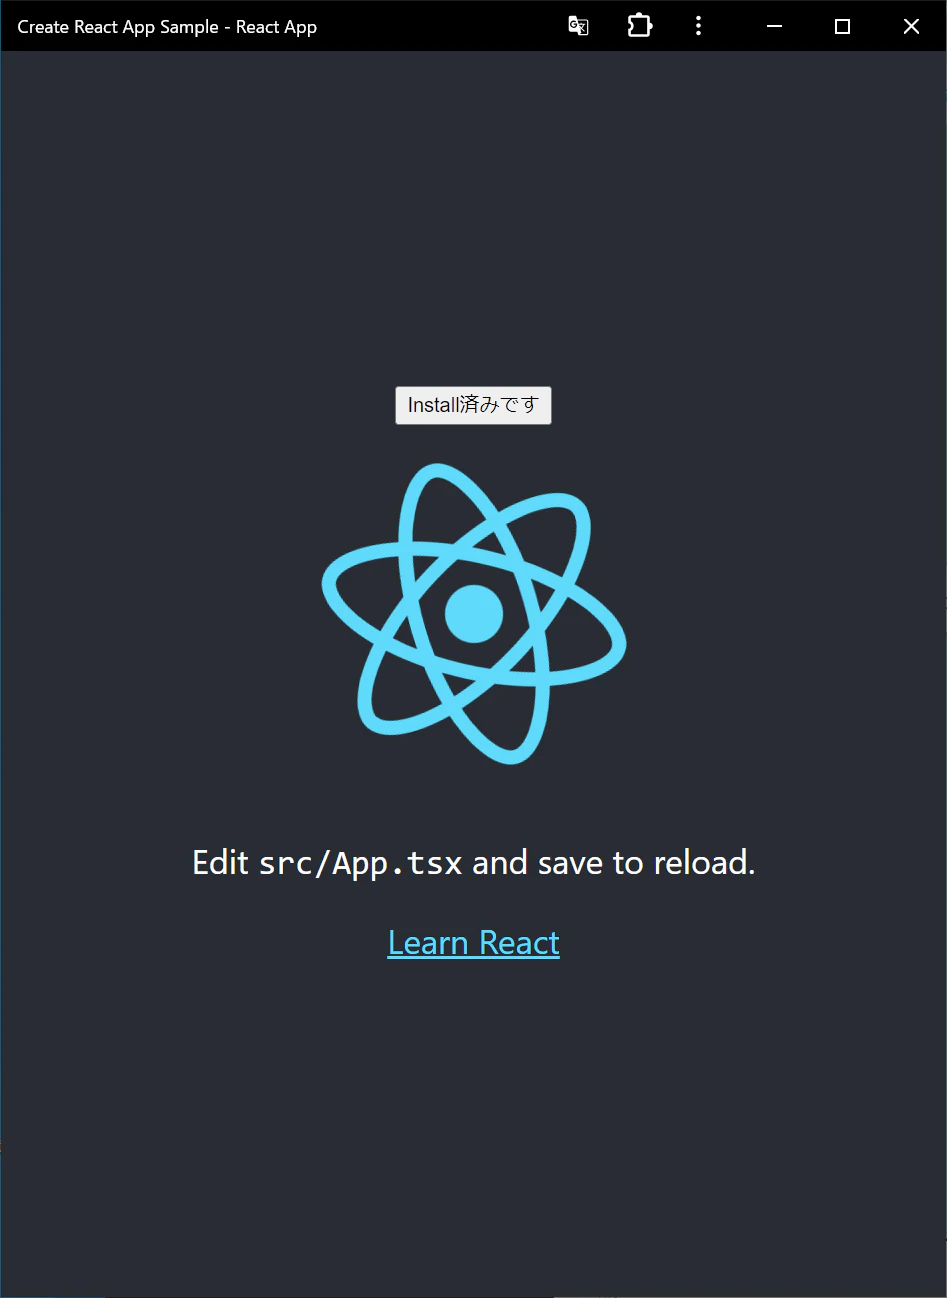
下記画像のように「Installする」ボタンが表示され、
クリックすると「アプリをインストールしますか?」プロンプトが表示されればOK

「インストールする」をクリックすると画面がアプリ化され
ボタンは「Install済みです」となる
アンインストールは、「︙」をクリックし、
「Create React App Sample」をアンインストール...をクリックすればOK

「Chrome(http://localhost:3000)からもデータを削除する」に
チェックを入れること(じゃないとショートカットだけが削除される)
