個人メモ
まとめ
下記APIを投げれば更新される
PUT
https://api.cloudflare.com/client/v4/zones/{zone_id}/dns_records/{dns_record_id}

HEADER
  Content-Type: application/json
  X-Auth-Email: {XAuthEmail}
  X-Auth:Key: {XAuthKey}

BODY
  {
      content:{content}
      name:{name}
      proxied:{proxied}
      type:{type}
      comment:{comment}
      tags:{tags}
      ttl:{ttl}
  }
手順
APIトークンの発行
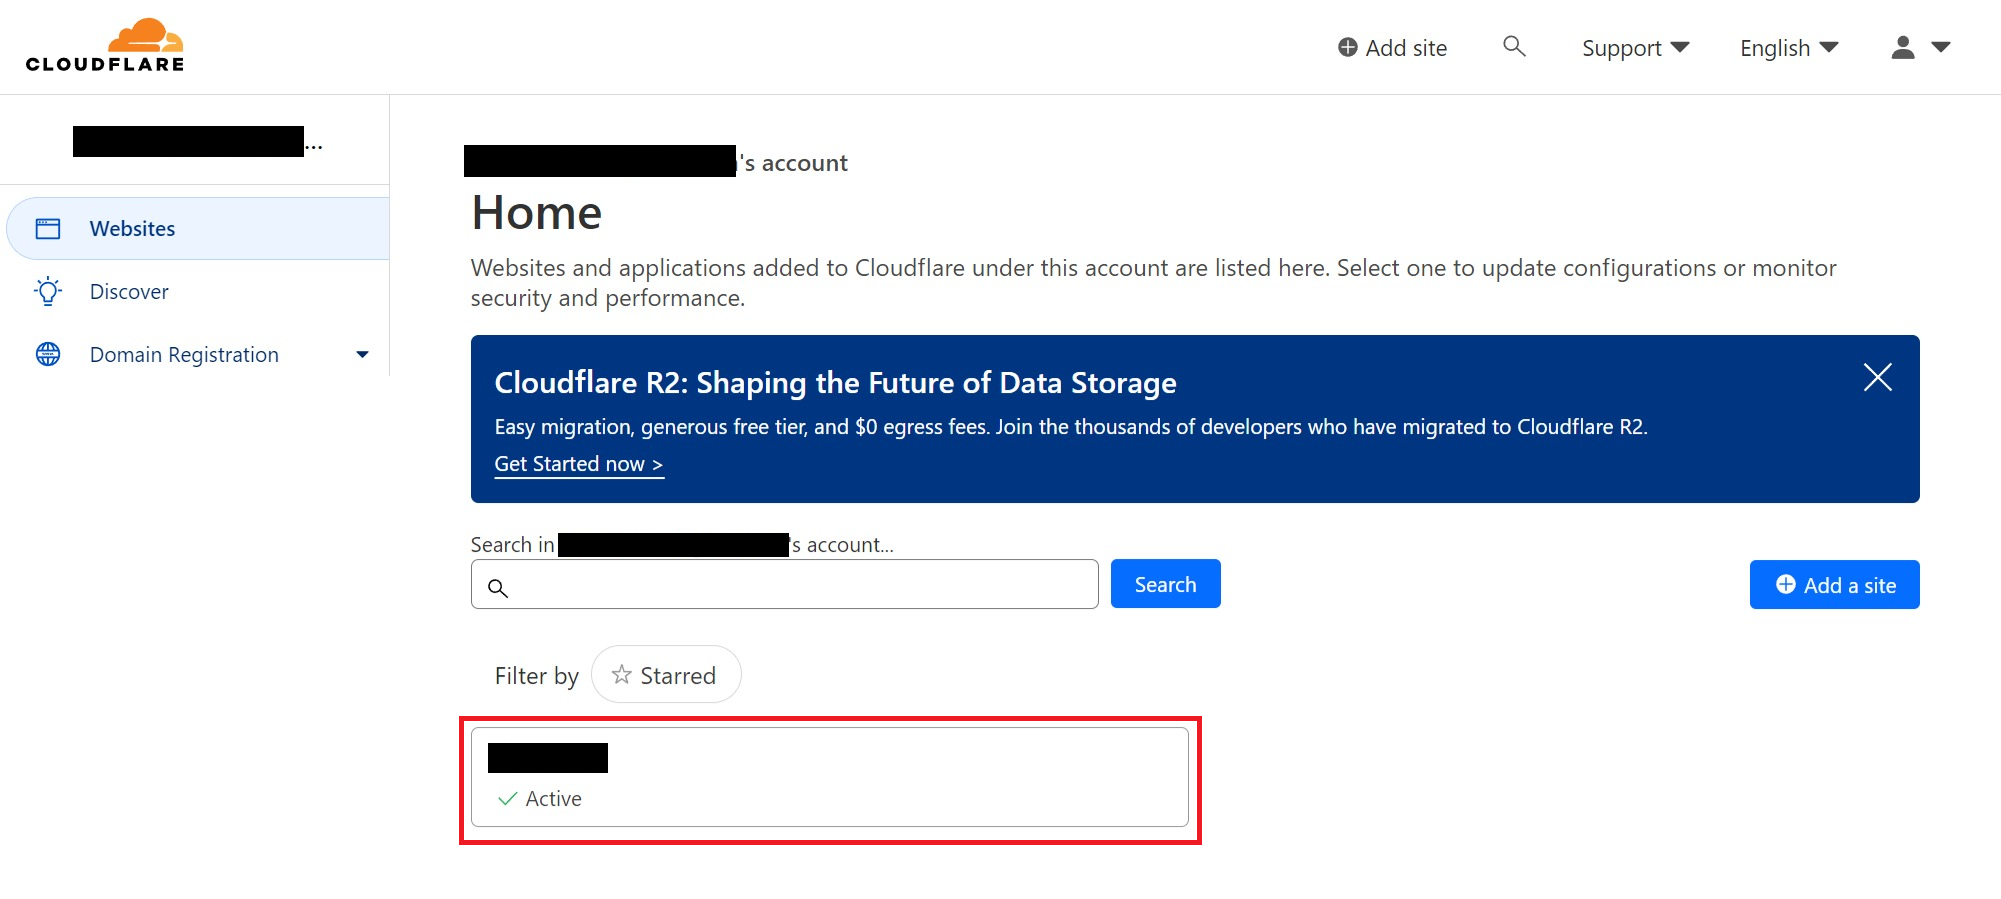
ログイン~ドメイン画面の表示まで
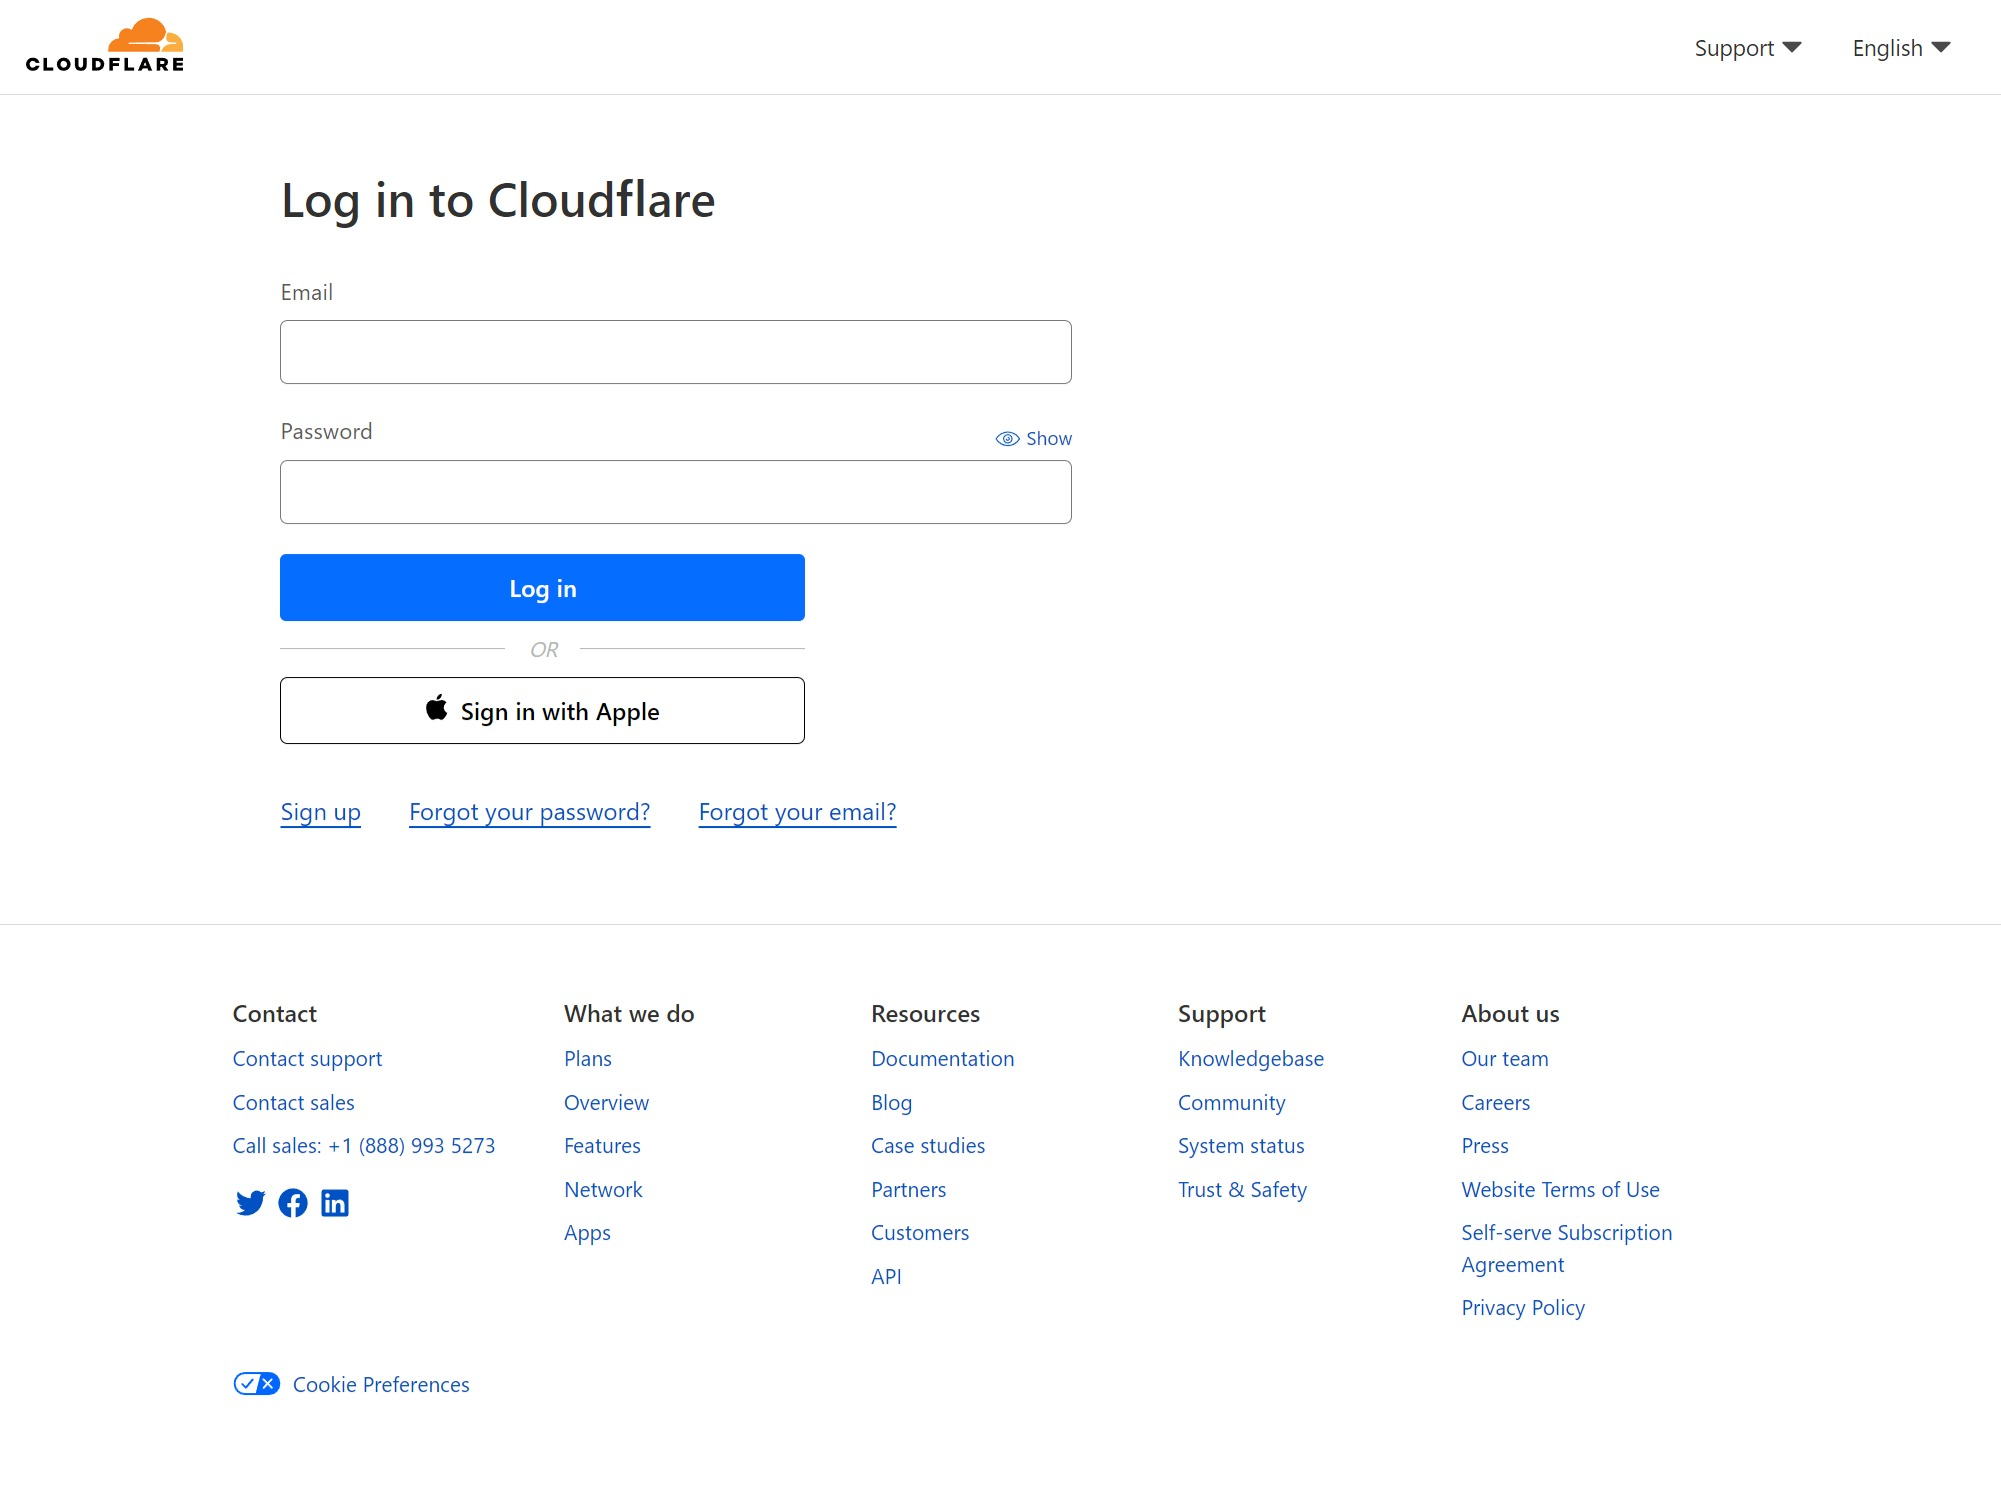
下記にアクセスしてログイン
https://dash.cloudflare.com/login
Global APIキー/APIトークンの取得
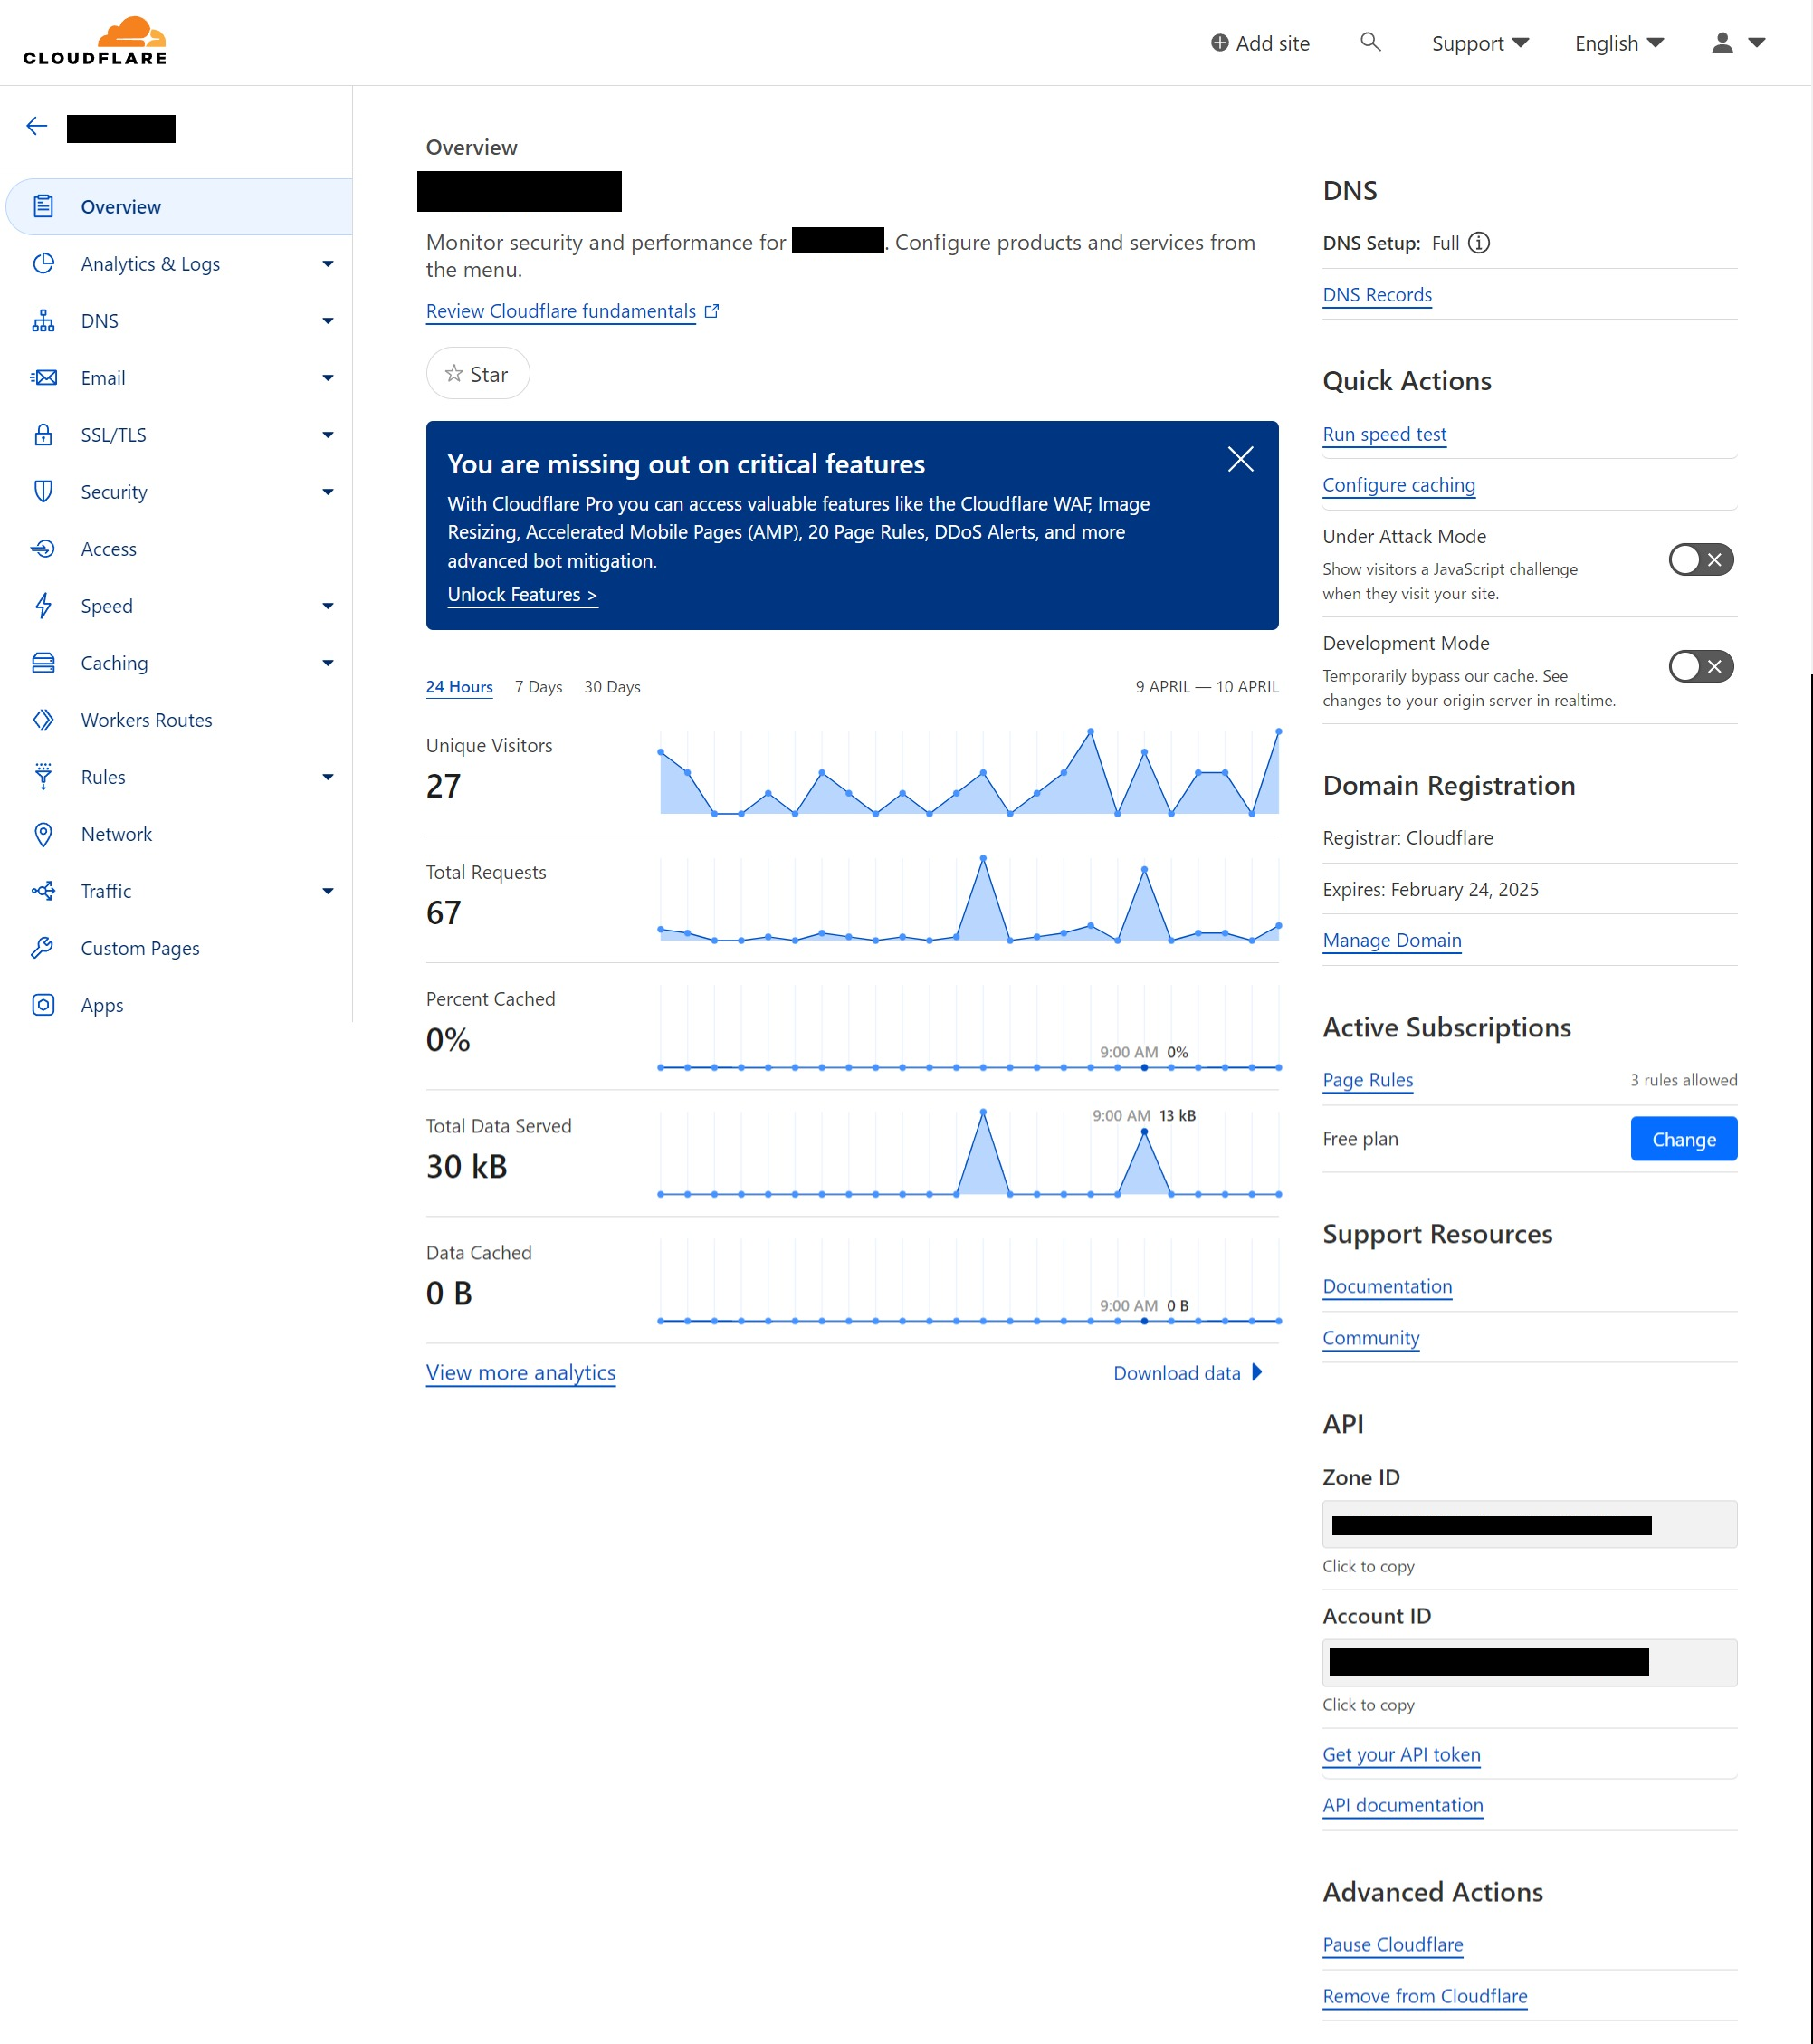
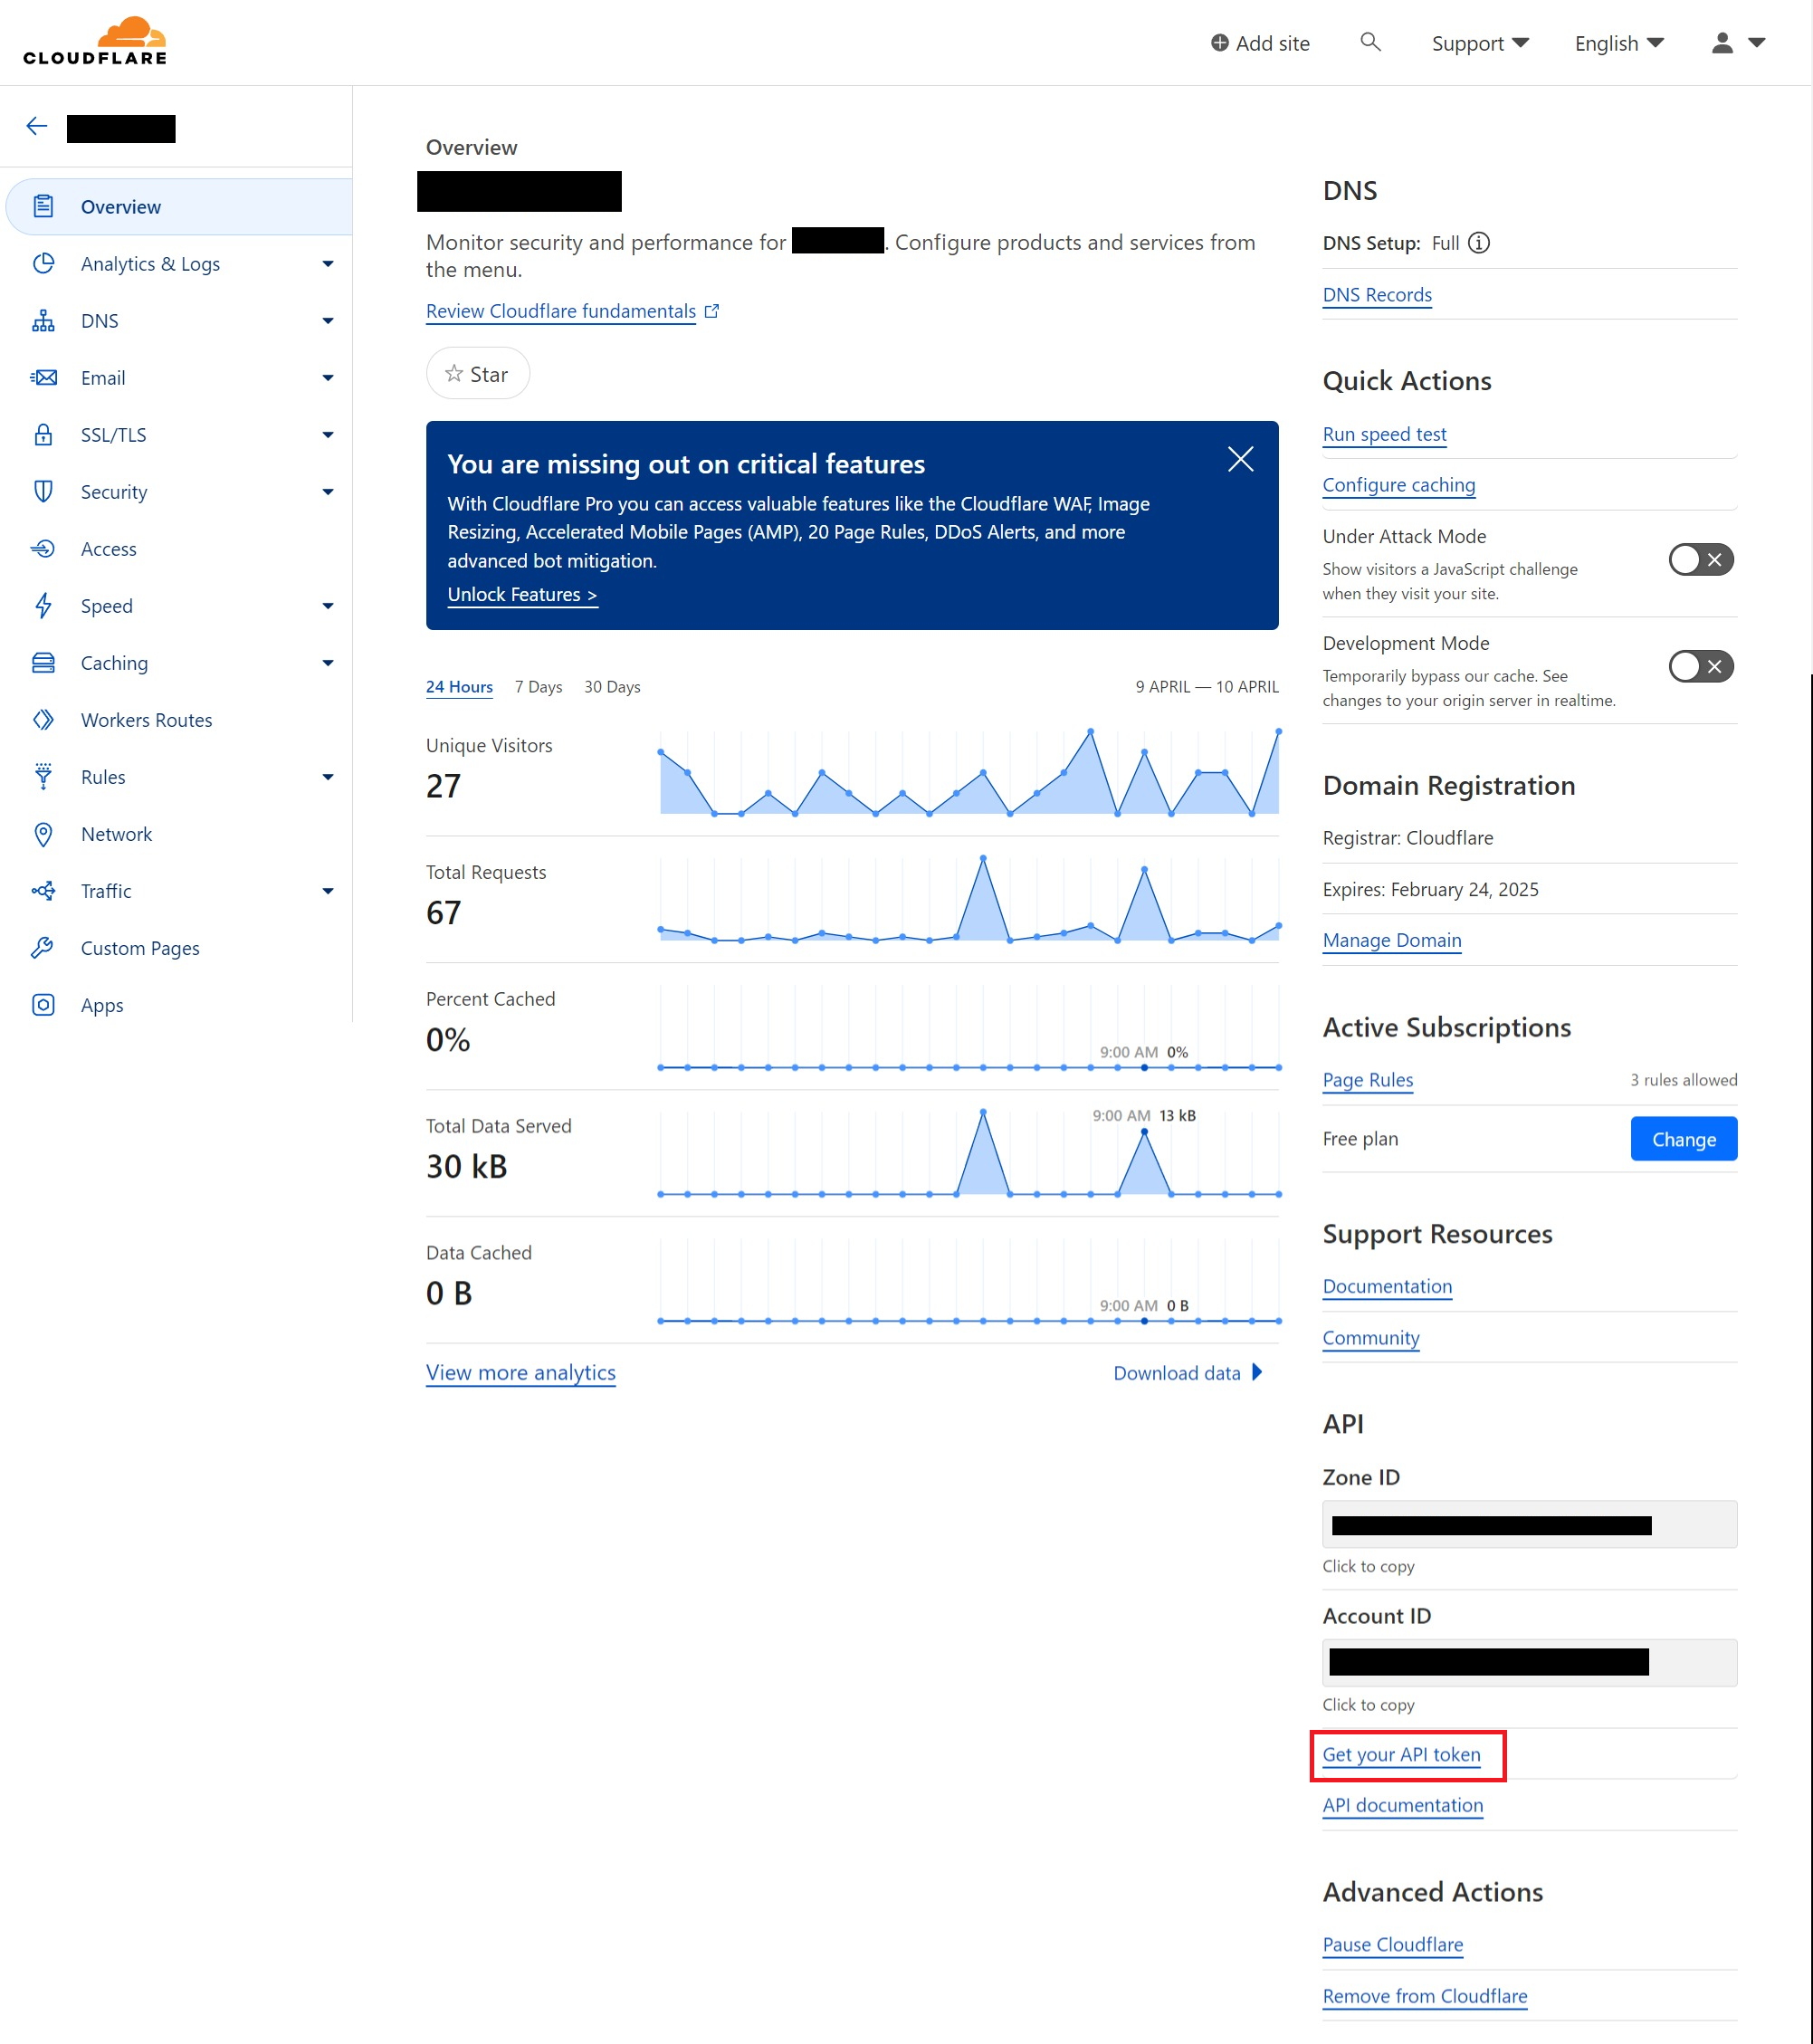
ドメインの画面で、「Get your API token」をクリックする(2つめの赤枠部分)
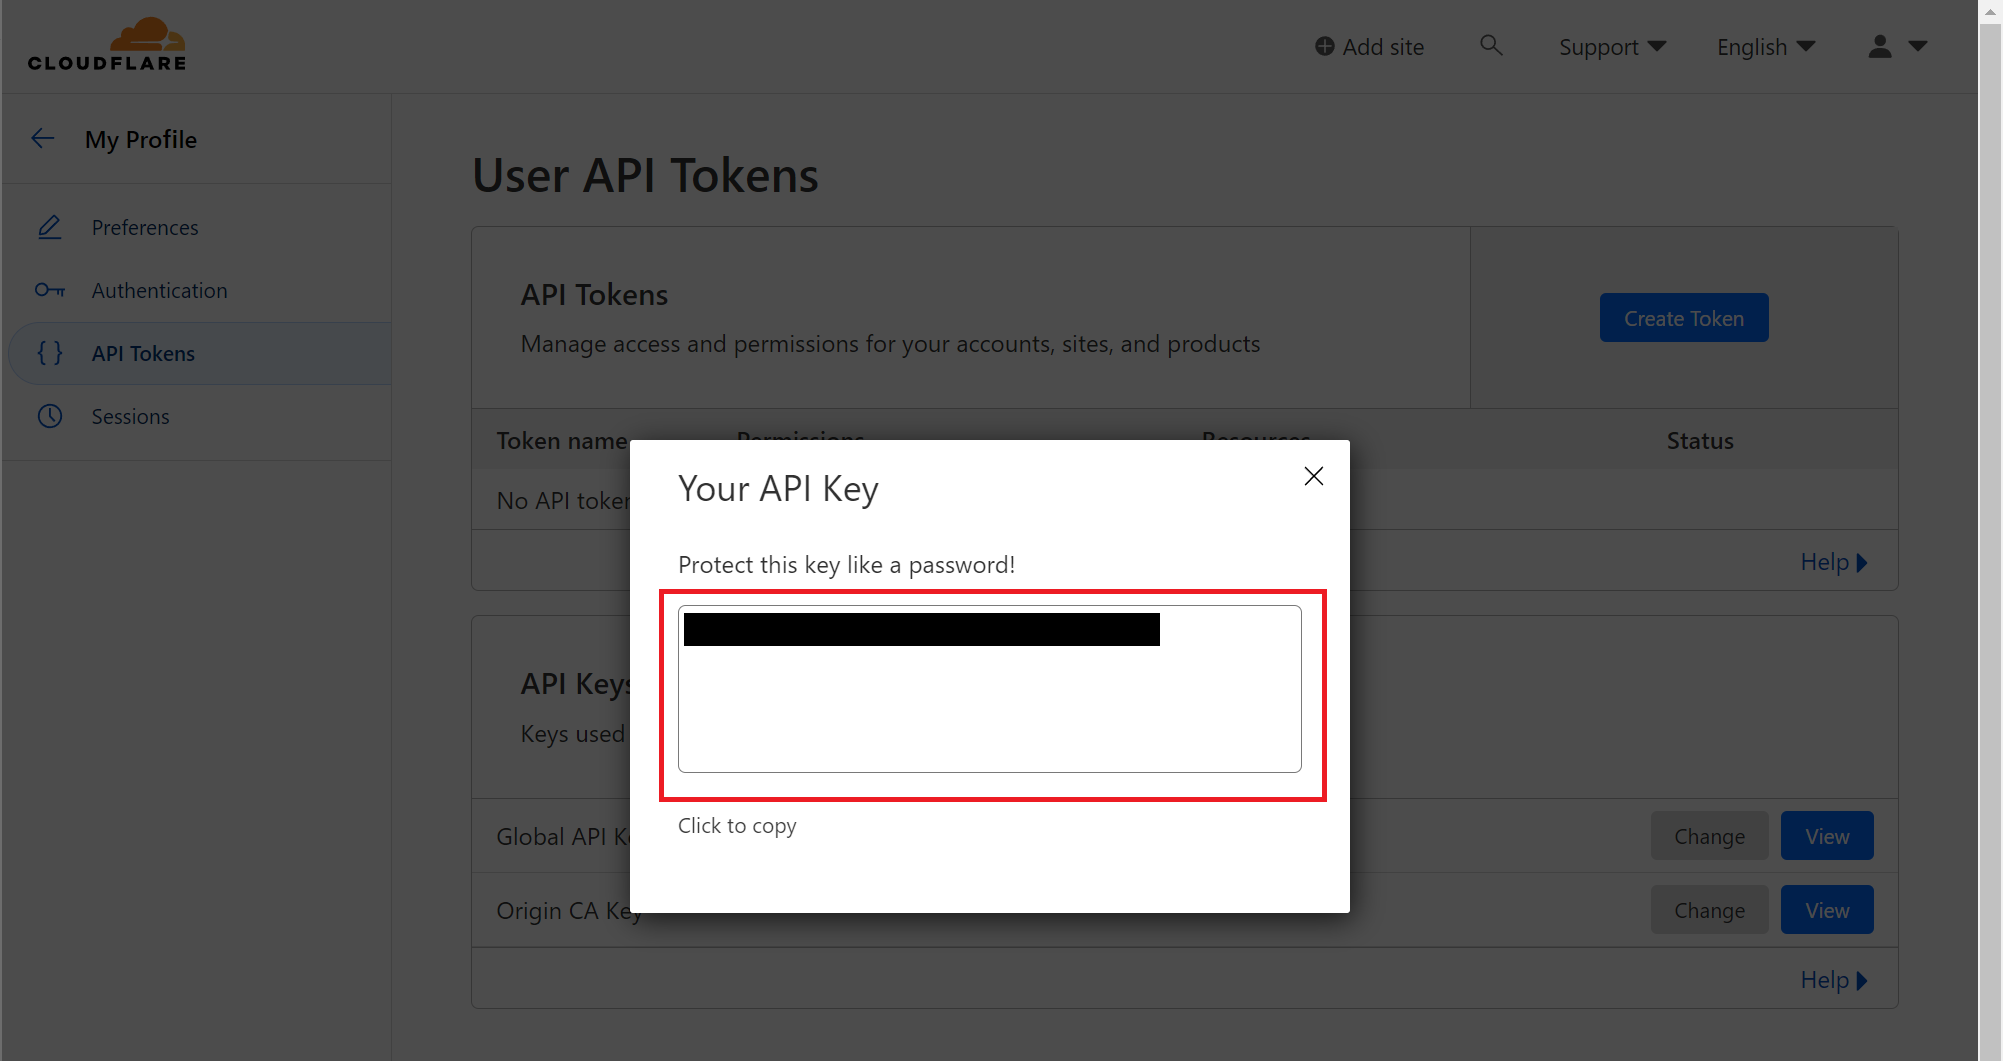
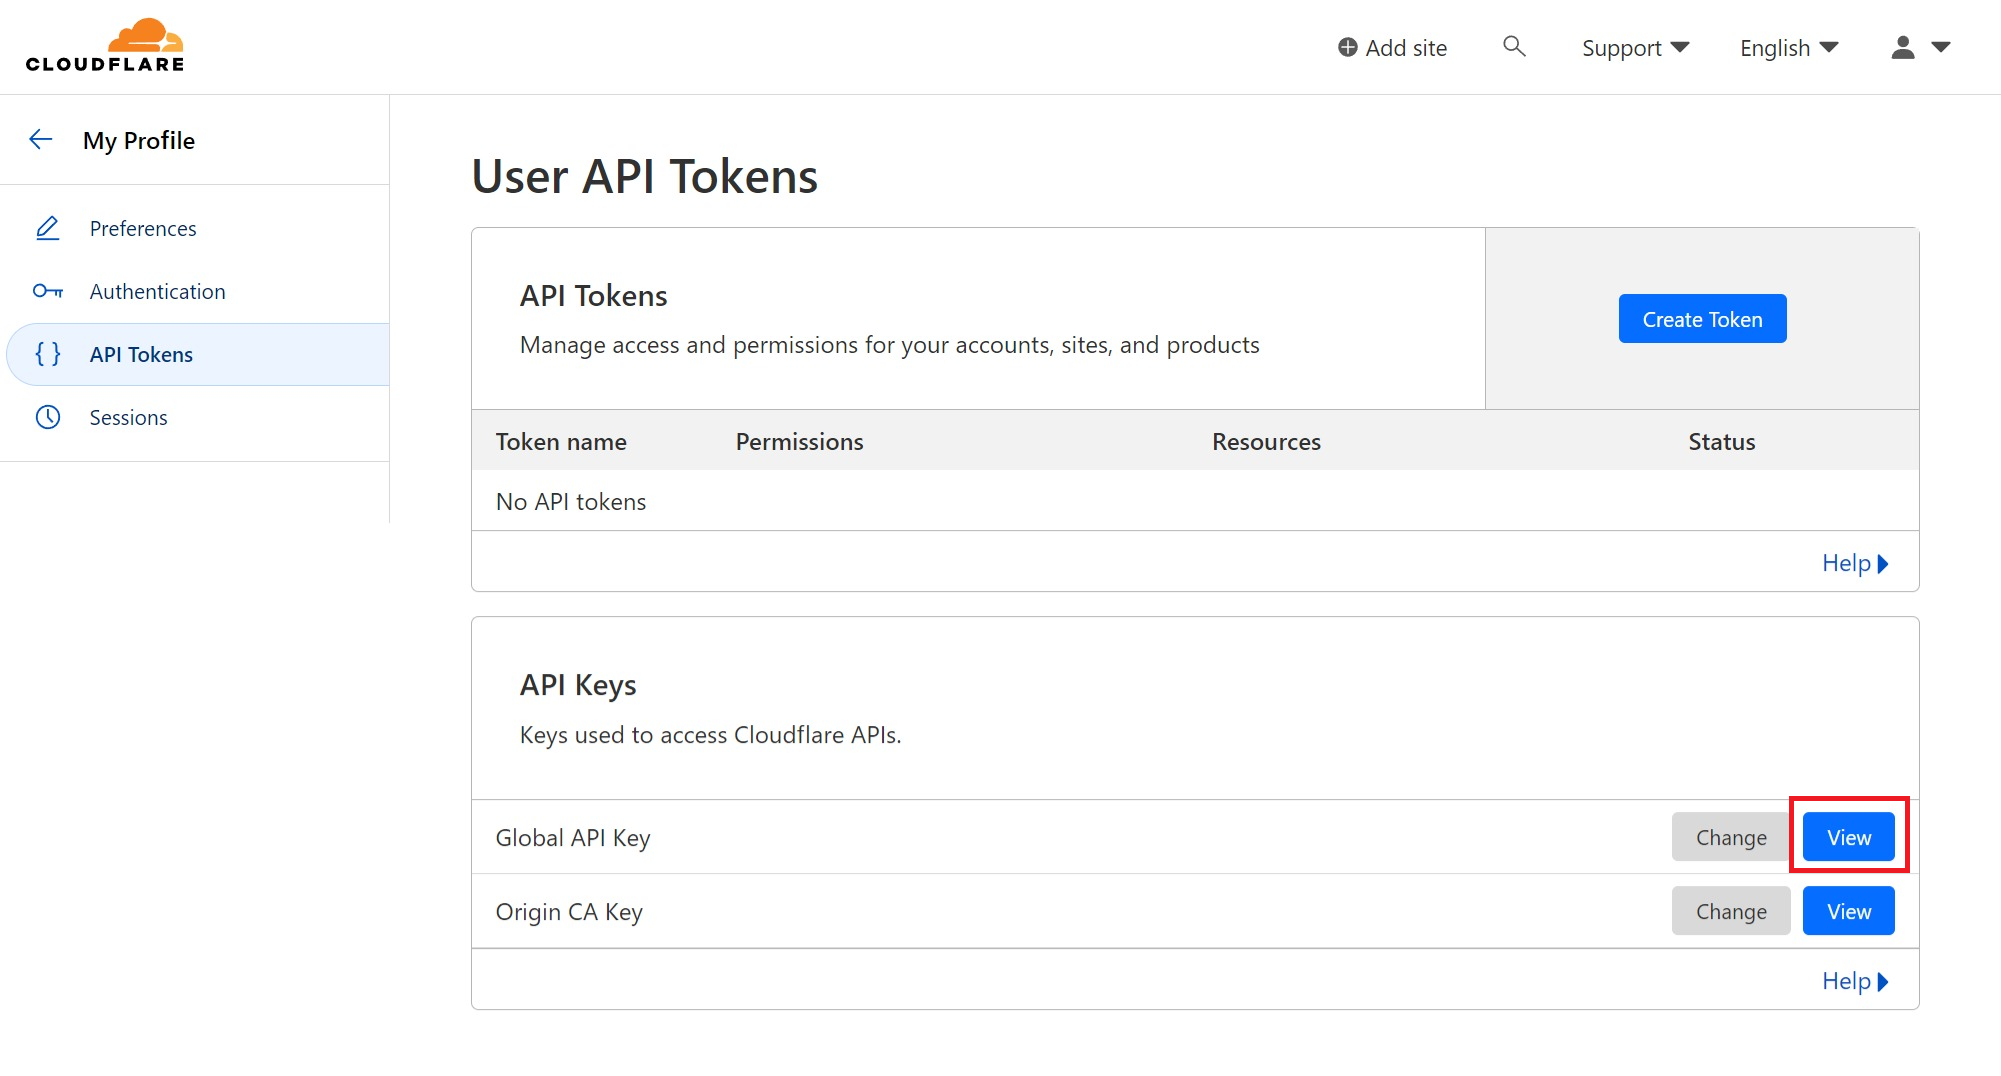
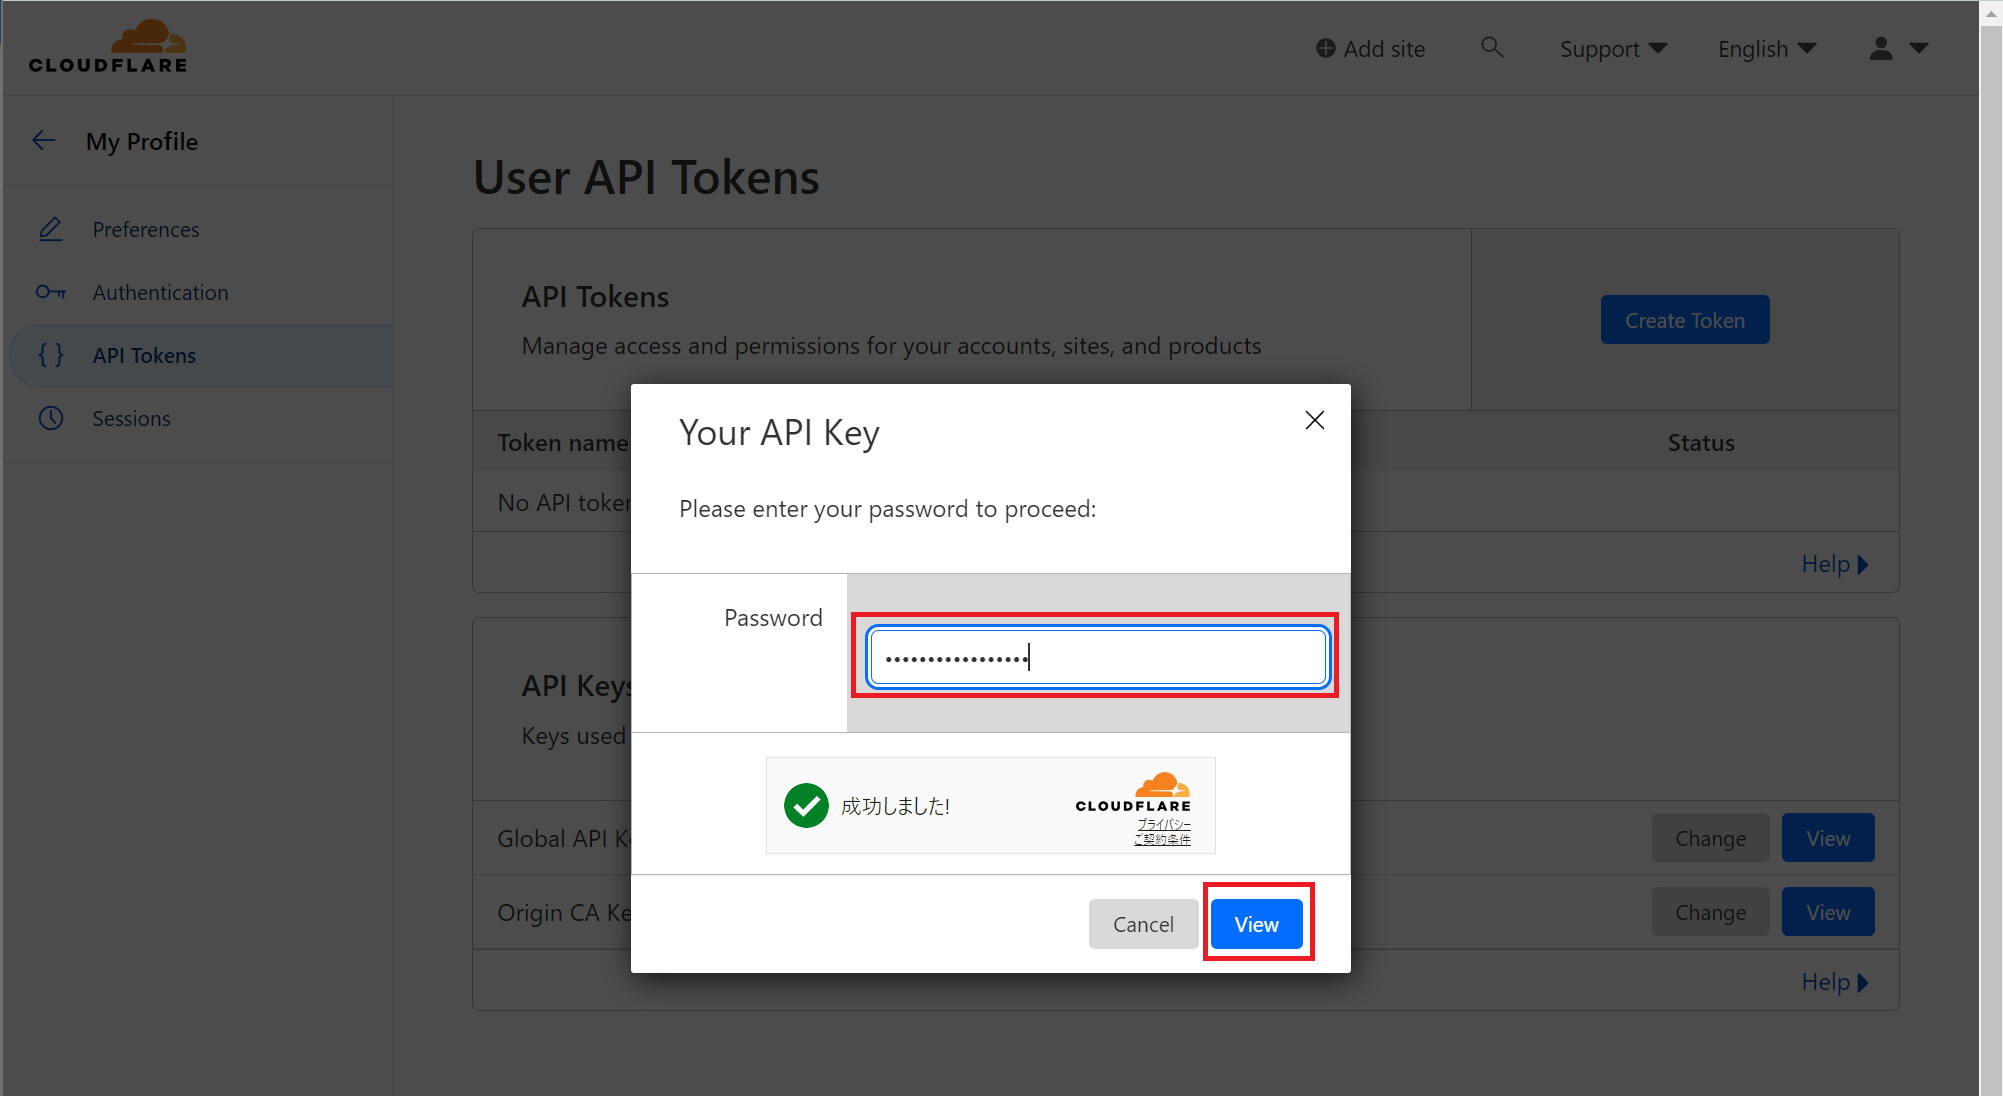
下記画面で、API KeysのGlobal API Keyにて「View」をクリックする
パスワード入力を求められるので、パスワードを入力し「View」をクリックする
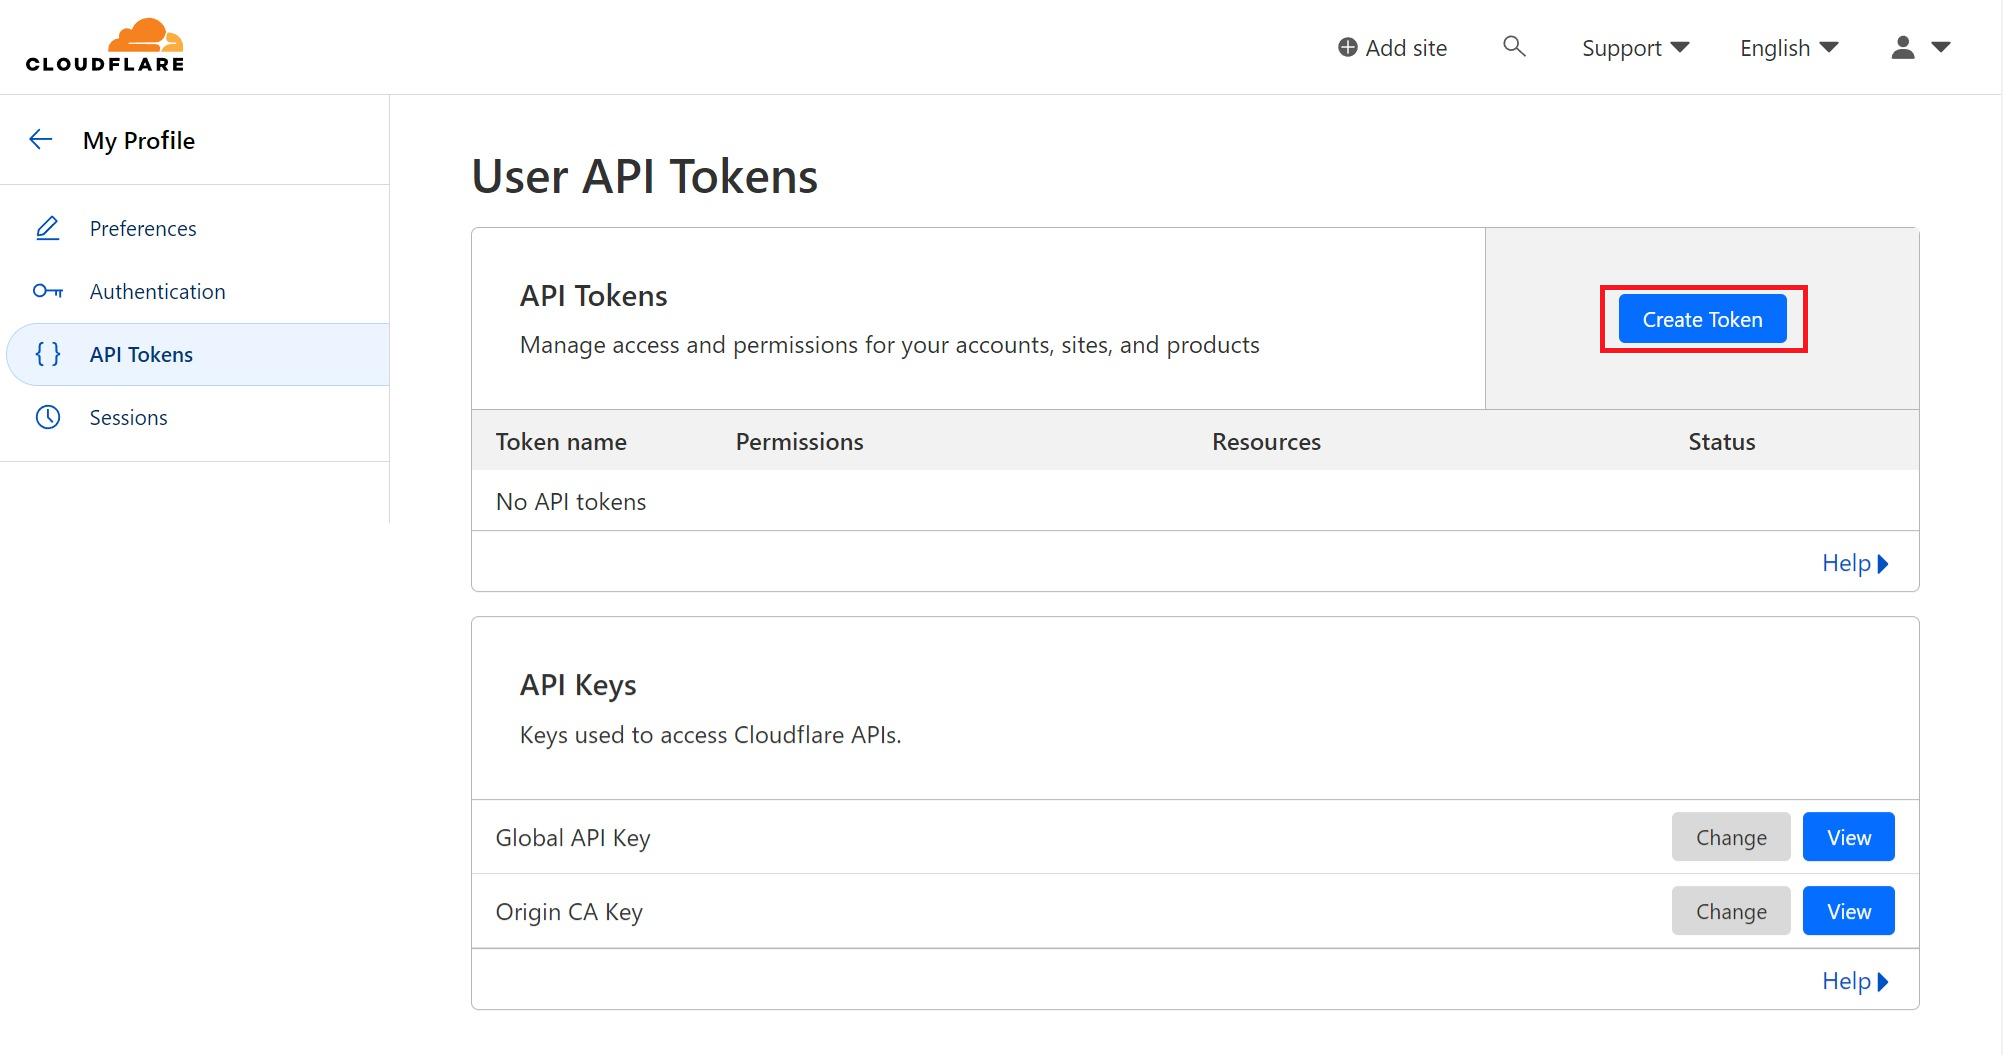
元の画面に戻るので、今度は「Create Token」をクリックする
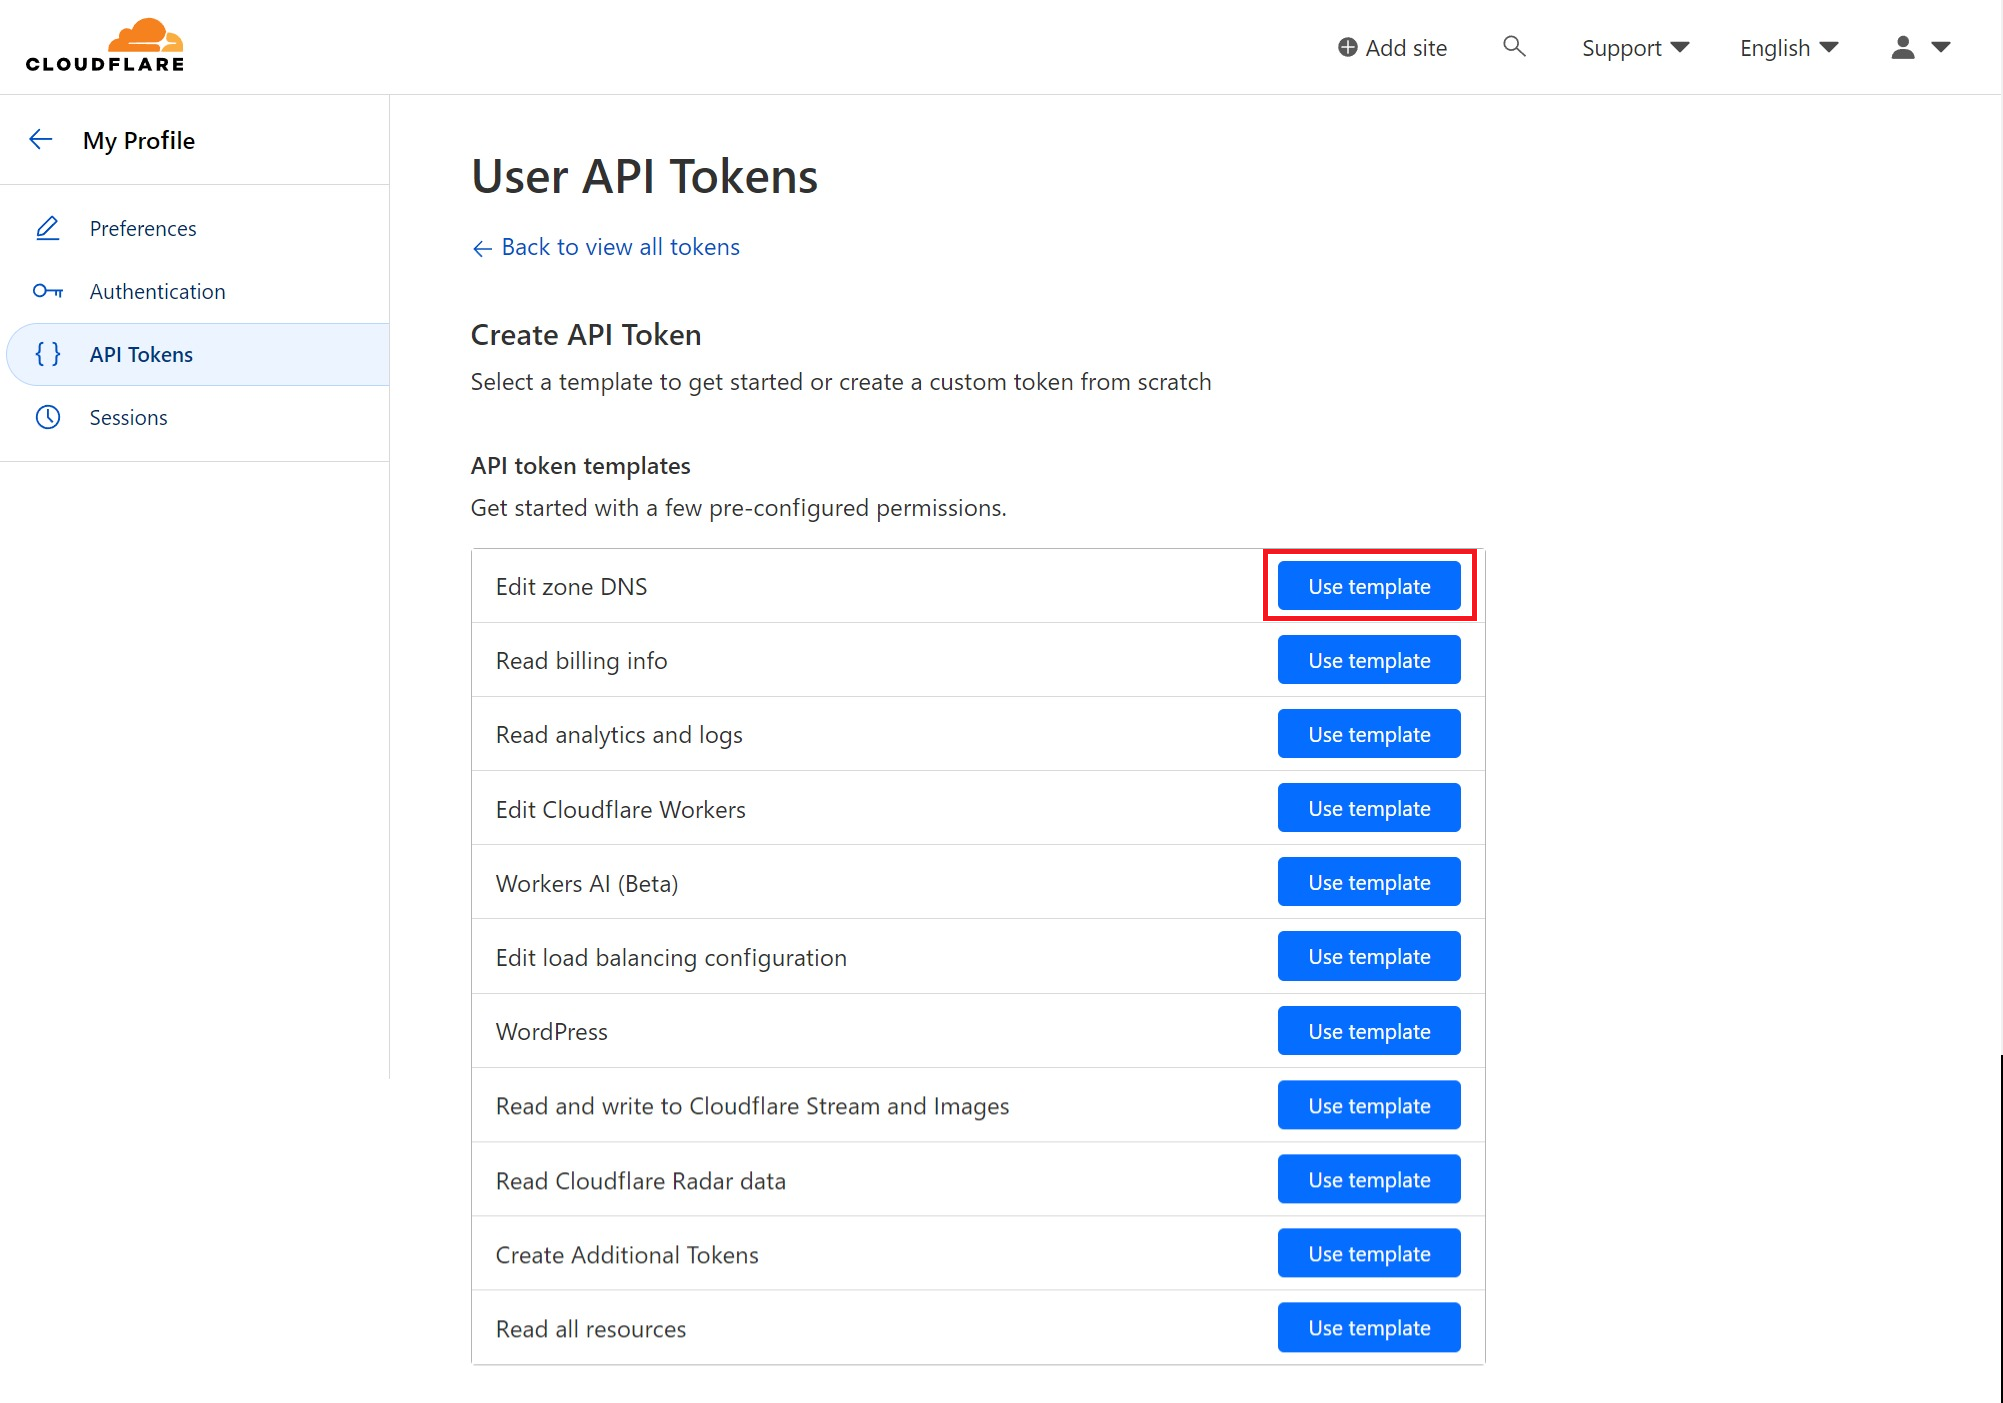
下記画面で、Edit zone DNSの「Use template」をクリックする
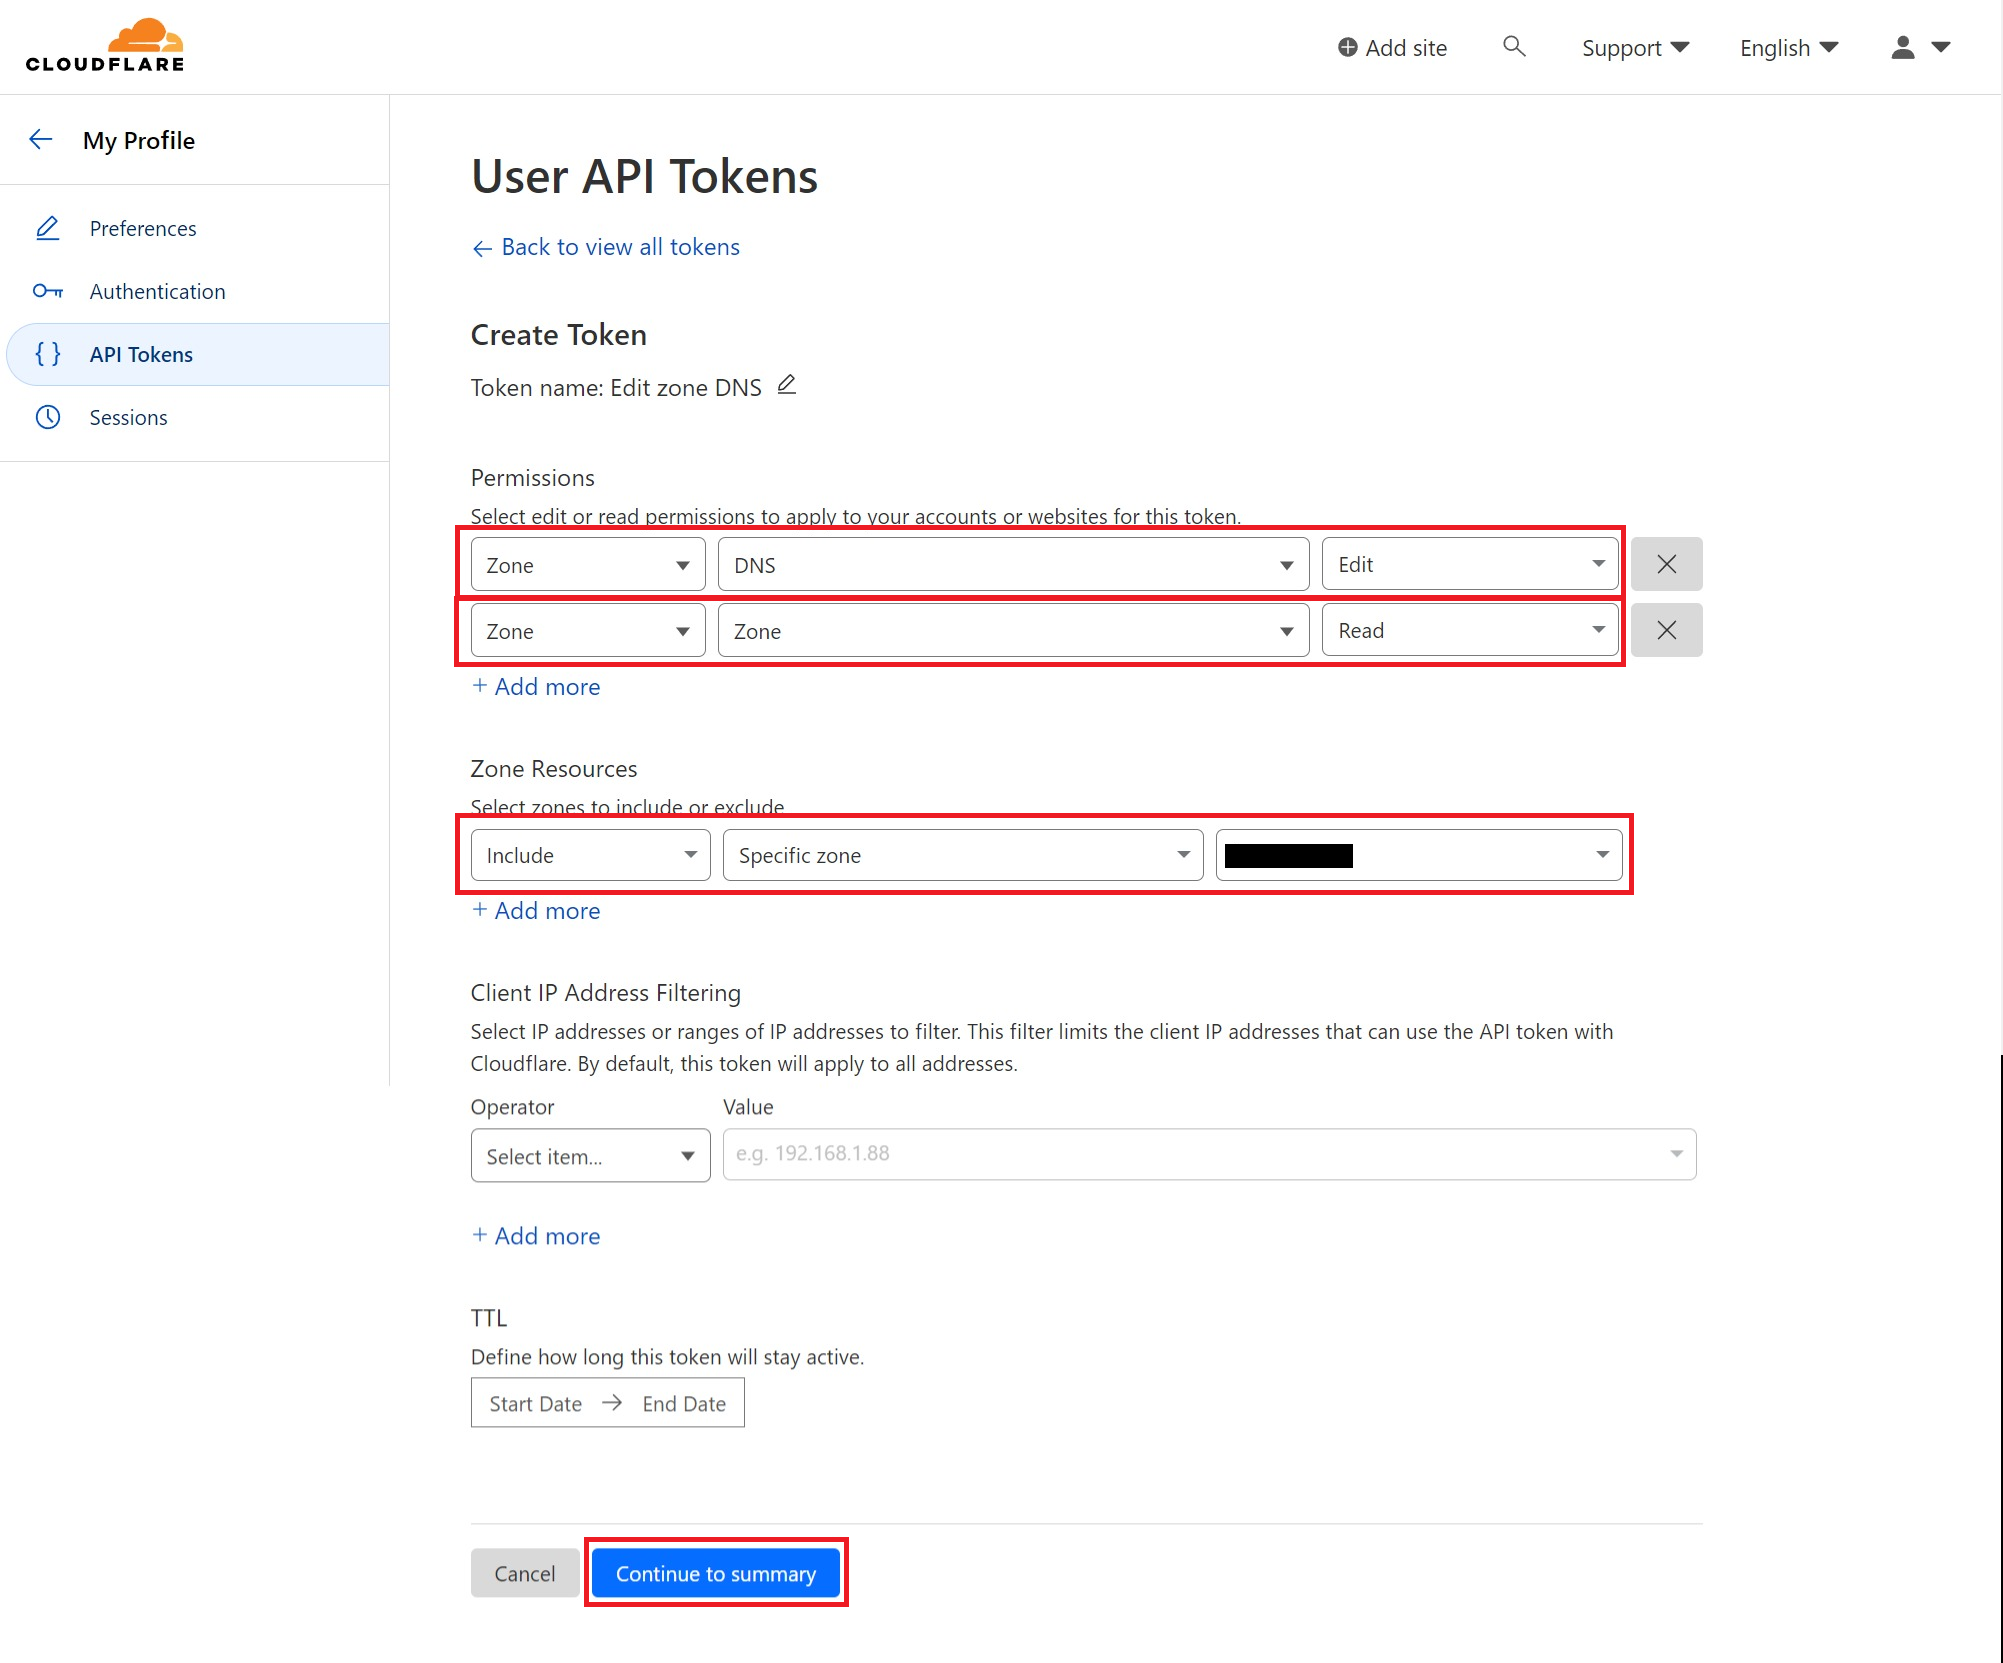
下記画面で、以下情報を設定し「Continue to summary」をクリックする
- Permissionsに下記を追加
- Zone / DNS / Edit
→ これから作るAPIトークンを使用して特定ZoneのDNSを編集できるようにする - Zone / Zone / Read
→ これから作るAPIトークンを使用して特定ZoneのZone情報を取得できるようにする
- Zone / DNS / Edit
- Zone Resourcesに下記を追加
- Include / Specific Zone / [選んだドメイン名]
→ アクセスできるZoneを指定のドメインのみにする
- Include / Specific Zone / [選んだドメイン名]
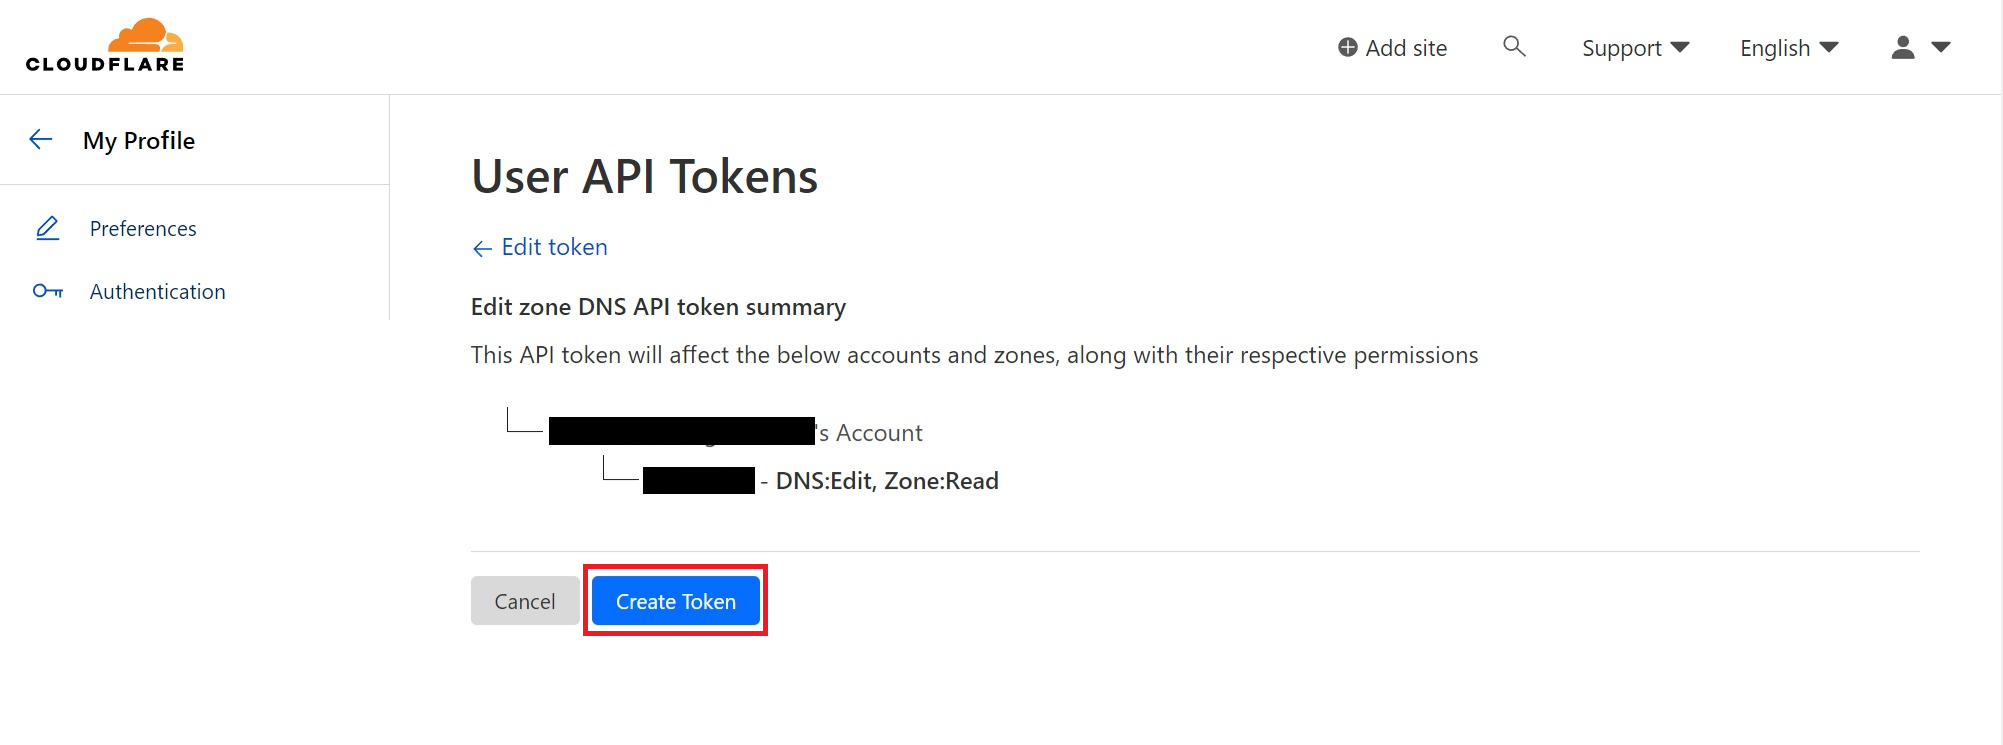
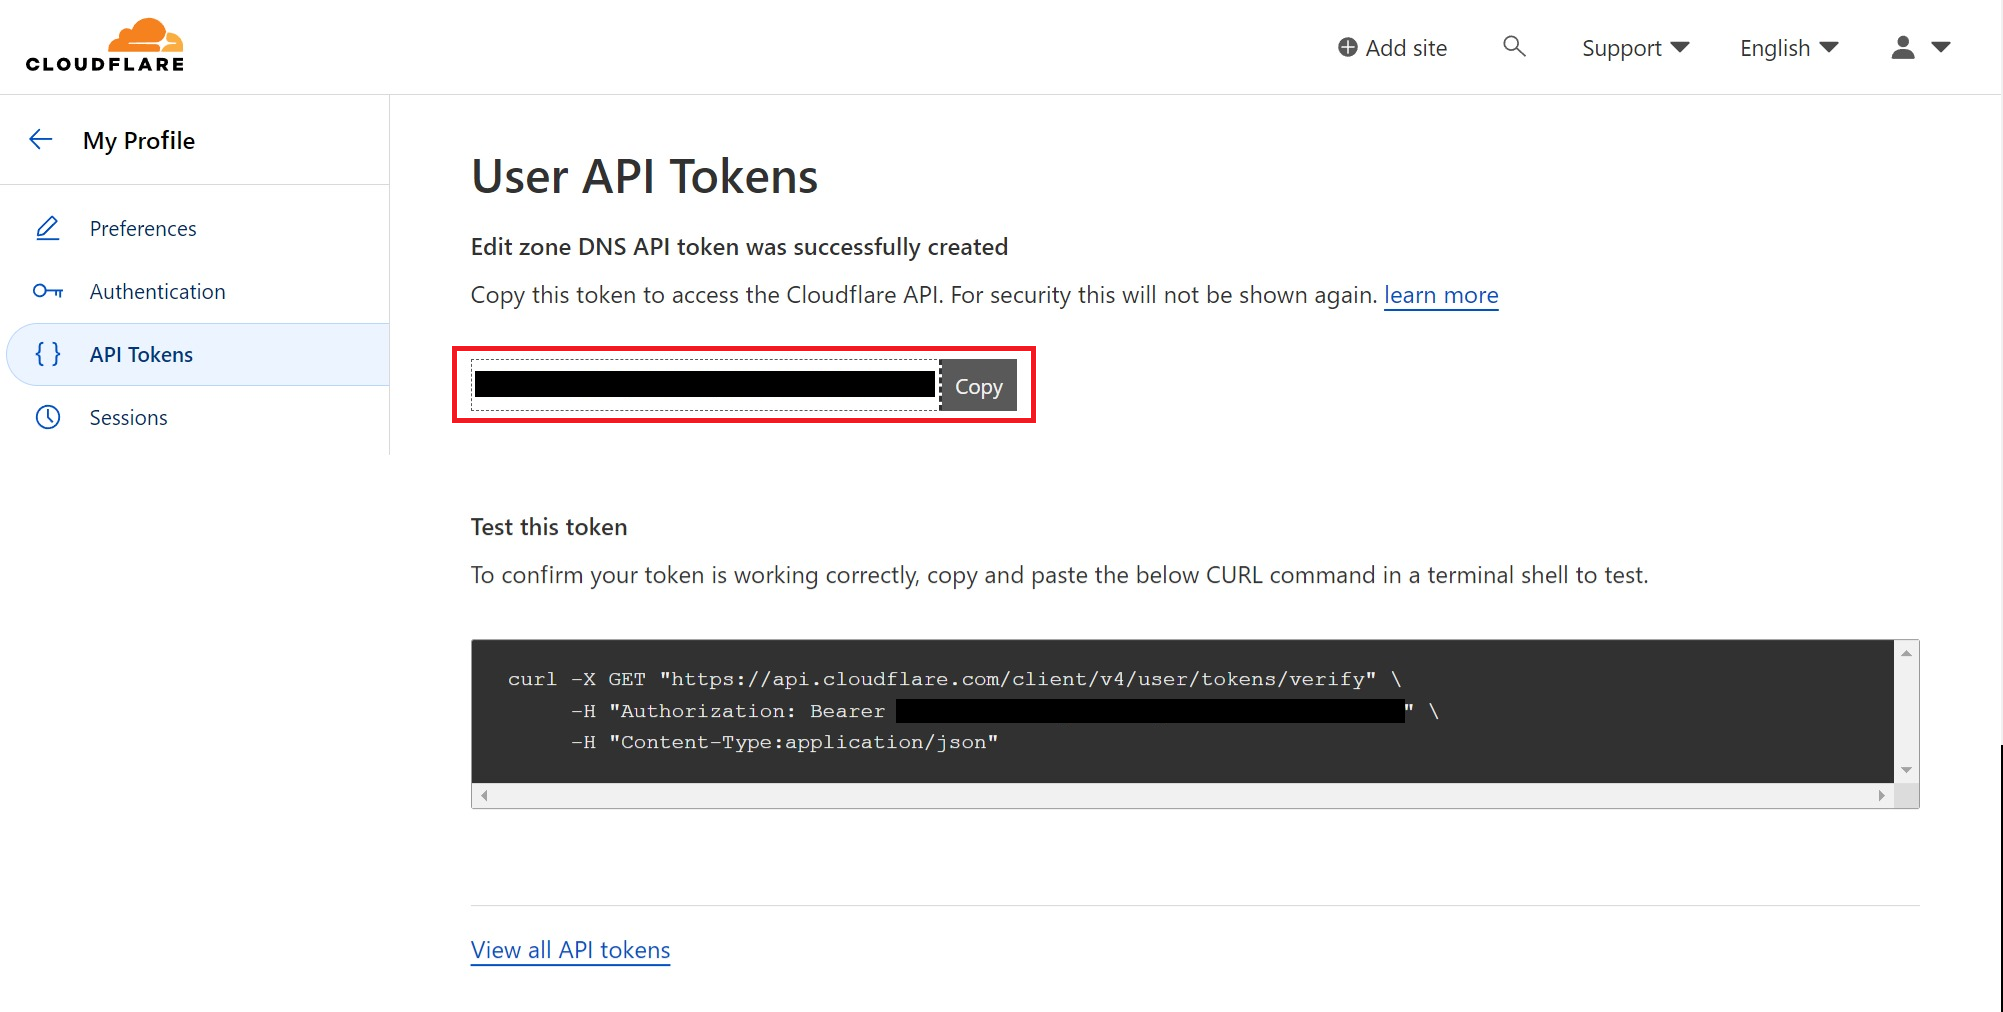
編集内容の概要がでてくるので、内容に問題がなければ「Create Token」をクリック
発行されたトークンが出てくるのでコピーして保存しておく(赤枠部分)
(この画面は1度しか表示されないため必ず保存すること)
※その下のTest this tokenのコマンドを実行すればテスト可能
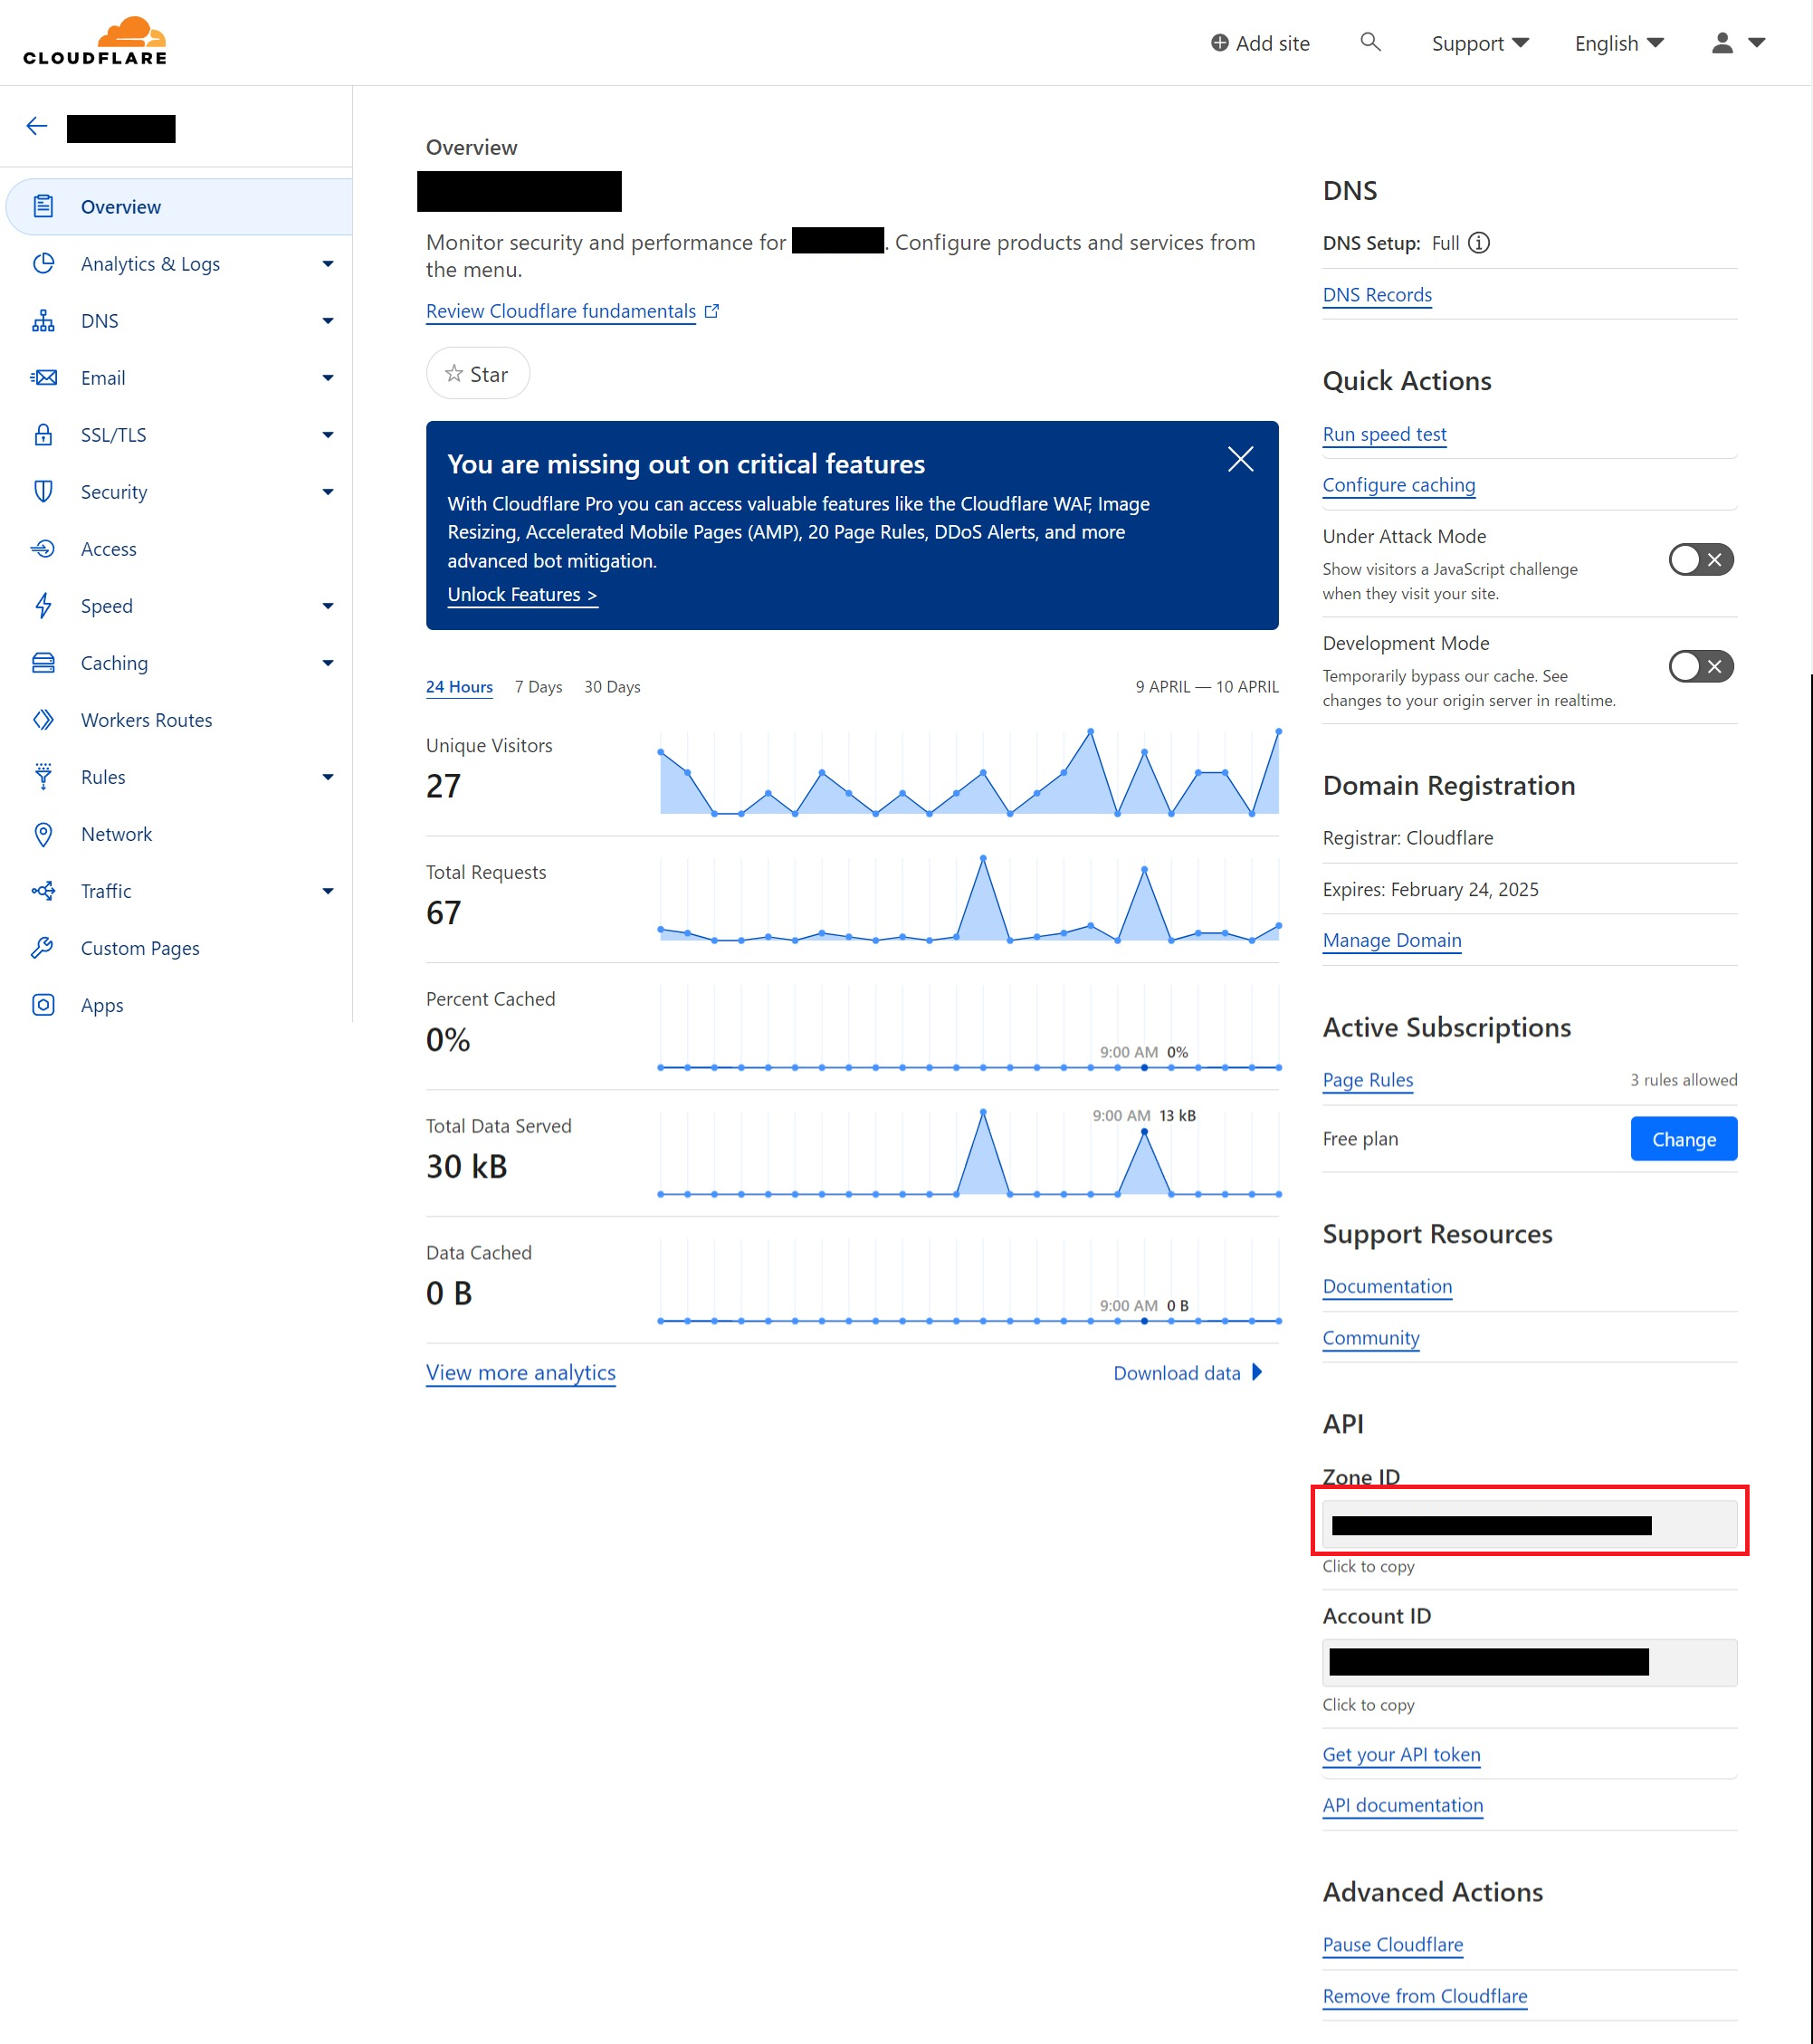
Zone IDの取得
もしくは下記コマンドを実行し取得する
curl -w "\n" --request GET
  --url https://api.cloudflare.com/client/v4/zones?name={ドメイン名}
  --header "Content-Type: application/json"
  --header "X-Auth-Email: {メールアドレス}"
  --header "X-Auth-Key: {Global API Key}"
DNS Record IDの取得
下記コマンドを実行し取得する
curl -w "\n" --request GET
  --url https://api.cloudflare.com/client/v4/zones/{Zone ID}/dns_records
  --header "Content-Type: application/json"
  --header "X-Auth-Email: {メールアドレス}"
  --header "X-Auth-Key: {Global API Key}"
更新スクリプトの作成
自分のHomeディレクトリに下記を作成
$ vi Cloudflare_IPUpdate.sh
#!/bin/bash

# ドメイン名
DOMAIN_NAME="ktrnet.net"

# Cloudflareで取得したAPIトークン
API_TOKEN="hcG1ZC-slFWkbp62-axPqrUe45I09lPuYWhKvDLC"
# Cloudflareの登録メールアドレス
EMAIL="circle.ktrnet@gmail.com"
# Cloudflareで取得したZONE ID
ZONE_ID="e6d6e6619d25ded0ec613c9e7aff9e0c"
# Cloudflareで取得したRECORD ID
RECORD_ID="324476fc43c49db922b6571b98fe812c"

# 出力するログファイル
LOG_FILE="./Cloudflare_IPUpdate_log.txt"


# Get IP Address
# Global IP Addressを取得するサービスURLの一覧
services=(
    "https://domains.google.com/checkip"
    "https://checkip.amazonaws.com"
    "https://ipinfo.io/ip"
    "https://ipecho.net/plain"
    "https://api.ipify.org/"
    "https://ipv4.icanhazip.com/"
    "https://4.icanhazip.com/"
)

# 先頭のサービスURLから取得(失敗したら次のURLで取得を繰り返す)
for service in "${services[@]}"; do
    address=$(curl -s -4 "$service")
    if [[ $address =~ ^[0-9]{1,3}\.[0-9]{1,3}\.[0-9]{1,3}\.[0-9]{1,3}$ ]]; then
        break
    fi
done

# ログ用に日時を出力
DATE_TIME=$(date +"%Y-%m-%d %H:%M:%S")
echo ${DATE_TIME} >> ${LOG_FILE}

# 更新APIの発行
curl -s -w "\n" --request PUT \
    --url https://api.cloudflare.com/client/v4/zones/$ZONE_ID/dns_records/$RECORD_ID \
    --header "Content-Type: application/json" \
    --header "X-Auth-Email: $EMAIL" \
    --header "Authorization: Bearer $API_TOKEN" \
    --data '{
        "content": "'"$address"'",
        "name": "'"$DOMAIN_NAME"'",
        "proxied": true,
        "type": "A",
        "comment": ""
    }' >> ${LOG_FILE}
実行権限を付加
$ chmod +x Cloudflare_IPUpdate.sh
更新スクリプトのスケジュール化
crontabに登録
$ sudo crontab -e
下記を登録
毎日01:00にシェルを実行する
0 1 * * * /home/xxx/Cloudflare_IPUpdate.sh
cronの設定内容
最初の5文字は、コマンドを実行するタイミング
順番に、「分 時 日 月 年」を示す
上記設定は、分:0、時:1のとき=1時00分にコマンドを実行することを意味する
(*は設定なしを示す)
以上
参考
下記記事を参考にさせていただいています。
https://qiita.com/napspans/items/455103748f3a0dd7ee18
https://carloalbertoscola.it/2023/linux/infrastructure/how-to-update-dynamic-ip-cloudflare/
https://qiita.com/kazu_wsx/items/790a31409524d3b4e7fd
