1.きっかけ
semantic segmentationのモデルを作成する際に出力結果のセグメンテーションごとに画像を分ける必要があった。
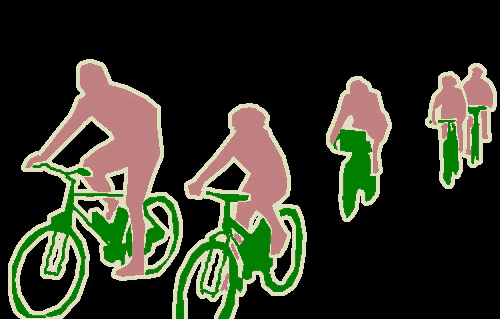
元画像の例
2.実装
from PIL import Image
import numpy as np
# 画像ファイルを読み込む
img = Image.open("hoge.png")

# パレットモードかどうか判定する
if img.mode != "P":
    print("画像がパレットモードではありません")
    exit()
img_rgb = img.copy()
palette = img.getpalette()
img_rgb = Image.new("RGBA",size=img.size)

w, h = img.size
colors = set()
# 画像内の色を抽出する
for y in range(h):
    for x in range(w):
        colors.add(img.getpixel((x,y)))

# 色ごとにその色以外を透過させた画像を生成
for color in colors:
    for y in range(h):
        for x in range(w):
            color_pixel = img.getpixel((x, y))
            if color_pixel != color:
                r = img.getpixel((x,y))
                img_rgb.putpixel((x,y),(palette[r*3],palette[r*3+1],palette[r*3+2],0))
            if color_pixel == color:
                r = img.getpixel((x,y))
                img_rgb.putpixel((x,y),(palette[r*3],palette[r*3+1],palette[r*3+2],255))

    img_rgb.save(f"sample_{color}.png")
このコードではまずImage.newでRGBAの画像を新たに生成している。
その後、画像に使われているパレットのインデックスを全て取得し、そのインデックス以外の色を透過させる画像をインデックスの数だけ生成している。
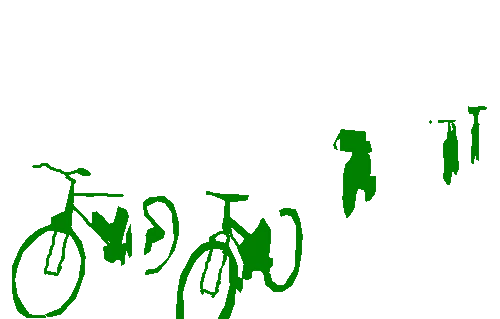
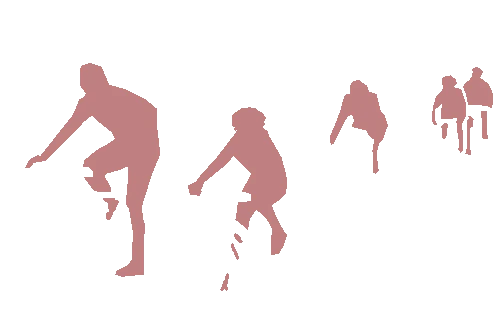
出力結果


次回はセマンティックセグメンテーションで示されたオブジェクトを元画像から抽出するコードを書きたい。
※追記 やった(https://qiita.com/ksmkzs/items/79e6b0a34a21e182ccad)