はじめに
本記事は Angular v4.x.x を元に記載しておりその内容は古くなっております。そのため最新の Angular のバージョンが提供する機能と合致しないものがあります。
最新の情報につきましては Angular 日本語ドキュメンテーション から ローカル環境とワークスペースのセットアップ をご確認ください。
この記事を実施した環境(2017/12/21 更新)
- Windows10 Home 64bit
- node
v8.2.1v.9.2.1 - npm
v4.0.5v5.6.0 - angular/cli
v1.2.6v1.3.0 - Angular
v4.3.2v4.4.6
Angular の開発環境の構築
基本的に 本家サイト の ローカル環境とワークスペースのセットアップ で記載されている内容の焼き直し。
前提
node.js がインストールされていること(こちらの記事を参照)
環境構築
-
Angular-CLI のインストール
$ npm install -g @angular/cli -
バージョンを確認(2017/12/21 更新)
$ ng -v _ _ ____ _ ___ / \ _ __ __ _ _ _| | __ _ _ __ / ___| | |_ _| / △ \ | '_ \ / _` | | | | |/ _` | '__| | | | | | | / ___ \| | | | (_| | |_| | | (_| | | | |___| |___ | | /_/ \_\_| |_|\__, |\__,_|_|\__,_|_| \____|_____|___| |___/ @angular/cli: 1.3.0 node: 9.2.1 os: win32 x64 @angular/animations: 4.4.6 @angular/common: 4.4.6 @angular/compiler: 4.4.6 @angular/core: 4.4.6 @angular/forms: 4.4.6 @angular/http: 4.4.6 @angular/platform-browser: 4.4.6 @angular/platform-browser-dynamic: 4.4.6 @angular/router: 4.4.6 @angular/cli: 1.3.0 @angular/compiler-cli: 4.4.6 @angular/language-service: 4.4.6 -
Angularアプリケーションのプロジェクト作成
$ ng new my-app installing ng create .editorconfig create README.md create src\app\app.component.css create src\app\app.component.html create src\app\app.component.spec.ts create src\app\app.component.ts create src\app\app.module.ts create src\assets\.gitkeep create src\environments\environment.prod.ts create src\environments\environment.ts create src\favicon.ico create src\index.html create src\main.ts create src\polyfills.ts create src\styles.css create src\test.ts create src\tsconfig.app.json create src\tsconfig.spec.json create src\typings.d.ts create .angular-cli.json create e2e\app.e2e-spec.ts create e2e\app.po.ts create e2e\tsconfig.e2e.json create .gitignore create karma.conf.js create package.json create protractor.conf.js create tsconfig.json create tslint.json Installing packages for tooling via npm. Installed packages for tooling via npm. Successfully initialized git. Project 'my-app' successfully created. -
アプリケーションの起動
$ cd my-app/ $ ng serve --open # --open はブラウザを起動するオプション -
ブラウザを確認
http://localhost:4200 で開発環境のアプリが起動している。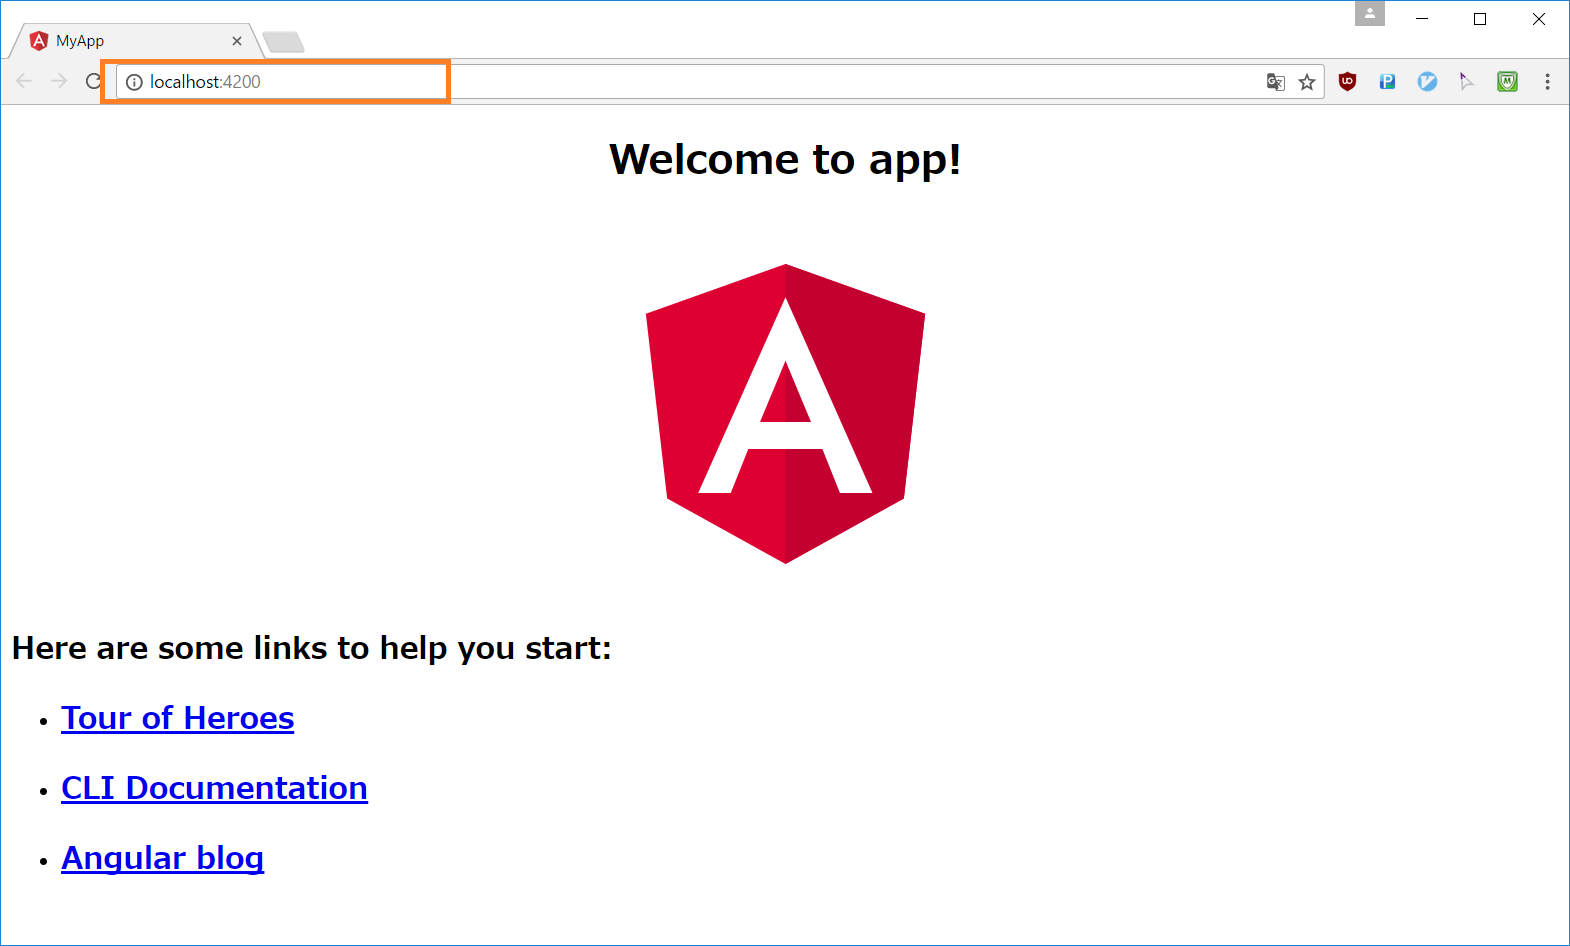
-
アプリケーションの停止
次をプロンプトで実行することで終了する。Ctrl-c
IE11対応(2017/09/02 追記)
Angular ではデフォルトの設定だと IE11 でアプリケーションを利用できない。これは IE11 以前では Angular で使用している機能が対応されていないため。
解決のためには Polyfill の設定をしてやる必要がある。
で、その設定は下記で行う。
-
src/polyfills.tsを編集する。
/** IE9, IE10 and IE11 requires all of the following polyfills. **/
// import 'core-js/es6/symbol';
// import 'core-js/es6/object';
// import 'core-js/es6/function';
// import 'core-js/es6/parse-int';
// import 'core-js/es6/parse-float';
// import 'core-js/es6/number';
// import 'core-js/es6/math';
// import 'core-js/es6/string';
// import 'core-js/es6/date';
// import 'core-js/es6/array';
// import 'core-js/es6/regexp';
// import 'core-js/es6/map';
// import 'core-js/es6/weak-map';
// import 'core-js/es6/set';
/** IE9, IE10 and IE11 requires all of the following polyfills. **/
import 'core-js/es6/symbol';
import 'core-js/es6/object';
import 'core-js/es6/function';
import 'core-js/es6/parse-int';
import 'core-js/es6/parse-float';
import 'core-js/es6/number';
import 'core-js/es6/math';
import 'core-js/es6/string';
import 'core-js/es6/date';
import 'core-js/es6/array';
import 'core-js/es6/regexp';
import 'core-js/es6/map';
import 'core-js/es6/weak-map';
import 'core-js/es6/set';
といった具合に、IE9 ~ のコメントから始まるブロックの imort 実行がコメントアウトされているので、それらを外して有効化する。
これで IE11 でも Angular アプリを利用することができる。
終わりに
ここまでで Angular の開発環境の構築は完了。
あとはプロジェクトにあわせてライブラリを追加していく感じ。
参考
Angular のチュートリアルは英語なのでとっつきにくい方もいると思うので次を参考情報としてあげる。
- ng-japan が提供してくれているハンズオン教材
- https://github.com/ng-japan/hands-on/
その他
Angular は TypeScript で開発を進めていくわけだが、当然ブラウザで実行するためのトランスパイルの問題が出てくる。
ただ Angula-CLI でプロジェクトを構築した場合、 webpack ベースとなっているためトランスパイルについて(最初は)意識せずに済む。
こまかいチューニングとかをしたいケースとかは webpack の設定を抽出して変更することもあるだろうけれど、自分はまだそこまでのケースに至ってないのでこの記事では割愛。