はじめに
C#の知識が.Net Framework 3.5あたりで止まっているので、ちょっとまずいなと思っている黒髭和熊です。
まぁ、作るのには困らないんですけどね・・・
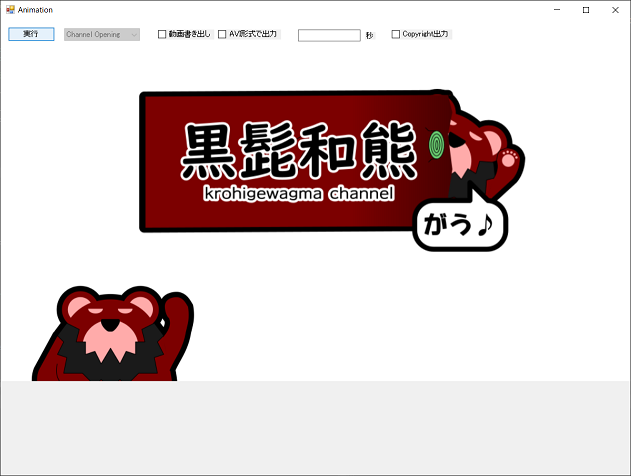
さて、今回ですが、Youtubeで動画を公開しているのですが、その動画のオープニングを作りたいなぁと思っていました。
で、昔から使ってるキャラクタを動かしたいなと思ったんですが、簡単にできないかなー?と思ったんです。
面倒なので、描いた絵をプログラムで動かせば思い通りにできるんじゃないか?ということで調べて作りました。
動画はこれ。
ちなみに、作った動画をDavinci Resolveで音をつけたりフェードアウトさせています。
そんなお話です。
使ったもの
- Visual Studio
- C#
- AForge.NET
概要
動画のオープニングだけじゃなくて、ほかの動画も作ることを考えています。
なので、アニメーションを行う部分は抽象化し、動画にする部分は共通の処理にしています。
ですが、そこはあまり重要ではないので触れません。(知りたい人がいれば書きます)
今回使用したAForgeをどう使っているかを紹介できればと思っています。
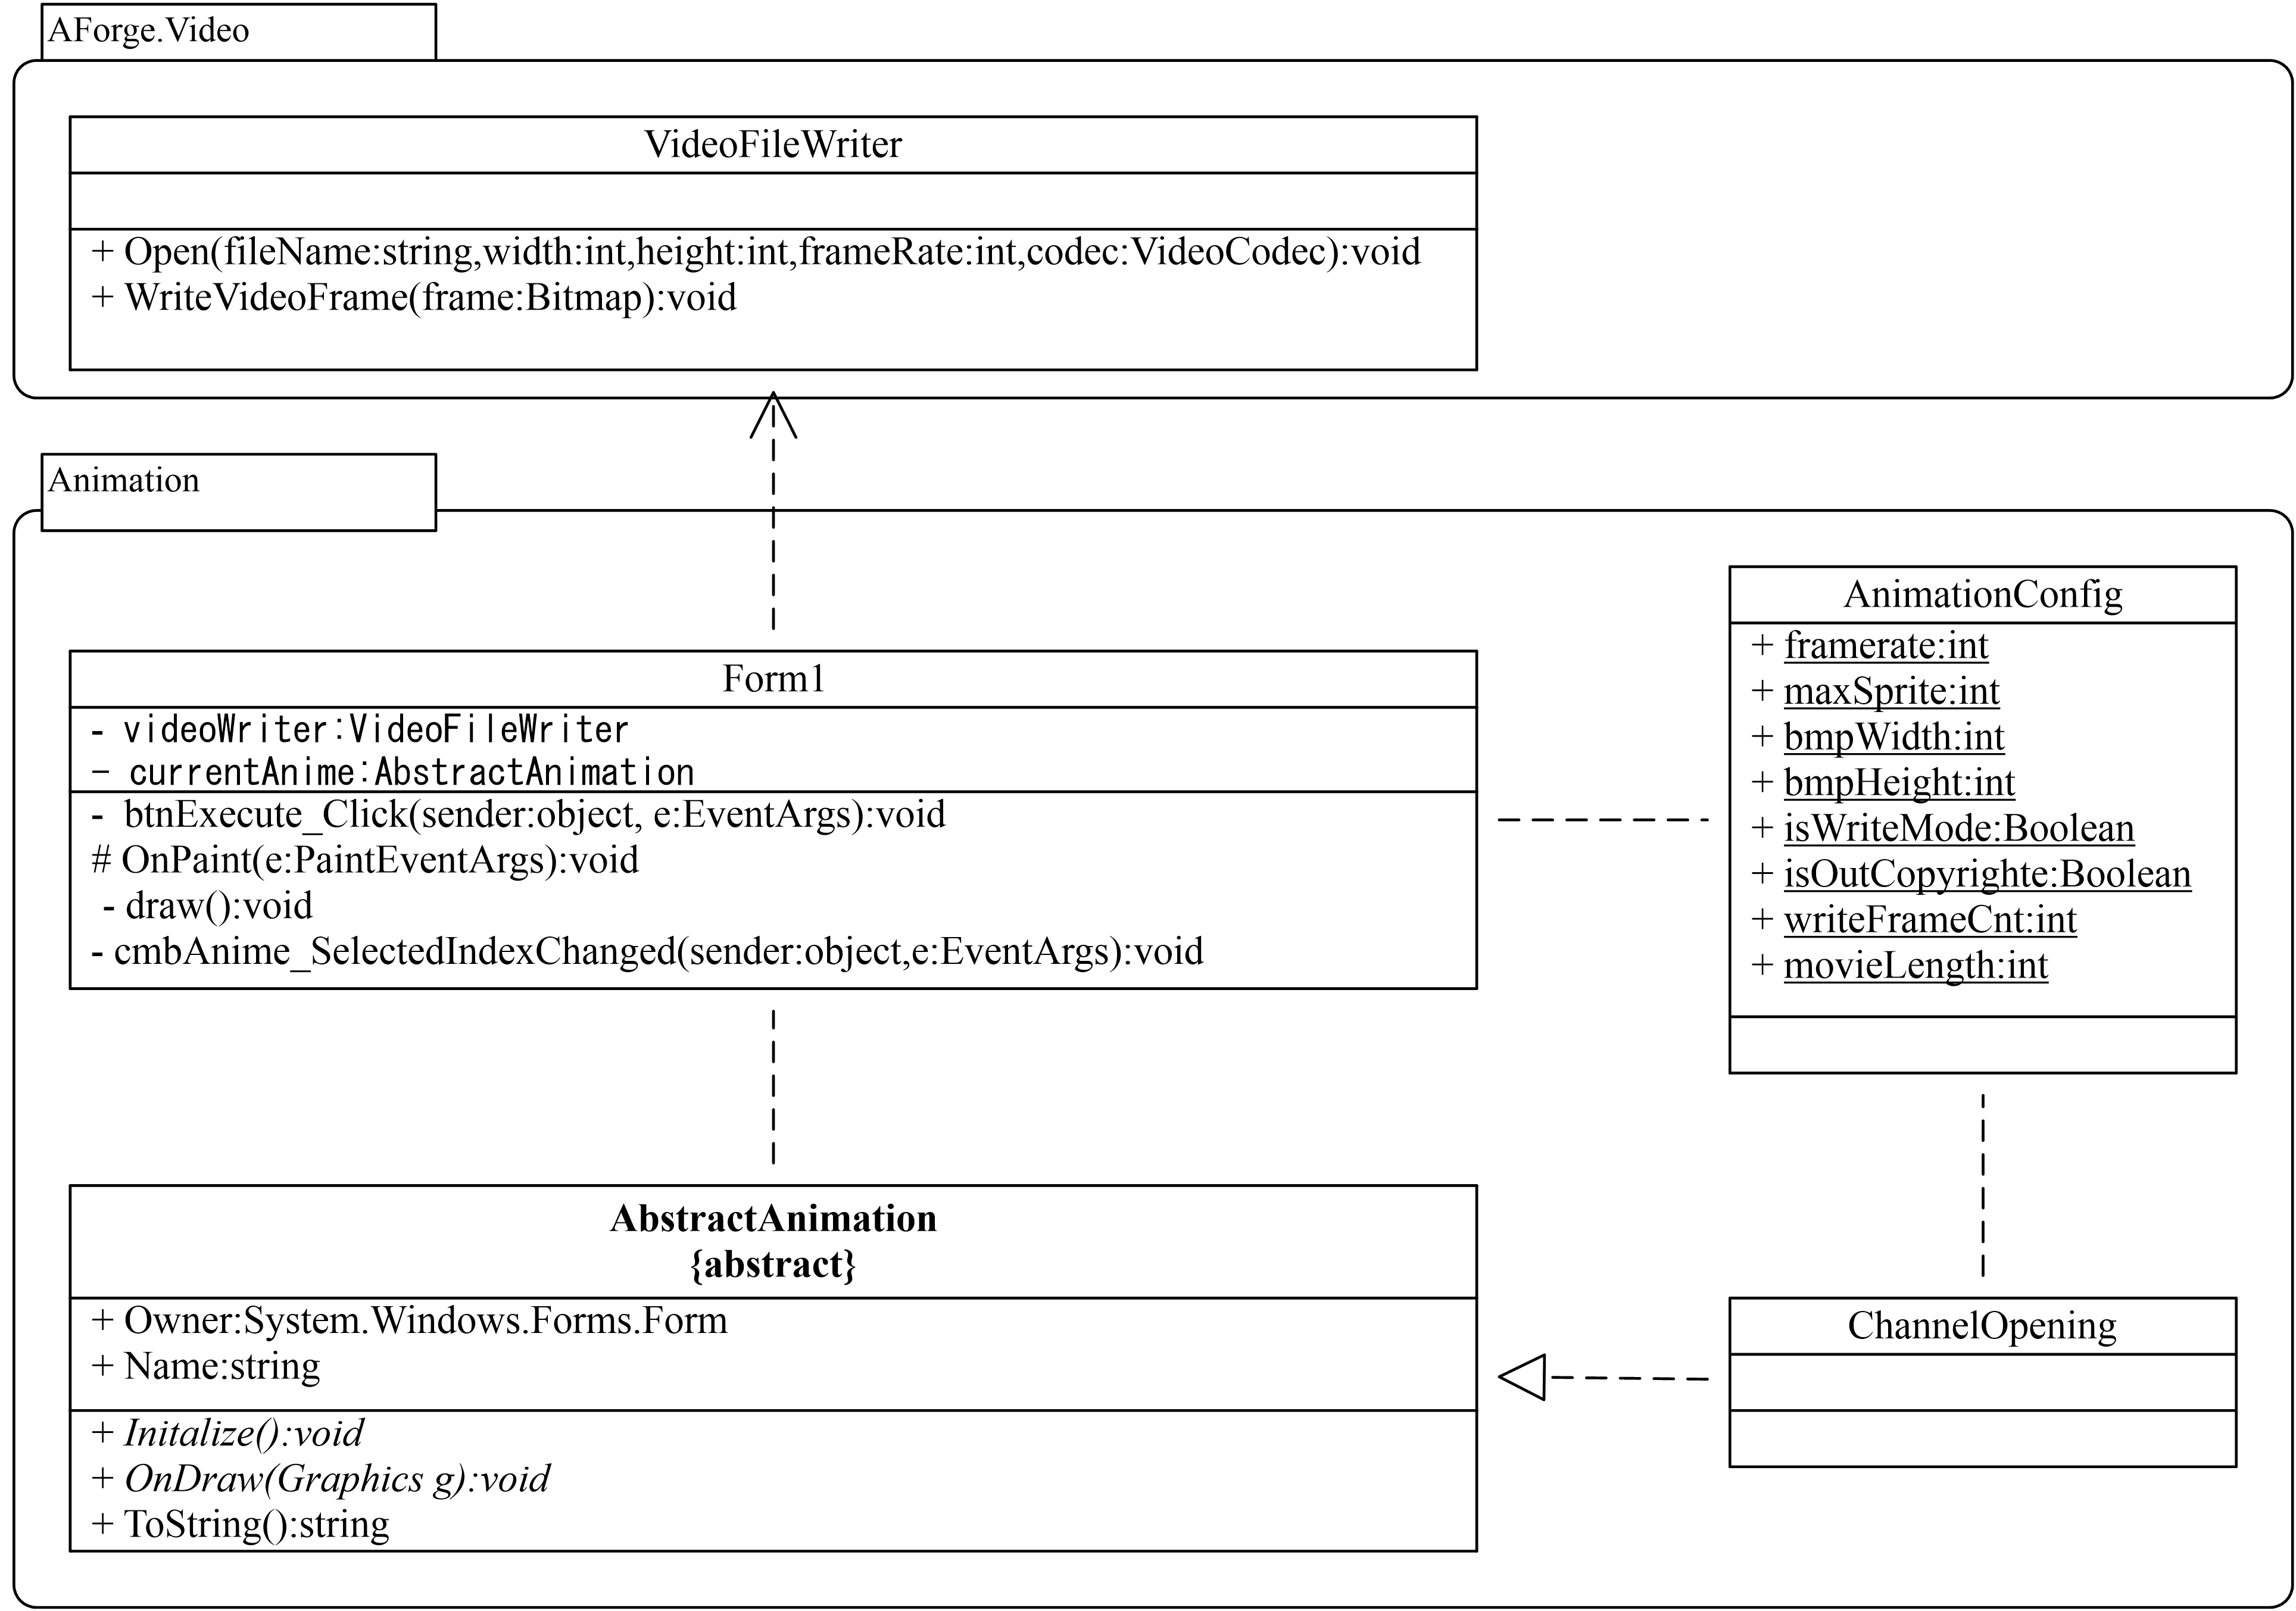
クラス図はこんな感じです。
Form1で管理して、描画は別のクラス、といった感じになります。

さて、処理についてですが、作ったプログラムに沿った形で説明していきます。
AForgeの使用方法にあまり関係ないところがありますが、クラス図と比較しながら見ていただければと思います。
AbstructAnimationクラスを実装したChannelOpeningクラスをForm1に登録します。
ChannelOpeningクラスあオープニング動画の描画を行うクラスになります。
        private VideoFileWriter videoWriter = null;

        private Thread thread = null;
        private Bitmap bmp = null;

        private AbstractAnimation currentAnime = null;

    // ・・・省略・・・

        private void Form1_Load(object sender, EventArgs e)
        {
            this.SetStyle(ControlStyles.ResizeRedraw, true);
            this.SetStyle(ControlStyles.DoubleBuffer, true);
            this.SetStyle(ControlStyles.UserPaint, true);
            this.SetStyle(ControlStyles.AllPaintingInWmPaint, true);

            cmbAnime.Items.Add(new AnimeTest(this));
            cmbAnime.Items.Add(new IngressHyperion(this));
            cmbAnime.Items.Add(new ChannelOpening(this));

            cmbAnime.SelectedIndex = 0;
        }
実行はボタンのクリックで開始します。
このタイミングで、AForge.Video.FFMPEG.VideoFileWriterのインスタンスを生成します。
        private void btnExecute_Click(object sender, EventArgs e)
        {
    // ・・・省略・・・
               bmp = new Bitmap(AnimationConfig.bmpWidth, AnimationConfig.bmpHeight);

                // アニメーション初期化
                currentAnime.Initalize();

                if (AnimationConfig.isWriteMode == true)
                {
                    var text = txtLength.Text;
                    var movieLength = AnimationConfig.movieLength;
                    AnimationConfig.movieLength = movieLength;
                    AnimationConfig.writeFrameCnt = 0;
                    videoWriter = new VideoFileWriter();
                    videoWriter.Open(@"C:\data\test4.mp4", bmp.Width, bmp.Height, AnimationConfig.framerate, VideoCodec.MPEG4);
                }
VideoFileWriter.Open()メソッドで保存するファイル名や動画のサイズ、フォーマットを指定します。
ここで気を付けるべきはフォーマット。
AVIで保存すると結構大きなファイルになります。
フォーマットはVideoCodec列挙型で定義されています。
定義内容は公式ドキュメントのVideoCodec Enumerationを見てもらえばわかります。
私はVideoCodec.MPEG4を選択しています。
フレームレートはAnimationConfigクラスで60を指定しており、その値を利用しています。
ボタンを押したタイミングでスレッドを作成し、描画用メソッドdraw()を呼び出しています。
その中でChannelOpeningクラスの描画した内容をVideoFileWriterのWriteVideoFrameメソッドで書き込んでいます。
    // ・・・省略・・・

                thread = new Thread((ThreadStart)delegate ()
                {
                    long tm = 0;
                    long frm = 0;
                    while (thread != null)
                    {
                        tm = DateTime.Now.Ticks;
                        draw();

    // ・・・省略・・・

        private void draw()
        {
            using (Graphics g = Graphics.FromImage(bmp))
            {
                currentAnime.OnDraw(g);

                if (AnimationConfig.isWriteMode == true && videoWriter != null)
                {
                    videoWriter.WriteVideoFrame(bmp);
                }
            }
        }
書き込みはすごく簡単で、VideoFileWriter.WriteVideoFrame()メソッドに作成したビットマップを渡すだけです。
書き込みが終わったら、Close()メソッドで、VideoFileWriterを閉じればOKです。
videoWriter.Close();
終わりに
ざっくりですが、C#で動画を作ってみた話を紹介しました。
Magick.NETも試したのですが、私の実装が悪かったせいか、動画を作れないことがあったので断念。
AForge.NETはそんなこともなく割と簡単に使えたので採用しました。
音もやればできるみたいですが、まぁ、音はDavinci Resolve使ったほうが楽だったので^^;
実際のコードはたぶんGithubに公開すると思います。
いつになるかわかりませんがw
Githubにリポジトリ作りました。
こちらになります。
あ、最後に。
よかったら私のYoutubeのチャンネルも見てみてください。
そのうちこの記事の内容も動画にしようと思っています。
