はじめに
この記事はpythonの導入から、jupyter labの導入までを行う記事となります。
windows環境の記事となります、macは保証していないためご了承ください。
pythonの導入
以下のサイトにアクセスし、pythonをダウンロードします.
サイトより、Downloads→ Python3.9.5(当時の最新版)をダウンロードします.

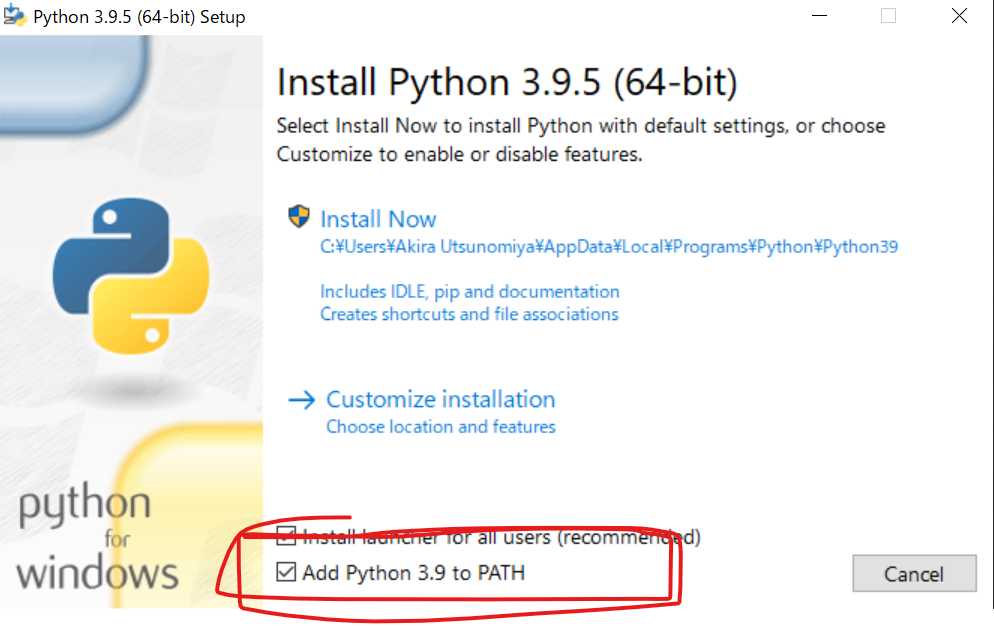
ダウンロードが終わり、ファイルを起動すると以下のような画面となります。
この際に必ず「Add Python 3.9 to PATH」にチェックを入れてください.
※もし入れ忘れてもあとで環境変数をいじればパスを追加できますが面倒です。
その後Install Nowをクリック。
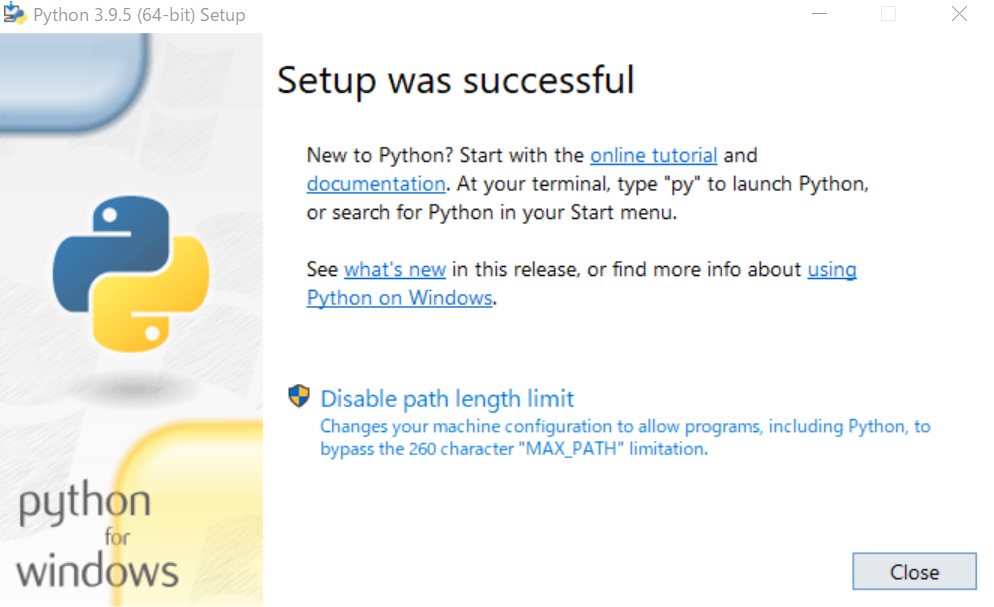
そのまま進めるとpythonのインストールが完了します。
jupyter labの導入
コマンドプロンプトをおよびpipコマンドを使用してjupyter labを導入していきます。
winキー + R を押すと出てくる
「ファイル名を指定して実行」ダイアログに [cmd] と入力してOK(Enter)します。
出てきたコマンドプロンプトに以下を入力してEnterを押します。
pip install jupyterlab
放っておくと順次jupyter labがインストールされていきます。
※ここでpipに関するエラーが出た場合、pythonのダウンロード時に「Add Python 3.9 to PATH」にチェックを入れ忘れている可能性があります。
where pythonなどのコマンドを入れてpipのパスを確認後,環境変数を追加すると動くと思いますが、ここでは詳細を割愛させていただきます。
jupyter labの起動
ダウンロードが無事終われば、同様にコマンドプロンプトで以下を入力しEnterを押すと
jupyter labが起動します。お疲れさまでした。
※スペースも判定されるため注意してください.
jupyter lab
一つのコマンドプロンプトに対し一つのjupyter labが対応しています。
終了するときはコマンドプロンプトをシャットダウンしてください。


