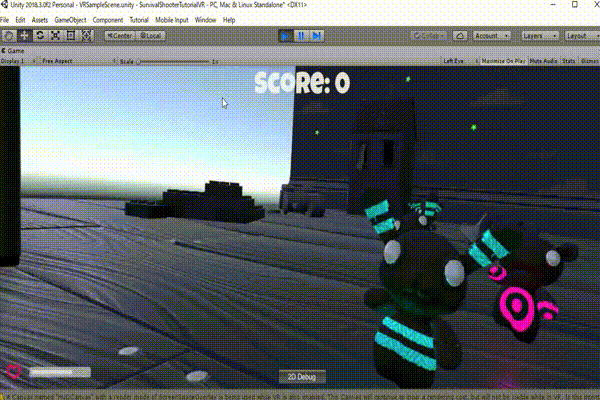
完成イメージ
対象者
Steam VR Plugin ver2を使ってみたい方
Unityで普通のゲームをVR化してみたい人
Unityの「Survival Shooter Tutorial」を知っている方
環境
OS: Windows10
Unity: Unity2018.3
HMD: VIVE HTC
準備
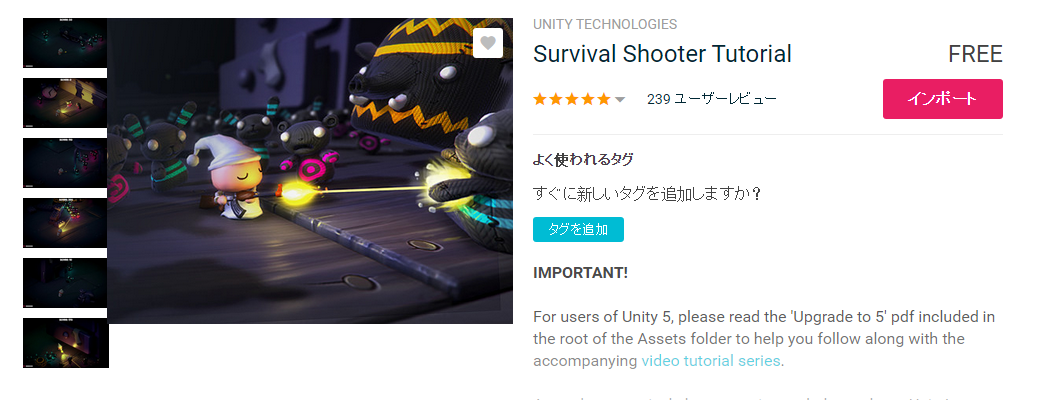
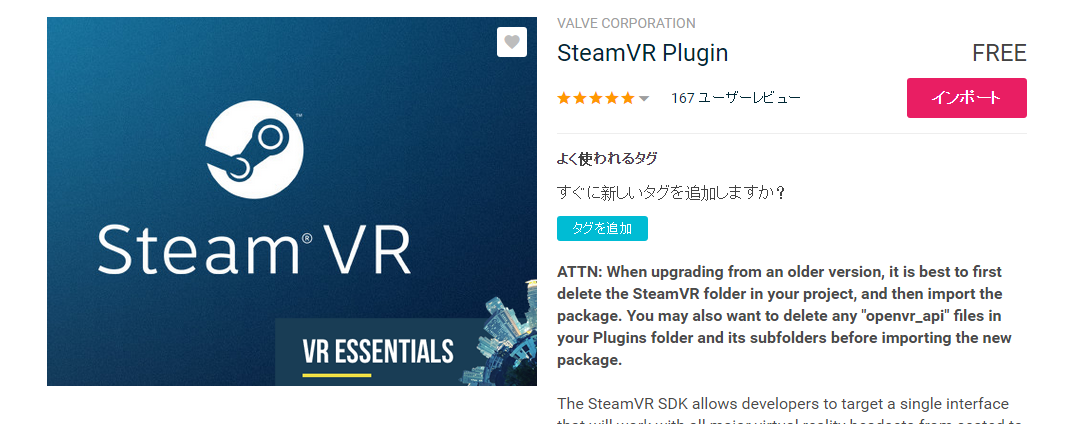
まず、「Survival Shooter Tutorial」と「SteamVR Plugin」をアセットストアにて、ダウンロード&インポートする。
※「Survival Shooter Tutorial」の中身は特に解説する予定はないので、事前にチュートリアルをしておくことをおすすめします。
インポートが完了したら、「Survival Shooter Tutorial」の_Complete-Game**の完成しているシーンを読み込んでおいてください。
「windows → Package Manager」からOpenVRもインストールしておきましょう。
手順
Steam VR Controllerにアクションを設定
version1では、Controllerのボタンに対して、処理を書くような形だったが、version2からは先にゲームでのアクションを定義し、アクションに対応するボタンの紐付けを行う形になっている。
新しいControllerがでてきてもボタンの紐付けだけすれば対応できるようになるのでとてもいい変更だと思います。
では、ボタンの紐付けを行いましょう。
「windows → SteamVR Input」でアクションを定義します。
今回はInにShootというアクションをTypeはbooleanで追加します。
「Save and generate」で保存しましょう。

次はShootにボタンの紐付けを行います。
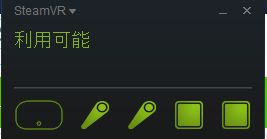
SteamVRを起動しましょう。起動しておかないとボタンの紐づけはできません。
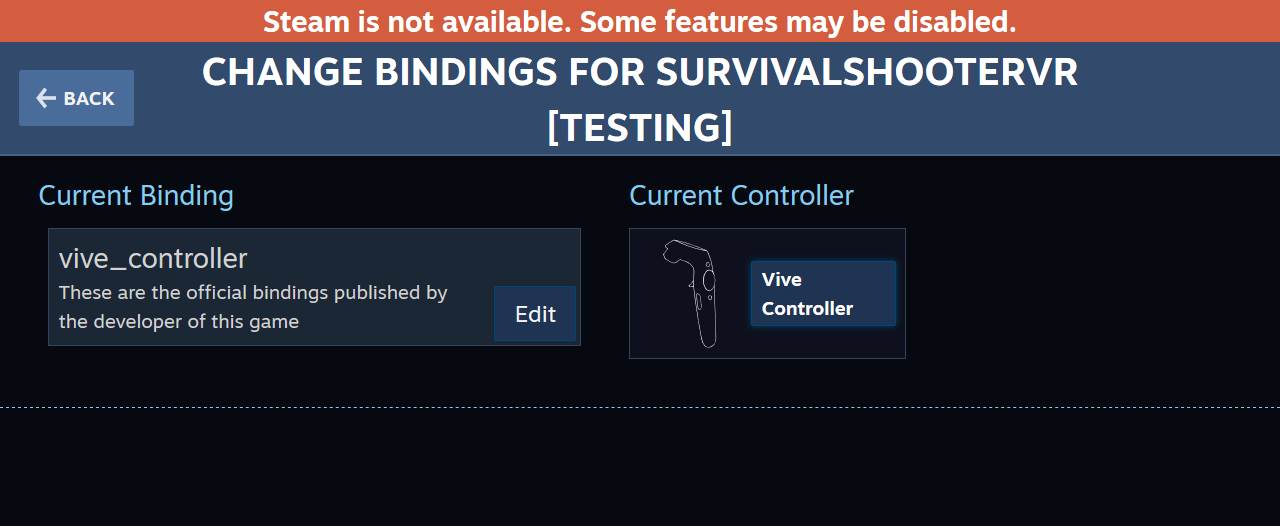
「SteamVR Input」で「open binding UI」をクリックする。
するとブラウザが開き、下のような画面が現れます。
この醜いUIでボタンの紐付けを行うことができます。
Editボタンを押すと、ボタンやタッチパッドに紐づけられる設定画面が表示される。
※かなり見づらい。
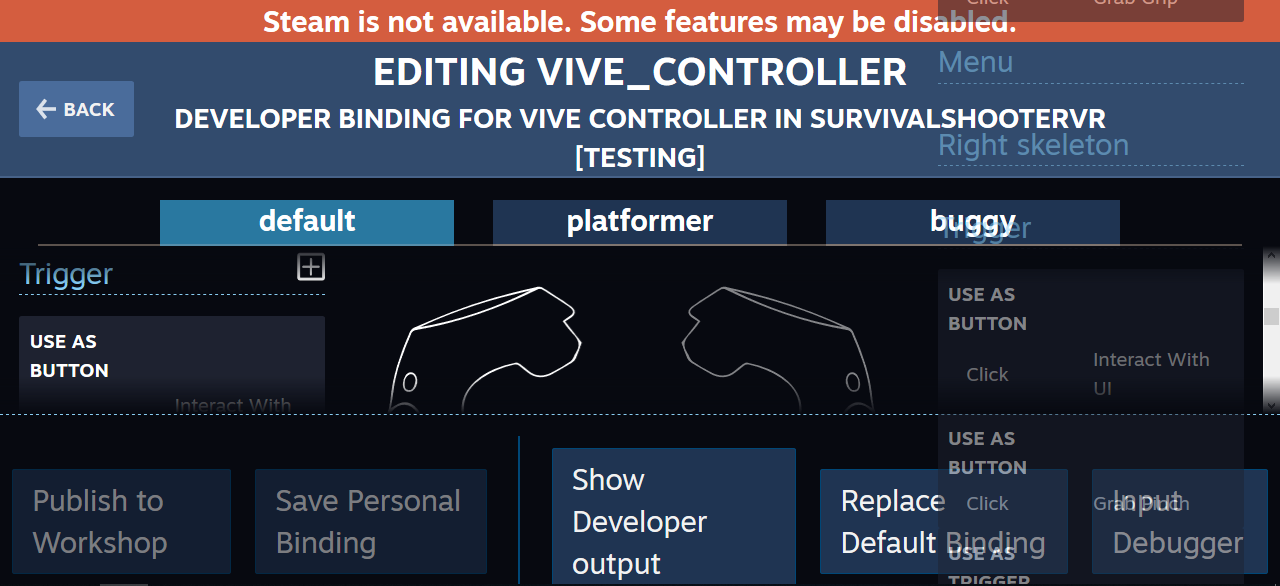
Triggerの「+」ボタンを押し、Buttonを追加する。
追加したButtonに対応するActionをNoneからShootにする。
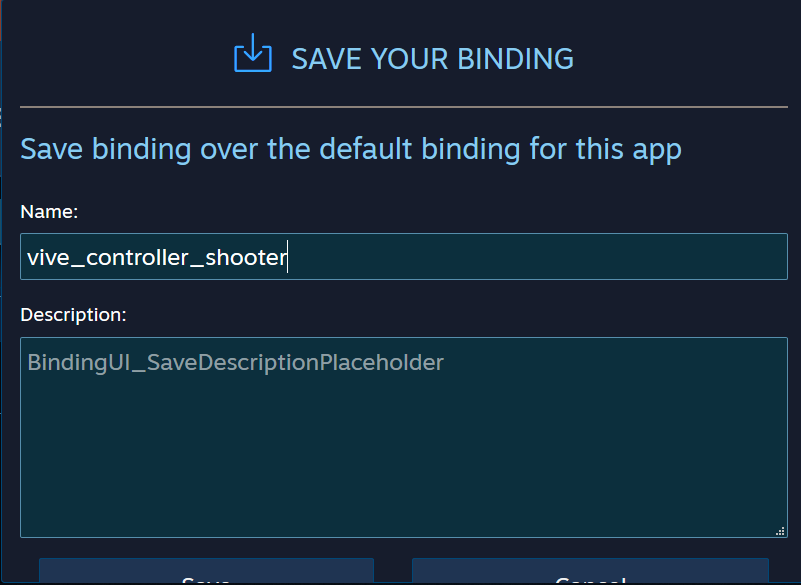
フッターのSave Personal Bindingを押すと、保存する画面が出てくるので、vive_controllerで保存する。
保存が完了すれば、ブラウザは閉じてもらってよい。
※自分のブラウザでは保存ボタンが見切れてしまっている。
PlayerのVR化
1人称視点で世界に入れるようにします。
まず、「Hierarchy」からMainCameraとPlayerを無効化してください。
そして、「Project」の「SteamVR → InteractionSystem → Core → Prefabs」のPlayerを「Hierarchy」にドラッグアンドドロップし、名前をPlayerVRにしましょう。
PlayerVR → SteamVR ObjectsのBodyColliderをアクティブにし、Audio Sourceを旧Playerと同じようにつけてください。そして、タグをPlayerにしましょう。BodyColliderが体本体だと思ってください。
旧Playerには体力を管理しているPlayerHearth.cs、動きを管理するPlayerMovement.cs、発砲を管理しているPlayerShootingがついています。

体力の管理
はじめに体力を管理させるため、PlayerVR → SteamVR ObjectsのBodyColliderにPlayerHearth.csをつけてください。
次に、PlayerHearthを参照している部分を旧PlayerからBodyColliderに変えましょう。
※EnemyManager、HUDCanvasが参照しています。
PlayerHearth.csを修正します。
修正といっても、アニメーション、PlayerMovement、PlayerShooting関連のコードをコメントアウトしただけです。
using UnityEngine;
using UnityEngine.UI;
using System.Collections;
using UnityEngine.SceneManagement;

namespace CompleteProject
{
    public class PlayerHealth : MonoBehaviour
    {
        public int startingHealth = 100;                            // The amount of health the player starts the game with.
        public int currentHealth;                                   // The current health the player has.
        public Slider healthSlider;                                 // Reference to the UI's health bar.
        public Image damageImage;                                   // Reference to an image to flash on the screen on being hurt.
        public AudioClip deathClip;                                 // The audio clip to play when the player dies.
        public float flashSpeed = 5f;                               // The speed the damageImage will fade at.
        public Color flashColour = new Color(1f, 0f, 0f, 0.1f);     // The colour the damageImage is set to, to flash.


        // Animator anim;                                              // Reference to the Animator component.
        AudioSource playerAudio;                                    // Reference to the AudioSource component.
        // PlayerMovement playerMovement;                              // Reference to the player's movement.
        // PlayerShooting playerShooting;                              // Reference to the PlayerShooting script.
        bool isDead;                                                // Whether the player is dead.
        bool damaged;                                               // True when the player gets damaged.


        void Awake ()
        {
            // Setting up the references.
            // anim = GetComponent <Animator> ();
            playerAudio = GetComponent <AudioSource> ();
            // playerMovement = GetComponent <PlayerMovement> ();
            // playerShooting = GetComponentInChildren <PlayerShooting> ();

            // Set the initial health of the player.
            currentHealth = startingHealth;
        }


        void Update ()
        {
            // If the player has just been damaged...
            if(damaged)
            {
                // ... set the colour of the damageImage to the flash colour.
                damageImage.color = flashColour;
            }
            // Otherwise...
            else
            {
                // ... transition the colour back to clear.
                damageImage.color = Color.* (damageImage.color, Color.clear, flashSpeed * Time.deltaTime);
            }

            // Reset the damaged flag.
            damaged = false;
        }


        public void TakeDamage (int amount)
        {
            // Set the damaged flag so the screen will flash.
            damaged = true;

            // Reduce the current health by the damage amount.
            currentHealth -= amount;

            // Set the health bar's value to the current health.
            healthSlider.value = currentHealth;

            // Play the hurt sound effect.
            playerAudio.Play ();

            // If the player has lost all it's health and the death flag hasn't been set yet...
            if(currentHealth <= 0 && !isDead)
            {
                // ... it should die.
                Death ();
            }
        }


        void Death ()
        {
            // Set the death flag so this function won't be called again.
            isDead = true;

            // Turn off any remaining shooting effects.
            // playerShooting.DisableEffects ();

            // Tell the animator that the player is dead.
            // anim.SetTrigger ("Die");

            // Set the audiosource to play the death clip and play it (this will stop the hurt sound from playing).
            playerAudio.clip = deathClip;
            playerAudio.Play ();

            // Turn off the movement and shooting scripts.
            // playerMovement.enabled = false;
            // playerShooting.enabled = false;
        }


        public void RestartLevel ()
        {
            // Reload the level that is currently loaded.
            SceneManager.LoadScene (0);
        }
    }
}
これで、一度体験してみてください。
ゲーム空間に入れますが、移動も発砲することもできません。
テレポート
「Project」の「SteamVR → InteractionSystem → Teleport → Prefabs」のTeleportingを「Hierarchy」にドラッグアンドドロップしましょう。Teleportingは、VRでよくあるボタンお押している間に曲線が現れ、話すと曲線の先に移動するやつです。
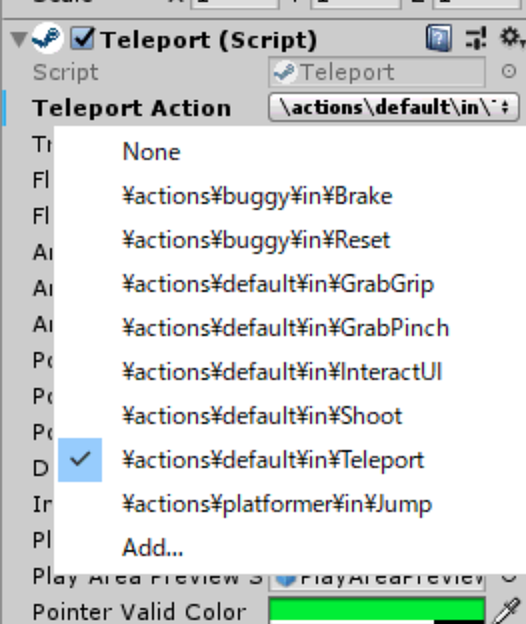
TeleportingのTeleport ActionをTeleportにします。
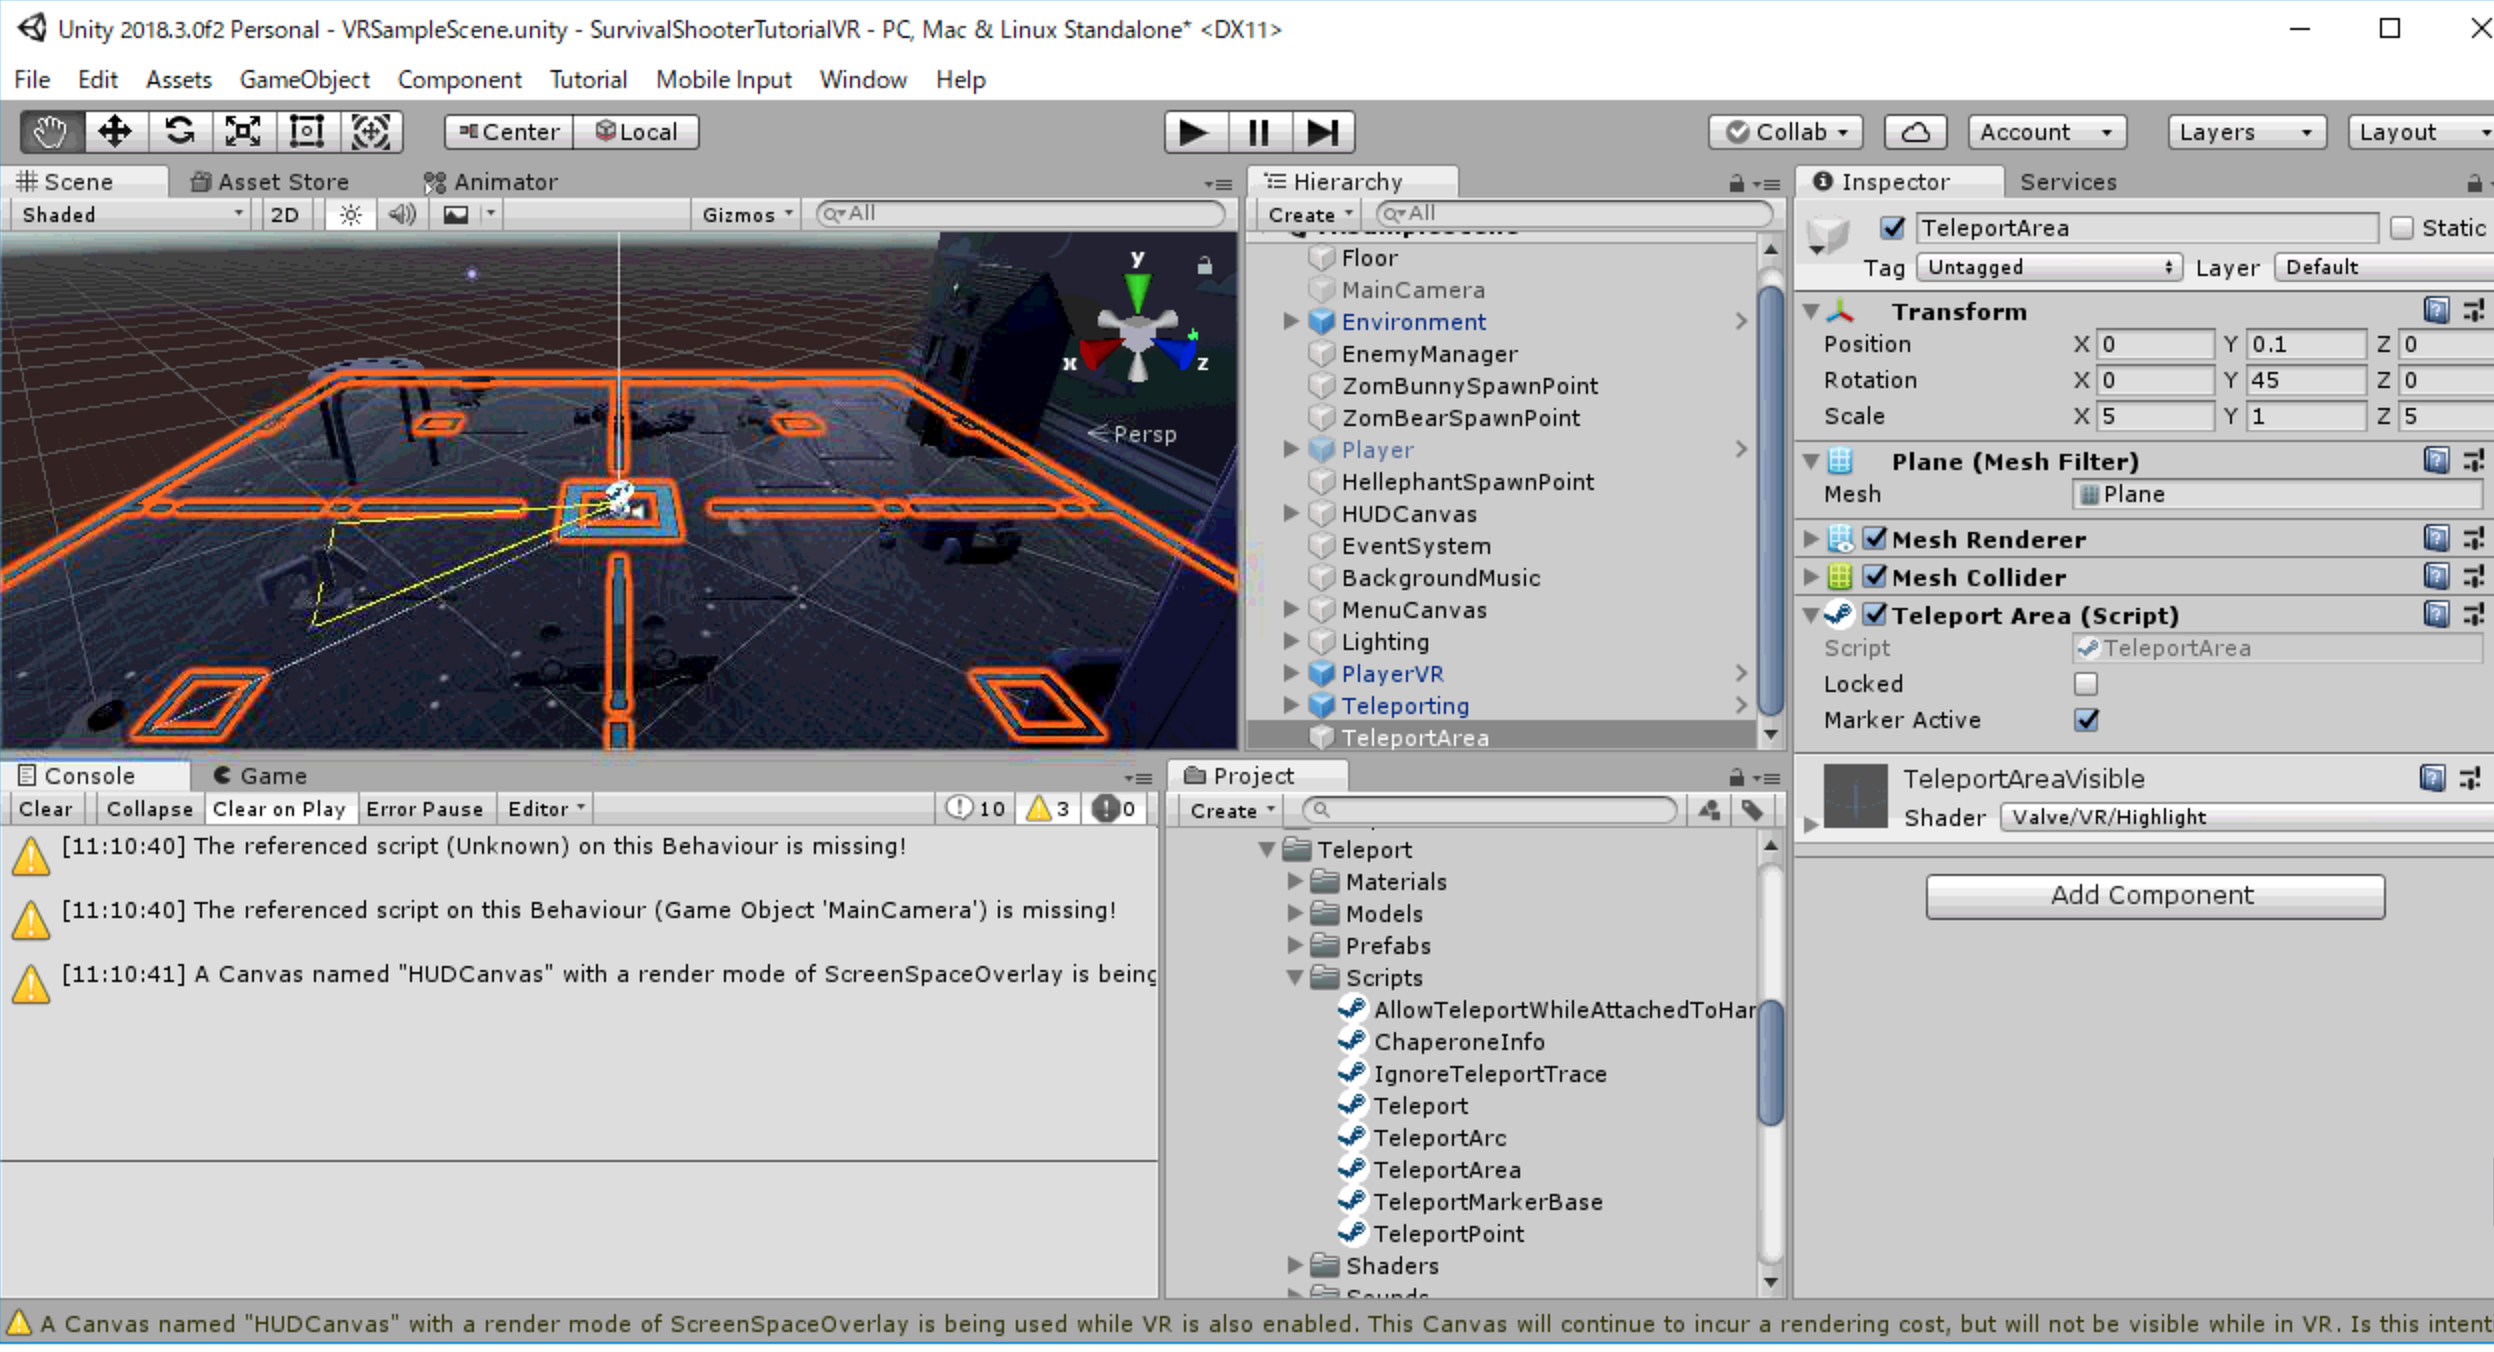
「Hierarchy」に新しくPlaneを作成し、名前をTeleportAreaとしましょう。
TeleportAreaは、Teleportingでテレポートできるスペースになります。
テレポート可能範囲として適切な大きさに調節し、高さを0.1ほど浮かせてください。浮かせないと床にめり込むためテレポートできません。
「Project」の「SteamVR → InteractionSystem → Teleport → Scripts」のTeleportArea.csをTeleportAreaにつけてください。このスクリプトをつけることで実際にTeleportAreaがTeleporitngでテレポートできるスペースになります。
ここで、一度体験してみてください。タッチパッドを押して離せばテレポートできるようになっているはずです。
攻撃手段の追加
「Project」の「Scripts → Player」にVRPlayerShooting.csを作成します。
「Hierarchy」のPlayerVR → SteamVRObjects → RightHandにEmpty Objectを作成し、名前をGunにして下さい。
旧PlayerについていたParticle System、Audio Source、Line Renderer、LightをGunにつけて下さい。
GunにVRPlayerShooting.csをつけましょう。
PlayerShooting.csと基本的に中身は同じです。先ほど設定した Shootアクションで発砲できるように改変してあります。
using UnityEngine;
using Valve.VR;

namespace CompleteProject
{
    public class VRPlayerShooting : MonoBehaviour
    {
        public SteamVR_Input_Sources HandType;
        public SteamVR_Action_Boolean ShootAction;

        public int damagePerShot = 20;
        public float timeBetweenBullets = 0.15f;
        public float range = 100f;


        float timer;
        Ray shootRay = new Ray();
        RaycastHit shootHit;
        int shootableMask;
        ParticleSystem gunParticles;
        LineRenderer gunLine;
        AudioSource gunAudio;
        Light gunLight;
        float effectsDisplayTime = 0.2f;

        void Awake ()
        {
            shootableMask = LayerMask.GetMask ("Shootable");
            gunParticles = GetComponent<ParticleSystem> ();
            gunLine = GetComponent <LineRenderer> ();
            gunAudio = GetComponent<AudioSource> ();
            gunLight = GetComponent<Light> ();
        }

        void Update ()
        {
            timer += Time.deltaTime;

            if (ShootAction.GetStateDown(HandType))
            {
                Shoot ();
            }

            if(timer >= timeBetweenBullets * effectsDisplayTime)
            {
                DisableEffects ();
            }
        }

        public void DisableEffects ()
        {
            gunLine.enabled = false;
            gunLight.enabled = false;
        }

        void Shoot ()
        {
            timer = 0f;

            gunAudio.Play ();

            gunLight.enabled = true;

            gunParticles.Stop ();
            gunParticles.Play ();

            gunLine.enabled = true;
            gunLine.SetPosition (0, transform.position);

            shootRay.origin = transform.position;
            shootRay.direction = transform.forward;

            if(Physics.Raycast (shootRay, out shootHit, range, shootableMask))
            {

                EnemyHealth enemyHealth = shootHit.collider.GetComponent <EnemyHealth> ();
                if(enemyHealth != null)
                {
                    enemyHealth.TakeDamage (damagePerShot, shootHit.point);
                }
                gunLine.SetPosition (1, shootHit.point);
            }
            else
            {
                gunLine.SetPosition (1, shootRay.origin + shootRay.direction * range);
            }
        }
    }
}
SteamVR_Input_Sourcesで左右どちらのControllerか、SteamVR_Action_*でなんのアクションかを定義できるようにします。今回は値がbooleanのアクションなので、SteamVR_Action_Booleanを使用しています。
public SteamVR_Input_Sources HandType;
public SteamVR_Action_Boolean ShootAction;
定義したアクションがどのControllerで押されたかを検知するには、GetStateDownを使用します。ちなみに、ボタンを離した時を検知したい場合はGetStateUpです。
if (ShootAction.GetStateDown(HandType))
    {
        Shoot ();
    }
GunについているVRPlayerShootingを以下のように設定しましょう。

これで、Controllerのトリガーを引けば、Shootアクションが発火し、発砲できるようになっています。
最後に
割と簡単にVR化できました。
本来はUI対応、テレポートの移動量制限等やらないといけないことはあるが 、力尽きたためできませんでした。
実際普通のゲームもVRゲームも作る難易度は変わらないと思います。
ビビらずVRゲーム作ってみませんか?