概要
Next.js(TypeScript)とFirebase Hosting,Github Actions,microCMSを使って自動デプロイをできるようにする。
使用技術
- Next.js 13.1.0
- React 18.2.0
- TypeScript 4.9.4
- ESLint 8.30.0
全体の流れ
- Next.jsでプロジェクトを作成
- firebaseの設定
- microCMSの導入
- firebase hosting,github actions,microCMSをつなげる
Next.jsでプロジェクトを作成
まずは、Next.jsのプロジェクトを作ります。今回はexample-appというプロジェクト名は、なんでも大丈夫です。
% yarn create next-app example-app

#以下の文が出たら成功
Success! Created example-app at /***/example-app

#作成したプロジェクトに移動
% cd example-app
次に静的HTMLのエクスポートを可能にするために、buildスクリプトにnext exportを追加します。
"scripts": {
  "dev": "next dev",
- "build": "next build",
+ "build": "next build && next export",
  "start": "next start",
  "lint": "next lint"
}
ローカルサーバーで静的ファイルをホスティングし動作確認できるように、devDependenciesにserveというパッケージをインストールします。
% yarn add -D serve
build & serveを実行するため、serveスクリプトを追加します。
"scripts": {
  "dev": "next dev",
  "build": "next build && next export",
+ "export": "yarn build && serve ./out",
  "start": "next start",
  "lint": "next lint"
}
画像最適化をさせないためにnext.config.jsに追記します。
/** @type {import('next').NextConfig} */
const nextConfig = {
  reactStrictMode: true,
+  images: {
+   unoptimized: true,
+ },
}

module.exports = nextConfig
ここまで来たら、githubにpushをしておいて下さい。
Firebaseプロジェクトの作成
以下からFirebaseに移動して下さい。
アカウントを持ってない場合は作って下さい。
https://console.firebase.google.com/
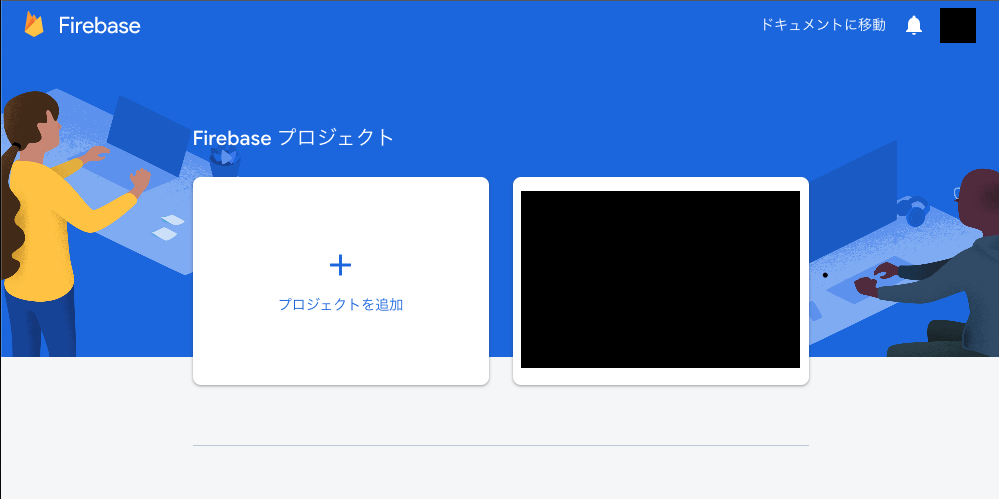
上の画面が出たら、プロジェクトを追加を押します。
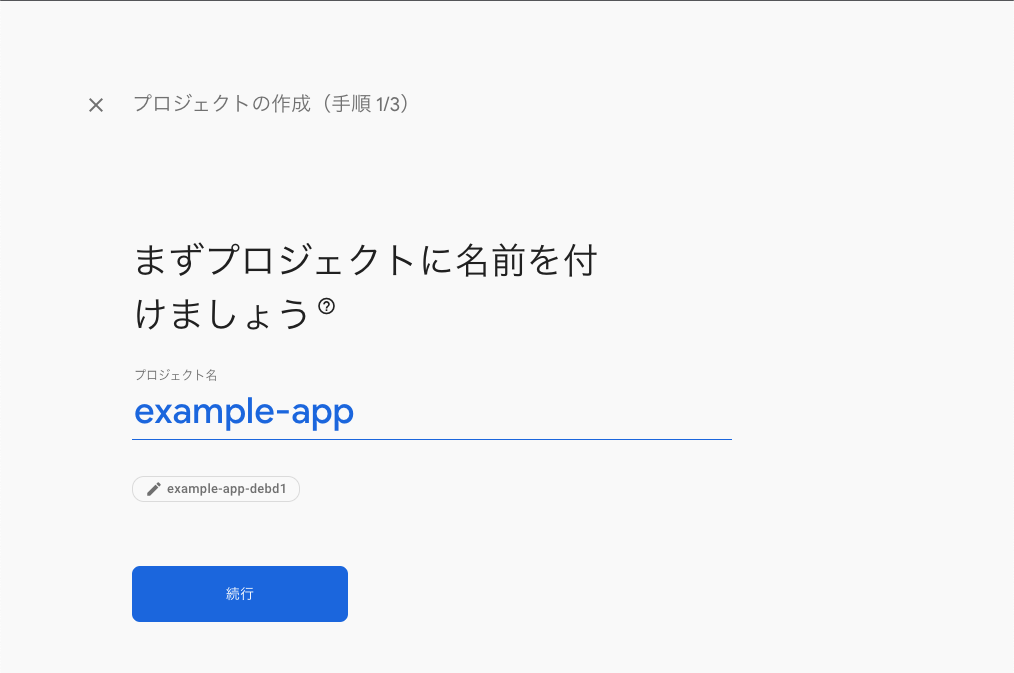
プロジェクト名はなんでも大丈夫です。
今回はexample-appにします。
続行をクリックします。
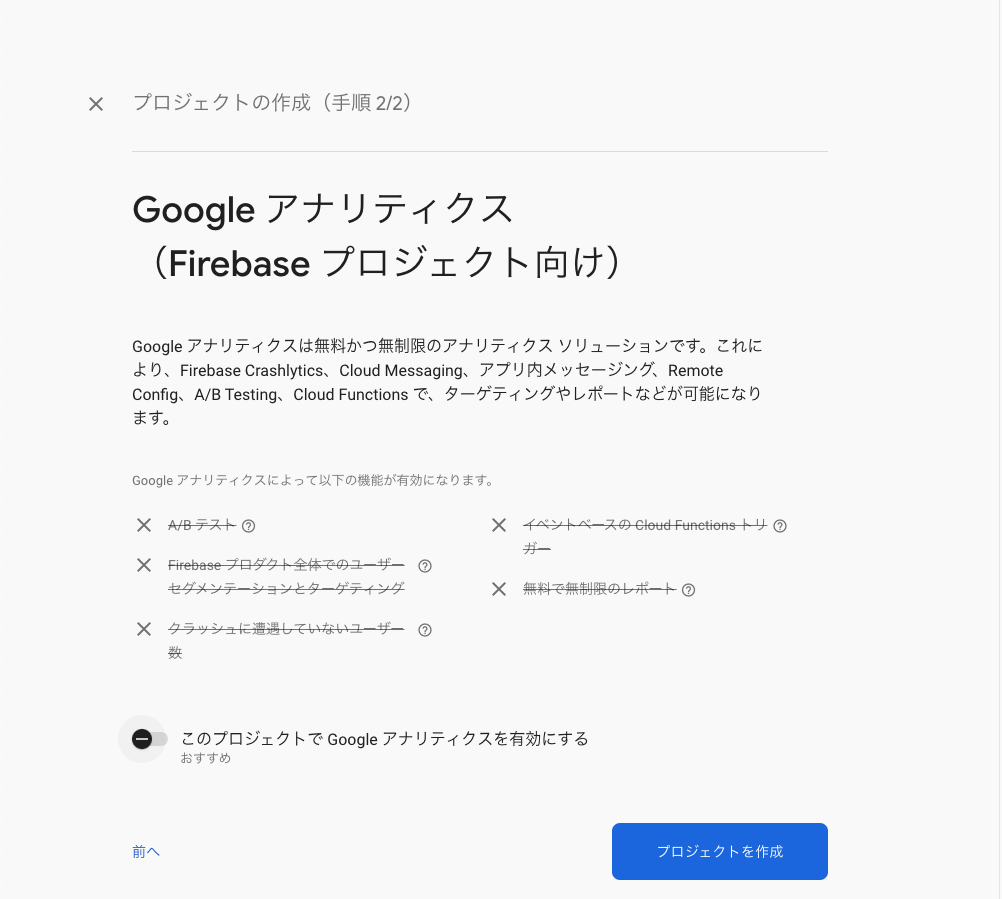
プロジェクト作成をクリックします。
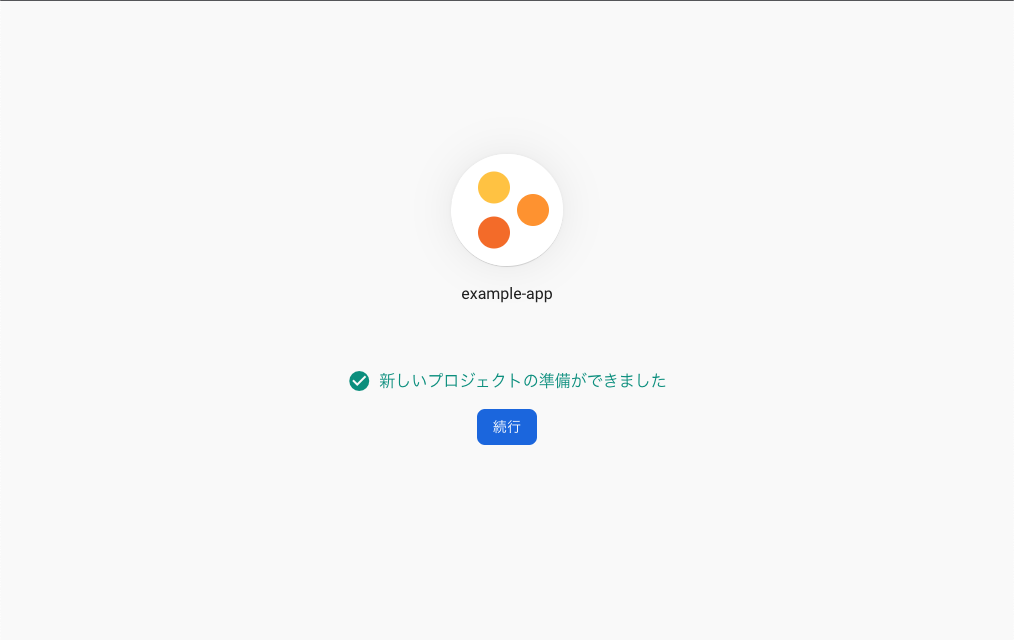
続行をクリックします。
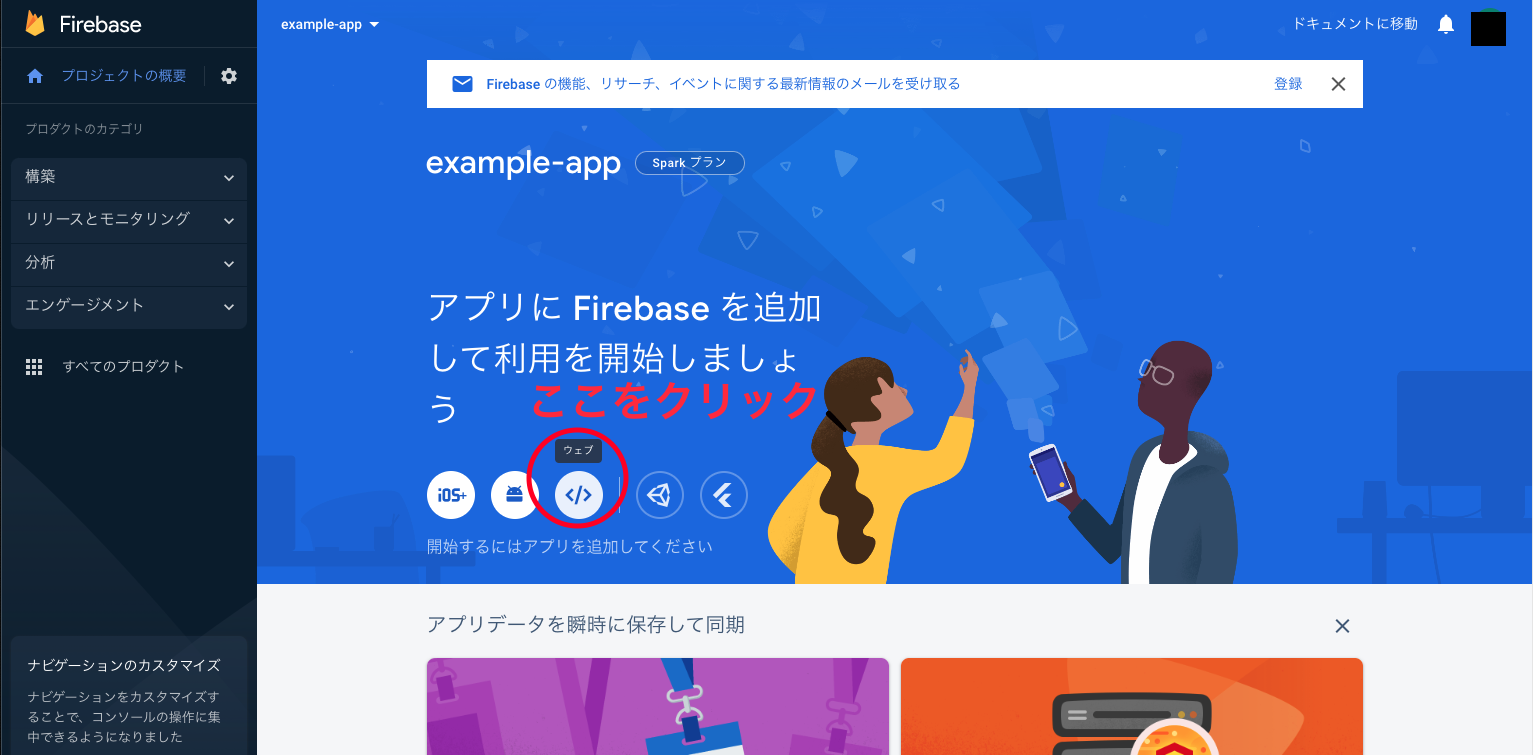
上の画像の赤円の中にあるウェブをクリック
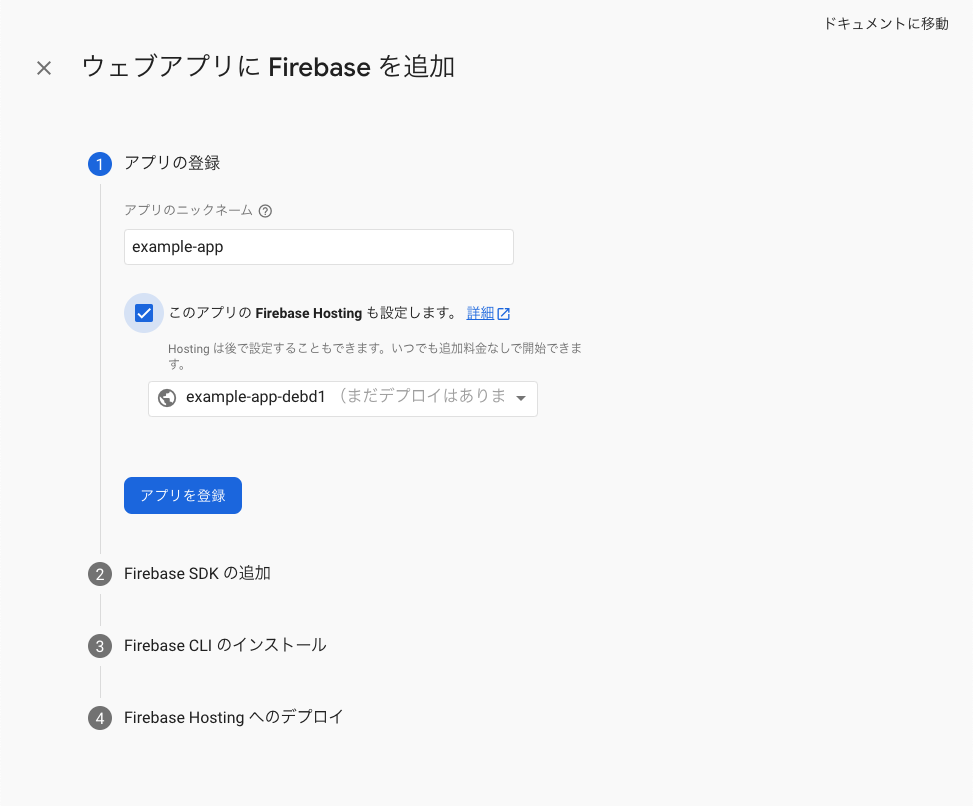
アプリのニックネームをexample-appにして、このアプリのFirebase Hostingも設定します。にチェックを入れて、アプリを登録します。
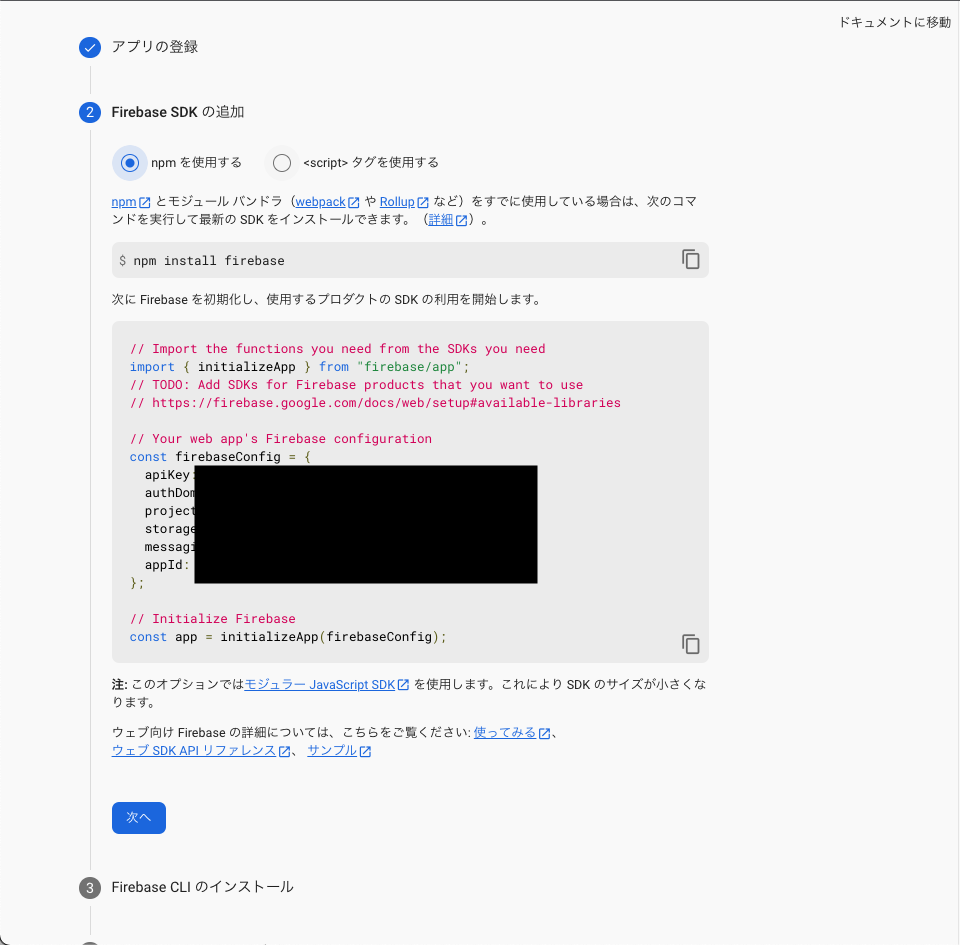
上の画像のように、npm install firebaseをするんですが、今回はyarnを使うことにします。もちろんnpmでも大丈夫です。
% yarn add firebase
# npm install firebase でも可
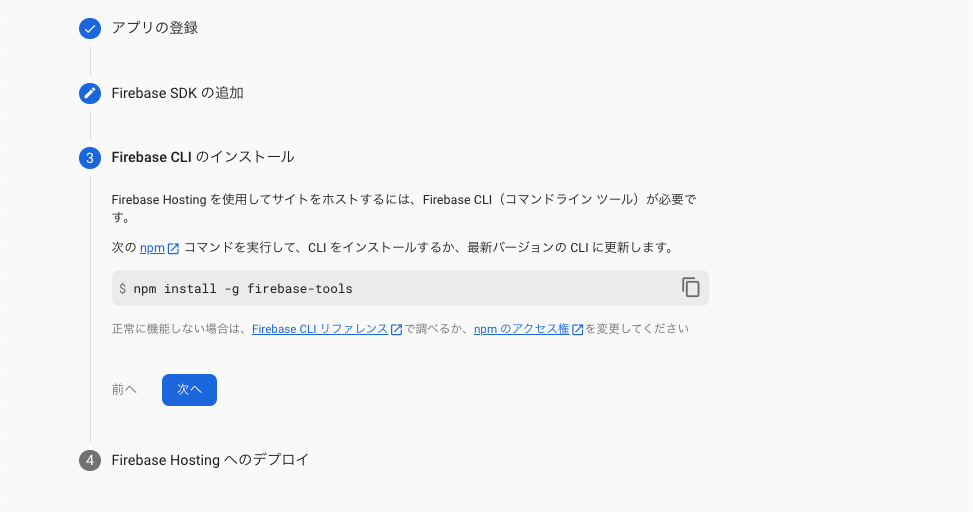
今回もyarnを使っていきます。
% yarn add firebase-tools
# npm install -g firebase-tools でも可
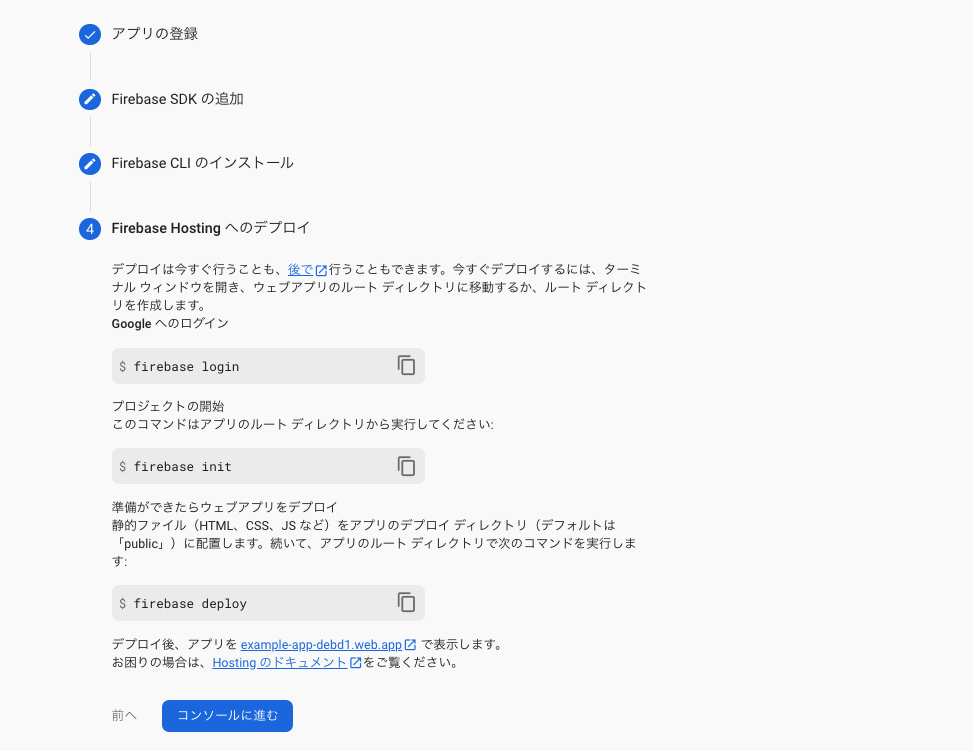
まずはFirebaseにログインしていきます。
ログインをしようとすると質問されるのでyesで答えます。
% yarn firebase login
i  Firebase optionally collects CLI and Emulator Suite usage and error reporting information to help improve our products. Data is collected in accordance with Google's privacy policy (https://policies.google.com/privacy) and is not used to identify you.

? Allow Firebase to collect CLI and Emulator Suite usage and error reporting information? (Y/n) Yes
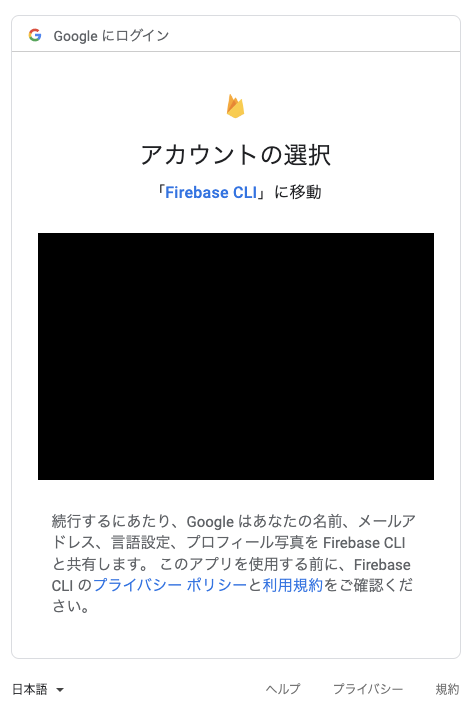
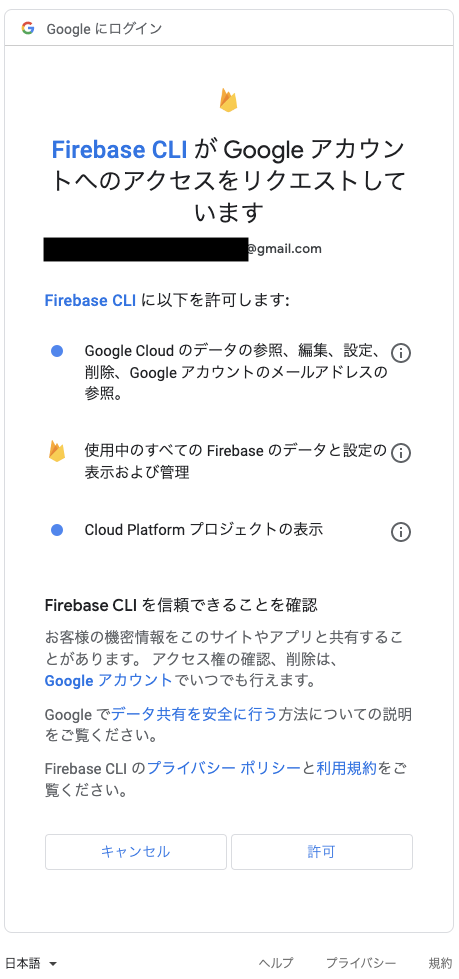
すると、Googleのアカウント選択のサイトに遷移します。
お使いのアカウントを選択して、リクエストを許可して下さい。
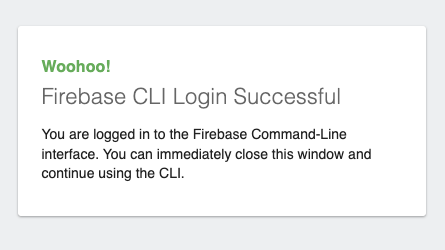
画面に以下の画像が表示されれば成功です。
次にFirebaseプロジェクトの初期設定をしていきます。
% yarn firebase init


     ######## #### ########  ######## ########     ###     ######  ########
     ##        ##  ##     ## ##       ##     ##  ##   ##  ##       ##
     ######    ##  ########  ######   ########  #########  ######  ######
     ##        ##  ##    ##  ##       ##     ## ##     ##       ## ##
     ##       #### ##     ## ######## ########  ##     ##  ######  ########
yarn firebase initをすると、でっかいFIREBASEが出てきて、たくさん質問に答えていきます。
? Which Firebase features do you want to set up for this directory? Press Space to select features, then
Enter to confirm your choices.

A. Hosting: Configure files for Firebase Hosting and (optionally) set up GitHub Action deploys

=== Project Setup

First, let's associate this project directory with a Firebase project.
You can create multiple project aliases by running firebase use --add,
but for now we'll just set up a default project.

? Please select an option: Use an existing project
? Select a default Firebase project for this directory:

#自分で作ったfirebaseのディレクトリを選ぶ
A. example-app-debd1 (example-app)

i  Using project example-app-debd1 (example-app)

=== Hosting Setup

Your public directory is the folder (relative to your project directory) that
will contain Hosting assets to be uploaded with firebase deploy. If you
have a build process for your assets, use your build's output directory.

? What do you want to use as your public directory?
A. out

? Configure as a single-page app (rewrite all urls to /index.html)?
A. No

? Set up automatic builds and deploys with GitHub?
A. Yes

✔  Wrote out/404.html
✔  Wrote out/index.html

i  Detected a .git folder at /Users/example-app
i  Authorizing with GitHub to upload your service account to a GitHub repository's secrets store.

Visit this URL on this device to log in:
https://github.com/login/oauth/authorize?client_id=89cf50f02ac6aaed3484&state=591509360&redirect_uri=http%3A%2F%2Flocalhost%3A9005&scope=read%3Auser%20repo%20public_repo

Waiting for authentication...

✔  Success! Logged into GitHub as user_name

? For which GitHub repository would you like to set up a GitHub workflow? (format: user/repository)
#GitHubのuser_name/作ったリポジトリ名
A. user_name/example-app

✔  Created service account github-action-582462022 with Firebase Hosting admin permissions.
✔  Uploaded service account JSON to GitHub as secret FIREBASE_SERVICE_ACCOUNT_EXAMPLE_APP_DEBD1.

? Set up the workflow to run a build script before every deploy?
A. Yes

? What script should be run before every deploy?
A. yarn install && yarn build

✔  Created workflow file /Users/example-app/.github/workflows/firebase-hosting-pull-request.yml
? Set up automatic deployment to your site's live channel when a PR is merged?
A. Yes

? What is the name of the GitHub branch associated with your site's live channel?
A. main

✔  Created workflow file /Users/example-app/.github/workflows/firebase-hosting-merge.yml

i  Action required: Visit this URL to revoke authorization for the Firebase CLI GitHub OAuth App:
https://github.com/settings/connections/applications/89cf50f02ac6aaed3484
i  Action required: Push any new workflow file(s) to your repo

i  Writing configuration info to firebase.json...
i  Writing project information to .firebaserc...

✔  Firebase initialization complete!
ここでローカル側でデプロイのためのビルドフォルダを作成します。
% npm run build
ここで、一旦git pushをしておいて下さい。
そしたら、デプロイをしていきます。
% yarn firebase deploy

=== Deploying to 'example-app-debd1'...

i  deploying hosting
i  hosting[example-app-debd1]: beginning deploy...
i  hosting[example-app-debd1]: found 24 files in out
✔  hosting[example-app-debd1]: file upload complete
i  hosting[example-app-debd1]: finalizing version...
✔  hosting[example-app-debd1]: version finalized
i  hosting[example-app-debd1]: releasing new version...
✔  hosting[example-app-debd1]: release complete

✔  Deploy complete!

Project Console: https://console.firebase.google.com/project/example-app-debd1/overview
Hosting URL: https://example-app-debd1.web.app
デプロイに成功したら、https://example-app-debd1.web.appにアクセスしてみましょう。
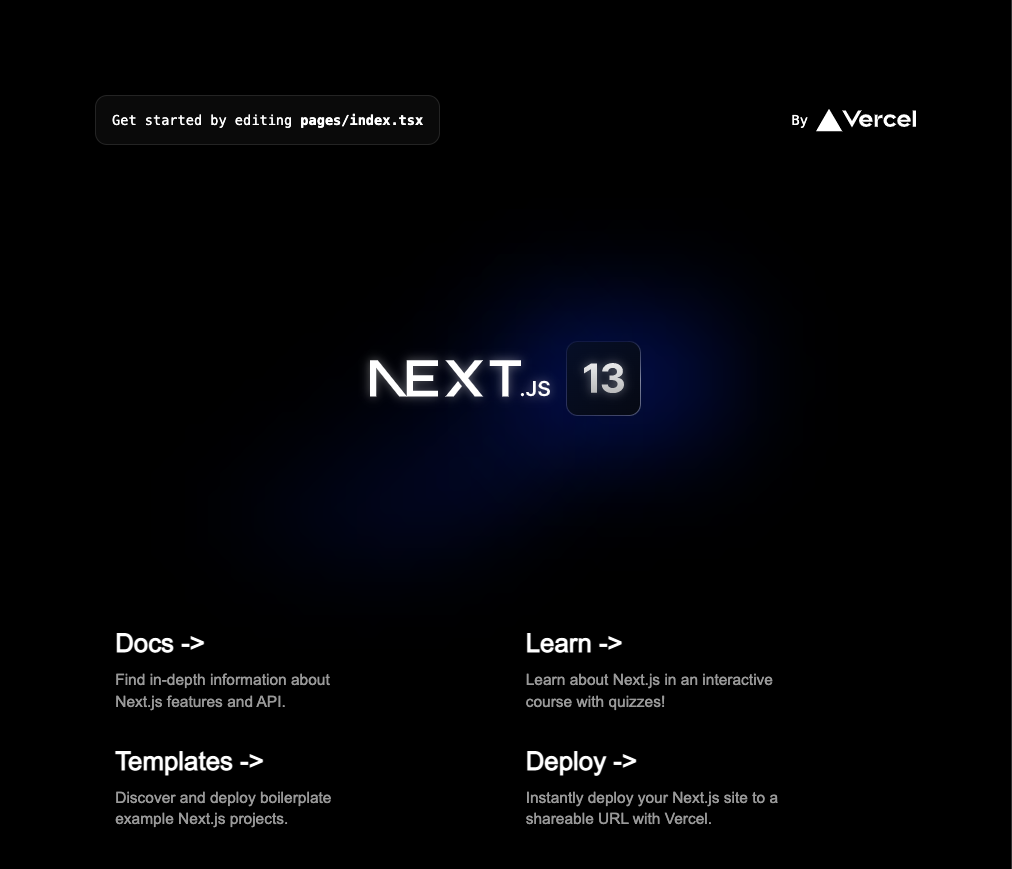
今回は上の画面になったら成功です!
microCMSの導入
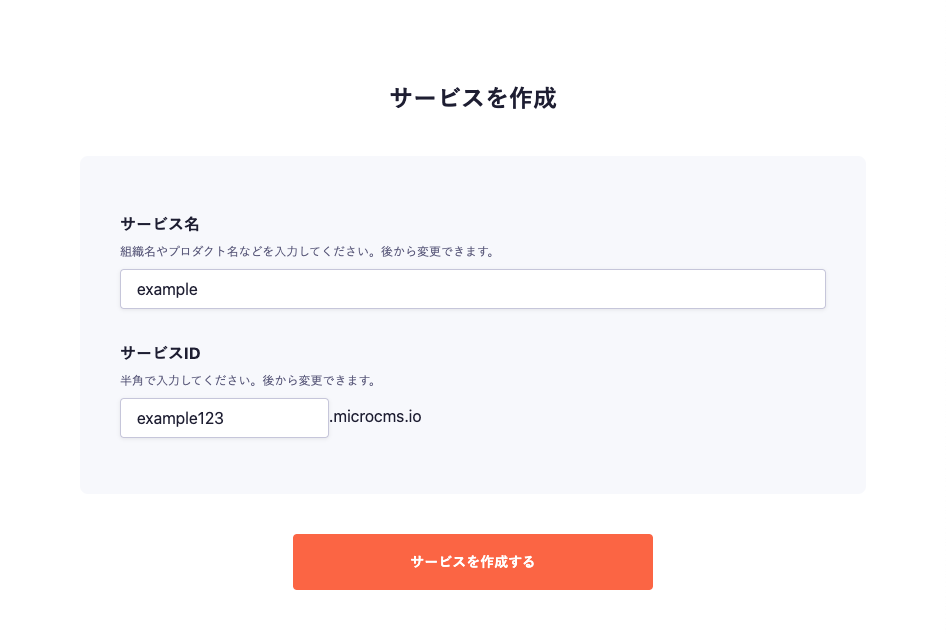
まずはサービスを作成します。
今回はサービス名をexample、サービスIDをexample123にしました。
サービス名、サービスIDが決定したら、サービスを作成するをクリックして下さい。
サービスを作成したら、サービスにアクセスするをクリックして下さい。

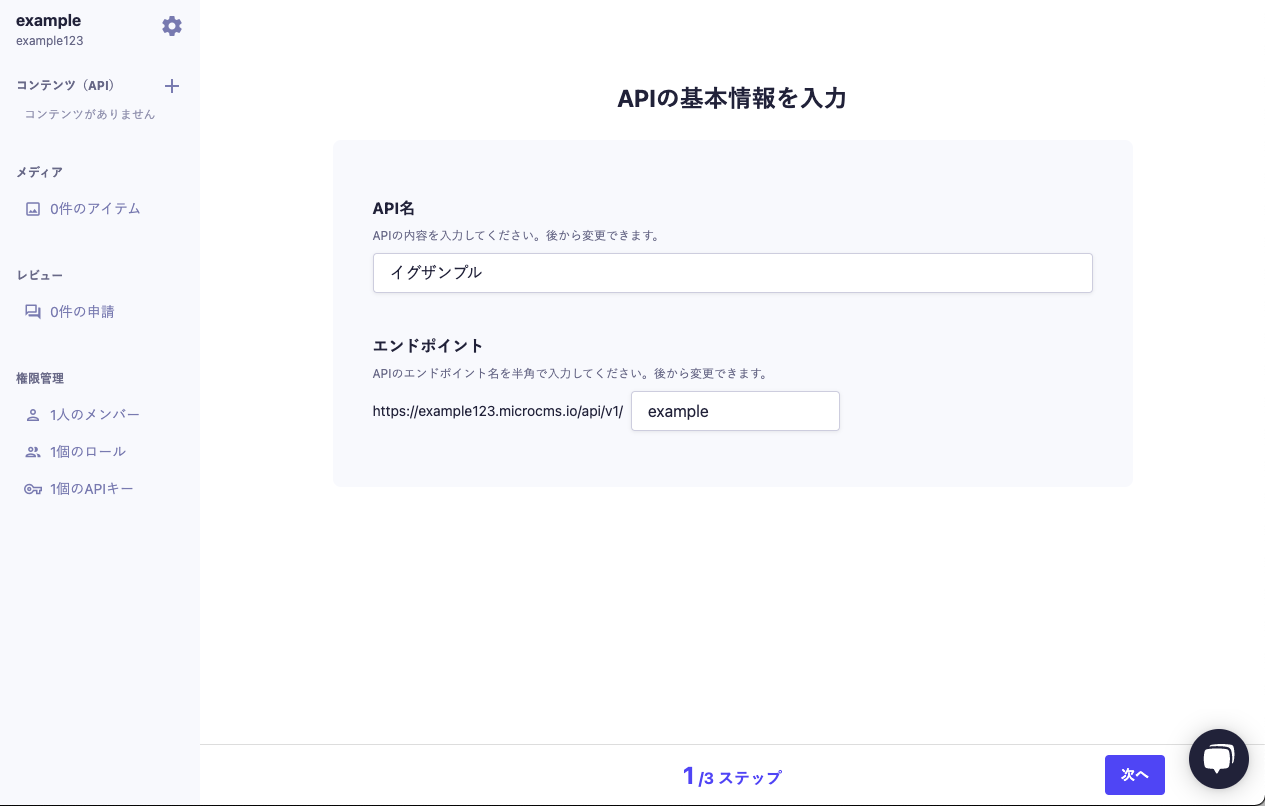
そうすると、以下のような画面になります。左上には、さっき決めたサービス名とサービスIDが書かれています。
そして、APIを作成の自分で決めるをクリックして下さい。

API名とエンドポイントを決めて下さい。
決めたら、次へをクリックして下さい。
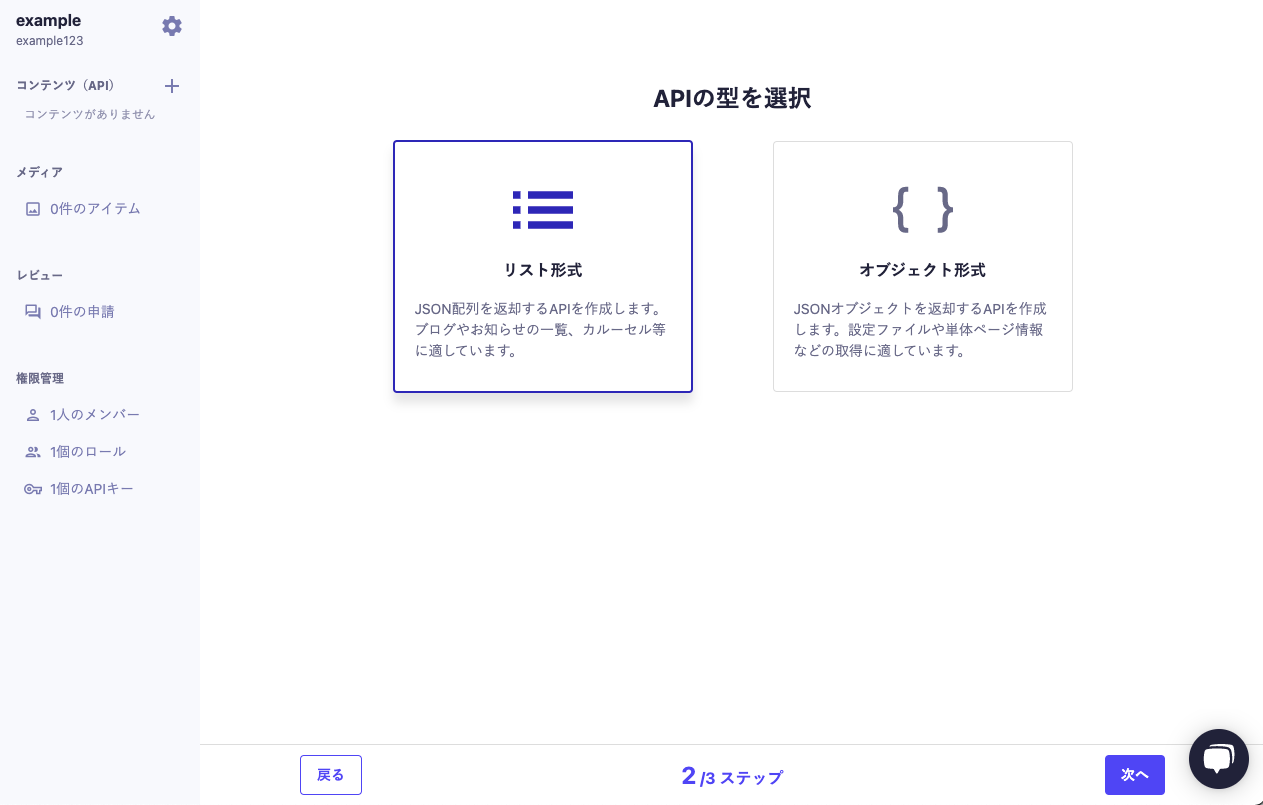
リスト形式をクリックします。
今回は以下のように定義して作成をクリックします。
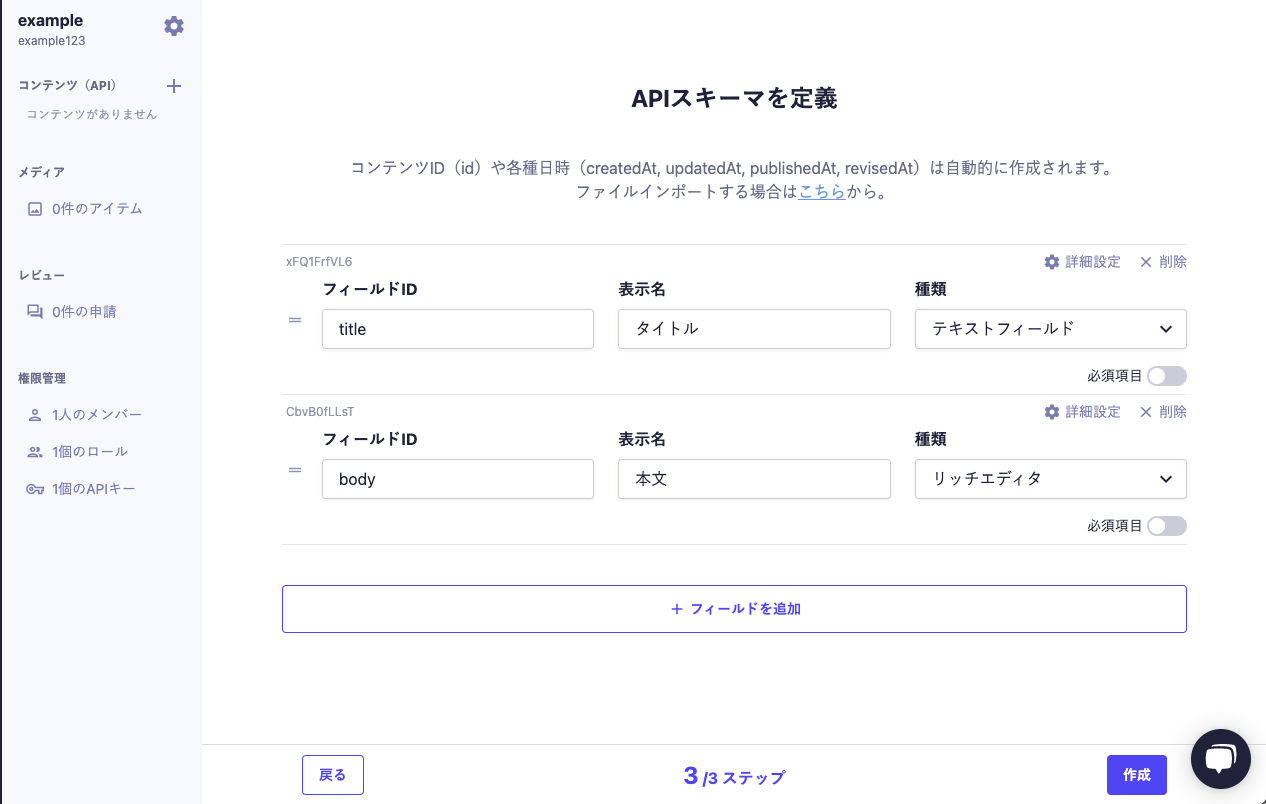
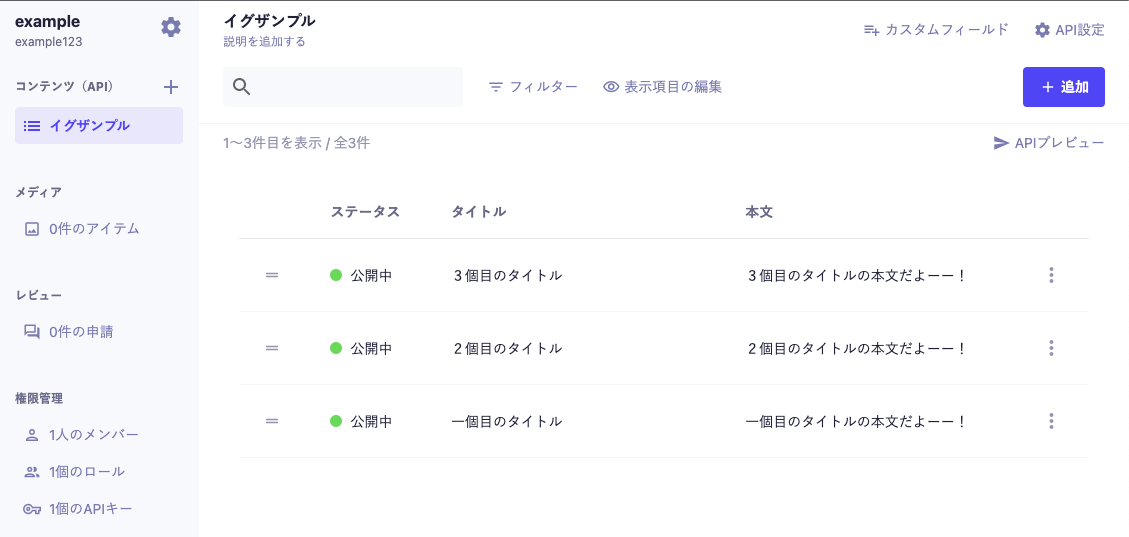
そうすると、以下のような画面に遷移して、左側のコンテンツ(API)にイグサンプルが追加されます。
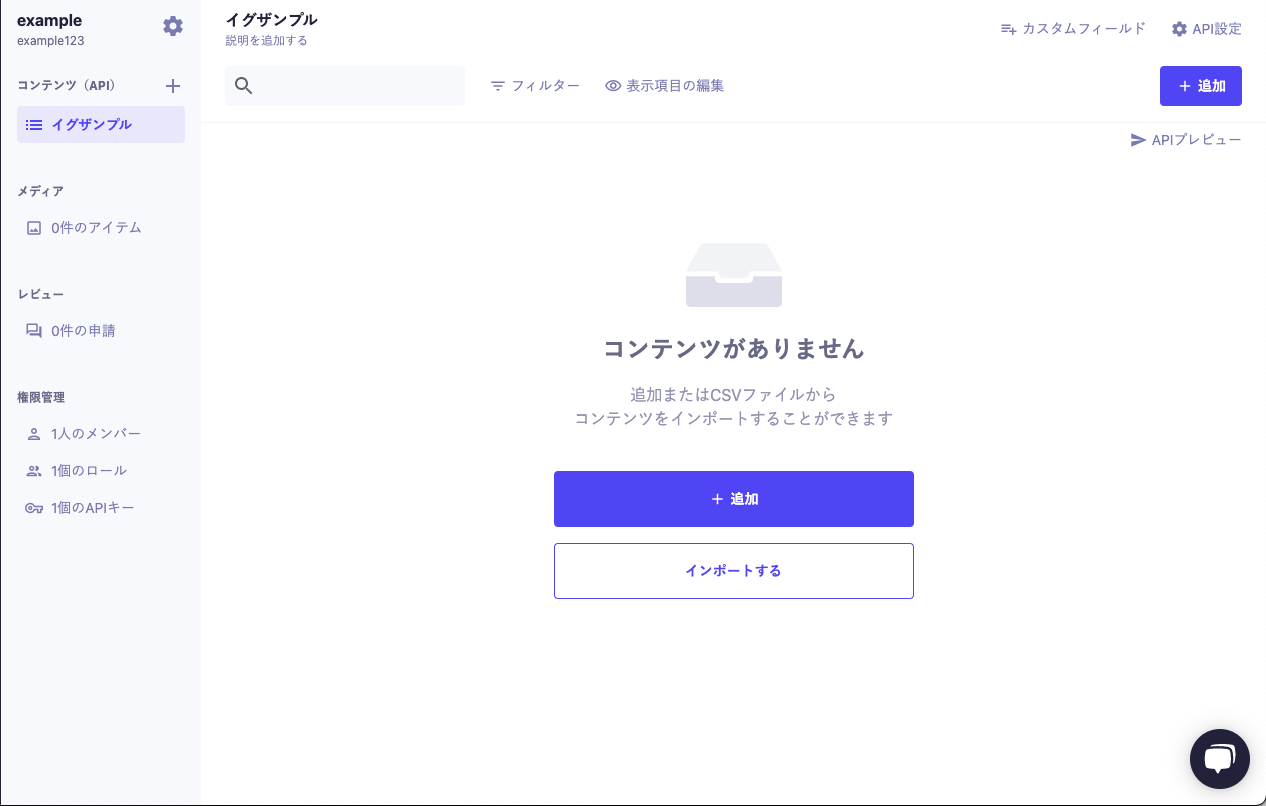
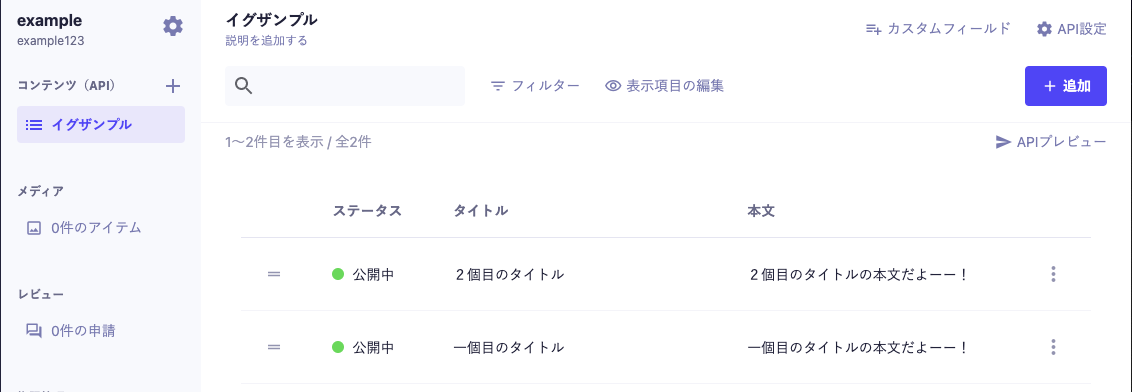
それでは、コンテンツを追加していきます。
追加をクリックすると、先ほど決めたタイトルと本文が出てきます。
適当にタイトル、本文を決めて公開をクリックして下さい。
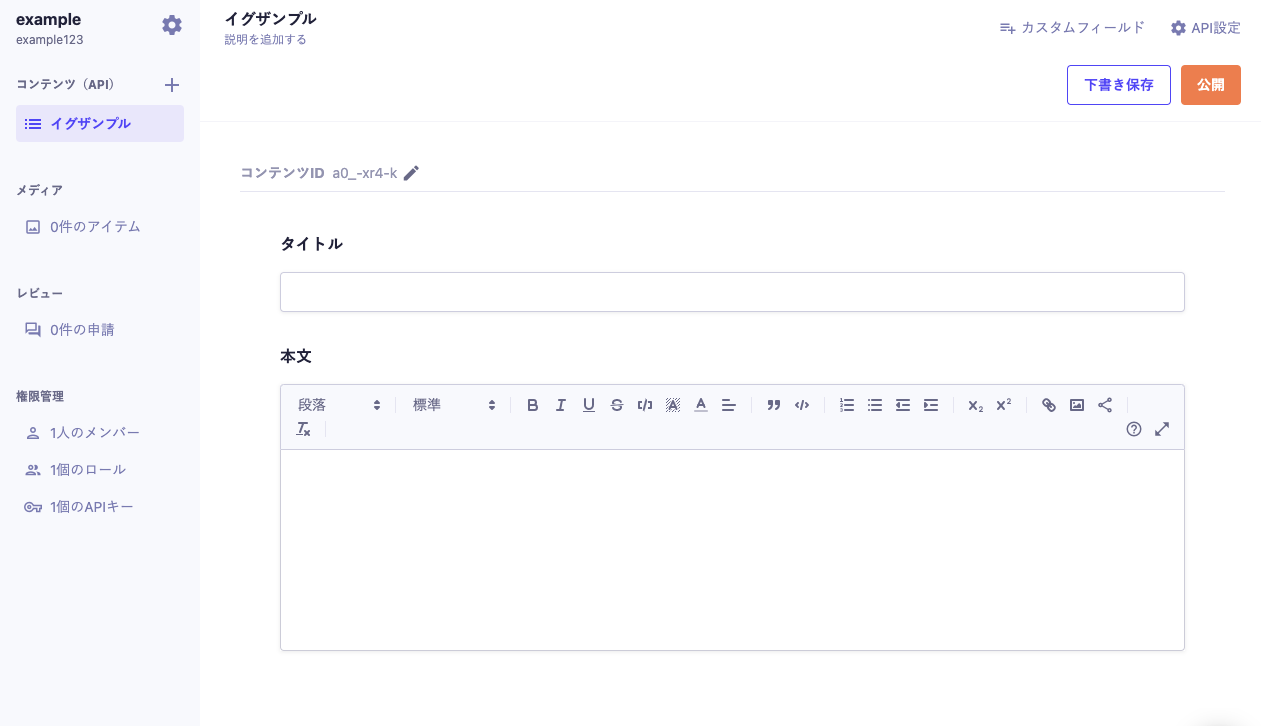
今回は2つ追加しました。

次に、API周りの準備をしていきます。
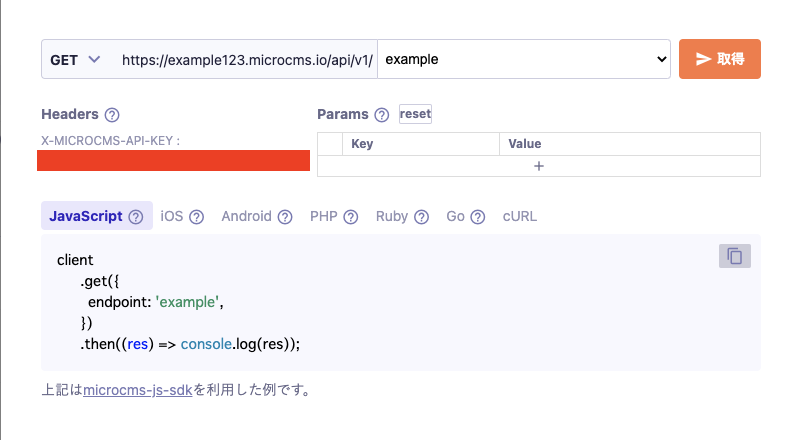
まず、上の画像の右上にあるAPIプレビューをクリックすると下のような画面が出てきます。
赤く隠れている部分にAPIキーがあります。これをコピーしましょう。
APIを保護するenvファイルを作ります。
% touch .env.development.local
ファイルを作ったら、APIを書き込みます。
*********のところに、先ほどコピーをしたAPIをペーストして下さい。
API_KEY=*********
公式から出ているmicrocms-js-sdkをインストールします。
そしてlibsフォルダと、その直下にclient.jsファイルを作り、ここでSDKの初期化をします。
#microcms-js-sdkをインストール
% npm install --save microcms-js-sdk

#libsフォルダとclient.jsファイルの作成
% mkdir libs
% touch libs/client.js
import { createClient } from 'microcms-js-sdk';

export const client = createClient({
  serviceDomain: 'example123',
  apiKey: process.env.API_KEY,
});
example123はサービスIDです。
ここまできたら、ブログを表示させていきます。
まず、typesフォルダを作って、その直下にexampleファイルを作ってtypeの定義をしていきます。
% mkdir types
% touch types/example.ts
export type Example = {
  id: string;
  title: string;
  body: string;
}
今度はindex.tsxを編集していきます。
import Link from "next/link";
import {
  GetStaticPaths,
  GetStaticProps,
  InferGetStaticPropsType,
  NextPage,
} from "next";
import { client } from "../libs/client";
import type {Example} from "../types/example";

type Props = {
  example: Example[]
}

const Home: NextPage<InferGetStaticPropsType<typeof getStaticProps>> = ({
  example,
}: Props) => {
  return (
    <div>
      <ul>
        {example.map((example) => (
          <li key={example.id}>
            <Link href={`/example/${example.id}`}>
              {example.title}
            </Link>
          </li>
        ))}
      </ul>
    </div>
  );
}


export const getStaticProps = async () => {
  const data = await client.get({ endpoint: "example" });

  return {
    props: {
      example: data.contents,
    },
  };
};


export default Home;
ここまで来たら、一旦ローカル環境で成功しているかを確かめましょう。
microCMSで作ったタイトルがhttp://localhost:3000に表示されていたら成功です。
% npm run dev

次は一つ一つの詳細画面(クッリクした後の画面)を作っていきます。
pagesフォルダの中にexampleフォルダを作って、またその中に[id].tsxを作ります。
import { client } from "../../libs/client";
import {
  GetStaticPaths,
  GetStaticProps,
  InferGetStaticPropsType,
  NextPage,
} from "next";
import type {Example} from "../../types/example";

type Props = {
  example: Example
}

const ExampleId: NextPage<InferGetStaticPropsType<typeof getStaticProps>> = ({
  example,
}: Props) => {
  return (
    <main>
      <h1>{example.title}</h1>
      <div
        dangerouslySetInnerHTML={{
          __html: `${example.body}`,
        }}
      />
    </main>
  );
}

export default ExampleId;

export const getStaticPaths = async () => {
  const data = await client.get({ endpoint: "example" });

  const paths = data.contents.map((content: any) => `/example/${content.id}`);
  return { paths, fallback: false };
};

export const getStaticProps = async (context: any) => {
  const id = context.params.id;
  const data = await client.get({ endpoint: "example", contentId: id });

  return {
    props: {
      example: data,
    },
  };
};
http://localhost:3000から詳細画面ができているが確認しましょう。
下の画面が表示されていたら成功です。

ここでgit pushをしておきましょう。
microCMSを編集してFirebaseにデプロイできるようにする
ここからは、microCMSからGitHub ActionsへWebhook通知し、Firebaseにデプロイできるようにしていきます。
まずは、GitHubトークンを生成していきます。
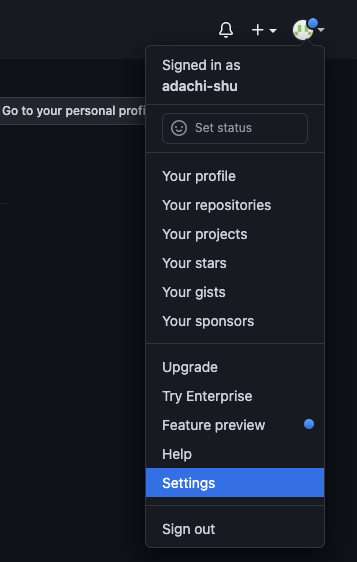
GitHubのページの右上にあるアイコンをクリックして出てくるメニューバーのSettingsをクリックします。
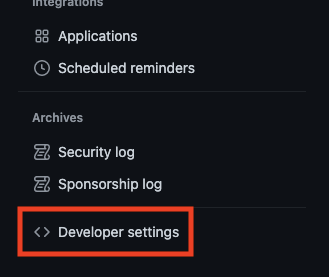
そしたら、画面の左側の一番下にあるDeveloper settingsをクリックします。
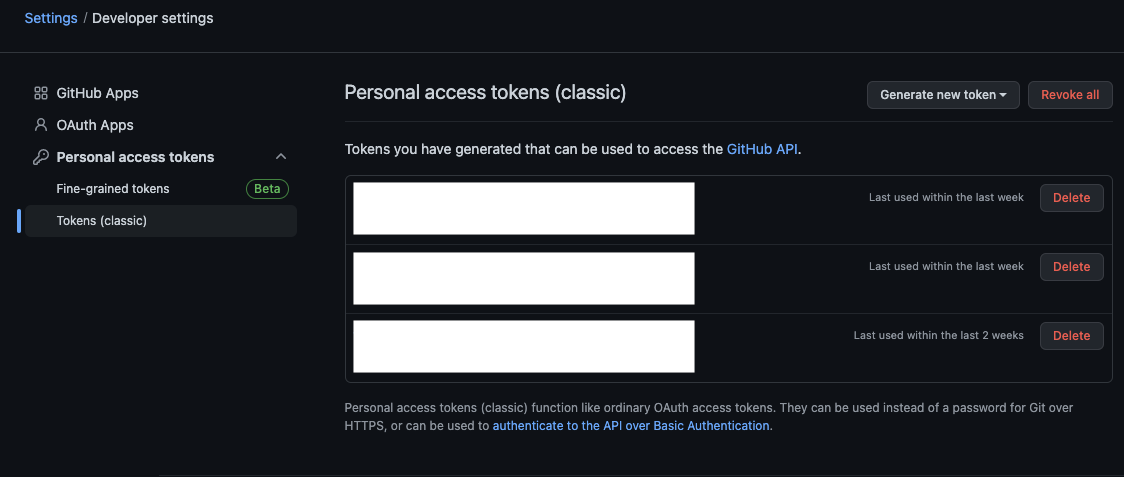
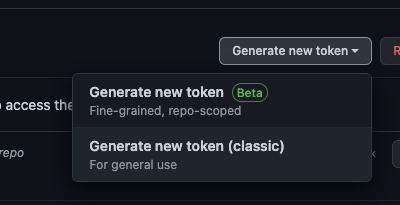
左側のPersonal access tokensのTokens (classic)をクリックして、右上にあるGenerate new token (classic)をクリックして新しいトークンを生成します。
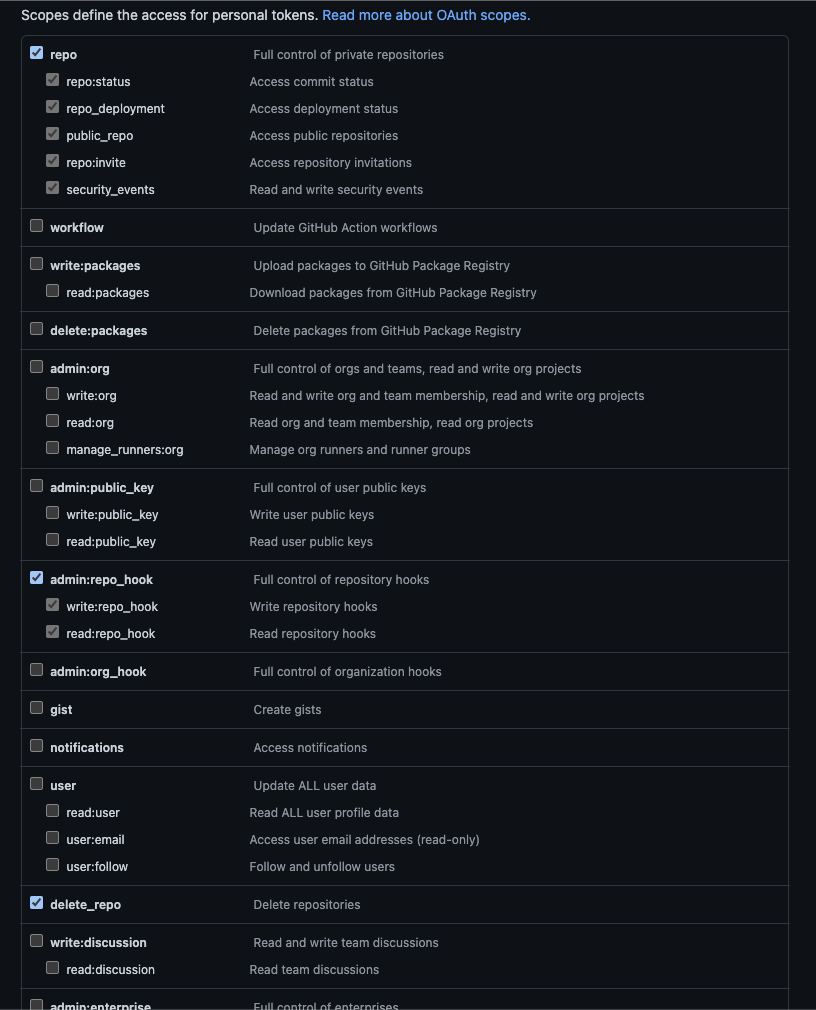
Noteにはupdate_exampleと入れて、下のチェックボックスは以下の画像のようにしたら、Generate tokenをクリックします。
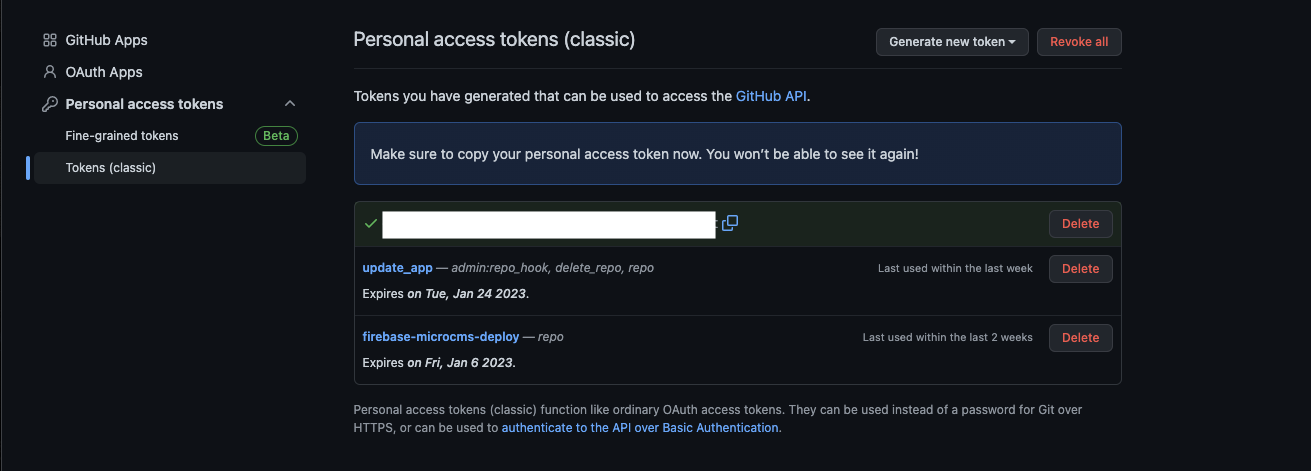
以下のように、無事トークンが生成されました。
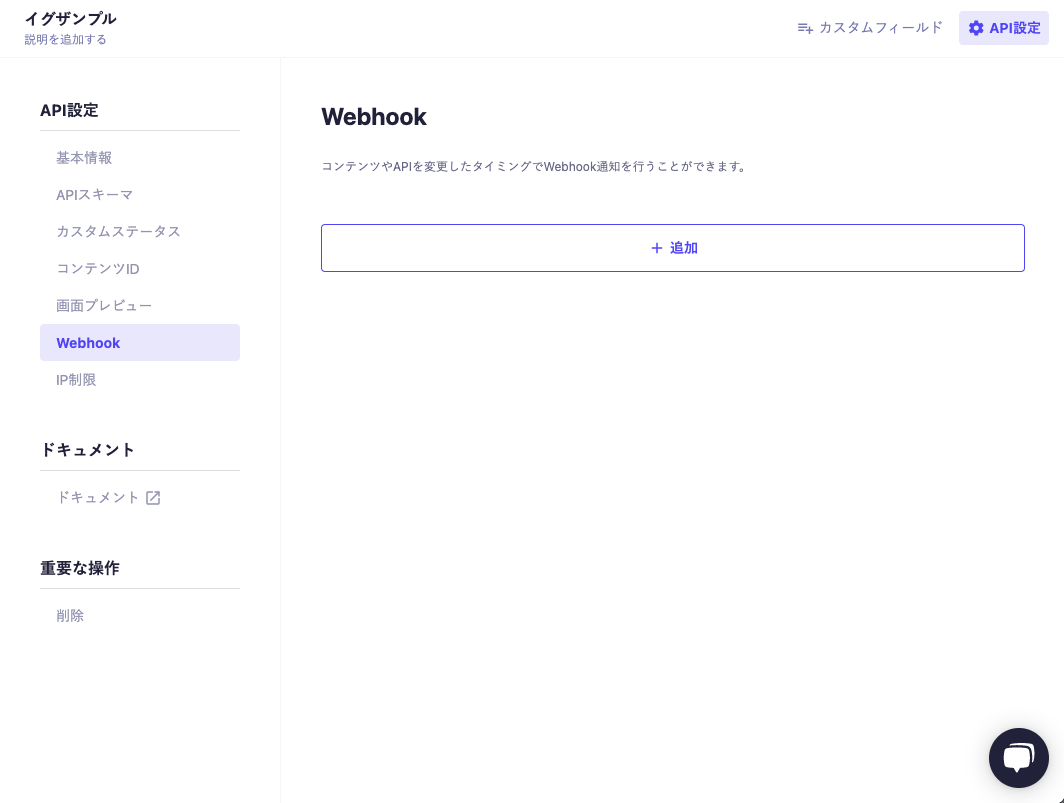
次はmicroCMSの方でWebhookの設定をしていきます。
右上にあるAPI設定からWebhookを選びます。
追加をクリックして、GitHub Actionsを選びます。
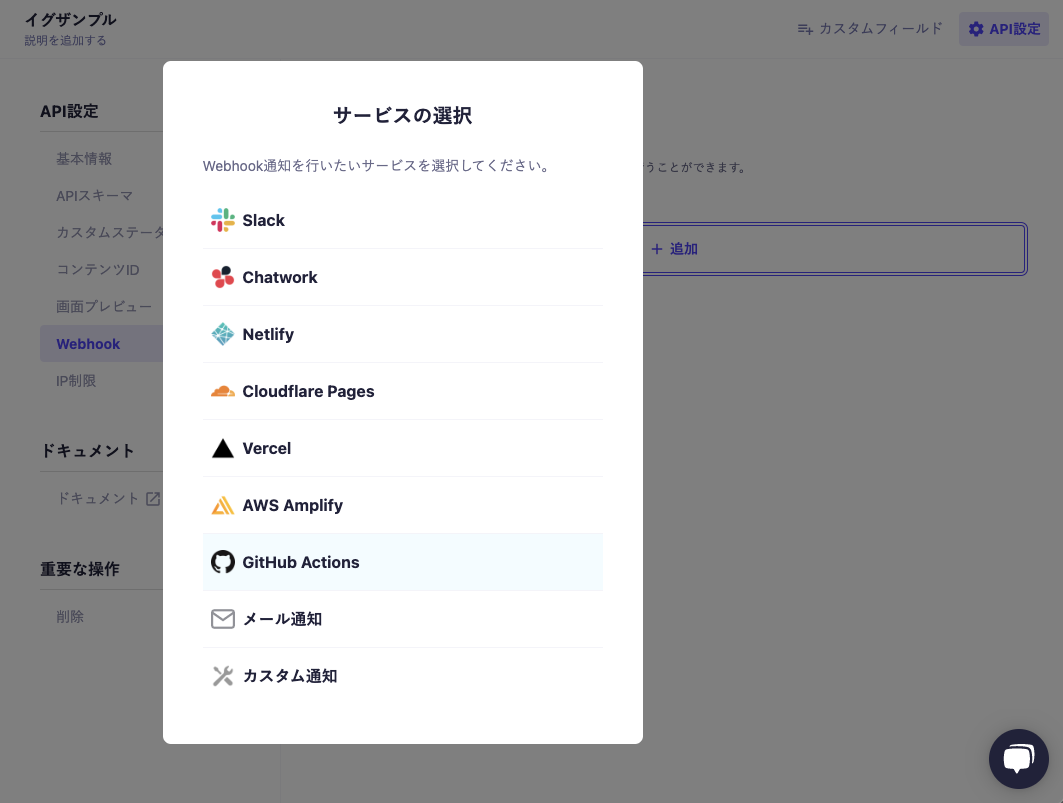
先ほど、生成したGitHubトークンとGitHubのユーザー名、リポジトリ名、トリガーイベント名を記入します。識別名は任意なので、お好きにどうぞ。
記入したら、設定するをクリックして下さい。

続いてGitHub Actionsの設定をしていきます。
該当のリポジトリページを開いて、Actionsのタブを選択します。
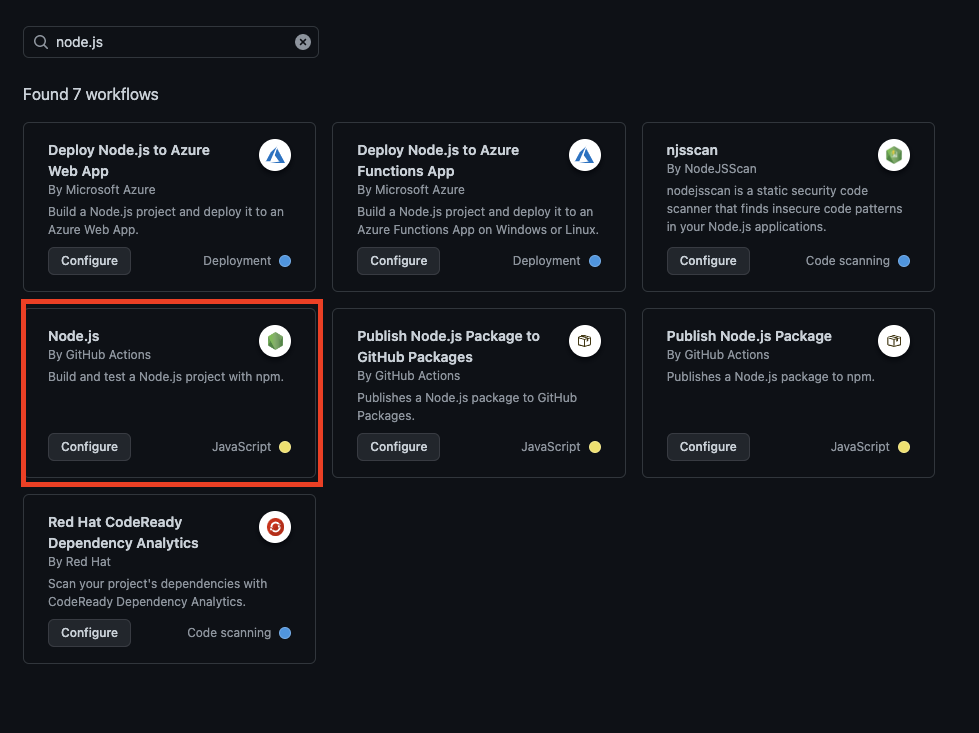
左側にあるNew workflowをクリックして、検索のところにnode.jsと検索すると、以下のようになります。Node.jsのconfigureをクリックして下さい。
そう出てきた、コードを以下のように変更してStart commitからCommit new fileをしてくだい。
name: Node.js CI

on:
  push:
    branches: [ "main" ]
  repository_dispatch:
    branches: [ "main" ]
    types: [update_example]

jobs:
  build:

    runs-on: ubuntu-latest

    steps:
    - uses: actions/checkout@v2
    - name: Use Node.js ${{ matrix.node-version }}
      uses: actions/setup-node@v1
      with:
        node-version: 18.12.1
    - run: touch .env
    - run: echo "API_KEY=${{ secrets.MICROCMS_EXAMPLE_API_KEY }}" >> .env
    - name: yarn install, build
      run: |
           yarn install
           yarn build
    - name: deploy to Firebase Hosting
      uses: w9jds/firebase-action@master
      with:
        args: deploy
      env:
        FIREBASE_TOKEN: ${{ secrets.FIREBASE_TOKEN }}
repository_dispatchのtypesはmicroCMSのWebhookで決めたトリガーイベント名です。
.envファイルはGithubnにはないので、APIキーをSecretsに設定します。
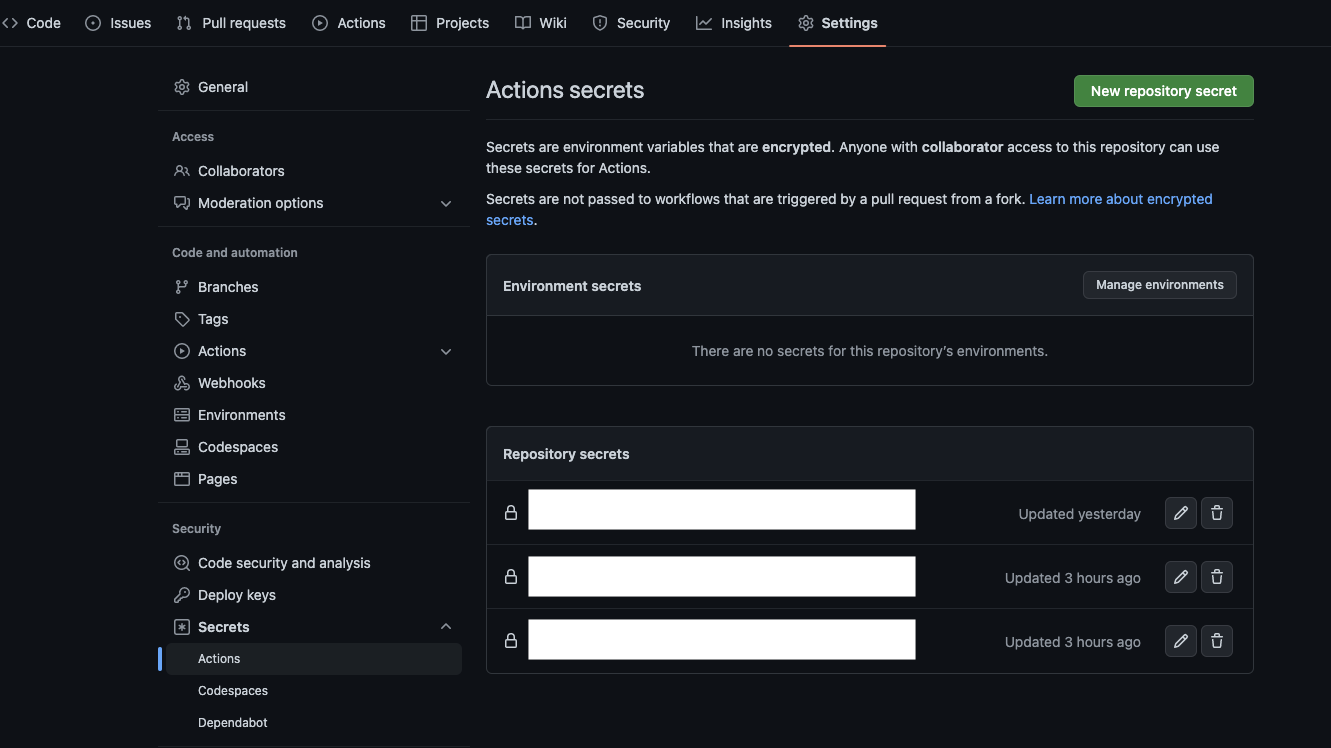
Settignsのタブを選択して、左側のSecretsのActionsを選び、右上のNew repository secretをクリックします。
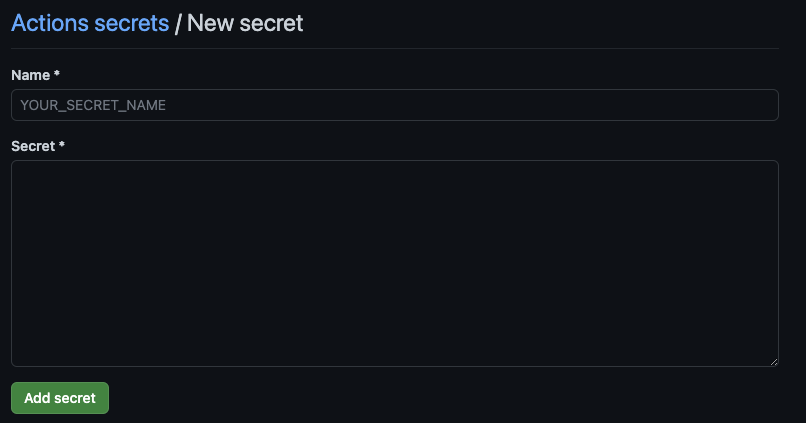
下のような画面が出たら、NameにはMICROCMS_EXAMPLE_API_KEYを記入して、Secretには .env.development.local
にある API_KEY=******** の********部分をコピペして、secretを追加して下さい。
次はFirebaseトークンをSecretsに設定します。
% firebase login:ci
上のを実行すると、Googleのログインの画面になるので、お使いのアカウトを選択しFirebase CLIを許可して下さい。
✔  Success! Use this token to login on a CI server:

**********************************

Example: firebase deploy --token "$FIREBASE_TOKEN"
上のようになったら、先ほどと同様にSecretsを設定します。
NameにはFIREBASE_TOKENを記入して、Secretには firebase login:ci で獲得した********をコピペして、secretを追加して下さい。
できたら、最終確認です。
microCMSから要素を追加します。
3個目のタイトルを追加しました。
GithubのActionsタプを選択して下さい.update_exampleが動いているのがわかります。

しばらく待って、成功すると以下のようになります。

https://example-app-debd1.web.appで確認すると、3個目のタイトルが追加されているのがわかります。
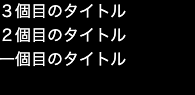
これで、自動デプロイ成功です。
最後に
お疲れ様でした。