ゼェ・・・ゼェ・・
次にWebサーバーとして利用できるようにするためのアプリケーションApache (アパッチ)のインストールと、DNSの設定をして行く序でにLAMP全部入れる。
httpサーバーApacheをインストールする
まずはサーバーにログイン
$ ssh -i ~/.ssh/kaiji tonegawa@tk0-000-00000.vs.sakura.ne.jp
Last login: Tue Oct 22 00:41:48 2019 from kd0000000000.ppp-bb.dion.ne.jp

SAKURA Internet [Virtual Private Server SERVICE]

[tonegawa@tk0-000-00000 ~]$
次にrootにスイッチ
[tonegawa@tk0-000-00000 ~]$ su -
パスワード:
最終ログイン: 2019/10/22 (火) 00:56:48 JST日時 pts/0
最後の失敗ログイン: 2019/10/30 (水) 01:14:20 JST日時 pts/0
最後の正しいログインの後に 46 回の失敗ログインの試行があります
[root@tk0-000-00000 ~]#
入れたら
# yum install httpd
ズラーっと流れて
Total download size: 2.8 M
Installed size: 9.6 M
Is this ok [y/d/N]:y
とyと入力して表示メッセージの最後に’Complete!’と表示されればインストール成功。
次にhttpdを起動します。
# systemctl start httpd
何も出てきませんが、これでhttpdが起動でき他みたいです。
ファイアウォールの設定を変更。
CentOS7のデフォルトの状態ではファイアウォールが有効になっており、http通信が遮断されているので、この通信を通過できるようにします。
また、暗号化された通信(SSL)もあとで使うことになるので、ここでhttpsプロトコルも許可しておくようにします。
なのでまずは起動させる。
# systemctl start firewalld
確認
[root@tk0-000-00000 ~]# firewall-cmd --state
running
起動okなので
[root@tk0-000-00000 ~]# firewall-cmd --add-service=https --zone=public --permanent
success
firewall-cmd --add-service=https --zone=public --permanentを入力してsuccessとなれば成功。
次にファイアウォールサービスを再起動。
# systemctl restart firewalld
何も表示は出ませんので確認するためにhttp://000.00.000.000/
(あなたのIPアドレス)を入れてみて以下が出れば使える状態になってます。
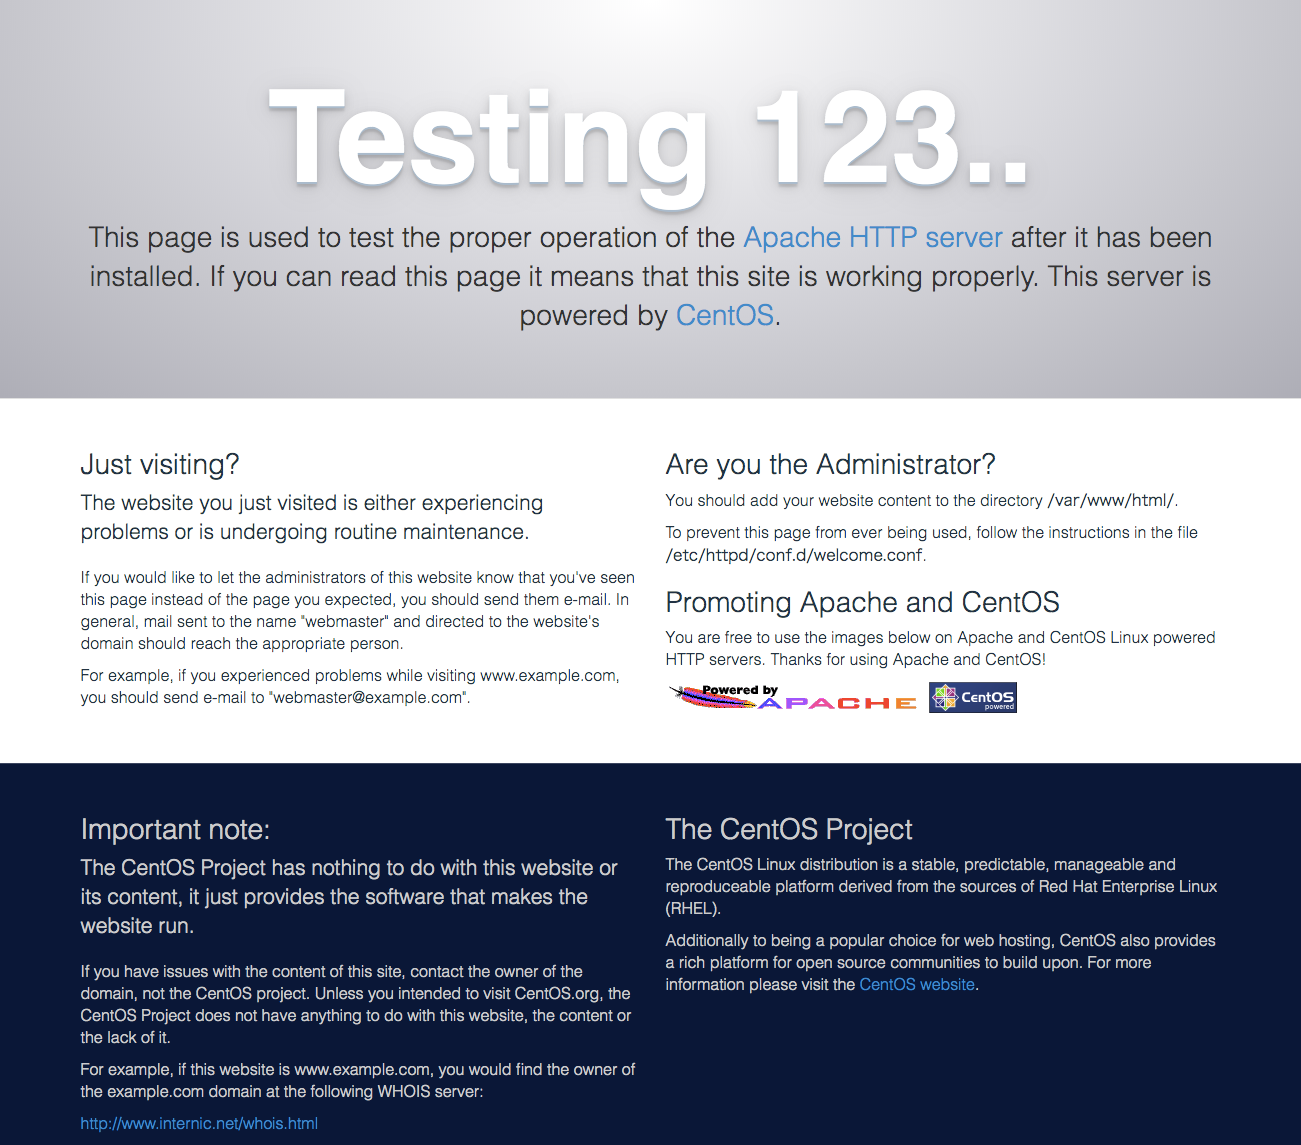
しかし、このままだとメンテナンスやトラブルなどでサーバーを再起動したときにhttpdが自動で起動してくれないらしく、再起動したら都度手動でhttpdを起動させる手間が発生するみたいです。
そこで、サーバー再起動時にhttpdもあわせて起動するように設定し、Windowsでいうと「スタートアップ」にソフトウェアを登録する作業に似ているらしいです。
なので以下のコマンドを実行
[root@tk0-000-00000 ~]# systemctl enable httpd
Created symlink from /etc/systemd/system/multi-user.target.wants/httpd.service to /usr/lib/systemd/system/httpd.service.
これは「サーバー起動時に、httpdもあわせて起動する」設定みたいです。
正しく設定されたかどうか
[root@tk0-000-00000 ~]# systemctl list-unit-files -t service
UNIT FILE                                     STATE
abrt-ccpp.service                             enabled
abrt-oops.service                             enabled
abrt-pstoreoops.service                       disabled
abrt-vmcore.service                           enabled
abrt-xorg.service                             enabled
abrtd.service                                 enabled
arp-ethers.service                            disabled
atd.service                                   enabled
auditd.service                                enabled
autovt@.service                               enabled
blk-availability.service                      disabled
brandbot.service                              static
chrony-dnssrv@.service                        static
chrony-wait.service                           disabled
chronyd.service                               enabled
console-getty.service                         disabled
console-shell.service                         disabled
container-getty@.service                      static
cpupower.service                              disabled
crond.service                                 enabled
dbus-org.freedesktop.hostname1.service        static
dbus-org.freedesktop.import1.service          static
lines 1-23
ずらっとリストが表示されたので「Q」を入力すれば離脱できます。
[root@tk0-000-00000 ~]# service httpd start
Redirecting to /bin/systemctl start httpd.service
スタートさせて
アクセスできるかhttp://IPアドレスで確認
[root@tk0-000-00000 ~]# systemctl enable httpd.service
自動起動でok?
後はFTPかSFTPを使ってファイルをアップロードとドキュメントルートの権限を変更すればokみたいです。
MySQL
まずは不要なmariaDB削除
yum remove mariadb-libs
## 色々流れます##
rm -rf /var/lib/mysql/
MySQLリポジトリ追加
CentOS 7からMySQLが公式リポジトリで提供されていないのでMySQLのリポジトリを追加するとの事
yum localinstall http://dev.mysql.com/get/mysql57-community-release-el7-7.noarch.rpm
## 色々流れます##
MySQLインストール
yum install mysql-community-server
## 色々流れます##
起動
systemctl start mysqld.service
何も表示されない?
MySQLの自動起動を設定
systemctl enable mysqld.service
MySQLのセキュリティ設定
mysql_secure_installation
パスワード求められたのでサーバのIPアドレスでログインと同じ物を・・
(using password: YES)って出たからいいのかな。。
my.cnf設定
vim /etc/my.cnf
開いて任意の場所に追加
character-set-server = utf8
default_password_lifetime = 0
以上。
PHP
yumにepelとremiリポジトリをインストール
yum install epel-release
remiインストール
rpm -Uvh http://rpms.famillecollet.com/enterprise/remi-release-7.rpm
PHPをインストール
yum install --enablerepo=remi,remi-php71 php php-devel php-mbstring php-pdo php-gd php-mysqlnd php-pear
全部yyでComplete!で終了
php.ini設定
バックアップを取って置く
cp /etc/php.ini $HOME
php.iniを編集
//上部から変更していく

expose_php = On
↓
expose_php = Off  //ヘッダからphpのバージョン情報を削除

;date.timezone =
↓
date.timezone = "Asia/Tokyo"  //タイムゾーンを設定


;mbstring.language = Japanese
↓
mbstring.language = Japanese


;mbstring.http_input =
↓
mbstring.http_input = pass


;mbstring.http_output =
↓
mbstring.http_output = pass


;mbstring.encoding_translation = Off
↓
mbstring.encoding_translation = Off


;mbstring.detect_order = auto
↓
mbstring.detect_order = auto
Apacheを再起動
systemctl restart httpd.service
次回に続く